热门标签
热门文章
- 1配置kubernetes UI图形化界面与谷歌浏览器访问k8s页面问题解决
- 2python中yield和协程_python sche_yield负载
- 3( “ 图 “ 之 并查集 ) 684. 冗余连接 ——【Leetcode每日一题】_树可以看成是一个连通且无环的无向图。 给定往一棵 n 个节点 (节点值 1~n) 的树
- 4【硬核】源码 + 案例分享 JDK8 新特性中的四大函数式接口_jdk8四大函数
- 5SpringBoot 整合 druid数据源_spring.datasource.druid.max-wait
- 6Scrapy和Selenium整合(一文搞定)_scrapy selenium
- 7教你如何在Windows10环境下顺利安装minepy并成功运行!_no module named 'minepy
- 8VS code 保存或新建文件没有权限的问题Unable to write file (NoPermissions (FileSystemError): Error: EACCES: permissi_unable to write file '/home/hyq1/test/cpptest/test
- 9网络安全:NMAP 高级使用技巧和NESSUS漏洞检测_nmap 验证漏洞
- 10GitHub访问速度慢_github访问太慢
当前位置: article > 正文
LaTeX中的插图_latex插图
作者:我家自动化 | 2024-02-12 09:22:09
赞
踩
latex插图
LaTeX中的插图
在LaTeX中,是使用graphicx宏包实现插图的。
我们需要用“usepackage”来引入“graphicx”宏包。
然后在文档中用includegraphics插入图像。
该命令的必选参数,用于指定需要插入的图像文件的文件名,其可选参数用于指定图像的缩放比例,旋转等。
当使用XeLaTeX编译时,graphicx宏包支持多种图像文件格式。
还可以使用graphicspath指定图像文件的搜索路径。将图像等资源文件进行分门别类管理。
(1)将图片存放的文件夹figures与pics与tex文件夹放在同一个目录下。

(2)用graphicspath命令来指定搜索路径为当前路径下的figures文件夹。
也可以添加其他路径,要用大括号实现分组。

(3)用includegraphics命令来插入图像。
暂时不需要第一个可选参数。用第二个必选参数指定文件名。
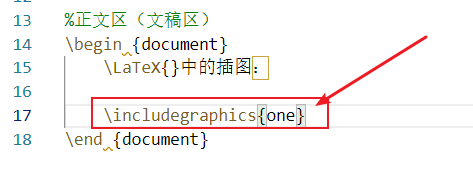
编译运行,查看结果:

也可以加上文件的后缀名。
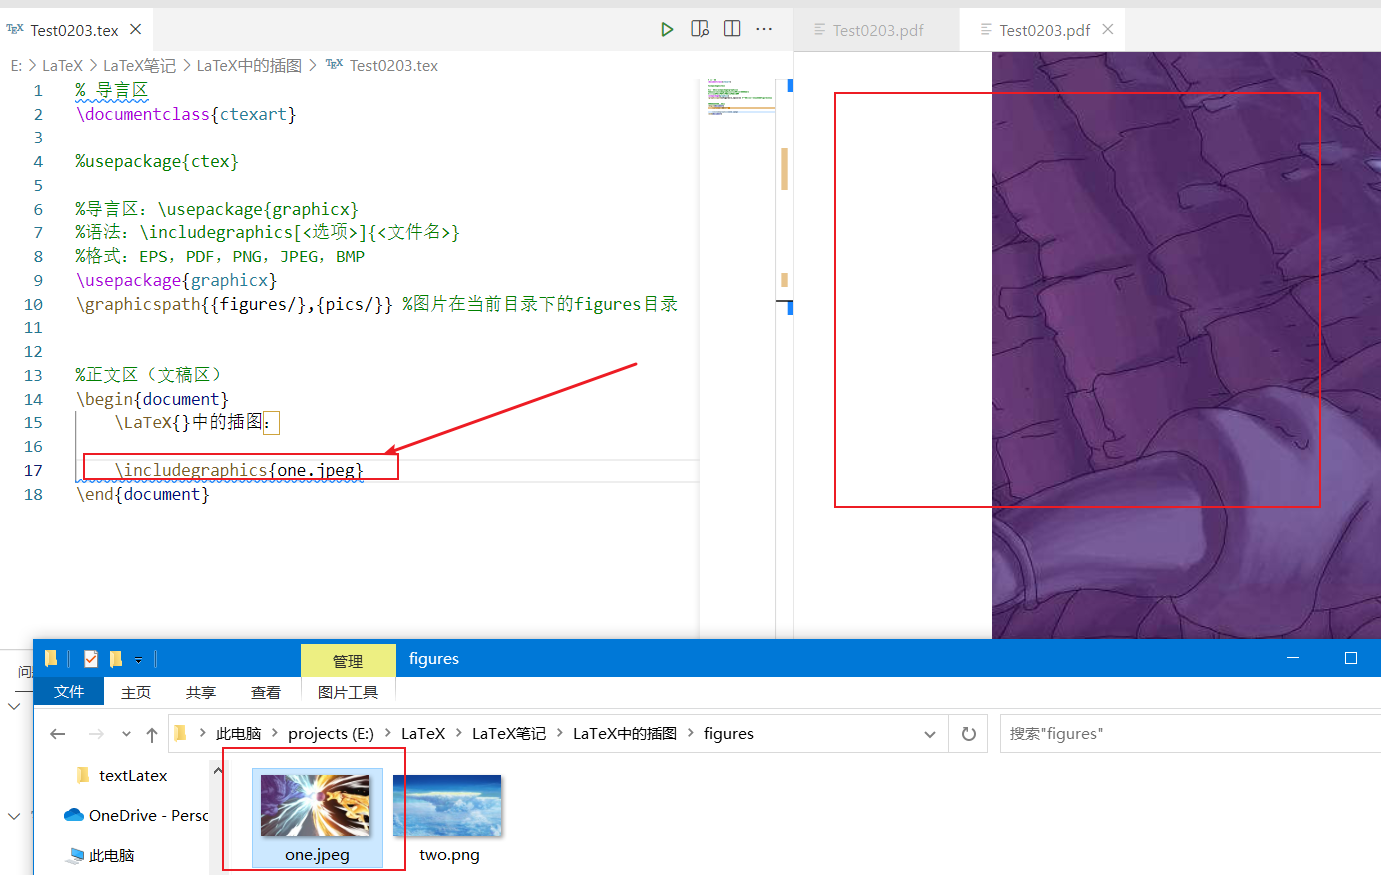
(4)调整图片大小
我们可以看到,图片太大,显示不完全。
我们可以为includegraphics引入可选参数。
可选参数用方括号[ ]表示。
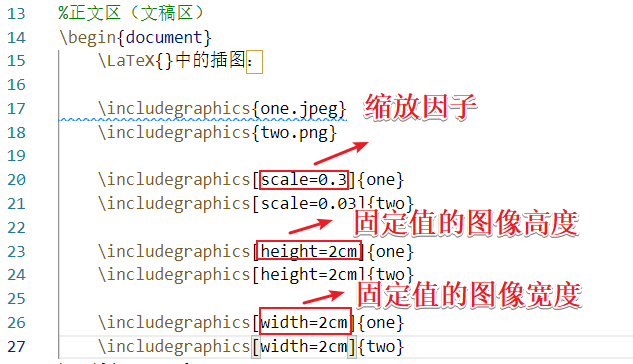
版型文本高度0.1倍的图像高度。

版型文本宽度0.2倍的图像宽度。

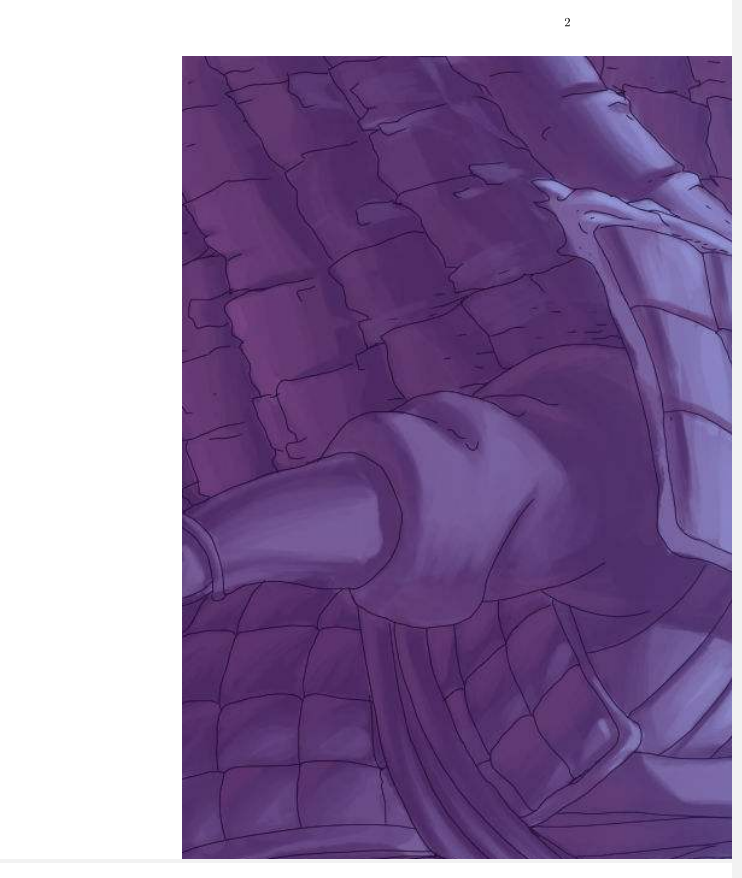
也可以同时指定多个参数。不同参数之间用逗号进行分割。

运行结果:
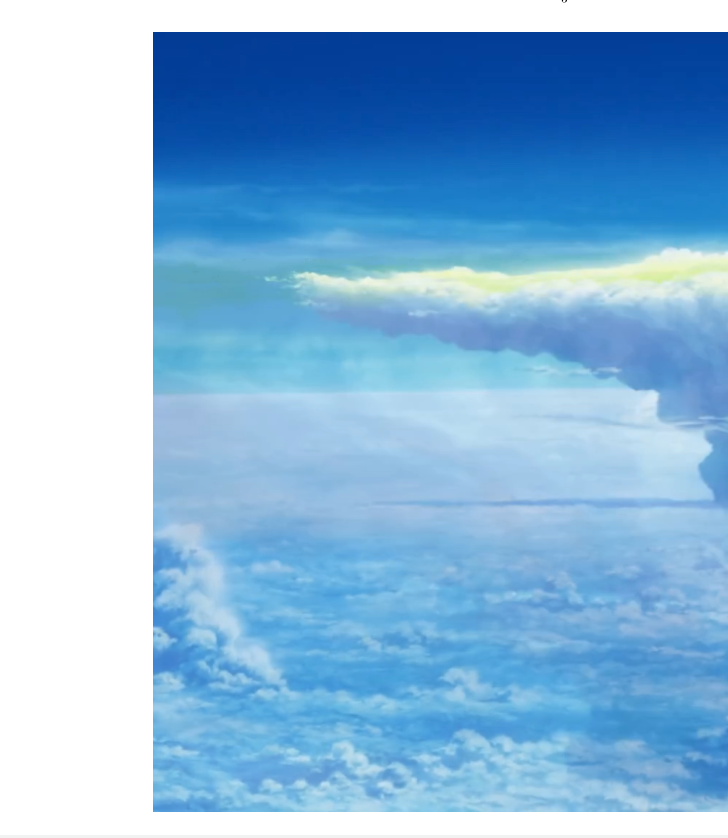
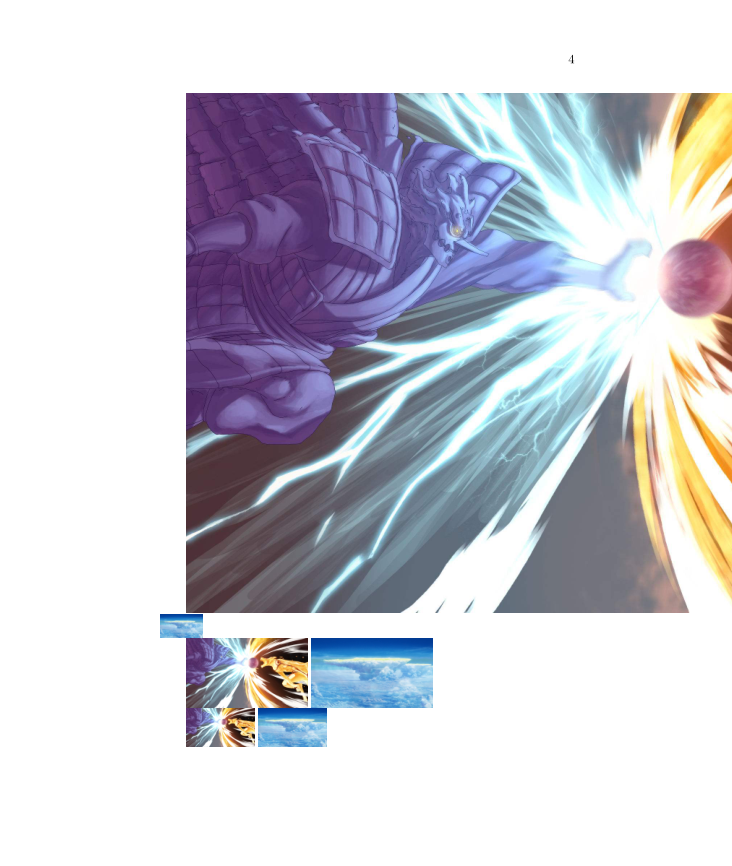

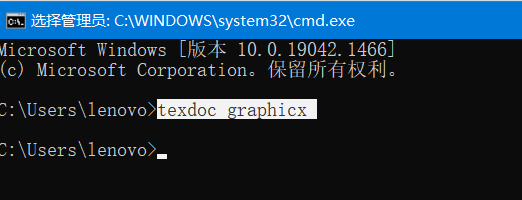
关于这些命令的细节,我们可以打开dos命令(WIn+R输入cmd),然后输入“texdoc graphicx”。
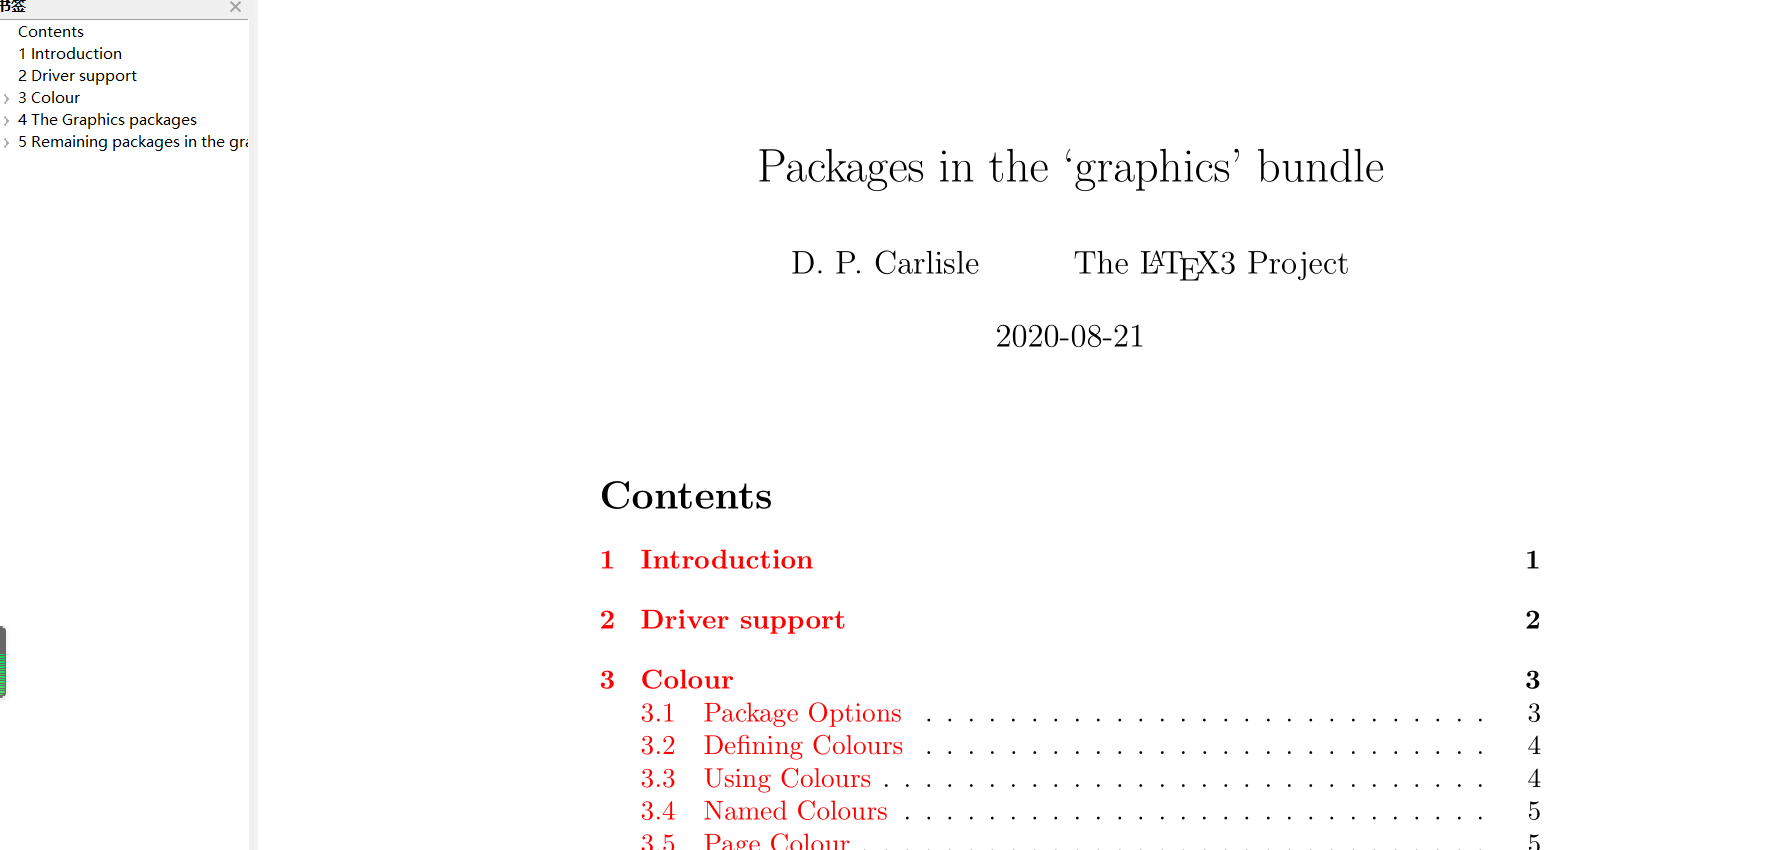
可以自行查阅,只不过全是英文哈哈。
最后附上全部代码,供大家学习使用!
% 导言区
\documentclass{ctexart}

%usepackage{ctex}

%导言区:\usepackage{graphicx}
%语法:\includegraphics[<选项>]{<文件名>}
%格式:EPS,PDF,PNG,JPEG,BMP
\usepackage{graphicx}
\graphicspath{{figures/},{pics/}} %图片在当前目录下的figures目录


%正文区(文稿区)
\begin{document}
    \LaTeX{}中的插图:

    \includegraphics{one.jpeg}
    \includegraphics{two.png}

    \includegraphics[scale=0.3]{one}
    \includegraphics[scale=0.03]{two}

    \includegraphics[height=2cm]{one}
    \includegraphics[height=2cm]{two}

    \includegraphics[width=2cm]{one}
    \includegraphics[width=2cm]{two}

    \includegraphics[height=0.1\textheight]{one}
    \includegraphics[height=0.1\textheight]{two}

    \includegraphics[width=0.2\textwidth]{one}
    \includegraphics[width=0.2\textwidth]{two}

    \includegraphics[angle=-45,width=0.2 \textwidth]{one}
    \includegraphics[angle=45,width=0.2\textwidth]{two}
\end{document}
- 1
- 2
- 3
- 4
- 5
- 6
- 7
- 8
- 9
- 10
- 11
- 12
- 13
- 14
- 15
- 16
- 17
- 18
- 19
- 20
- 21
- 22
- 23
- 24
- 25
- 26
- 27
- 28
- 29
- 30
- 31
- 32
- 33
- 34
- 35
- 36
- 37
声明:本文内容由网友自发贡献,不代表【wpsshop博客】立场,版权归原作者所有,本站不承担相应法律责任。如您发现有侵权的内容,请联系我们。转载请注明出处:https://www.wpsshop.cn/w/我家自动化/article/detail/77425
推荐阅读
相关标签


