
- 1Python江西南昌二手房源爬虫数据可视化分析大屏全屏系统 开题报告
- 2从4k到42k,软件测试工程师的涨薪史,给我看哭了
- 3linux centos 系统盘文件系统损坏-已解决_corruption of in-memory data detected
- 4【Linux】公网远程访问AMH服务器管理面板
- 5IOS 查看安装包的公钥 SHA1等信息
- 6IDEA常用插件(30个)_idea插件
- 7【微服务】服务网关----Gateway_gateway 服务覆盖
- 8代码随想录刷题题Day29
- 9什么是云服务器,阿里云优势如何?
- 10周志华:“数据、算法、算力”人工智能三要素,在未来要加上“知识”| CCF-GAIR 2020...
Spring boot微服务框架整合搭建与实战详解_springboot 加 微服务 实现统一集成平台
赞
踩
本文旨在分享本人自己的一些经验,springboot快速搭建与实战测试。好了,希望能帮助到大家!!!希望大家遇到各种报错异常问题多多百度,然后做笔记记录。
声明:对于本文内容解析由本人理解而道出,希望对于有说得不对的地方大家指点指点。
1,本文本使用的开发环境:
java ee开发工具;
jdk1.8,环境配置:https://jingyan.baidu.com/article/6dad5075d1dc40a123e36ea3.html(配置环境参考);
maven3.0;
PHPstudy集成的数据库MySQL5.5;
2,新建maven项目
环境搭建完成后打开java ee新建maven项目
3,引入Springboot依赖包
添加下面依赖到pom.xml文件
- <!-- Spring boot 父引用-->
- <parent>
- <groupId>org.springframework.boot</groupId>
- <artifactId>spring-boot-starter-parent</artifactId>
- <version>1.4.0.RELEASE</version>
- </parent>
-
- <!-- Spring boot 核心web-->
- <dependencies>
- <dependency>
- <groupId>org.springframework.boot</groupId>
- <artifactId>spring-boot-starter-web</artifactId>
- </dependency>
- </dependencies>
如果pom.xml报错就引入maven插件:
- <plugins>
- <plugin>
- <groupId>org.apache.maven.plugins</groupId>
- <artifactId>maven-surefire-plugin</artifactId>
- <version>2.6</version>
- <configuration>
- <skipTests>true</skipTests>
- </configuration>
- </plugin>
- </plugins>
4,新建一个controller(控制器)
- @RequestMapping("/helloworld")
- public String helloworld() {
- return "Spring boot 初步成果,heyhey";
- }
- }
5,开始创建程序入口(Application)
新建一个SpringbootApplication.class类:
- @SpringBootApplication
- public class SpringbootApplication {
- public static void main(String[] args) {
- SpringApplication.run(SpringbootApplication.class, args);
- }
新建完成后右击SpringbootApplication.class-->run as-->Java Application,运行后出现以下界面:
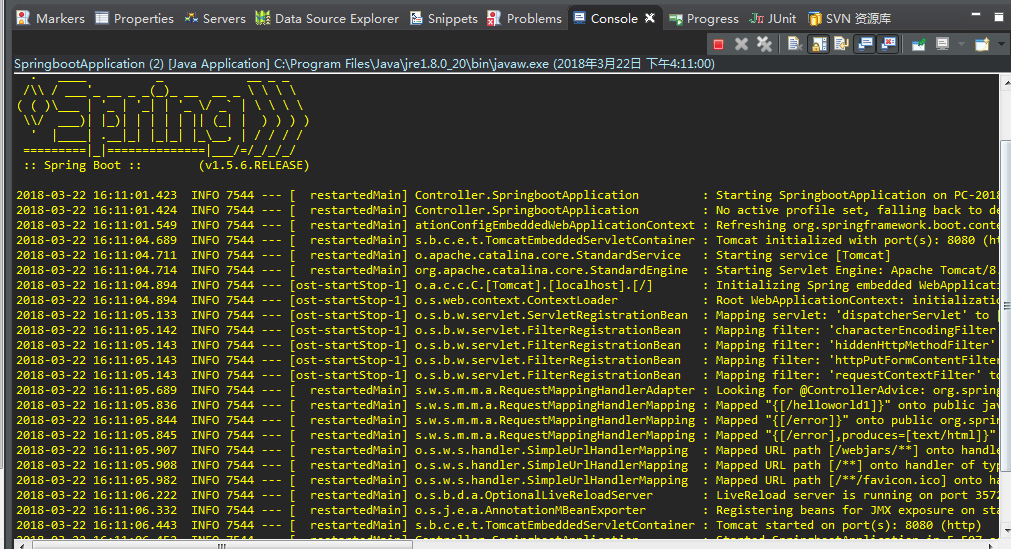
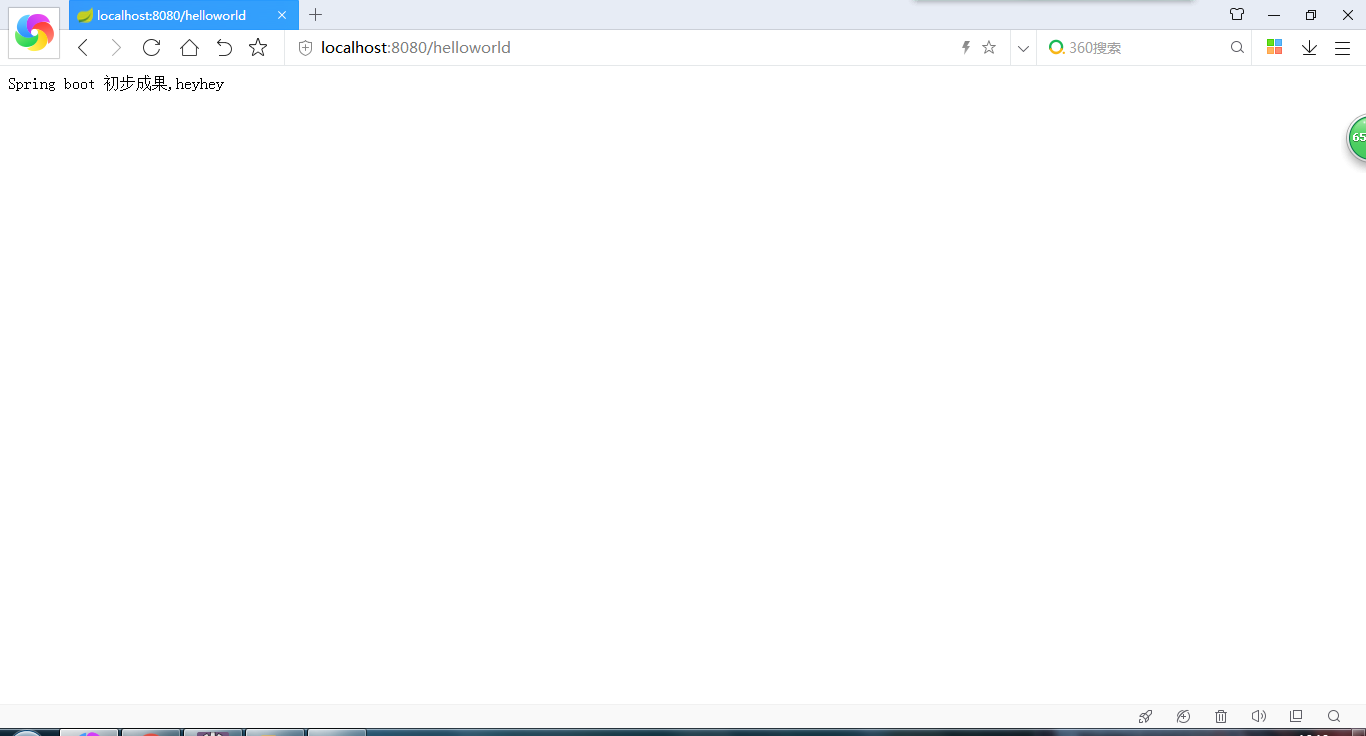
然后去浏览器输入:http://localhost:8080/helloworld,出现以下页面那就恭喜你,初步Springboot框架搭建完成了
注解解析:
@SpringBootApplication包括了@Configuration,@EnableAutoConfiguration,@ComponentScan这三个注解。由于这些注解一般都是一起使用,spring boot提供了一个统一的注解@SpringBootApplication。所以写一个@SpringBootApplication就等于写了三个注解。下面来解析一下这三个注解的意思 。
@Configuration:对于我们很多开发来说这个都不陌生,它就是javaConfig形式的Spring Ioc容器的配置类使用的那个@Configuration:用于加载某个IoC容器的配置
@EnableAutoConfiguration:它导入了一个叫ImportSelector的接口的实现类,ImportSelector接口中的selectImports方法返回的类都会被Spring容器管理起来
@ComponentScan:功能就是自动扫描并加载符合条件的组件或者bean定义
这只是个小小的开始,But,我觉得学习是永远不会结束:
初步的Springboot微服务框架搭建完成了,接下来我们开始实战搭建springboot,实现对数据库进行查询的一个小小例子。首先我们整合mybatis。至于mybatis是什么,不了解的自行去学习。
1,对的,添加依赖
把下面mybatis和mysql依赖添加到pom.xml:
- <dependency>
- <groupId>org.mybatis.spring.boot</groupId>
- <artifactId>mybatis-spring-boot-starter</artifactId>
- <version>1.1.1</version>
- </dependency>
- <dependency>
- <groupId>mysql</groupId>
- <artifactId>mysql-connector-java</artifactId>
- <version>5.1.21</version>
- </dependency>
2,新建application配置文件
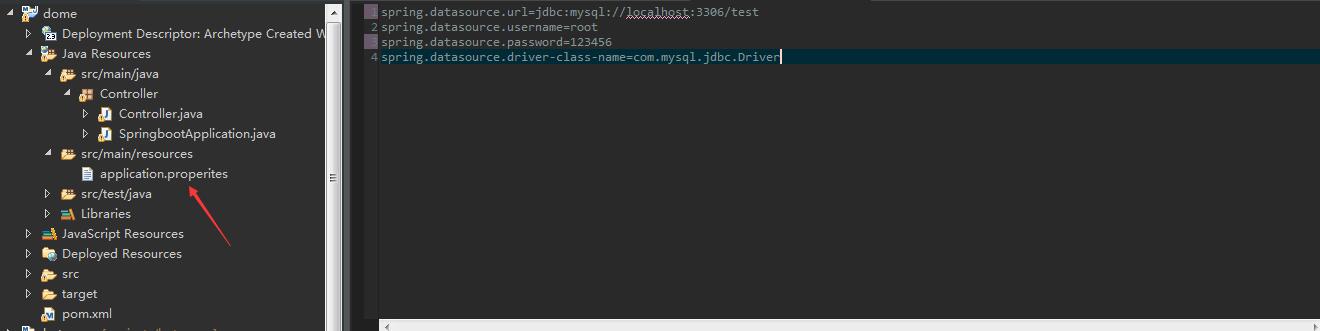
- spring.datasource.url=jdbc:mysql://localhost:3306/test
- spring.datasource.username=root
- spring.datasource.password=123456
- spring.datasource.driver-class-name=com.mysql.jdbc.Driver
3,新建一个数据库表
- Create Table: CREATE TABLE `USER` (
- `id` int(20) NOT NULL AUTO_INCREMENT,
- `loginname` varchar(200) DEFAULT NULL,
- PRIMARY KEY (`id`)
- ) ENGINE=InnoDB AUTO_INCREMENT=8 DEFAULT CHARSET=utf8
4,编写User实体类
新建一个entity包,在这个包下面新建User实体类:

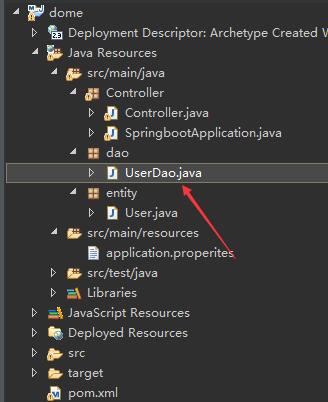
5,编写dao层代码(也叫mapper)
新建一个dao包,在下面新建一个UserDao类:
- package com.dome.test.dao;
- import java.util.List;
- import org.apache.ibatis.annotations.Mapper;
- import org.apache.ibatis.annotations.Select;
- import com.dome.test.entity.User;
- @Mapper
- public interface UserDao {
- @Select("SELECT * FROM USER")
- List<User> getall();
- }
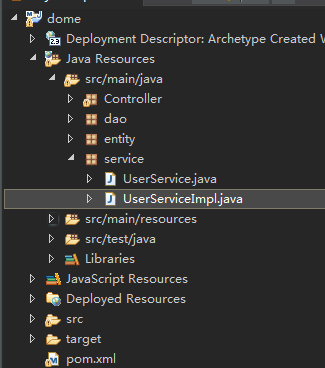
6,新建service层
新建一个service包,在下面新建UserService和UserServiceImpl两个类:
UserService:
- package com.dome.test.service;
- import java.util.List;
- import com.dome.test.entity.User;
- public interface UserService {
- List<User> getall();
- }
UserServiceImpl:
- package service;
- import java.util.List;
- import org.springframework.beans.factory.annotation.Autowired;
- import org.springframework.stereotype.Service;
- import dao.UserDao;
- import entity.User;
- @Service
- public class UserServiceImpl implements UserService{
- @Autowired
- UserDao userdao;
- @Override
- public List<User> getall() {
- // TODO Auto-generated method stub
- return userdao.getall();
- }
- }

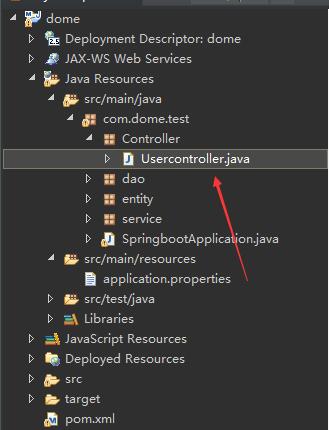
7,新建controller(控制器)
在Controller包下面新建一个Usercontroller类:
- package com.dome.test.Controller;
- import java.util.List;
- import org.springframework.beans.factory.annotation.Autowired;
- import org.springframework.stereotype.Controller;
- import org.springframework.web.bind.annotation.RequestMapping;
- import org.springframework.web.bind.annotation.ResponseBody;
- import com.dome.test.entity.User;
- import com.dome.test.service.UserService;
- @Controller
- @RequestMapping("test")
- public class Usercontroller {
- @Autowired
- UserService userService;
- @RequestMapping("/getall")
- @ResponseBody
- public List<User> getall(){
- return userService.getall();
- }
- }
8,重新编写SpringbootApplication
在包最外侧编写SpringbootApplication:
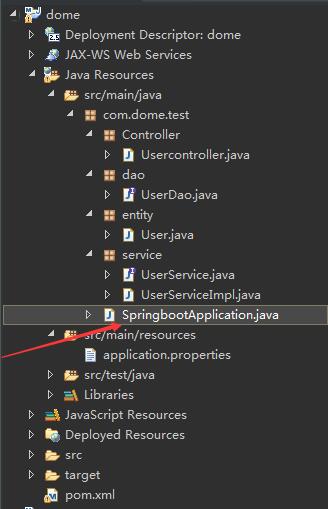
上图为本次搭建的dome项目,搭建完成的项目结构- package com.dome.test;
- import org.mybatis.spring.annotation.MapperScan;
- import org.springframework.boot.SpringApplication;
- import org.springframework.boot.autoconfigure.SpringBootApplication;
- @SpringBootApplication(scanBasePackages="com.dome.test")//扫描该包目录下的文件
- @MapperScan("com.dome.test.dao")//扫描mapper文件
- public class SpringbootApplication {
- public static void main(String[] args) throws Exception {
- SpringApplication.run(SpringbootApplication.class, args);
- }
- }
9,本次搭建的springboot实战demo以完成,我们去测试一波
我们右击SpringbootApplication.class-->run as-->Java Application,运行后出现以下界面:
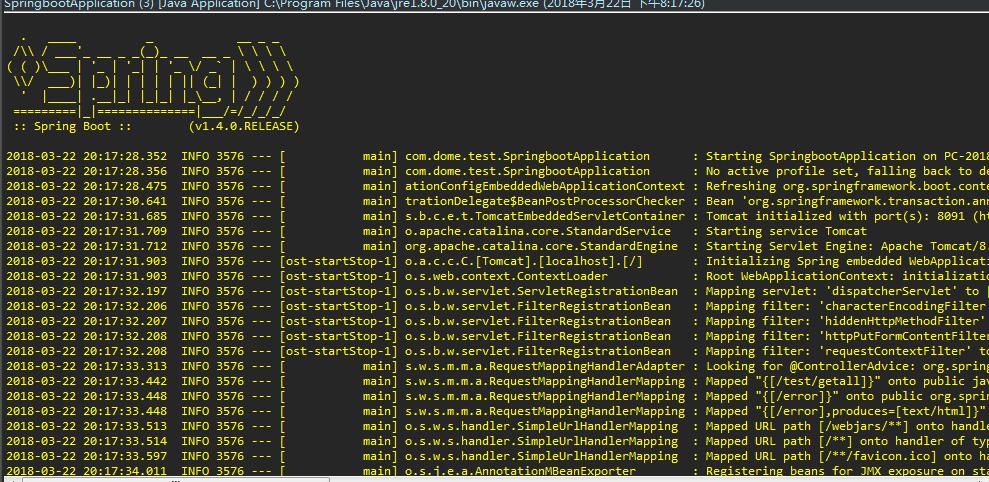
注意:再次提醒如果报Tomcat错误,请检查端口是否被占用,默认使用8080
好了,运行成功啦,你成功了吗?
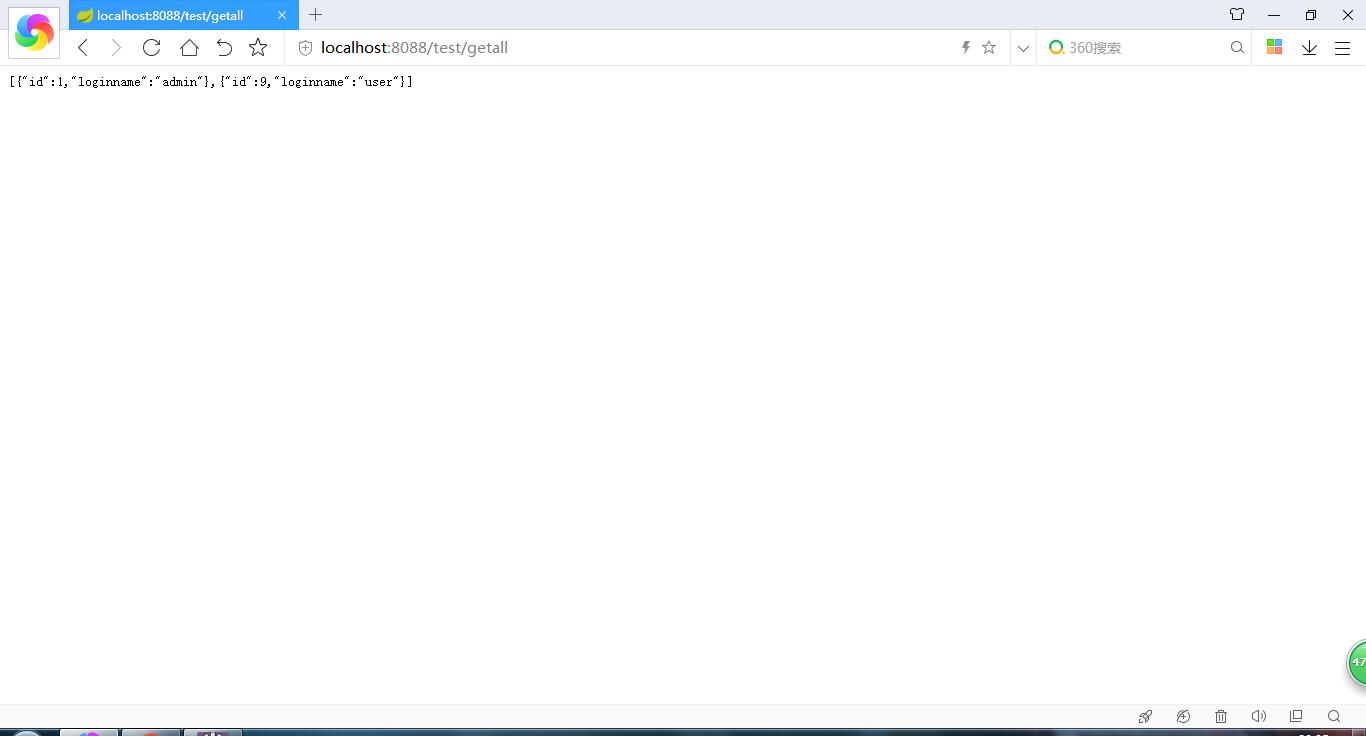
然后去浏览器输入:http://localhost:8080/test/getall【本人端口8088】,出现以下页面那就恭喜你,本次Springboot框架实战dome搭建完成了
希望各位能学习到,本人也是一直在学习的路上,第一次编写原创博文,有错误或者说法不当,错误的地方希望能大家能指出让本人更正一下。
- SpringSecurity是一个强大且高度可定制的身份验证和访问控制框架。它是保护基于Spring的应用程序的实际标准。SpringSecurity是一个可以为Java应用程序提供全面安全服务的框架。同时,它也可以轻松扩展以满足自定义需求... [详细]
赞
踩
- 主要功能包括管理员:首页、个人中心、图书分类管理、回收类别管理、新书榜管理、特价区管理、旧书回收管理、用户管理、订单评价管理、回收预约管理、图书回收管理、管理员管理、系统管理、订单管理。前台使用:首页、新书榜、特价区、旧书回收、公告资讯、个... [详细]
赞
踩
- 随着科学技术的飞速发展,社会的方方面面、各行各业都在努力与现代的先进技术接轨,通过科技手段来提高自身的优势,狗粮销售信息管理系统当然也不能排除在外。狗粮销售信息管理系统是以实际运用为开发背景,运用软件工程原理和开发方法,采用java技术构建... [详细]
赞
踩
- article
springBoot + netty搭建高性能 websocket 服务 & 性能测试(包含python 测试脚本)_netty websocket 和netty-websocket 性能对比
springBootnettywebsocket性能测试_nettywebsocket和netty-websocket性能对比nettywebsocket和netty-websocket性能对比一、前言1、如果我们的app类似于股票这种,数... [详细]赞
踩
- 我们要搭建一个`SpringCloudAlibaba`项目就绕不开`Nacos`,阿里巴巴提供的`Nacos`组件,可以提供服务注册与发现和分布式配置服务,拥有着淘宝双十一十几年的流量经验,还是非常的可靠的。_nacos.core.auth... [详细]
赞
踩
- 前面是站在后台员工的角度,现在站在消费者的角度,当客户从移动端选择通过验证码登录APP,需要调用云服务器的短信功能(厂商短信服务API),后端要做的就是生成验证码并发送,并针对请求中客户收到的验证码与后端发送的进行比对,确保一致后成功登录_... [详细]
赞
踩
- SpringBoot整合JPA(JavaPersistenceAPI)主要是指将SpringBoot与JPA结合,实现对象关系映射(ORM)的功能,从而简化数据库操作。下面详细介绍如何整合SpringBoot与JPA。当你在SpringBo... [详细]
赞
踩
 传统办法管理信息首先需要花费的时间比较多,其次数据出错率比较高,而且对错误的数据进行更改也比较困难,最后,检索数据费事费力。因此,在计算机上安装美妆购物网站软件来发挥其高效地信息处理的作用,可以规范信息管理流程,让管理工作可以系统化和程序化... [详细]
赞
踩
- 在网络信息发展时代,众多的软件被开发出来,给用户带来了很大的选择余地,而且人们越来越追求更个性的需求。在这种时代背景下,平台只能以用户为导向,按项目分类组织,以项目的持续创新作为平台最重要的竞争手段。系统采用了B/S结构,将所有模块采用以浏... [详细]
赞
踩
- 现代经济快节奏发展以及不断完善升级的信息化技术,让传统数据信息的管理升级为软件存储,归纳,集中处理数据信息的管理方式。本手机销售网站就是在这样的大环境下诞生,其可以帮助管理者在短时间内处理完毕庞大的数据信息,使用这种软件工具可以帮助管理人员... [详细]
赞
踩
- Springboot@Test给Controller接口写单元测试_controller怎么测试controller怎么测试前言最近有小伙伴问到怎么给controller的接口写单元测试。 单元测试是开发必不可少的一个环节。既然有... [详细]
赞
踩
- SpringCloudGateway的限流配置主要涉及到令牌桶算法的实现。令牌桶算法可以对某一时间窗口内的请求数进行限制,保持系统的可用性和稳定性,防止因流量暴增而导致的系统运行缓慢或宕机。【SpringCloud】7、SpringClou... [详细]
赞
踩
- 需求分析:系统分析:在实际饭堂中,学生可以拿饭卡到各个窗口(终端)消费,为了安全,学生还可以修改自己饭卡的密码、查询饭卡的余额和还应该要有查询消费记录,但充值、挂失等必须到管理员处才能办理。而管理员必须能看到系统里的所有记录,还能实现充值、... [详细]
赞
踩
- 开发SpringBootJDBC应用时,一旦引入依赖并添加正确的数据源对象实例(事务管理器对象实例(对象实例(我们可以在此基础上直接使用对象实例对数据库进行操作。但在某些场景下需要开发人员自定义数据源对象实例,如应用需要对接多个不同的数据源... [详细]
赞
踩
- 说明:controller方法中定义ModelAndView对象并返回,对象中可添加model数据、指定view。SpringMVC的controller方法返回值controller方法返回值返回ModelAndView说明:contro... [详细]
赞
踩
- 记录一下,后续有更新添加。SpringBoot自定义启动Banner在线生成工具记录一下,后续有更新添加链接:SpringBoot自定义启动Banner在线生成工具... [详细]
赞
踩
- Quartz是OpenSymphony开源组织在Jobscheduling领域又一个开源项目,它可以与J2EE与J2SE应用程序相结合也可以单独使用。Quartz可以用来创建简单或为运行十个,百个,甚至是好几万个Jobs这样复杂的程序。Jo... [详细]
赞
踩
- 重点介绍动态网关路由的背景、动态路由与静态路由的概念,以及如何基于Nacos实现动态网关路由的实战案例。第八章:Springcloud网关中心Gateway(动态路由)第八章:Springcloud网关中心Gateway(动态路由)前言本章... [详细]
赞
踩
- 因为微服务还要重启,这在生产中是不能接受的,所以我们采用Nacos来做统一的配置管理中心。项目中的使用每个微服务创建自己的命名空间,使用配置分组区分环境,dev,test,prod。配置上,需要使用哪个命名空间下的配置,如果配置中心和当前应... [详细]
赞
踩
- SpringcloudGateway内置断言(Predicate)类型的yaml和json数据格式;自定义路由Predicate断言的案例。第九章:Springcloud网关中心Gateway(内置断言与自定义断言)第九章:Springcl... [详细]
赞
踩

