- 1ZooKeeper(一)_xshell连接zookeeper
- 2如何将服务开放给用户:构建 API 接口和用户认证的实践指南_如何将我的服务开放给用户:构建api接口和用户认证的实践指南
- 3在ubuntu系统下安装python_乌班图安装python
- 4SLAM算法与工程实践——相机篇:RealSense T265相机使用(1)_t265 相机
- 5java中以下为不合法字符常量_以下字符常量中不合法的是
- 6matlab遗传算法工具箱函数及实例讲解(转引)[_matlab arithxover函数
- 7路由器接口解析_常用的路由器接口种类有 、 和 。
- 8html中的ui编辑器,vue-uieditor
- 9c语言 函数参数 const,c语言中const的使用方法
- 10基于Python实现微信消息推送_微信分组推送 python
Linux journalctl命令详解(journalctl指令)(systemd服务默认日志管理工具)
赞
踩
Linux Journalctl命令详解
Linux提供了一个强大的日志系统,它可以跟踪和记录系统的各种活动。在这个系统中,journalctl是一个非常重要的工具,用于查询和操作由systemd进程管理的日志。
本文将深入探讨journalctl命令,介绍其基本使用、高级选项及示例等内容。
1. Journalctl简介
Systemd是Linux发行版的初始化系统,负责启动系统后的所有服务,并监视它们在系统运行期间的状态。Journal是Systemd的一部分,主要负责收集和存储日志数据。
journalctl是Journal的主要接口,提供丰富的功能来检索和显示日志条目。它能从磁盘上的二进制文件或者其他传输目标(如syslog)获取日志。
journalctl may be used to query the contents of the systemd(1) journal as written by systemd-journald.service(8).
“journalctl可以用来查询由systemd-journald.service(8)写入的systemd(1)日志的内容。”
2. Journalctl基础使用
下面是一些基本的journalctl命令。
-
查看所有日志:
(分页输出)journalctl- 1
或者:
(不分页输出)journalctl --no-pager- 1
-
按时间倒序查看所有日志:
journalctl -r- 1
-
查看最新的10条日志:
journalctl -n 10- 1
-
实时查看新添加的日志条目:
journalctl -f- 1
3. 过滤日志条目
journalctl提供了多种方式来过滤和查找特定的日志条目。
以下是一些过滤日志的例子:
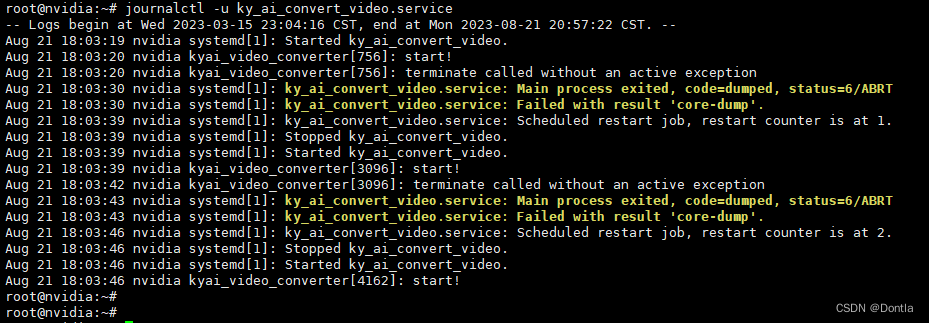
根据服务名称过滤:
journalctl -u nginx
- 1
根据进程ID过滤:
journalctl _PID=2001
- 1
根据优先级过滤(0-7,0表示最重要):
journalctl -p err -b
- 1
4. 时间戳和日志轮转
对于大型系统,日志文件可能会非常大。为了解决这个问题,journalctl提供了日志轮转和时间戳功能。
日志轮转是一个过程,其中旧的日志条目被删除以释放空间给新的日志条目。默认情况下,Journal将根据配置在/var/log/journal中保存日志文件,并在磁盘空间不足时执行日志轮转。
时间戳允许你查找特定时间范围内的日志条目。例如:
journalctl --since="2021-07-01" --until="2021-07-31 03:00"
- 1
5. 高级应用
尽管journalctl提供了丰富的功能,但在某些情况下,你可能需要更高级的工具或技术。例如,你可能需要将日志发送到远程服务器,或者在多个系统上集中处理日志。
对于这些需求,你可以考虑使用像Logstash、Graylog或Fluentd这样的日志聚合工具,它们可以与journalctl结合使用,提供更强大的功能。
6. journalctl --help指令文档
英文
journalctl [OPTIONS...] [MATCHES...]

Query the journal.

Options:
     --system                Show the system journal
     --user                  Show the user journal for the current user
  -M --machine=CONTAINER     Operate on local container
  -S --since=DATE            Show entries not older than the specified date
  -U --until=DATE            Show entries not newer than the specified date
  -c --cursor=CURSOR         Show entries starting at the specified cursor
     --after-cursor=CURSOR   Show entries after the specified cursor
     --show-cursor           Print the cursor after all the entries
     --cursor-file=FILE      Show entries after cursor in FILE and update FILE
  -b --boot[=ID]             Show current boot or the specified boot
     --list-boots            Show terse information about recorded boots
  -k --dmesg                 Show kernel message log from the current boot
  -u --unit=UNIT             Show logs from the specified unit
     --user-unit=UNIT        Show logs from the specified user unit
  -t --identifier=STRING     Show entries with the specified syslog identifier
  -p --priority=RANGE        Show entries with the specified priority
     --facility=FACILITY...  Show entries with the specified facilities
  -g --grep=PATTERN          Show entries with MESSAGE matching PATTERN
     --case-sensitive[=BOOL] Force case sensitive or insenstive matching
  -e --pager-end             Immediately jump to the end in the pager
  -f --follow                Follow the journal
  -n --lines[=INTEGER]       Number of journal entries to show
     --no-tail               Show all lines, even in follow mode
  -r --reverse               Show the newest entries first
  -o --output=STRING         Change journal output mode (short, short-precise,
                               short-iso, short-iso-precise, short-full,
                               short-monotonic, short-unix, verbose, export,
                               json, json-pretty, json-sse, json-seq, cat,
                               with-unit)
     --output-fields=LIST    Select fields to print in verbose/export/json modes
     --utc                   Express time in Coordinated Universal Time (UTC)
  -x --catalog               Add message explanations where available
     --no-full               Ellipsize fields
  -a --all                   Show all fields, including long and unprintable
  -q --quiet                 Do not show info messages and privilege warning
     --no-pager              Do not pipe output into a pager
     --no-hostname           Suppress output of hostname field
  -m --merge                 Show entries from all available journals
  -D --directory=PATH        Show journal files from directory
     --file=PATH             Show journal file
     --root=ROOT             Operate on files below a root directory
     --namespace=NAMESPACE   Show journal data from specified namespace
     --interval=TIME         Time interval for changing the FSS sealing key
     --verify-key=KEY        Specify FSS verification key
     --force                 Override of the FSS key pair with --setup-keys

Commands:
  -h --help                  Show this help text
     --version               Show package version
  -N --fields                List all field names currently used
  -F --field=FIELD           List all values that a specified field takes
     --disk-usage            Show total disk usage of all journal files
     --vacuum-size=BYTES     Reduce disk usage below specified size
     --vacuum-files=INT      Leave only the specified number of journal files
     --vacuum-time=TIME      Remove journal files older than specified time
     --verify                Verify journal file consistency
     --sync                  Synchronize unwritten journal messages to disk
     --relinquish-var        Stop logging to disk, log to temporary file system
     --smart-relinquish-var  Similar, but NOP if log directory is on root mount
     --flush                 Flush all journal data from /run into /var
     --rotate                Request immediate rotation of the journal files
     --header                Show journal header information
     --list-catalog          Show all message IDs in the catalog
     --dump-catalog          Show entries in the message catalog
     --update-catalog        Update the message catalog database
     --setup-keys            Generate a new FSS key pair

See the journalctl(1) man page for details.
- 1
- 2
- 3
- 4
- 5
- 6
- 7
- 8
- 9
- 10
- 11
- 12
- 13
- 14
- 15
- 16
- 17
- 18
- 19
- 20
- 21
- 22
- 23
- 24
- 25
- 26
- 27
- 28
- 29
- 30
- 31
- 32
- 33
- 34
- 35
- 36
- 37
- 38
- 39
- 40
- 41
- 42
- 43
- 44
- 45
- 46
- 47
- 48
- 49
- 50
- 51
- 52
- 53
- 54
- 55
- 56
- 57
- 58
- 59
- 60
- 61
- 62
- 63
- 64
- 65
- 66
- 67
- 68
- 69
- 70
- 71
- 72
- 73
中文
journalctl [选项...] [匹配项...]

查询日志。

选项:
     --system                显示系统日志
     --user                  显示当前用户的用户日志
  -M --machine=CONTAINER     对本地容器进行操作
  -S --since=DATE            显示不早于指定日期的条目
  -U --until=DATE            显示不晚于指定日期的条目
  -c --cursor=CURSOR         从指定的游标开始显示条目
     --after-cursor=CURSOR   显示指定游标之后的条目
     --show-cursor           在所有条目后打印游标
     --cursor-file=FILE      显示文件中游标后的条目并更新文件
  -b --boot[=ID]             显示当前启动或指定的启动
     --list-boots            显示有关记录启动的简洁信息
  -k --dmesg                 显示当前启动的内核消息日志
  -u --unit=UNIT             显示指定单元的日志
     --user-unit=UNIT        显示指定用户单元的日志
  -t --identifier=STRING     显示具有指定syslog标识符的条目
  -p --priority=RANGE        显示具有指定优先级的条目
     --facility=FACILITY...  显示具有指定设施的条目
  -g --grep=PATTERN          显示与PATTERN匹配的MESSAGE的条目
     --case-sensitive[=BOOL] 强制进行大小写敏感或不敏感的匹配
  -e --pager-end             在分页器中立即跳到末尾
  -f --follow                跟踪日志
  -n --lines[=INTEGER]       要显示的日志条目数量
     --no-tail               即使在跟踪模式下也显示所有行
  -r --reverse               先显示最新的条目
  -o --output=STRING         改变日志输出模式 (short, short-precise,
                               short-iso, short-iso-precise, short-full,
                               short-monotonic, short-unix, verbose, export,
                               json, json-pretty, json-sse, json-seq, cat,
                               with-unit)
     --output-fields=LIST    在verbose/export/json模式下选择要打印的字段
     --utc                   以协调世界时(UTC)表示时间
  -x --catalog               在可用的地方添加消息解释
     --no-full               缩略字段
  -a --all                   显示所有字段,包括长和不可打印的
  -q --quiet                 不显示信息消息和权限警告
     --no-pager              不将输出管道输出到分页器
     --no-hostname           抑制主机名字段的输出
  -m --merge                 显示所有可用日志的条目
  -D --directory=PATH        显示来自目录的日志文件
     --file=PATH             显示日志文件
     --root=ROOT             在根目录下操作文件
     --namespace=NAMESPACE   显示指定命名空间的日志数据
     --interval=TIME         更改FSS密封键的时间间隔
     --verify-key=KEY        指定FSS验证键
     --force                 使用--setup-keys覆盖FSS密钥对
命令:
  -h --help                  显示此帮助文本
     --version               显示包版本
  -N --fields                列出当前使用的所有字段名称
  -F --field=FIELD           列出指定字段采取的所有值
     --disk-usage            显示所有日志文件的总磁盘使用量
     --vacuum-size=BYTES     将磁盘使用量减少到指定大小以下
     --vacuum-files=INT      只保留指定数量的日志文件
     --vacuum-time=TIME      删除早于指定时间的日志文件
     --verify                验证日志文件的一致性
     --sync                  将未写入的日志消息同步到磁盘
     --relinquish-var        停止记录到磁盘,记录到临时文件系统
     --smart-relinquish-var  类似,但如果日志目录在根挂载上,则无操作
     --flush                 将所有日志数据从 /run 刷新到 /var
     --rotate                请求立即旋转日志文件
     --header                显示日志头信息
     --list-catalog          在目录中显示所有消息ID
     --dump-catalog          显示消息目录中的条目
     --update-catalog        更新消息目录数据库
     --setup-keys            生成新的FSS密钥对

有关详细信息,请参阅 journalctl(1) 手册页。
- 1
- 2
- 3
- 4
- 5
- 6
- 7
- 8
- 9
- 10
- 11
- 12
- 13
- 14
- 15
- 16
- 17
- 18
- 19
- 20
- 21
- 22
- 23
- 24
- 25
- 26
- 27
- 28
- 29
- 30
- 31
- 32
- 33
- 34
- 35
- 36
- 37
- 38
- 39
- 40
- 41
- 42
- 43
- 44
- 45
- 46
- 47
- 48
- 49
- 50
- 51
- 52
- 53
- 54
- 55
- 56
- 57
- 58
- 59
- 60
- 61
- 62
- 63
- 64
- 65
- 66
- 67
- 68
- 69
- 70
- 71
- 72
7. 补充
清空所有日志
清除所有的系统日志,可使用 journalctl 的 --vacuum-time 或 --vacuum-size 选项。
-
清除所有日志:
sudo journalctl --vacuum-time=1s- 1

这将会删除所有时间戳早于现在的日志条目,基本上等同于清空所有日志。
journalctl --vacuum-time命令通常接受一个相对时间值,如 “1year”, “2months”, “3weeks”, “4days”, “1s” 等。这个命令会删除所有在指定时间长度之前的日志。 -
清除超过特定大小的日志:
journalctl --vacuum-size=1- 1
这将删除所有日志,直到系统日志的总大小降到1(单位为BYTE)。

可以使用
journalctl --disk-usage查看日志占用空间大小。
-
如果以上两个都没有效果,可以采用暴力方式直接删除日志文件。
sudo systemctl stop systemd-journald sudo rm -rf /var/log/journal/* sudo systemctl start systemd-journald- 1
- 2
- 3
暴力删除有风险,使用需谨慎。
过滤掉某个服务日志
比如systemd服务日志太多太烦杂,可以过滤掉它:
journalctl | grep -v systemd
- 1
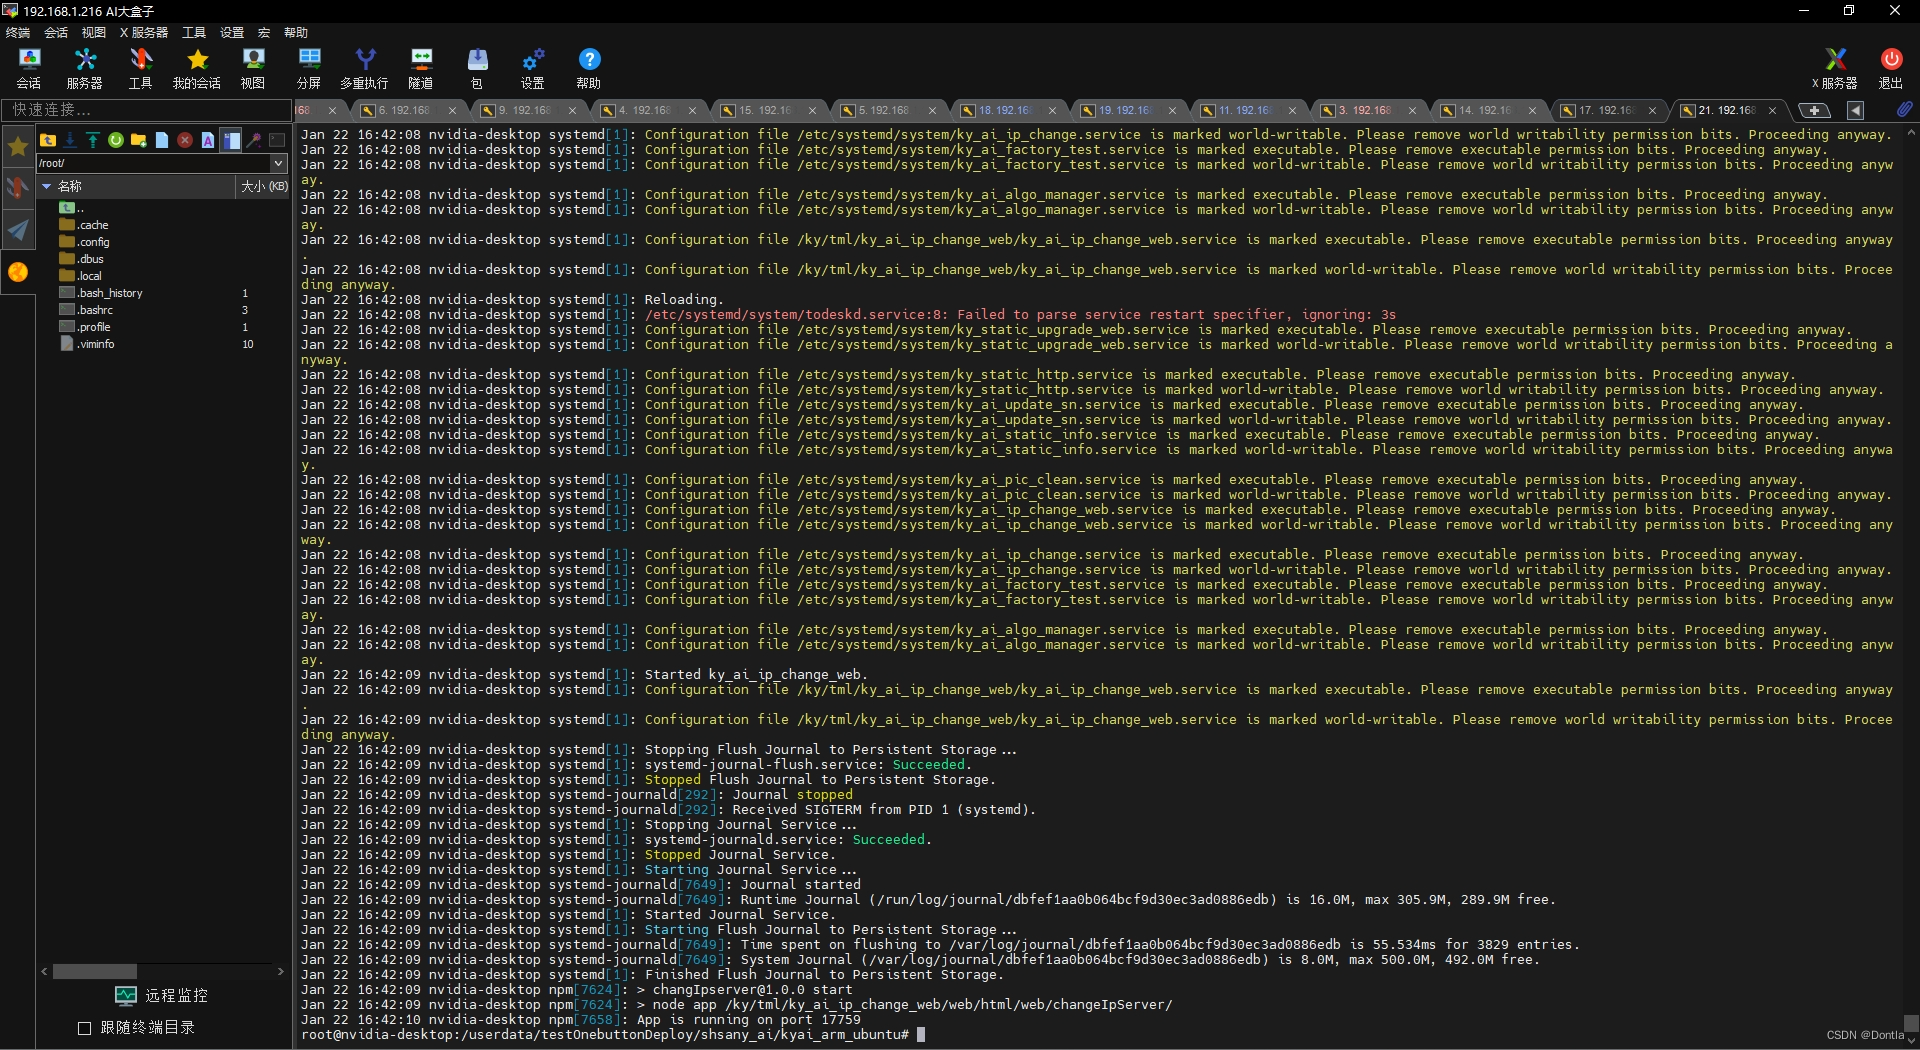
过滤前:

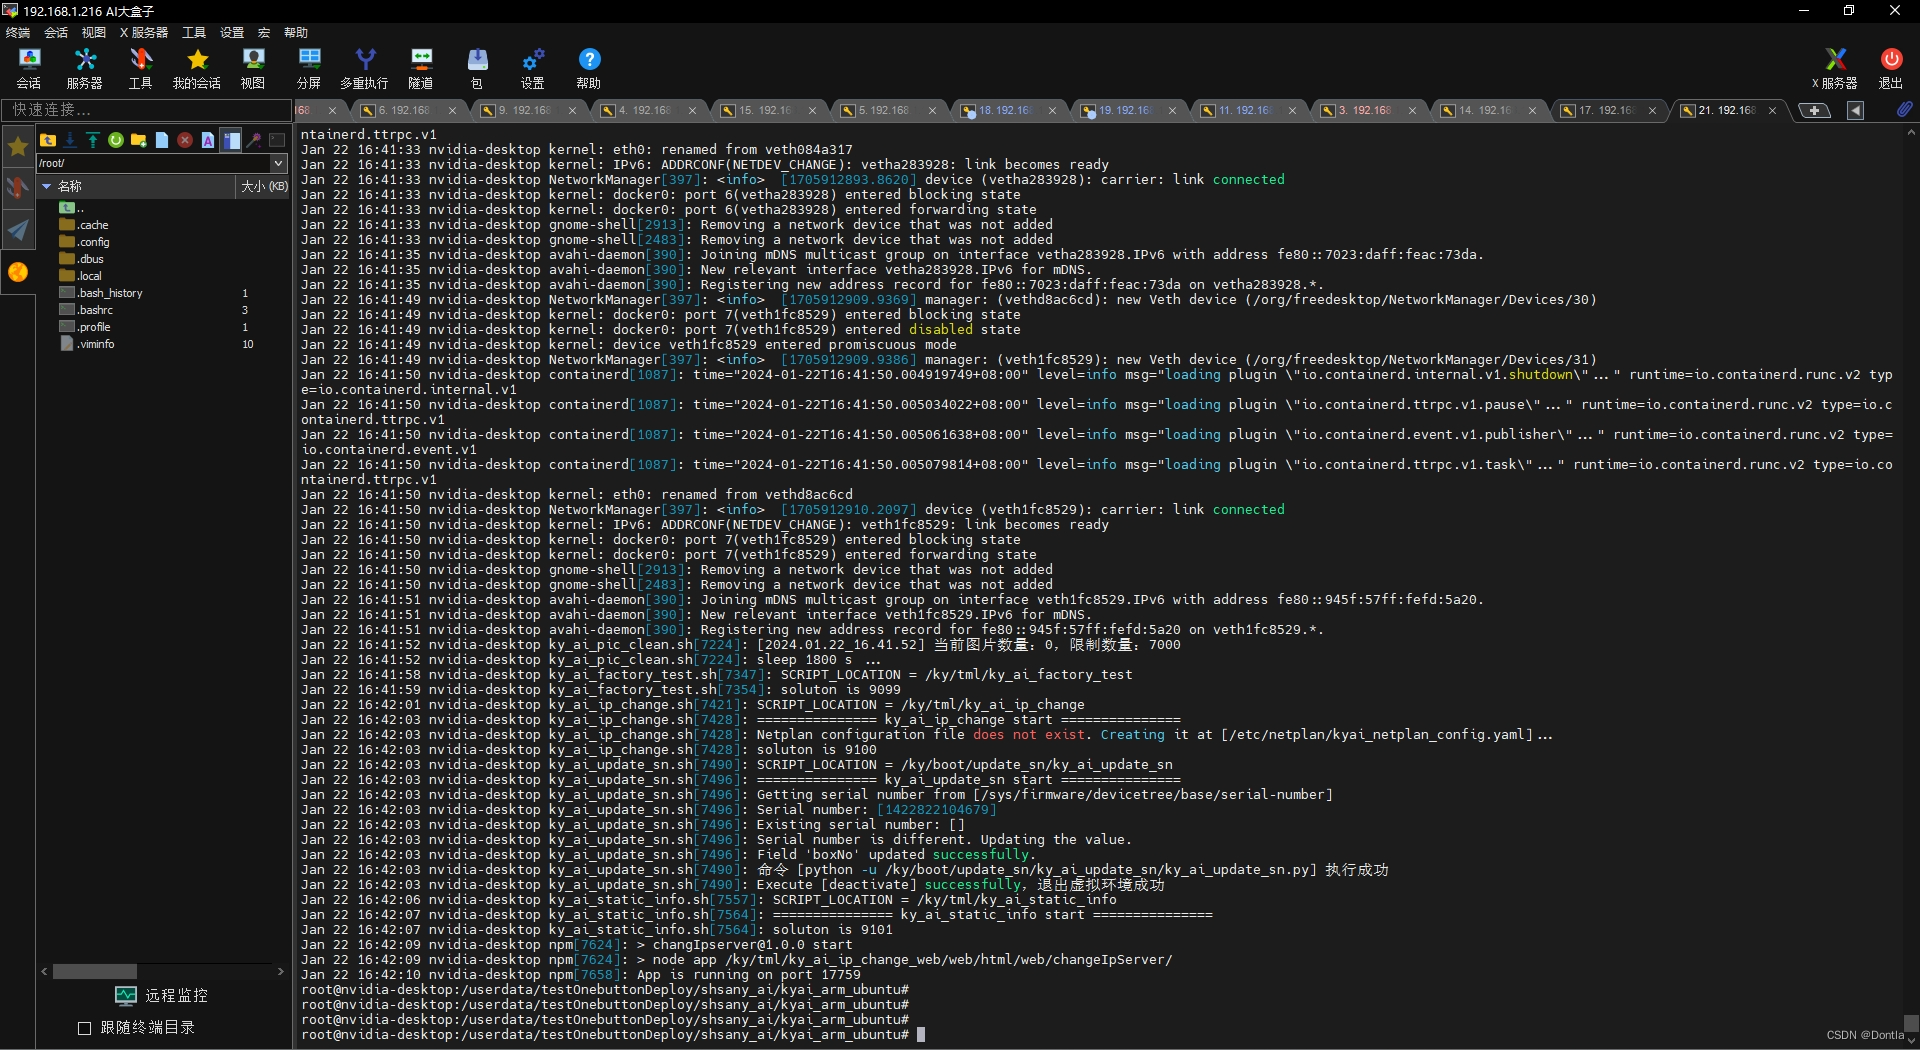
过滤后:

注意事项
journal日志不会将程序输出的空行显示,日志会被压缩得满满当当。

journal日志不会自动持久化,重启系统后,历史日志将被清除。可参考journal日志持久化配置。
参考文章:systemd journalctl日志持久化配置(systemd日志)
总结
journalctl是一个强大而灵活的工具,可以帮助你管理和查询Linux系统的日志。通过学习和理解journalctl的各种功能和选项,你将能够更有效地管理你的系统,并在出现问题时快速找到原因。


