- 1STM32移植工程教程 包括解决Keil 一些常见的错误等等_s32ds 移植 keil startup error
- 2全网最清楚的---逻辑回归(Logistic Regression)
- 3云开发表白墙微信小程序源码_微信小程序云开发许愿墙
- 4github 配置使用 personal access token 认证_github person token
- 5GitHub和Gitee的使用_gitee ai邀请码
- 6RPM打包用户指南_rmp包amd
- 713个软件测试工具,你都会哪些?
- 8【操作系统】操作系统原理复习_一座小桥横跨南北两岸
- 9Spark RDD实现分组排行榜_spark rddgroupby时如何排序
- 10PS2游戏操纵杆_ps2摇杆模块的使用
视觉异常检测库Anomalib_liboai 物体检测
赞
踩
Code
https://github.com/openvinotoolkit/anomalib
由于anomalib v1版本未正式发布,因此我拉取的是main分支的代码,后续也会及时追踪官方更新。可能git历史上传了图像数据或者模型,文件较大。
使用拉取代码:
git clone -b main git@github.com:openvinotoolkit/anomalib.git
- 1
当然也可以下载打包的压缩文件,文件就小得多。
安装
conda create -n anomalib_env python=3.10
conda activate anomalib_env
cd anomalib
pip install -e .	# 开发者模式安装
- 1
- 2
- 3
- 4
运行
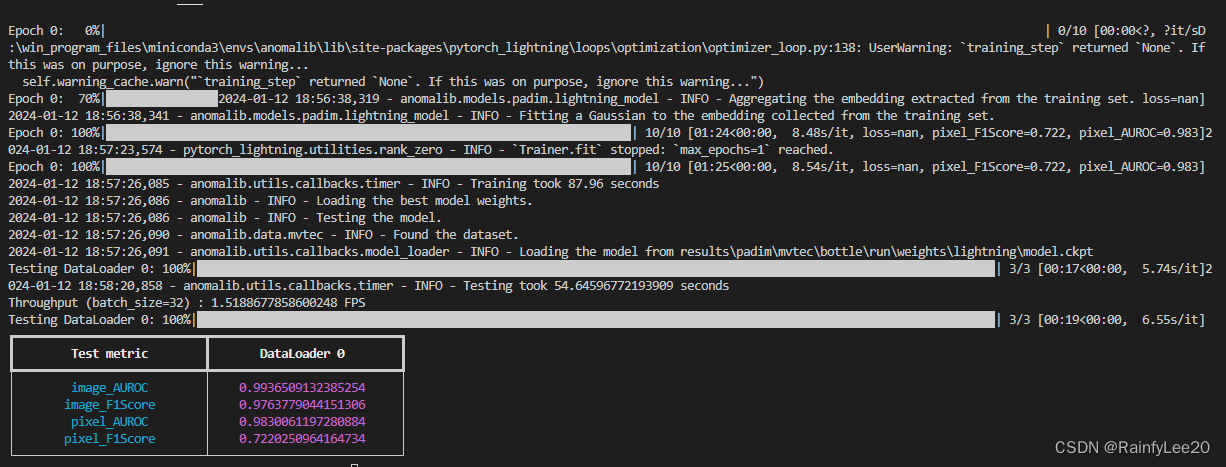
以默认算法padim举例,训练阶段是不需要完成模型权重更新的,对训练集提取特征正样本建模即可。
运行训练代码为:
python tool/train.py
- 1
默认会使用padim算法,使用resnet18作为特征提取网络。
默认是使用mvtec数据集的bottle数据,如果没有mvtec数据会自动下载到指定默认位置。

最终会保存一个模型文件,注意新增了部分参数,如图像级别和像素级别的异常得分阈值,padim会增加建模用到的多元高斯分布参数等。
同时提供测试集测试评估和可视化。


自定义数据训练
anomalib提供了多种数据格式:mvtec、btech、visa等。部分数据已有数据集实现类,但项目并不支持。具体支持的数据集格式请全局搜索函数get_datamodule。
在src\anomalib\models下有各个算法的实现及该算法的默认运行配置文件config.yaml。配置文件基本都是mvtec的数据格式,可以将数据转换成mvtec数据格式,复制配置文件并修改dataset.path和dataset.category即可。
mvtec数据格式如下:
|-- root
	|-- category1
		|-- train
			|-- good
		|-- test
			|-- good
			|-- defect1
			|-- defect2
		|-- ground_truth
			|-- defect1
			|-- defect2
- 1
- 2
- 3
- 4
- 5
- 6
- 7
- 8
- 9
- 10
- 11
最好也修改一下配置的结果保存路径project.path。
训练时使用"–config your_config.yaml"将该配置文件路径传入。
推断
运行脚本tools/inference/lightning_inference.py,如:
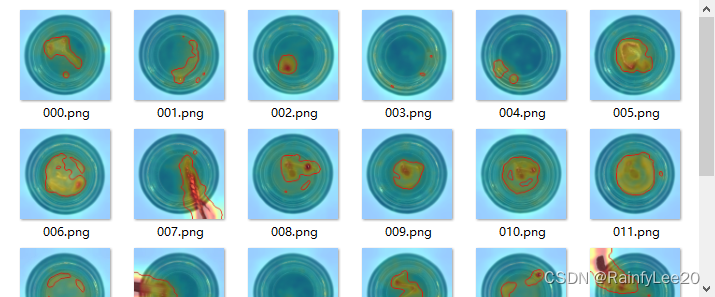
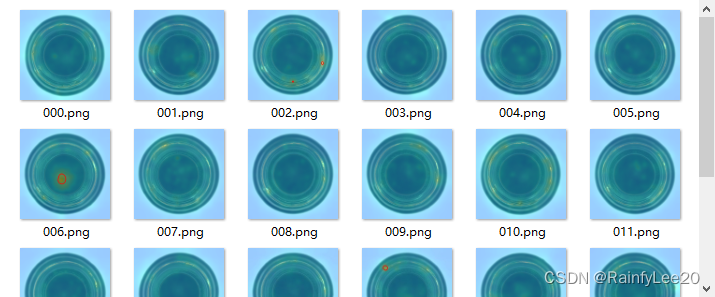
python .\tools\inference\lightning_inference.py --config D:\code\AnomalyDetection\anomalib\results\padim\mvtec\bottle\run\config.yaml --weights D:\code\AnomalyDetection\anomalib\results\padim\mvtec\bottle\run\weights\lightning\model.ckpt --input D:\code\AnomalyDetection\anomalib\datasets\MVTec_\bottle_copy\test\contamination --out contamination_result
- 1
推断良品和其中的一个缺陷结果如下:


最后
看上去这是个不错的项目,期待anomalib v1.0的发布!!


