
热门标签
当前位置: article > 正文
Spring Boot与Vue:实现图片的上传_vue上传图片到后端
作者:IT小白 | 2024-04-15 15:32:12
赞
踩
vue上传图片到后端
1. 项目场景
本项目基于 Vue 与 SSM 框架,为前后端分离的项目。
2. 问题描述
在前端页面选择本地图片并实现上传至后端服务器。
3. 实现方案
3.1 方案一:上传图片,转换成 Base64 编码并返回
3.1.1 前端页面组件
使用 el-upload 辅助上传。
<el-upload
	class="upload-demo"
    ref="upload"
    action=""
    :http-request="upload"
    multiple=""
    :auto-upload="false">
  	<el-button slot="trigger" size="small" type="primary">选取文件</el-button>
    <el-button style="margin-left: 10px" size="small" type="success" @click="submitUpload">上传到服务器</el-button>
    <div slot="tip" class="el-upload__tip">
    	只能上传jpg/png文件,且不超过500kb
    </div>
</el-upload>
- 1
- 2
- 3
- 4
- 5
- 6
- 7
- 8
- 9
- 10
- 11
- 12
- 13
3.1.2 前端 JS 函数
methods: {
    submitUpload () {
      this.$refs.upload.submit()
    },
    // 通过onchanne触发方法获得文件列表
    handleChange (file, fileList) {
      this.fileList = fileList
      console.log(fileList)
    },
    handlePreview (file) {
      console.log(file)
    },
    upload (file) {
      const _this = this
      let formdata = new FormData()

      // 上传图片并转成Base64编码
      formdata.append('files', file.file)
      console.log(formdata)

      this.$axios.post('/uploadImage', formdata).then((resp) => {
        if (resp.status === 200) {
		  console.log(resp.data)
		  // 设置图片回显
       	  _this.form.logo = resp.data
          _this.$message({type: 'success', message: '图片上传成功!'})
      	}
      }).catch(() => {
        this.$message({type: 'info', message: '图片太大或格式有误,上传失败,请重新上传!'})
      })
    }
}

- 1
- 2
- 3
- 4
- 5
- 6
- 7
- 8
- 9
- 10
- 11
- 12
- 13
- 14
- 15
- 16
- 17
- 18
- 19
- 20
- 21
- 22
- 23
- 24
- 25
- 26
- 27
- 28
- 29
- 30
- 31
- 32
3.1.3 后端 Controller
    @ResponseBody
    @RequestMapping(value = "/api/uploadImage", method = RequestMethod.POST)
    public String uploadImage(@RequestParam("files") MultipartFile file) throws IllegalStateException, IOException {
        System.out.println(file.getOriginalFilename() + "图片已传入!!");
        byte[] b = file.getBytes();
        String str = Base64.getEncoder().encodeToString(b);
        return "data:image/jpeg;base64," + str;
    }
- 1
- 2
- 3
- 4
- 5
- 6
- 7
- 8
3.2 方案二:上传图片,并返回图片路径
该方案使用普通上传的方式,即将前端页面所选择的本地图片文件直接上传至服务器,并保存在后端静态文件夹下。
上传成功则返回图片在服务器中的路径,使所上传的图片回显至前端页面。
3.2.1 前端页面组件
这里和 3.1 一样。
3.2.1 前端 JS 函数
methods: {
    submitUpload () {
      this.$refs.upload.submit()
    },
    // 通过onchanne触发方法获得文件列表
    handleChange (file, fileList) {
      this.fileList = fileList
      console.log(fileList)
    },
    handlePreview (file) {
      console.log(file)
    },
    upload (file) {
      const _this = this
      let formdata = new FormData()

      // 上传图片并返回路径
      formdata.append('image', file.file)
      this.$axios.post('/uploadImage', formdata, {
        headers: {
          'Content-Type': 'multipart/form-data'
        }}).then((resp) => {
        if (resp.status === 200) {
          console.log(resp.data)
          // 设置图片回显
          _this.form.f_logo = resp.data
          _this.$message({type: 'success', message: '图片上传成功!'})
        }
      }).catch(() => {
        this.$message({type: 'info', message: '图片太大或格式有误,上传失败,请重新上传!'})
      })
    }
}
- 1
- 2
- 3
- 4
- 5
- 6
- 7
- 8
- 9
- 10
- 11
- 12
- 13
- 14
- 15
- 16
- 17
- 18
- 19
- 20
- 21
- 22
- 23
- 24
- 25
- 26
- 27
- 28
- 29
- 30
- 31
- 32
- 33
3.2.3 后端 Controller
完整的图片路径:src/main/resources/static/images/firms/yyyy-MM-dd/图片
    final static String PIC_PATH = "static/images/firms/"; // 图片存放的相对于项目的相对位置
    /**
     *上传图片
     */
    @PostMapping("/api/uploadImage")
    public String uploadImage(MultipartHttpServletRequest multiRequest, HttpServletRequest request){
        System.out.println("上传图片");
        SimpleDateFormat dateFormat = new SimpleDateFormat("yyyy-MM-dd"); //生成日期格式
        String datePrefix = dateFormat.format(new Date()); //生成当前日期作为前缀
        String savePath = "src/main/resources/" + PIC_PATH; // 存储路径

        File folder = new File(savePath+datePrefix); //生成带当前日期的文件路径

        if(!folder.isDirectory()){
            folder.mkdirs();
        }

        String randomName = Objects.requireNonNull(multiRequest.getFile("image")).getOriginalFilename(); //获取图片名
        //生成随机数确保唯一性,并加上图片后缀
        assert randomName != null;
        String saveName = UUID.randomUUID().toString() + randomName.substring(randomName.lastIndexOf("."),randomName.length());
        String absolutePath = folder.getAbsolutePath(); //转换成绝对路径

        try {
            File fileToSave = new File(absolutePath + File.separator + saveName);
            Objects.requireNonNull(multiRequest.getFile("image")).transferTo(fileToSave); // 图片存储到服务端
            String returnPath = request.getScheme() + "://" + request.getServerName()+":"+request.getServerPort() + "/images/firms/" + datePrefix +"/"+ saveName;

            return returnPath;

        }catch (Exception e){
            e.printStackTrace();
        }
        return null;
    }
- 1
- 2
- 3
- 4
- 5
- 6
- 7
- 8
- 9
- 10
- 11
- 12
- 13
- 14
- 15
- 16
- 17
- 18
- 19
- 20
- 21
- 22
- 23
- 24
- 25
- 26
- 27
- 28
- 29
- 30
- 31
- 32
- 33
- 34
- 35
3.2.4 后端设置静态资源映射
其实是不建议往resources目录下直接写入业务相关的文件(尤其是存储图片)的,因为后续可能会遇到
- 资源的实时访问问题,比如上传图片后,然后再访问,可能需要重启才能继续访问
- jar对resources目录进行保护措施,可能读取不到上传的资源
为了实现上传图片后可以完成回显,在前端实时显示图片,避免出现访问图片路径出现 404 的情况,我们要做静态资源映射。
配置类:
package com.example.spring.config;

import org.springframework.boot.SpringBootConfiguration;
import org.springframework.web.servlet.config.annotation.CorsRegistry;
import org.springframework.web.servlet.config.annotation.ResourceHandlerRegistry;
import org.springframework.web.servlet.config.annotation.WebMvcConfigurer;

@SpringBootConfiguration
public class MyWebConfigurer implements WebMvcConfigurer {

	/**
    * 所有请求都允许跨域,使用这种配置就不需要
    * 在interceptor中配置header了
    */
    @Override
    public void addCorsMappings(CorsRegistry corsRegistry){
        corsRegistry.addMapping("/**")
                .allowCredentials(true)
                .allowedOrigins("http://localhost:8085")
                .allowedMethods("POST", "GET", "PUT", "OPTIONS", "DELETE")
                .allowedHeaders("*")
                .maxAge(3600);
    }

    /**
     * 图片虚拟地址映射
     * @param registry
     * 设置该映射之后,外网只能访问本地的images文件内部的资源
     */
    @Override
    public void addResourceHandlers(ResourceHandlerRegistry registry) {
        registry.addResourceHandler("/images/**")
                .addResourceLocations("file:" + System.getProperty("user.dir")+"\\src\\main\\resources\\static\\images\\");

    }
}
- 1
- 2
- 3
- 4
- 5
- 6
- 7
- 8
- 9
- 10
- 11
- 12
- 13
- 14
- 15
- 16
- 17
- 18
- 19
- 20
- 21
- 22
- 23
- 24
- 25
- 26
- 27
- 28
- 29
- 30
- 31
- 32
- 33
- 34
- 35
- 36
配置文件(application.properties):
## 静态资源访问路径
spring.mvc.static-path-pattern=/**
## 静态资源映射路径
spring.resources.static-locations=classpath:/
- 1
- 2
- 3
- 4
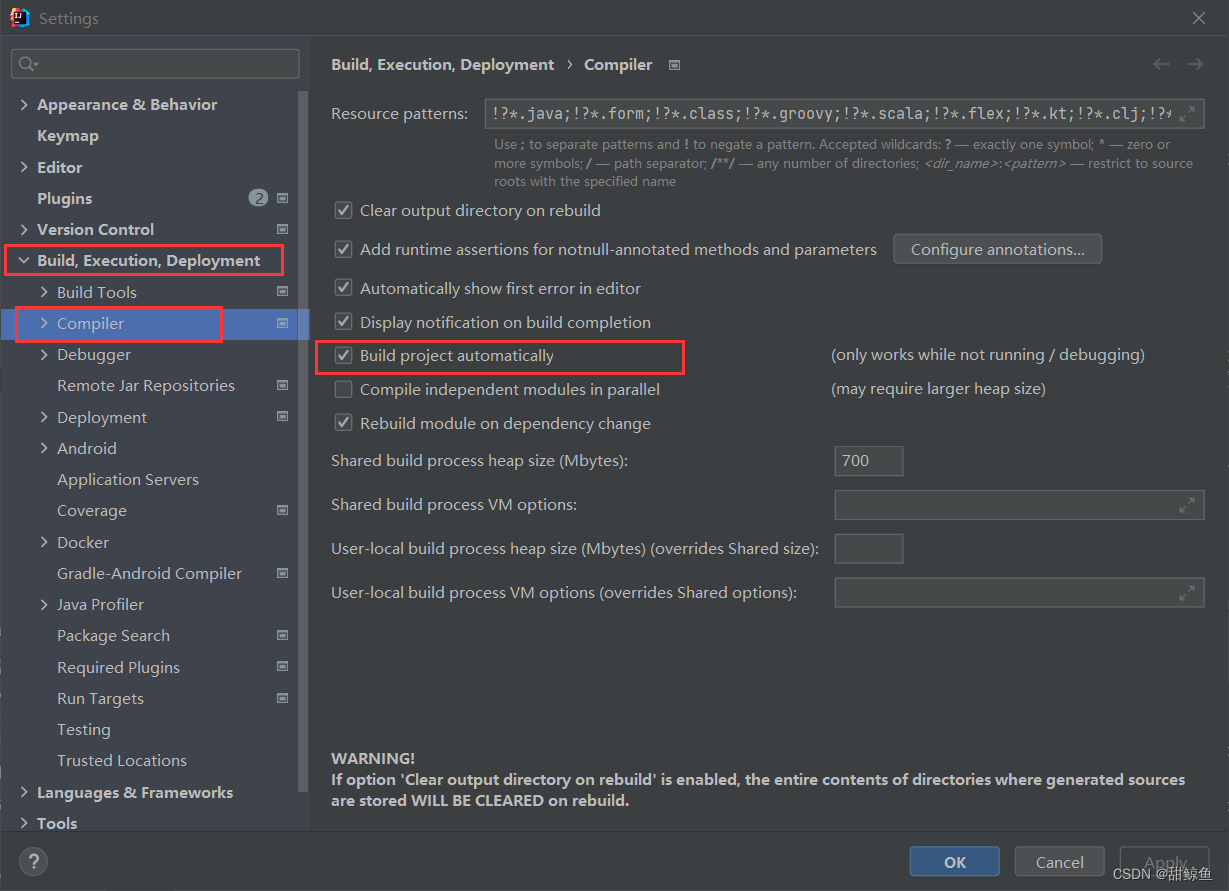
3.2.5 编译器设置
4. 总结
本文记录了在 Vue 与 Spring Boot 相结合的项目中实现图片上传的两种方案,两种方案各有优缺点。
方案一:使用 Base64 直接把图片编码成字符串写入 CSS 文件
优点:
- 能够减少一个图片的 HTTP 请求
- 适用于极小或者极简单图片
- 可像单独图片一样使用,比如背景图片重复使用等
- 没有跨域问题,无需考虑缓存、文件头或者 cookies 问题
缺点:
- 转化为 Base64 的图片大大增加了 CSS 文件的体积
CSS 文件的体积直接影响渲染,导致用户会长时间注视空白屏幕- 页面解析 CSS 生成的 CSSOM 时间增加
方案二:使用常规方式直接上传图片至服务器
优点:
- 图片不会导致关键渲染路径的阻塞
缺点:
- 对每张图片都需要发起一个 HTTP 请求
- 需要考虑静态资源映射、文件头。跨域访问等问题,以及图片的命名方式,故后端代码较为复杂
5. 更新
因为最近把项目部署到服务器上了,发现静态资源不能正常访问。之前的配置是足够满足项目在本地运行时的要求的,所以如果不部署到云服务器上以下操作可以不做。
配置文件不变。配置类:
package com.example.spring.config;

import org.springframework.boot.SpringBootConfiguration;
import org.springframework.web.servlet.config.annotation.CorsRegistry;
import org.springframework.web.servlet.config.annotation.ResourceHandlerRegistry;
import org.springframework.web.servlet.config.annotation.WebMvcConfigurer;

@SpringBootConfiguration
public class MyWebConfigurer implements WebMvcConfigurer {

    @Override
    public void addCorsMappings(CorsRegistry corsRegistry){
        /**
         * 所有请求都允许跨域,使用这种配置就不需要
         * 在interceptor中配置header了
         */
        corsRegistry.addMapping("/**")
                .allowCredentials(true)
                .allowedOriginPatterns("*")
                .allowedMethods("POST", "GET", "PUT", "OPTIONS", "DELETE")
                .allowedHeaders("*")
                .maxAge(3600);
    }

    /**
     * 图片虚拟地址映射
     * @param registry
     * 设置该映射之后,外网只能访问本地的images文件内部的资源
     */
	//    @Override
	//    public void addResourceHandlers(ResourceHandlerRegistry registry) {
	//        registry.addResourceHandler("/**")
	//                .addResourceLocations("file:" + System.getProperty("user.dir")+"\\src\\main\\resources\\static\\");
	//    }
    @Override
    public void addResourceHandlers(ResourceHandlerRegistry registry) {
        registry.addResourceHandler("/**").addResourceLocations("classpath:/static/");
    }
}
- 1
- 2
- 3
- 4
- 5
- 6
- 7
- 8
- 9
- 10
- 11
- 12
- 13
- 14
- 15
- 16
- 17
- 18
- 19
- 20
- 21
- 22
- 23
- 24
- 25
- 26
- 27
- 28
- 29
- 30
- 31
- 32
- 33
- 34
- 35
- 36
- 37
- 38
- 39
- 40
声明:本文内容由网友自发贡献,不代表【wpsshop博客】立场,版权归原作者所有,本站不承担相应法律责任。如您发现有侵权的内容,请联系我们。转载请注明出处:https://www.wpsshop.cn/w/IT小白/article/detail/428620
推荐阅读

相关标签

