- 1Android WebView直接调用相机相册_android 网页app 调用打开相机
- 2pointnet语义分割_训练并预测自己的数据_pointrcnn训练自己的数据集
- 3Unity 十五 UGUI Canvas_gameobject canvas
- 4搭建Gitlab平台
- 5html的无语义标签:div & span
- 6单例模式双端检测详解
- 7Unity添加TouchScript插件_unitytouchscript插件
- 8Unity Entity Component System 2 --- Entities 实体_entities.automaticworldbootstrap.initialize
- 9Kitti数据集标签说明_kitti测试标签
- 10【Unity插件Mirror】射击游戏样例学习(二)_unity mirror isserver 未赋值
基于OVRLipSync的虚拟人口型匹配技术的2D实现
赞
踩
近两年,元宇宙的概念风靡全世界,各大公司纷纷退出虚拟人形象,以便抢占市场先机。而在虚拟人领域,Oculus公司走在世界技术的前沿,早在2016年,其就推出了OVRLipSync插件,用于实现声音同步匹配虚拟人的口型。而今,在其官方网站上即可下载到最新的该插件。
官方插件中,包含一个Demo,是基于3D角色的形象的,本篇文章在此不讨论此方向,本文展现的是用Spine来实现的2D形象。
我们知道,OVRLipSync实现的原理即是对声音进行数据分析,采样得到对应的视素,而在我们的语言中,OVRLipSync归纳为15个视素( sil, PP, FF, TH, DD, kk, CH, SS, nn, RR, aa, E, ih, oh, ou),即对应着15个口型。
这样我们便有了实现思路:
- 首先对声音进行分析,得到当前的声音数据;
- 对当前声音数据进行分析,得到对应的视素;
- 根据视素对应的口型形状,设置正确的口型皮肤。
前两步,具体的实现我们照搬插件Demo里的实现,这里展现主要代码:
- if((lipsyncContext != null))
- {
- // trap inputs and send signals to phoneme engine for testing purposes
-
- // get the current viseme frame
- OVRLipSync.Frame frame = lipsyncContext.GetCurrentPhonemeFrame();
- if (frame != null)
- {
- // Perform smoothing here if on original provider
- if (lipsyncContext.provider == OVRLipSync.ContextProviders.Original)
- {
- // Go through the current and old
- for (int i = 0; i < frame.Visemes.Length; i++)
- {
- // Convert 1-100 to old * (0.00 - 0.99)
- float smoothing = ((smoothAmount - 1) / 100.0f);
- oldFrame.Visemes[i] =
- oldFrame.Visemes[i] * smoothing +
- frame.Visemes[i] * (1.0f - smoothing);
- }
- }
- else
- {
- oldFrame.Visemes = frame.Visemes;
- }
-
- SetVisemeToTexture();
- }
- }
-
- // Update smoothing value in context
- if (smoothAmount != lipsyncContext.Smoothing)
- {
- lipsyncContext.Smoothing = smoothAmount;
- }

关键是第3步的实现,要做到这一步,我们需要有一个用Spine实现的角色动画,请注意,要实现的是骨骼动画,而且最为关键的点,由于我们要对嘴型进行变形,以便匹配视素,所以,这里,嘴部需要单独用一根骨骼去控制(本项目中,为了更为丰富,用了两根骨骼去控制,原理是一样的),这样,我们通过控制这根嘴部骨骼的形状,从而达到实现口型匹配。
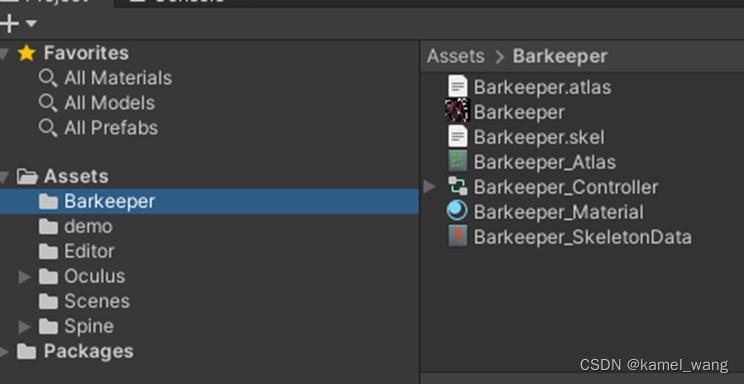
把角色的骨骼动画资源导入项目中:
在场景中创建基于该角色动画的角色节点
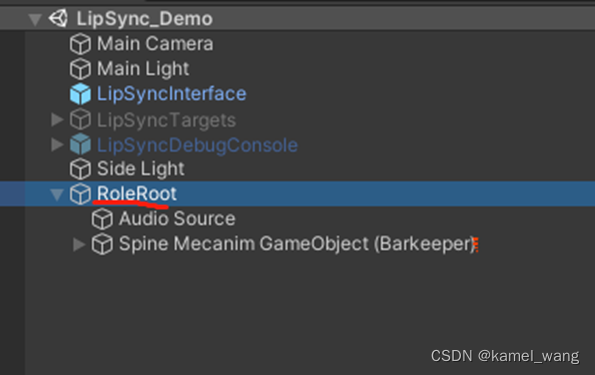
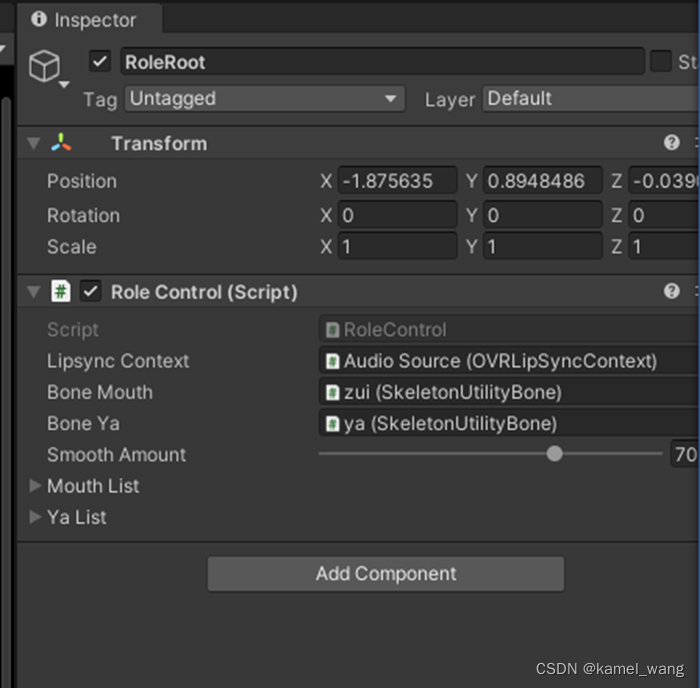
需要注意的要点是,创建的Spine角色节点应是基于SkeletonMecanim方式来实现的。基于此,展开角色的骨骼节点,如下图所示:
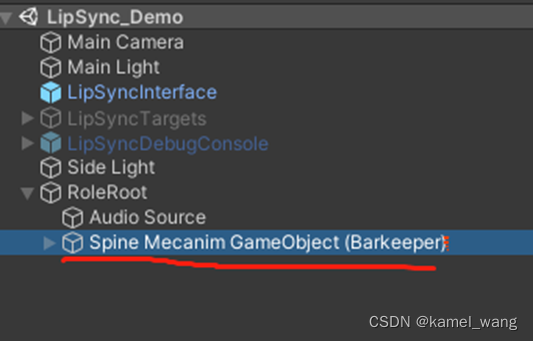
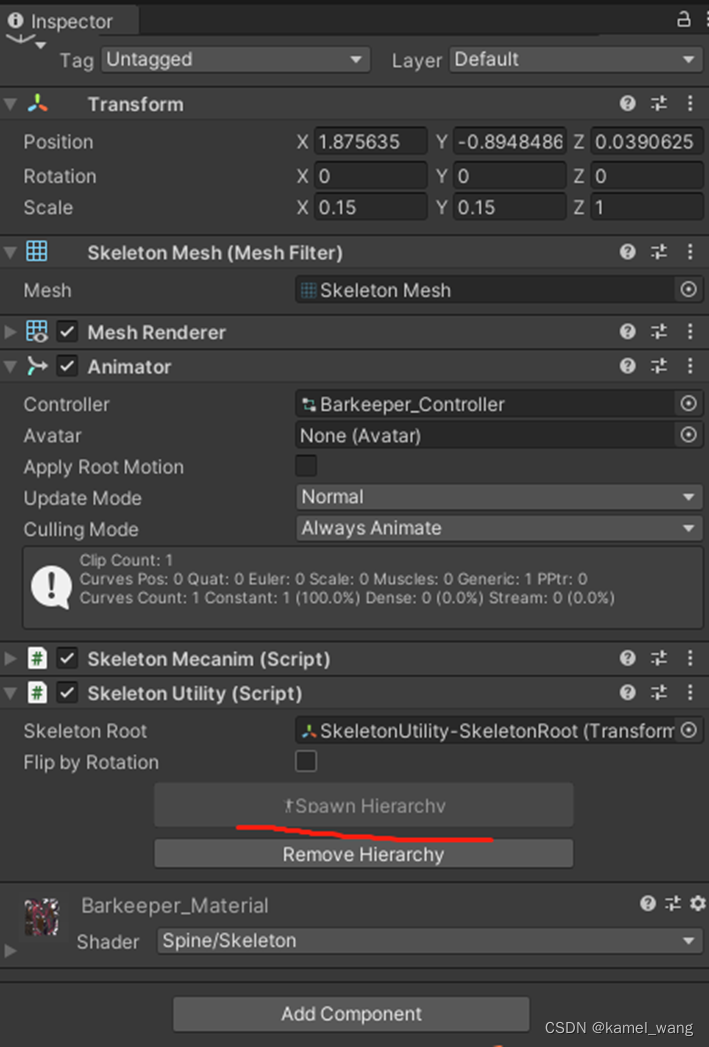
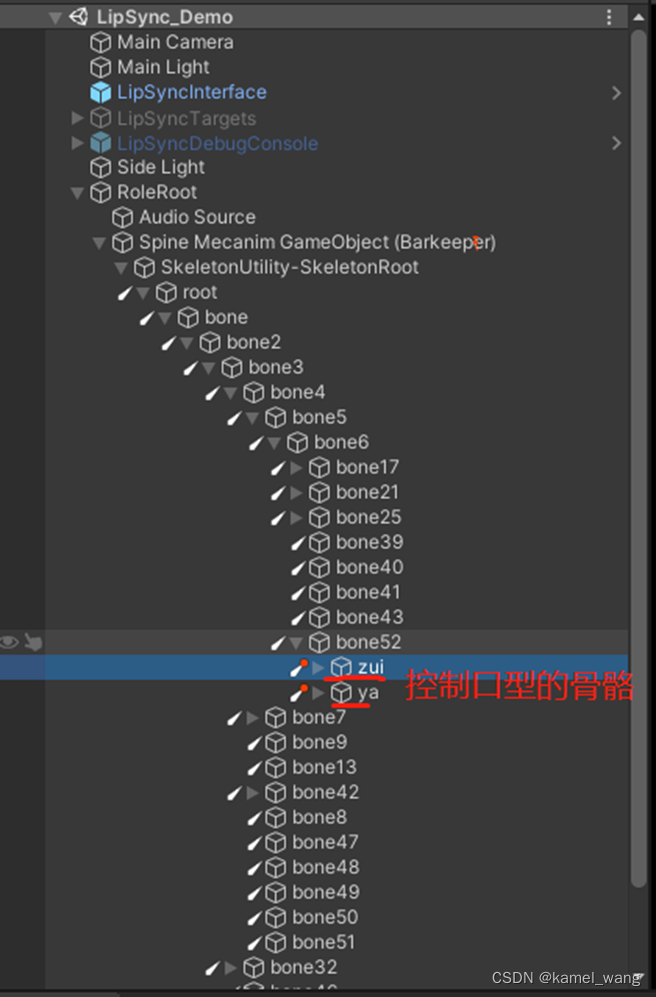
将这两个骨骼绑定到脚本:
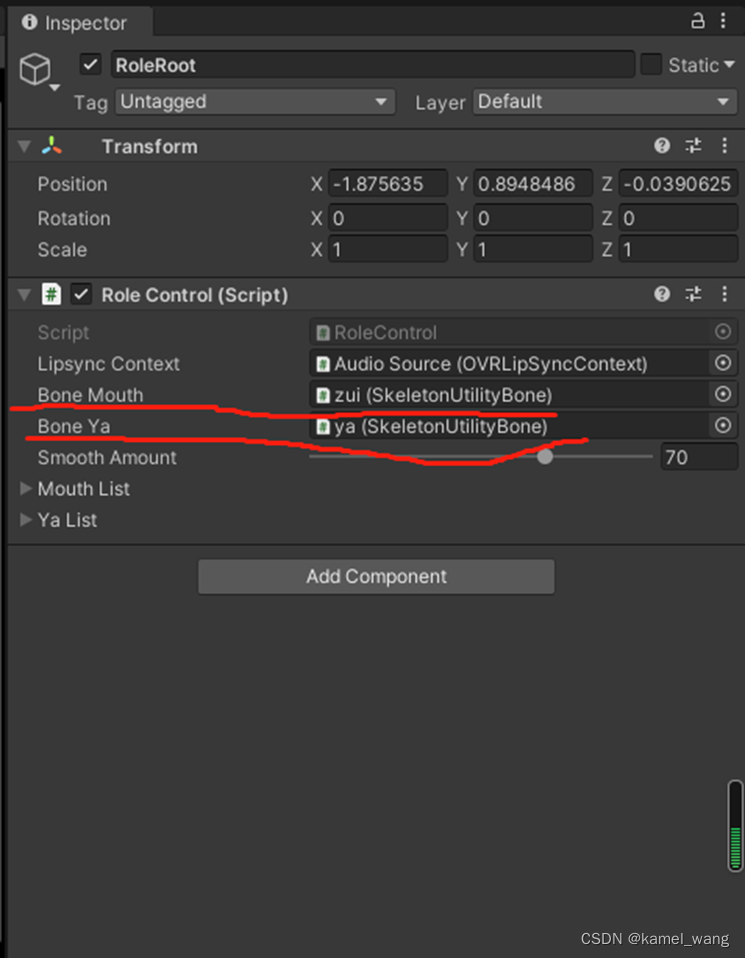
至此,已经成功的实现了角色口型骨骼的绑定,接来下要做的事情就是实现视素应对口型参数设置的事情,即实现SetVisemeToTexture函数。照搬Demo此处代码,稍作修改。Demo中是采用3D替换模型纹理的方式实现,而本文中,采用的是对骨骼节点的transform的localScale参数来实现,具体每个角色的口型的transform的localScale参数并不是一概而论固定的,动画或者美术人员可以参考Demo中的口型来设定。最终实现逻辑如下:
- void SetVisemeToTexture()
- {
- // This setting will run through all the Visemes, find the
- // one with the greatest amplitude and set it to max value.
- // all other visemes will be set to zero.
- int gV = -1;
- float gA = 0.0f;
-
- for (int i = 0; i < oldFrame.Visemes.Length; i++)
- {
- if(oldFrame.Visemes[i] > gA)
- {
- gV = i;
- gA = oldFrame.Visemes[i];
- }
- }
-
- if ((gV != -1) && (gV < mouthList.Length) && (gV < yaList.Length))
- {
- var mouthParam = mouthList[gV];
- boneMouth.transform.localScale = new Vector3(mouthParam.x, mouthParam.y, 1);
- var yaParam = yaList[gV];
- boneYa.transform.localScale = new Vector3(yaParam.x, yaParam.y, 1);
- }
- }

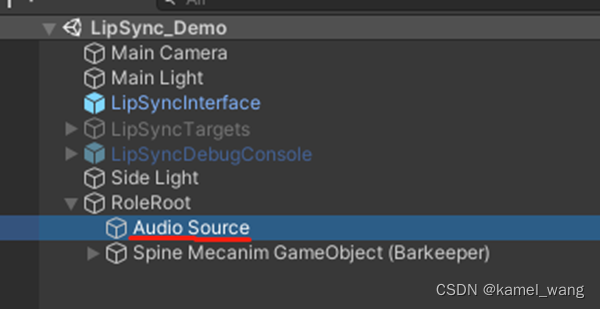
最后,创建一个节点,用来处理声音的事情和挂载插件核心脚本OVRLipSyncContext

整个流程的实现到此即全部实现,运行,效果如下:


