
热门标签
热门文章
- 1使用 FasterTransformer 和 Triton 推理服务器加速大型 Transformer 模型的推理
- 2计算机直博毕业要求两篇顶会一作难度如何?
- 3经验篇:朋友成功入职商汤自然语言处理算法工程师,整理了一份自然语言处理入门学习资料(NLP自然语言处理/学习路径)_自然语言处理算法工程师培训见习内容
- 4如何看待第三代神经网络SNN?详解脉冲神经网络的架构原理、数据集和训练方法 原创
- 5Windows环境下搭建chatGLM2-6B-int4量化版模型(图文详解-成果案例)_chatglm 小白搭建
- 6java - 实现list「object」中某个属性的对比_java 判断 list对象中某几个属性值比较大小
- 7大数据毕业设计之Python+Vue.js知识图谱音乐推荐系统 音乐爬虫可视化 音乐数据分析 大数据毕设 大数据毕业设计 机器学习 深度学习 人工智能 数据可视化 计算机毕业设计
- 8MMSegmention系列之四(自定义数据集与自定义数据增强管道)_samples_per_gpu
- 9任务4:ChatGPT文本分类_使用chatglm完成中文文本分类
- 10pycharm复习
当前位置: article > 正文
SpringBoot3.0 集成 Redis2.6_springboot3.0 redis
作者:Monodyee | 2024-04-08 21:06:45
赞
踩
springboot3.0 redis
SpringBoot3.0 集成 Redis2.6
前言
springboot集成redis手把手,每一步配图。
一、SpringBoot 配置 pom.xml文件
    <dependency>
        <groupId>org.springframework.boot</groupId>
        <artifactId>spring-boot-starter-data-redis</artifactId>
        <version>2.6.11</version>
    </dependency>
    <!-- spring web-->
    <dependency>
        <groupId>org.springframework.boot</groupId>
        <artifactId>spring-boot-starter-web</artifactId>
    </dependency>
- 1
- 2
- 3
- 4
- 5
- 6
- 7
- 8
- 9
- 10
二、配置application.xml 或者 yaml文件
这里需要注意的是由于本人引用的是2.6版本的redis在配置的时候发现需要多一个data。于是翻阅1版本下的redis源码发现在redisProeperties类中如下配置有所差异。
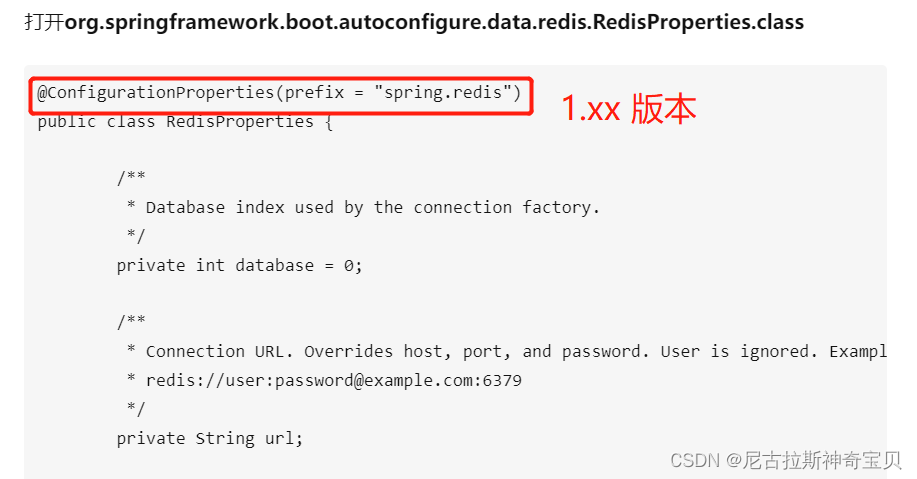
下图是2.6.11版本中的配置情况

# Redis 数据库索引(默认为0)
spring.data.redis.database=0
# Redis 服务的ip,我的是在虚拟机的服务器上。
spring.data.redis.host=192.168.45.129
# Redis 端口
spring.data.redis.port=6379
# Redis 密码,默认为空,可以修改 redis.conf配置文件
spring.data.redis.password=
# 最大可用连接数
spring.redis.pool.max-active=200
# 从连接池中获取连接最大等待时间
spring.redis.pool.max-wait=-1
# 最大空闲连接数
spring.redis.pool.max-idle=10
# 最小空闲连接数
spring.redis.pool.min-idle=0
# redis连接超时时间(单位为毫秒)
spring.data.redis.timeout=1000

- 1
- 2
- 3
- 4
- 5
- 6
- 7
- 8
- 9
- 10
- 11
- 12
- 13
- 14
- 15
- 16
- 17
- 18
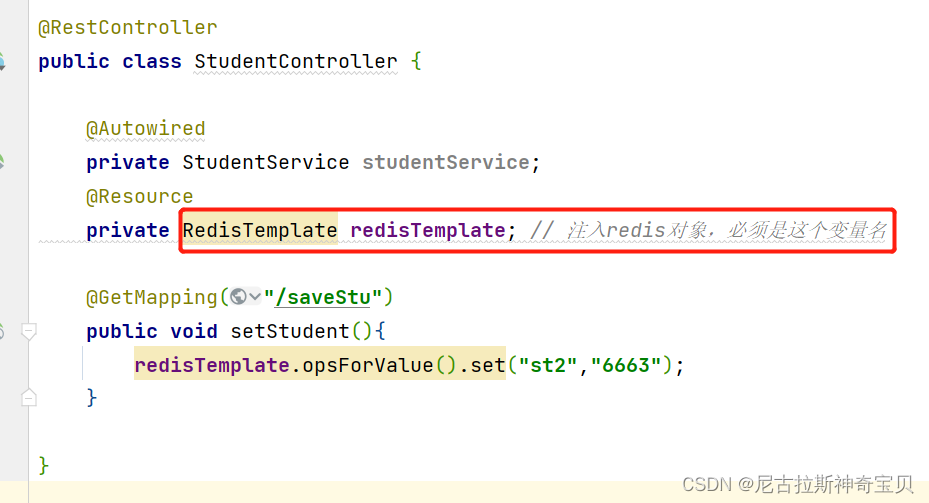
三、编写controller测试 写入一条数据
@RestController
public class StudentController {
    @Resource
    private RedisTemplate redisTemplate; // 注入redis对象,必须是这个变量名
    @GetMapping("/saveStu")
    public void setStudent(){
        redisTemplate.opsForValue().set("st2","6663");
    }
}
- 1
- 2
- 3
- 4
- 5
- 6
- 7
- 8
- 9
注意:
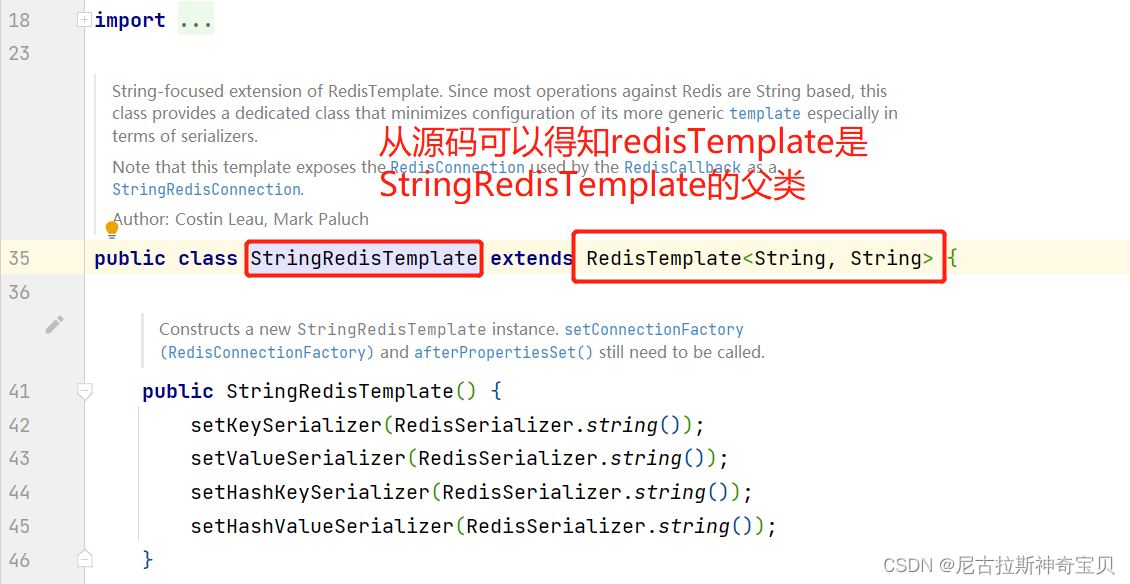
@Autowird注解是按照类型注入的,即Spring容器中的bean的class,@Resource是按照Spring容器中的id 名自动注入的在Springboot这种使用redis,Spring容器中存在两个redis对象:RedisTmplate 和 StringRedisTemplate,程序在编译完成以后,会消除泛型的指定,最后程序中会出现两个 一样的RedisTemplate对象。
**稍不注意就会出现如下错误:
- 1

从源码可以得知
总结
通过上述配置可以实现简单的写入redis数据,也是笔者踩过的一些坑,后续还会继续添加新的内容。
声明:本文内容由网友自发贡献,转载请注明出处:【wpsshop】
推荐阅读
相关标签

