
热门标签
热门文章
- 1堆的插入,删除,创建C语言实现_4.8.12.18.20.40.35.37小根堆插入数c语言
- 2Android Gradle配置详解一:gradle插件和gradle区别_gradle和gradle插件
- 3Transformer实现时间序列预测_transformer时间序列预测
- 4Aruco总结_aruco码单个码
- 5K8s(六):网络插件之Calico安装与详解_网络组建calico安装
- 6VMware 黑屏解决方法_vmware过一会黑屏
- 7解决方案 Neo.ClientError.Security.Unauthorized: The client is unauthorized due to authentication failure
- 8C++下标运算符详解_c++中的下标运算符
- 9在Node.js中,什么是模块(module)?如何导入和导出模块?_nodejs module
- 10macbookpro强制重启方法及CleanMyMac怎么清理mac缓存
当前位置: article > 正文
springboot 部署k8s(一)
作者:Monodyee | 2024-05-27 00:56:42
赞
踩
springboot 部署k8s(一)
系列文章目录
目录
前言
本系列教程将分2篇文章讲解,怎么部署springboot 到k8s 上。
第一篇:springboot 准备,这里包括打包镜像。
第二篇:springboot 镜像部署到k8s, 我们将使用deployment ,service 用最简单的方式deploy k8s.
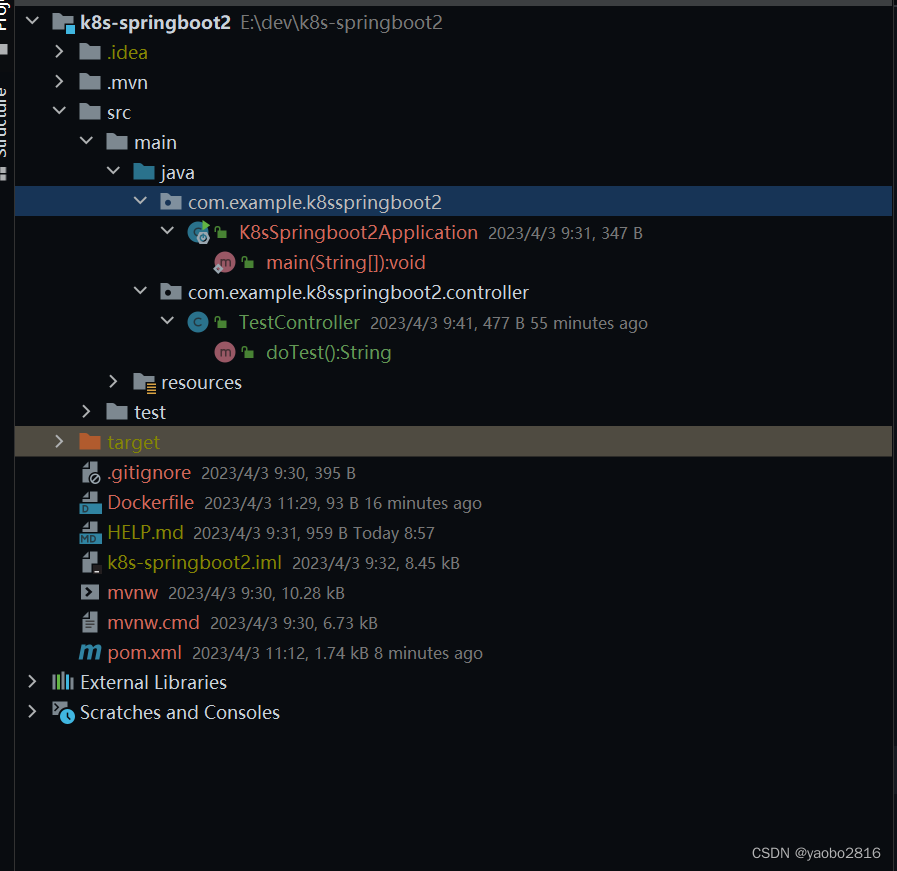
一、IDEA 工程目录
二、pom.xml
1.代码如下
- <?xml version="1.0" encoding="UTF-8"?>
- <project xmlns="http://maven.apache.org/POM/4.0.0" xmlns:xsi="http://www.w3.org/2001/XMLSchema-instance"
- xsi:schemaLocation="http://maven.apache.org/POM/4.0.0 https://maven.apache.org/xsd/maven-4.0.0.xsd">
- <modelVersion>4.0.0</modelVersion>
- <parent>
- <groupId>org.springframework.boot</groupId>
- <artifactId>spring-boot-starter-parent</artifactId>
- <version>2.7.10</version>
- <relativePath/> <!-- lookup parent from repository -->
- </parent>
- <groupId>com.example</groupId>
- <artifactId>k8s-springboot2</artifactId>
- <version>0.0.1-SNAPSHOT</version>
- <name>k8s-springboot2</name>
- <description>k8s-springboot2</description>
- <properties>
- <maven.compiler.source>8</maven.compiler.source>
- <maven.compiler.target>8</maven.compiler.target>
- </properties>
- <dependencies>
- <dependency>
- <groupId>org.springframework.boot</groupId>
- <artifactId>spring-boot-starter-web</artifactId>
- </dependency>
-
- <dependency>
- <groupId>org.springframework.boot</groupId>
- <artifactId>spring-boot-devtools</artifactId>
- <scope>runtime</scope>
- <optional>true</optional>
- </dependency>
- <dependency>
- <groupId>org.springframework.boot</groupId>
- <artifactId>spring-boot-starter-test</artifactId>
- <scope>test</scope>
- </dependency>
- </dependencies>
-
- <build>
- <plugins>
- <plugin>
- <groupId>org.springframework.boot</groupId>
- <artifactId>spring-boot-maven-plugin</artifactId>
- </plugin>
- </plugins>
- </build>
-
- </project>

这是最简单的springboot引入方式, 我只引入了一个web模块,直接可以在浏览器打印一段话, 方便测试。
2.Dockerfile
代码如下(示例):
- FROM openjdk:8-jdk-alpine
- ADD ./target/*.jar /app.jar
- ENTRYPOINT ["java","-jar","app.jar"]
直接复制即可,这里面*代表生成的jar名字, 用*代替为了以后维护方便。
3.Controller 代码
- package com.example.k8sspringboot2.controller;
-
- import org.springframework.web.bind.annotation.GetMapping;
- import org.springframework.web.bind.annotation.RequestMapping;
- import org.springframework.web.bind.annotation.RestController;
-
- @RestController
- @RequestMapping(value = "/test")
- public class TestController {
-
- @GetMapping(value = "/search")
- public String doTest(){
- System.out.println("this is a test");
-
- return "success";
- }
-
- }
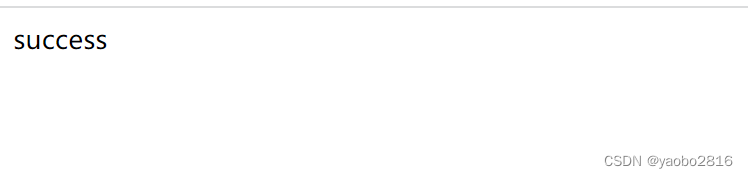
这里面非常简单定义一个controller, 用浏览器直接访问
http://localhost:8080/test/search 直接返回 success 字符串
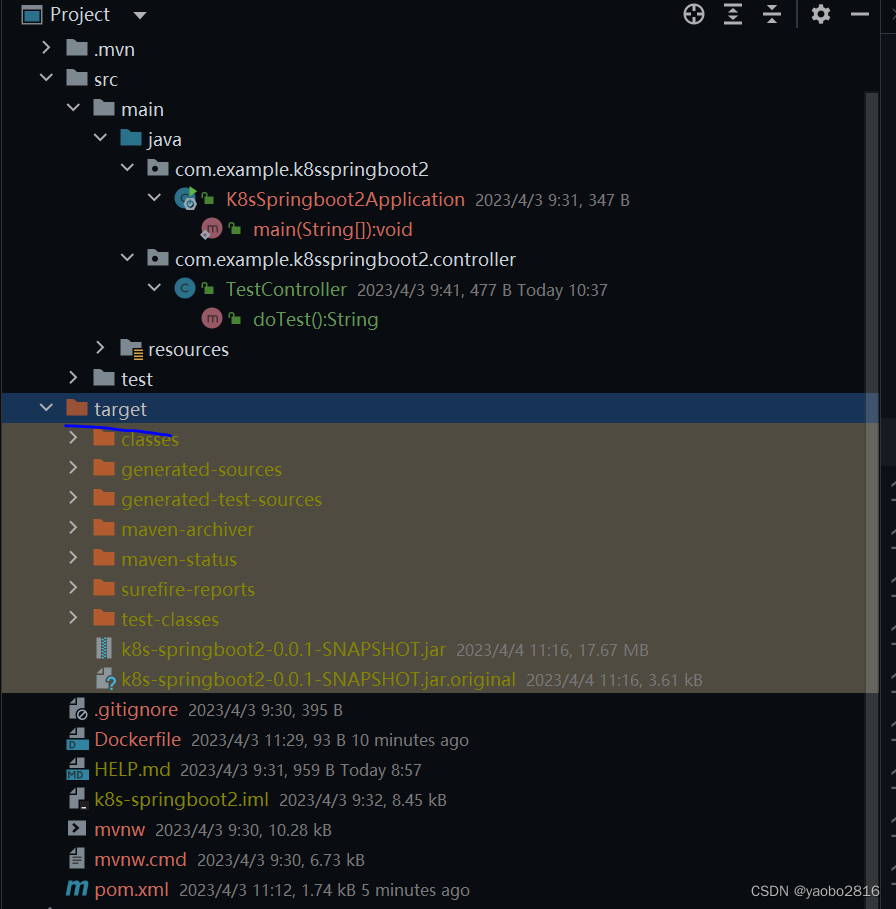
4. 打包操作

直接点击package 选项,可以直接在target文件夹里生成jar包。
5 打包镜像
进入项目根目录,我的是


开始打包操作
Docker build -t webapp3.0 .
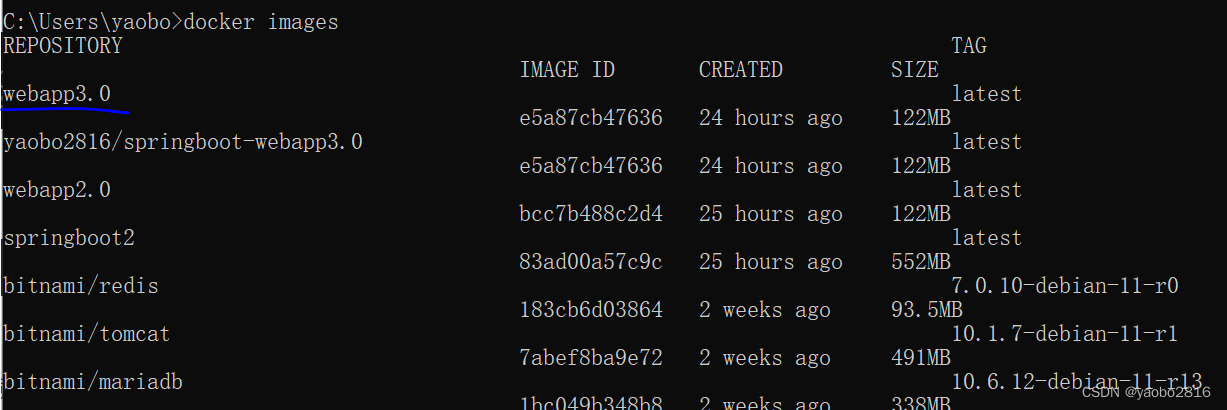
镜像名称 可以自己定义镜像名字,我的镜像名字是webapp3.0. 别忘了 .
我的机器已经安装docker desktop
6 镜像打tag
docker tag webapp3.0 yaobo2816/springboot-webapp3.0:v21.首先登录你的docker 账号里 docker login,
2. 开始打tag, 比如我想打成v2版本
7 push镜像到容器里
docker push yaobo2816/springboot-webapp3.0:v2
8 验证是否上传成功
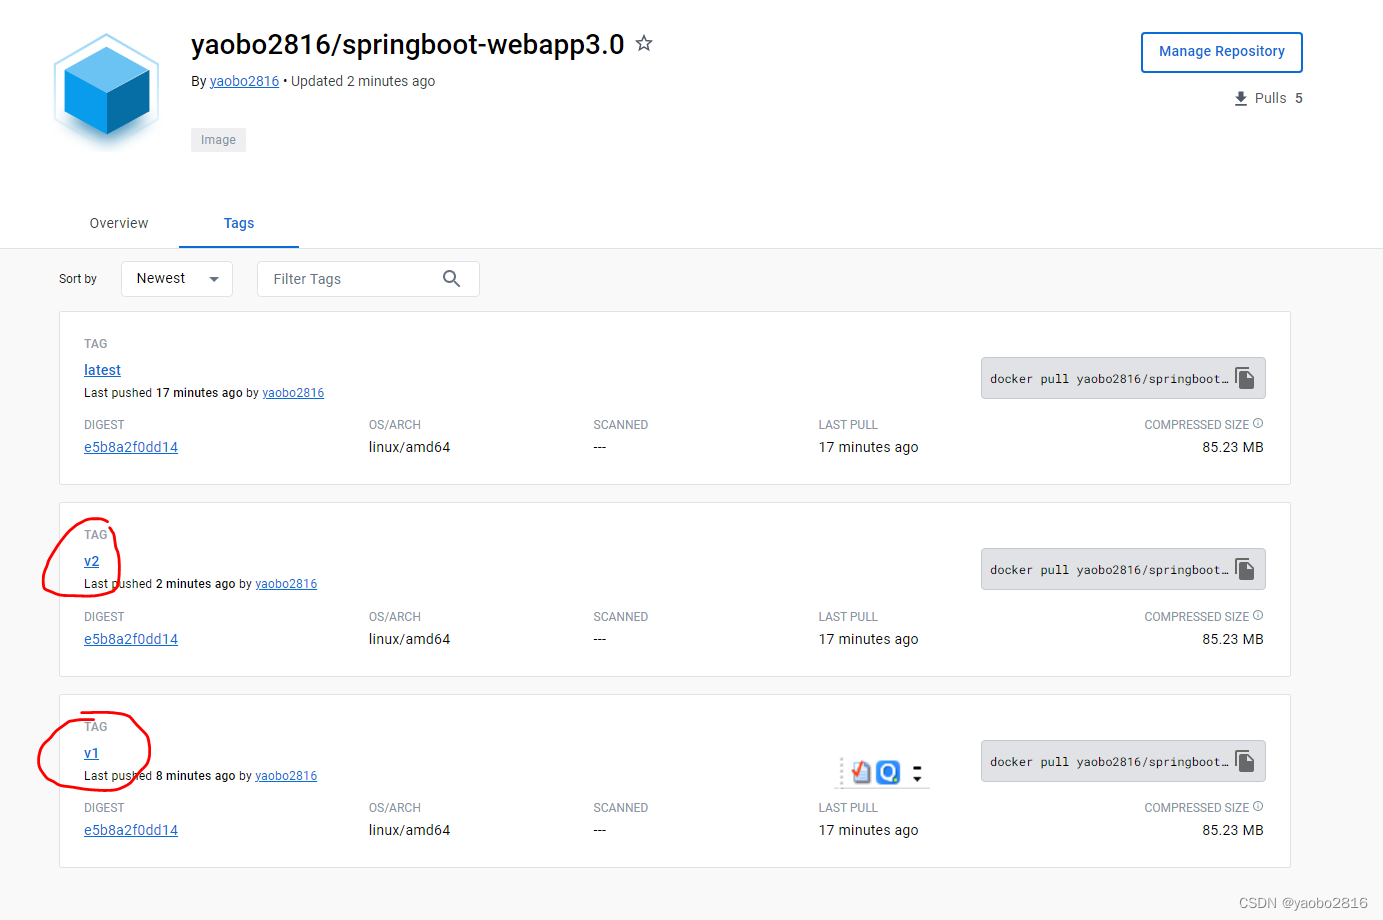
本地测试一下,远程镜像是否可以正常启动。
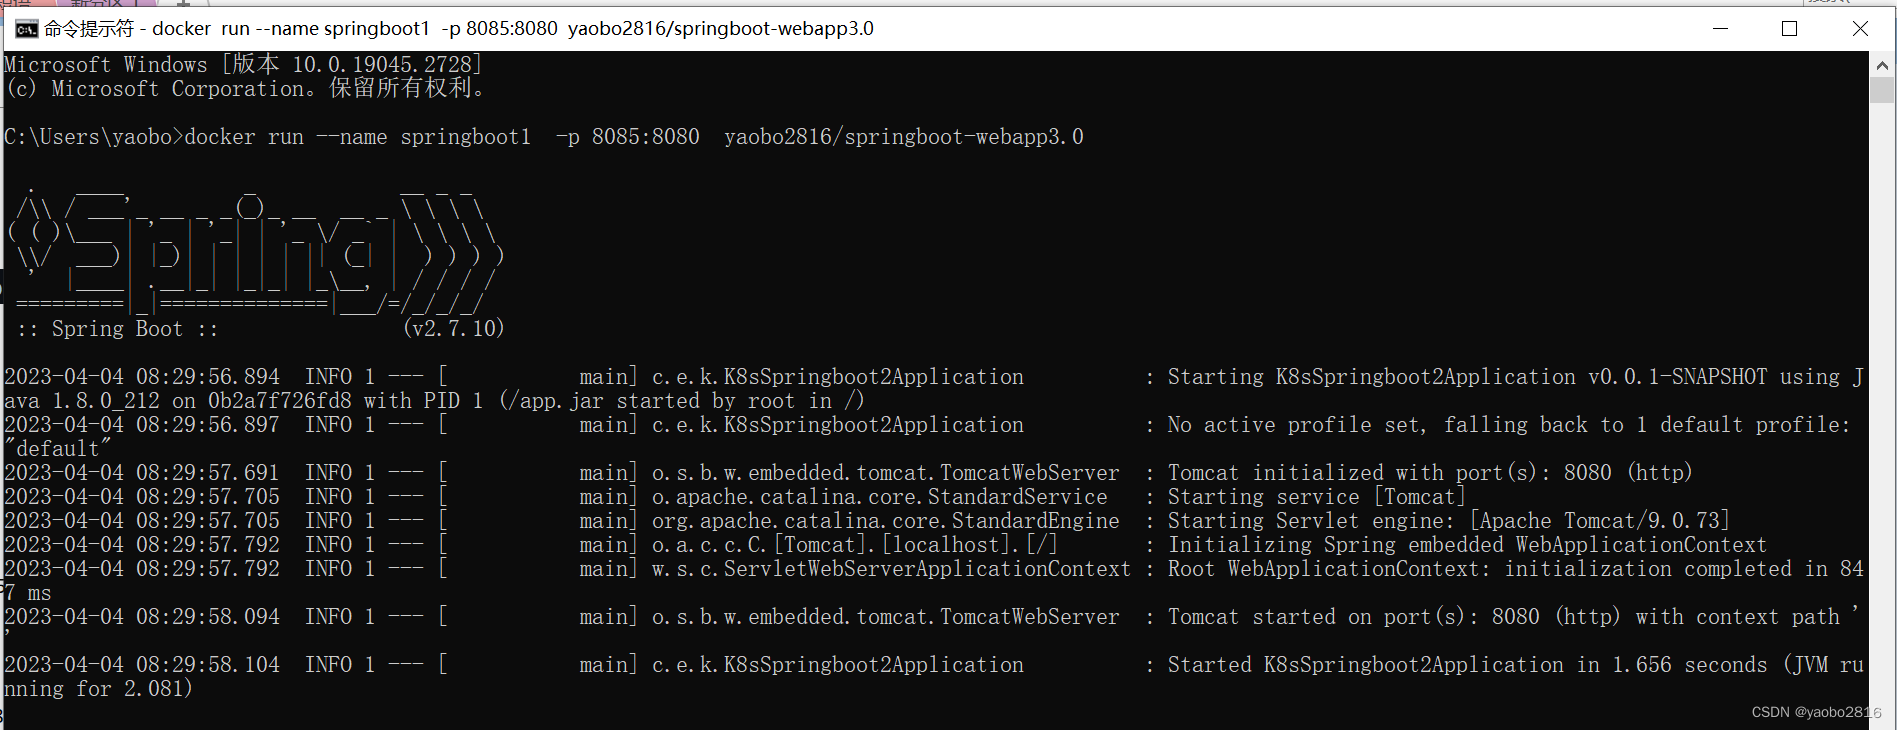
docker run --name springboot1 -p 8085:8080 yaobo2816/springboot-webapp3.0http://localhost:8085/test/search
总结
这里面springboot 已经可以打包镜像了,下一篇将部署到k8s.
gitee: https://gitee.com/yaobo2816/springboot-deploy-k8s
声明:本文内容由网友自发贡献,不代表【wpsshop博客】立场,版权归原作者所有,本站不承担相应法律责任。如您发现有侵权的内容,请联系我们。转载请注明出处:https://www.wpsshop.cn/w/Monodyee/article/detail/629146
推荐阅读
相关标签

