
热门标签
热门文章
- 1harmonyos官网申请完了几天推送,鸿蒙OS Beta3开发者版本申请指南!
- 2只有外包公司的offer,那没得选?_花华勤与软通
- 3MySQL数据库设计常用技巧和设计规范(三):数据库设计规范_数据库程序层dao层新代码不使用model,推荐使用手动平aql绑定变量传入参数的方
- 4神经网络模型——用户评论情感分析_用户评论情感分析模型
- 5系统安装 安装 win11 系统跳过微软账户登录_windows11安装跳过登录账户
- 6Android本地Gradle Plugin的创建以及使用
- 7应聘机器学习工程师?这是你需要知道的12个基础面试问题_robotics 面试问题
- 814、指针三剑客之二:树(结合LeetCode 104、110、543、437、101、1110、637、105、144、99、669、208学习)(99未进阶)(前缀树)_指针三剑客之三
- 9【github 仓库添加协作者 多人项目基本流程 使用token 登录 和push 时 SSL local certificate 问题结局】_github公有仓库可以有几个协作用户
- 10七大排序算法,冒泡排序 选择排序 插入排序 希尔排序 堆排序 快速排序 归并排序的深度讲解_比较说明冒泡算法,选择算法,希尔排序算法
当前位置: article > 正文
Windows下Python调用海康SDK实时显示网络摄像头_python 海康sdk显示图像
作者:weixin_40725706 | 2024-06-20 05:05:41
赞
踩
python 海康sdk显示图像
参考资源:
1.《Windows下Python调用海康SDK实时显示网络摄像头》
2.《HikVision SDK: C++ 至 Python》
3.《linux下Python调用海康SDK实时显示网络摄像头》
4.《python调用海康sdk操作热成像设备获取对应点温度》
5.《Windows下Python调用海康SDK实时视频流获取》
6.《LINUX下PYTHON调用海康SDK实时视频流获取》
一、所需文件下载安装及环境变量配置
1.1 安装OpenCV – 4.5.4
1.1.1 使用Visual Studio
1.1.1.1 OpenCV下载地址
【从零学习OpenCV 4】Windows系统中安装OpenCV 4

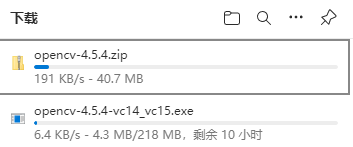

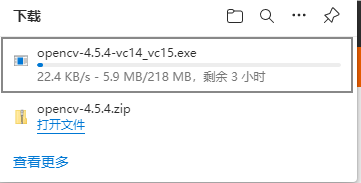
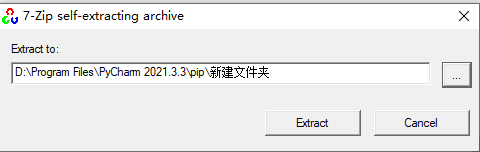
1.1.1.2 解压缩OpenCV


1.1.1.3 安装VS2022

1.1.1.4 VS2022配置
《OpenCV编译VS2022配置》
《Windows中vs2019安装opencv4.5.4》

1.1.1.4.1 官方C++测试代码 01
// Test application for the Visual Studio Image Watch Debugger extension
#include <iostream>                        // std::cout
#include <opencv2/core/core.hpp>           // cv::Mat
#include <opencv2/imgcodecs/imgcodecs.hpp>     // cv::imread()
#include <opencv2/imgproc/imgproc.hpp>     // cv::Canny()
using namespace std;
using namespace cv;
void help()
{
    cout
        << "----------------------------------------------------" << endl
        << "This is a test program for the Image Watch Debugger " << endl
        << "plug-in for Visual Studio. The program loads an     " << endl
        << "image from a file and runs the Canny edge detector. " << endl
        << "No output is displayed or written to disk."
        << endl
        << "Usage:" << endl
        << "image-watch-demo inputimage" << endl
        << "----------------------------------------------------" << endl
        << endl;
}
int main(int argc, char* argv[])
{
    help();
    if (argc != 2)
    {
        cout << "Wrong number of parameters" << endl;
        return -1;
    }
    cout << "Loading input image: " << argv[1] << endl;
    Mat input;
    input = imread(argv[1], IMREAD_COLOR);
    cout << "Detecting edges in input image" << endl;
    Mat edges;
    Canny(input, edges, 10, 100);
    return 0;
}

- 1
- 2
- 3
- 4
- 5
- 6
- 7
- 8
- 9
- 10
- 11
- 12
- 13
- 14
- 15
- 16
- 17
- 18
- 19
- 20
- 21
- 22
- 23
- 24
- 25
- 26
- 27
- 28
- 29
- 30
- 31
- 32
- 33
- 34
- 35
- 36
- 37
1.1.1.4.2 官方C++测试代码 02
// Test application for the Visual Studio Image Watch Debugger extension
#include <iostream>                        // std::cout
#include <opencv2/core/core.hpp>           // cv::Mat
#include <opencv2/imgcodecs/imgcodecs.hpp>     // cv::imread()
#include <opencv2/imgproc/imgproc.hpp>     // cv::Canny()
using namespace std;
using namespace cv;
void help()
{
    cout
        << "----------------------------------------------------" << endl
        << "This is a test program for the Image Watch Debugger " << endl
        << "plug-in for Visual Studio. The program loads an     " << endl
        << "image from a file and runs the Canny edge detector. " << endl
        << "No output is displayed or written to disk."
        << endl
        << "Usage:" << endl
        << "image-watch-demo inputimage" << endl
        << "----------------------------------------------------" << endl
        << endl;
}
int main(int argc, char* argv[])
{
    help();
    if (argc != 2)
    {
        cout << "Wrong number of parameters" << endl;
        return -1;
    }
    cout << "Loading input image: " << argv[1] << endl;
    Mat input;
    input = imread(argv[1], IMREAD_COLOR);
    cout << "Detecting edges in input image" << endl;
    Mat edges;
    Canny(input, edges, 10, 100);
    return 0;
}
- 1
- 2
- 3
- 4
- 5
- 6
- 7
- 8
- 9
- 10
- 11
- 12
- 13
- 14
- 15
- 16
- 17
- 18
- 19
- 20
- 21
- 22
- 23
- 24
- 25
- 26
- 27
- 28
- 29
- 30
- 31
- 32
- 33
- 34
- 35
- 36
- 37
- 38

1.1.2 使用Pycharm
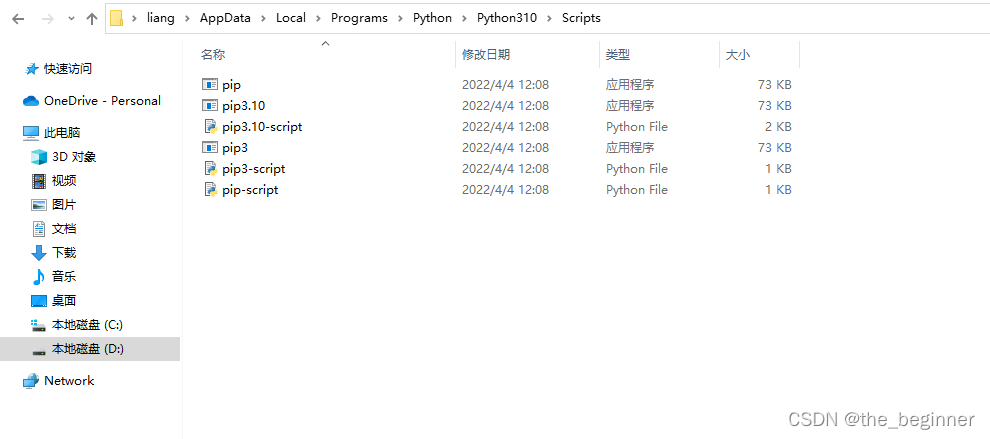
1.1.2.1 下载安装pip
1.1.2.1.1 pip官网下载地址


1.1.2.1.2 win10安装pip


1.1.2.1.3 永久更换pip镜像源
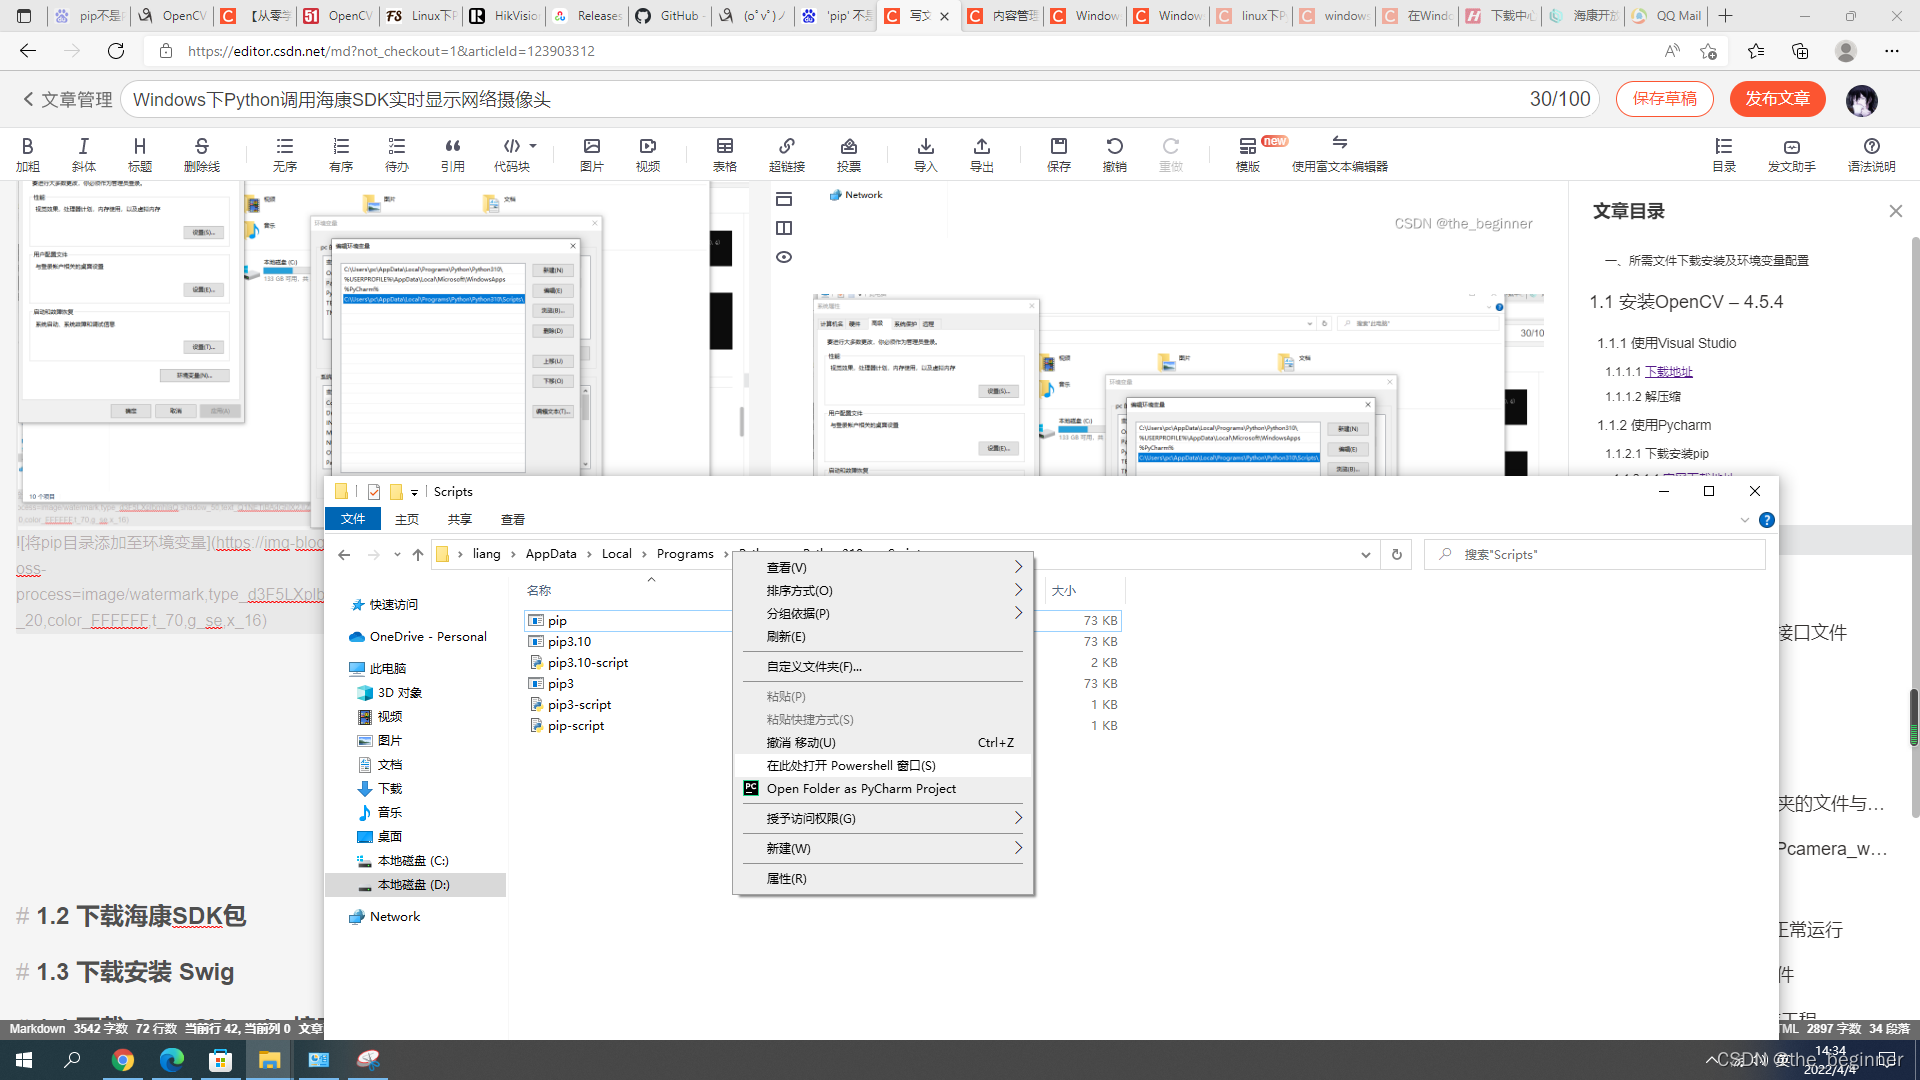
1.1.2.1.3.1 %APPDATA%
在windows文件管理器中,输入 %APPDATA%
1.1.2.1.3.2 新建pip文件夹、pip.ini文件
自动新定位到一个新的目录下,在该目录下新建pip文件夹,然后到pip文件夹里面去新建个pip.ini文件

1.1.2.1.3.3 编辑pip.ini文件
[global]
timeout =6000
index-url = https://pypi.douban.com/simple
trusted-host = pypi.douban.com

#[global]
#timeout =6000
#index-url = https://pypi.tuna.tsinghua.edu.cn/simple/
#trusted-host = pypi.tuna.tsinghua.edu.cn

#[global]
#timeout =6000
#index-url = https://mirrors.aliyun.com/pypi/simple/
#trusted-host = mirrors.aliyun.com
- 1
- 2
- 3
- 4
- 5
- 6
- 7
- 8
- 9
- 10
- 11
- 12
- 13
- 14
1.1.2.2 安装opencv-python
在Windows下安装配置OpenCV-Python-PyCharm开发环境
1.1.2.2.1 安装numpy

#安装方式:pip install numpy==版本号
pip install numpy==1.22.3
- 1
- 2

1.1.2.2.2 安装opencv-python


pip install pip install opencv-python==4.5.5.64
- 1

1.2 下载海康SDK包
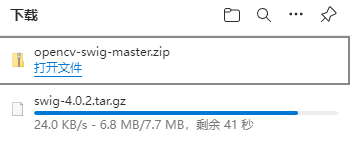
1.3 下载安装 Swig


1.4 下载 OpenCV-swig 接口文件
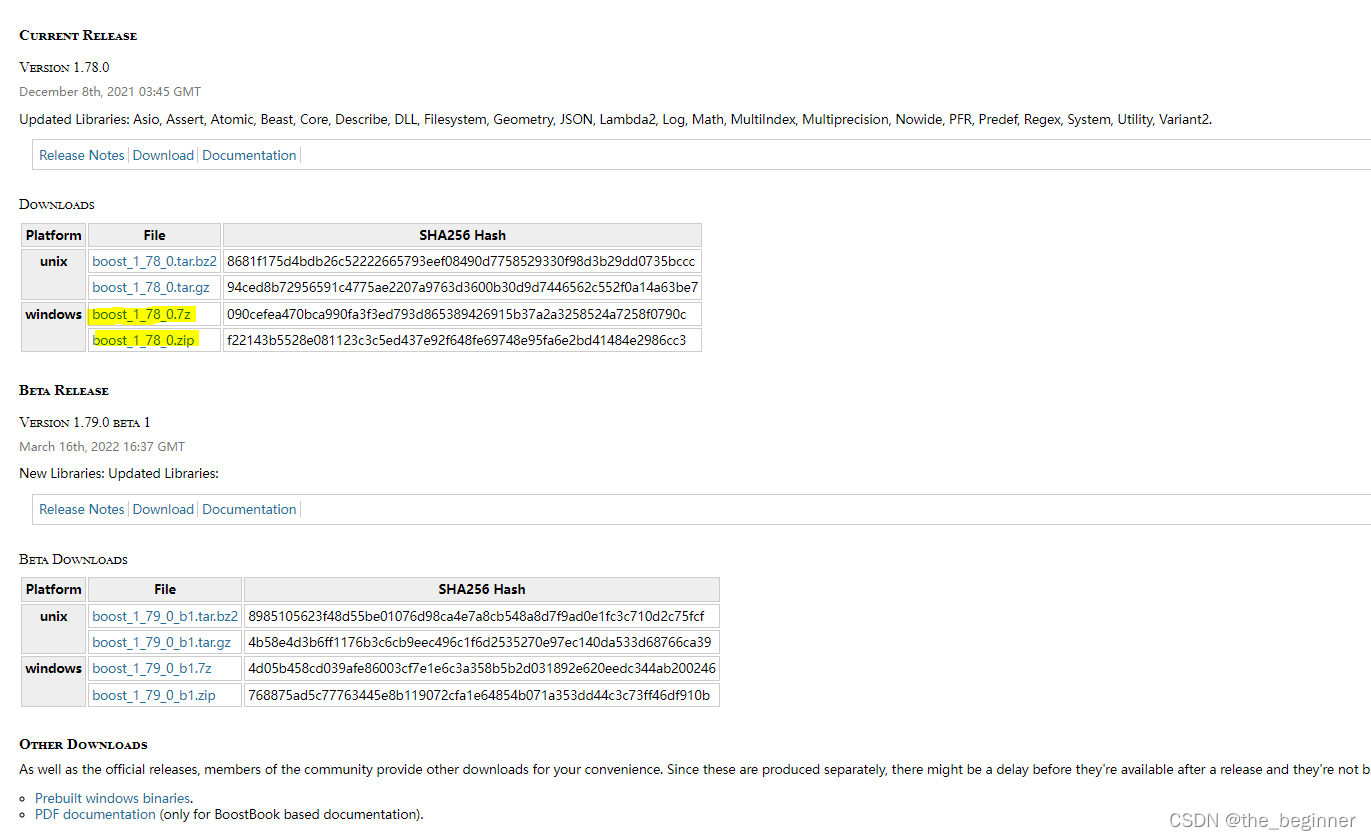
1.5 下载boost库
1.6 环境变量配置
二、使用swig生成接口文件
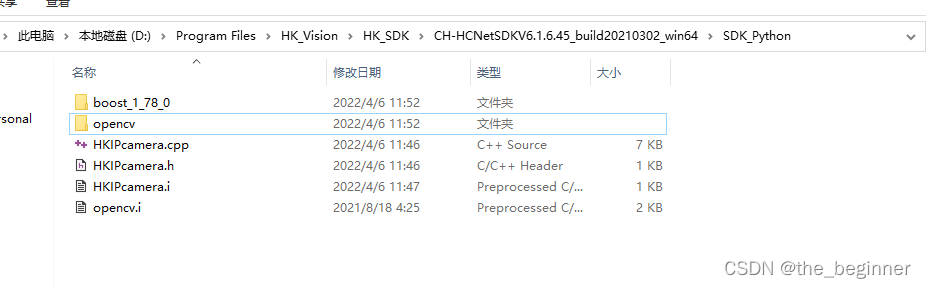
2.1 将Opencv-swig文件夹的文件与HK源文件合并
HK源文件如下:
2.1.1 HKIPcamera.cpp
//HKIPcamera.cpp
#include <opencv\cv.h>
#include <opencv\highgui.h>
#include <opencv2\opencv.hpp>
#include <iostream>
#include <time.h>
#include <cstdio>
#include <cstring>
#include <iostream>
#include <windows.h>
#include "HCNetSDK.h"
//#include "PlayM4.h"
#include "plaympeg4.h"


//#include "global.h"
//#include "readCamera.h"

#define USECOLOR 1

using namespace cv;
using namespace std;

//--------------------------------------------
int iPicNum = 0;//Set channel NO.
LONG nPort = -1;
HWND hWnd = NULL;
CRITICAL_SECTION g_cs_frameList;
list<Mat> g_frameList;
LONG lUserID;
NET_DVR_DEVICEINFO_V30 struDeviceInfo;
HANDLE hThread;
LONG lRealPlayHandle = -1;

void yv12toYUV(char *outYuv, char *inYv12, int width, int height, int widthStep)
{
    int col, row;
    unsigned int Y, U, V;
    int tmp;
    int idx;

    //printf("widthStep=%d.\n",widthStep);

    for (row = 0; row<height; row++)
    {
        idx = row * widthStep;
        int rowptr = row*width;

        for (col = 0; col<width; col++)
        {
            //int colhalf=col>>1;
            tmp = (row / 2)*(width / 2) + (col / 2);
            //         if((row==1)&&( col>=1400 &&col<=1600))
            //         {
            //          printf("col=%d,row=%d,width=%d,tmp=%d.\n",col,row,width,tmp);
            //          printf("row*width+col=%d,width*height+width*height/4+tmp=%d,width*height+tmp=%d.\n",row*width+col,width*height+width*height/4+tmp,width*height+tmp);
            //         }
            Y = (unsigned int)inYv12[row*width + col];
            U = (unsigned int)inYv12[width*height + width*height / 4 + tmp];
            V = (unsigned int)inYv12[width*height + tmp];
            //         if ((col==200))
            //         {
            //         printf("col=%d,row=%d,width=%d,tmp=%d.\n",col,row,width,tmp);
            //         printf("width*height+width*height/4+tmp=%d.\n",width*height+width*height/4+tmp);
            //         return ;
            //         }
            if ((idx + col * 3 + 2)> (1200 * widthStep))
            {
                //printf("row * widthStep=%d,idx+col*3+2=%d.\n",1200 * widthStep,idx+col*3+2);
            }
            outYuv[idx + col * 3] = Y;
            outYuv[idx + col * 3 + 1] = U;
            outYuv[idx + col * 3 + 2] = V;
        }
    }
    //printf("col=%d,row=%d.\n",col,row);
}


//解码回调 视频为YUV数据(YV12),音频为PCM数据
void CALLBACK DecCBFun(long nPort, char * pBuf, long nSize, FRAME_INFO * pFrameInfo, long nReserved1, long nReserved2)
{
    long lFrameType = pFrameInfo->nType;

    if (lFrameType == T_YV12)
    {
#if USECOLOR
        //int start = clock();
        static IplImage* pImgYCrCb = cvCreateImage(cvSize(pFrameInfo->nWidth, pFrameInfo->nHeight), 8, 3);//得到图像的Y分量
        yv12toYUV(pImgYCrCb->imageData, pBuf, pFrameInfo->nWidth, pFrameInfo->nHeight, pImgYCrCb->widthStep);//得到全部RGB图像
        static IplImage* pImg = cvCreateImage(cvSize(pFrameInfo->nWidth, pFrameInfo->nHeight), 8, 3);
        cvCvtColor(pImgYCrCb, pImg, CV_YCrCb2RGB);
        //int end = clock();
#else
        static IplImage* pImg = cvCreateImage(cvSize(pFrameInfo->nWidth, pFrameInfo->nHeight), 8, 1);
        memcpy(pImg->imageData, pBuf, pFrameInfo->nWidth*pFrameInfo->nHeight);
#endif
        //printf("%d\n",end-start);

        //Mat frametemp(pImg), frame;

        //frametemp.copyTo(frame);
        //      cvShowImage("IPCamera",pImg);
        //      cvWaitKey(1);
        EnterCriticalSection(&g_cs_frameList);
        g_frameList.push_back(pImg);
        LeaveCriticalSection(&g_cs_frameList);

#if USECOLOR
        //      cvReleaseImage(&pImgYCrCb);
        //      cvReleaseImage(&pImg);
#else
        /*cvReleaseImage(&pImg);*/
#endif
        //此时是YV12格式的视频数据,保存在pBuf中,可以fwrite(pBuf,nSize,1,Videofile);
        //fwrite(pBuf,nSize,1,fp);
    }
    /***************
    else if (lFrameType ==T_AUDIO16)
    {
    //此时是音频数据,数据保存在pBuf中,可以fwrite(pBuf,nSize,1,Audiofile);
    }
    else
    {
    }
    *******************/

}


///实时流回调
void CALLBACK fRealDataCallBack(LONG lRealHandle, DWORD dwDataType, BYTE *pBuffer, DWORD dwBufSize, void *pUser)
{
    DWORD dRet;
    switch (dwDataType)
    {
    case NET_DVR_SYSHEAD:    //系统头
        if (!PlayM4_GetPort(&nPort)) //获取播放库未使用的通道号
        {
            break;
        }
        if (dwBufSize > 0)
        {
            if (!PlayM4_OpenStream(nPort, pBuffer, dwBufSize, 1024 * 1024))
            {
                dRet = PlayM4_GetLastError(nPort);
                break;
            }
            //设置解码回调函数 只解码不显示
            if (!PlayM4_SetDecCallBack(nPort, DecCBFun))
            {
                dRet = PlayM4_GetLastError(nPort);
                break;
            }

            //设置解码回调函数 解码且显示
            //if (!PlayM4_SetDecCallBackEx(nPort,DecCBFun,NULL,NULL))
            //{
            //  dRet=PlayM4_GetLastError(nPort);
            //  break;
            //}

            //打开视频解码
            if (!PlayM4_Play(nPort, hWnd))
            {
                dRet = PlayM4_GetLastError(nPort);
                break;
            }

            //打开音频解码, 需要码流是复合流
            //          if (!PlayM4_PlaySound(nPort))
            //          {
            //              dRet=PlayM4_GetLastError(nPort);
            //              break;
            //          }
        }
        break;

    case NET_DVR_STREAMDATA:   //码流数据
        if (dwBufSize > 0 && nPort != -1)
        {
            BOOL inData = PlayM4_InputData(nPort, pBuffer, dwBufSize);
            while (!inData)
            {
                Sleep(10);
                inData = PlayM4_InputData(nPort, pBuffer, dwBufSize);
                OutputDebugString(L"PlayM4_InputData failed \n");
            }
        }
        break;
    }
}

void CALLBACK g_ExceptionCallBack(DWORD dwType, LONG lUserID, LONG lHandle, void *pUser)
{
    char tempbuf[256] = { 0 };
    switch (dwType)
    {
    case EXCEPTION_RECONNECT:    //预览时重连
        printf("----------reconnect--------%d\n", time(NULL));
        break;
    default:
        break;
    }
}

bool OpenCamera(char* ip, char* usr, char* password)
{
    lUserID = NET_DVR_Login_V30(ip, 8000, usr, password, &struDeviceInfo);
    if (lUserID == 0)
    {
        cout << "Log in success!" << endl;
        return TRUE;
    }
    else
    {
        printf("Login error, %d\n", NET_DVR_GetLastError());
        NET_DVR_Cleanup();
        return FALSE;
    }
}
DWORD WINAPI ReadCamera(LPVOID IpParameter)
{
    //---------------------------------------
    //设置异常消息回调函数
    NET_DVR_SetExceptionCallBack_V30(0, NULL, g_ExceptionCallBack, NULL);

    //cvNamedWindow("Mywindow", 0);
    //cvNamedWindow("IPCamera", 0);

    //HWND  h = (HWND)cvGetWindowHandle("Mywindow");
    //h = cvNamedWindow("IPCamera");
    //---------------------------------------
    //启动预览并设置回调数据流
    NET_DVR_CLIENTINFO ClientInfo;
    ClientInfo.lChannel = 1;        //Channel number 设备通道号
    ClientInfo.hPlayWnd = NULL;     //窗口为空,设备SDK不解码只取流
    ClientInfo.lLinkMode = 1;       //Main Stream
    ClientInfo.sMultiCastIP = NULL;

    LONG lRealPlayHandle;
    lRealPlayHandle = NET_DVR_RealPlay_V30(lUserID, &ClientInfo, fRealDataCallBack, NULL, TRUE);
    if (lRealPlayHandle<0)
    {
        printf("NET_DVR_RealPlay_V30 failed! Error number: %d\n", NET_DVR_GetLastError());
        return -1;
    }
    else
        cout << "码流回调成功!" << endl;
    Sleep(-1);
    if (!NET_DVR_StopRealPlay(lRealPlayHandle))
    {
        printf("NET_DVR_StopRealPlay error! Error number: %d\n", NET_DVR_GetLastError());
        return 0;
    }
    NET_DVR_Logout(lUserID);
    NET_DVR_Cleanup();
    return 0;
}


void init(char* ip, char* usr, char* password){
    //HANDLE hThread;
    //LPDWORD threadID;
    //---------------------------------------
    // 初始化
    NET_DVR_Init();
    //设置连接时间与重连时间
    NET_DVR_SetConnectTime(2000, 1);
    NET_DVR_SetReconnect(10000, true);
    OpenCamera(ip, usr, password);
    InitializeCriticalSection(&g_cs_frameList);
    hThread = ::CreateThread(NULL, 0, ReadCamera, NULL, 0, 0);
}

Mat getframe(){
    Mat frame1;
    EnterCriticalSection(&g_cs_frameList);
    while (!g_frameList.size()){
        LeaveCriticalSection(&g_cs_frameList);
        EnterCriticalSection(&g_cs_frameList);
    }
    list<Mat>::iterator it;
    it = g_frameList.end();
    it--;
    Mat dbgframe = (*(it));
    (*g_frameList.begin()).copyTo(frame1);
    frame1 = dbgframe;
    g_frameList.pop_front();
    //imshow("camera", frame1);
    //waitKey(1);

    g_frameList.clear();   // 丢掉旧的帧
    LeaveCriticalSection(&g_cs_frameList);
    return(frame1);
}

void release(){
    ::CloseHandle(hThread);
    NET_DVR_StopRealPlay(lRealPlayHandle);
    //关闭预览
    NET_DVR_Logout(lUserID);
    //注销用户
    NET_DVR_Cleanup();
}
- 1
- 2
- 3
- 4
- 5
- 6
- 7
- 8
- 9
- 10
- 11
- 12
- 13
- 14
- 15
- 16
- 17
- 18
- 19
- 20
- 21
- 22
- 23
- 24
- 25
- 26
- 27
- 28
- 29
- 30
- 31
- 32
- 33
- 34
- 35
- 36
- 37
- 38
- 39
- 40
- 41
- 42
- 43
- 44
- 45
- 46
- 47
- 48
- 49
- 50
- 51
- 52
- 53
- 54
- 55
- 56
- 57
- 58
- 59
- 60
- 61
- 62
- 63
- 64
- 65
- 66
- 67
- 68
- 69
- 70
- 71
- 72
- 73
- 74
- 75
- 76
- 77
- 78
- 79
- 80
- 81
- 82
- 83
- 84
- 85
- 86
- 87
- 88
- 89
- 90
- 91
- 92
- 93
- 94
- 95
- 96
- 97
- 98
- 99
- 100
- 101
- 102
- 103
- 104
- 105
- 106
- 107
- 108
- 109
- 110
- 111
- 112
- 113
- 114
- 115
- 116
- 117
- 118
- 119
- 120
- 121
- 122
- 123
- 124
- 125
- 126
- 127
- 128
- 129
- 130
- 131
- 132
- 133
- 134
- 135
- 136
- 137
- 138
- 139
- 140
- 141
- 142
- 143
- 144
- 145
- 146
- 147
- 148
- 149
- 150
- 151
- 152
- 153
- 154
- 155
- 156
- 157
- 158
- 159
- 160
- 161
- 162
- 163
- 164
- 165
- 166
- 167
- 168
- 169
- 170
- 171
- 172
- 173
- 174
- 175
- 176
- 177
- 178
- 179
- 180
- 181
- 182
- 183
- 184
- 185
- 186
- 187
- 188
- 189
- 190
- 191
- 192
- 193
- 194
- 195
- 196
- 197
- 198
- 199
- 200
- 201
- 202
- 203
- 204
- 205
- 206
- 207
- 208
- 209
- 210
- 211
- 212
- 213
- 214
- 215
- 216
- 217
- 218
- 219
- 220
- 221
- 222
- 223
- 224
- 225
- 226
- 227
- 228
- 229
- 230
- 231
- 232
- 233
- 234
- 235
- 236
- 237
- 238
- 239
- 240
- 241
- 242
- 243
- 244
- 245
- 246
- 247
- 248
- 249
- 250
- 251
- 252
- 253
- 254
- 255
- 256
- 257
- 258
- 259
- 260
- 261
- 262
- 263
- 264
- 265
- 266
- 267
- 268
- 269
- 270
- 271
- 272
- 273
- 274
- 275
- 276
- 277
- 278
- 279
- 280
- 281
- 282
- 283
- 284
- 285
- 286
- 287
- 288
- 289
- 290
- 291
- 292
- 293
- 294
- 295
- 296
- 297
- 298
- 299
- 300
- 301
- 302
- 303
- 304
- 305
- 306
- 307
2.1.2 HKIPcamera.h
//HKIPcamera.h
#include <opencv2/opencv.hpp>
using namespace cv;

void init(char* ip, char* usr, char* password);
Mat getframe();
void release();
- 1
- 2
- 3
- 4
- 5
- 6
- 7
2.1.3 HKIPcamera.i
// HKIPcamera.i
/*  Example of wrapping a C function that takes a C double array as input using
 *  numpy typemaps for SWIG. */
%module HKIPcamera
%include <opencv/mat.i>
%cv_mat__instantiate_defaults
%header %{
    /*  Includes the header in the wrapper code */
    #include "HKIPcamera.h"
%}

%include "HKIPcamera.h"
- 1
- 2
- 3
- 4
- 5
- 6
- 7
- 8
- 9
- 10
- 11
- 12


2.2 输入命令行生成HKIPcamera_wrap.cxx、HKIPcamera.py文件
《windows下使用swig》
《Windows平台下Python使用swig调用C++》
命令行:
swig -I"D:\Program Files\PyCharm 2021.3.3\pip\opencv-4.5.4\opencv\build\include" -python -c++ HKIPcamera.i
- 1
注意opencv安装的头文件路径
三、编译动态链接库
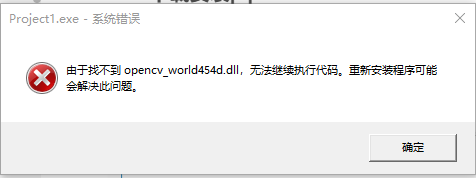
3.1 先试验Opencv是否正常运行
3.2 修改plaympeg4.h文件
3.3 创建一个动态链接库工程
3.4 添加编译的文件
3.5 配置所需要的头文件、库文件、依赖项
3.6 调用
这里写目录标题
这里写目录标题
这里写目录标题
本文内容由网友自发贡献,转载请注明出处:https://www.wpsshop.cn/w/weixin_40725706/article/detail/738688
推荐阅读
相关标签

