- 1关于安卓以及微软用户chatgpt上一篇文章如今第五点无法正常进入更新解决方法以及附加本地部署_chat-shared1.zhile.i/shared.html
- 2ai取代程序员_未来50%的工作都将被人工智能给取代,程序员会被机器人取代吗?...
- 3集群分为几种,用的软件分别是什么?_集群软件是啥
- 4本科论文查重会检测AI辅写疑似度吗?一篇文章为你揭秘!_查重率包括aigc吗
- 5【Planning】路径规划方法汇总_深度学习 planning方法汇总
- 6MAC 安装 Homebrew(使用国内镜像源)
- 7第十四届蓝桥杯大赛软件赛省赛(C/C++ 大学B组)_第十四届蓝桥杯大赛软件赛决赛 ca-6
- 8机器学习中的判别式模型和生成式模型_人工智能 区分式模型 生成式模型
- 9计算文本相似度_lstm段文本相似度
- 10oracle左连接查询从表去重,oracle查询/子查询/复制表和数据
hexo博客4:发布文章_在主题的 _config.yml 文件将这个页面的链接添加到主菜单里面
赞
踩
写在最前面
所有关于hexo的博客的文章,如果感兴趣可以回顾:
hexo博客7:构建简单的多层安全防御体系
hexo博客6:自定义域名 购买、配置、更新部署
hexo博客5:更新部署&域名配置
hexo博客4:发布文章
hexo博客3:主题选择
hexo博客2:初始化
hexo博客1:环境配置
一、增加文章
现在整个站点只有一篇文章,那么怎样来增加其他的文章呢?
这个很简单,只需要调用 Hexo 提供的命令即可,比如我们要新建一篇「HelloWorld」的文章,命令如下:
hexo new hello-world
- 1
创建的文章会出现在 source/_posts 文件夹下,是 MarkDown 格式。
1.1 开头添加必要信息
在文章开头通过如下格式添加必要信息:
---
title: 标题 # 自动创建,如 hello-world
date: 日期 # 自动创建,如 2019-09-22 01:47:21
tags:
- 标签1
- 标签2
- 标签3
categories:
- 分类1
- 分类2
---
- 1
- 2
- 3
- 4
- 5
- 6
- 7
- 8
- 9
- 10
- 11
开头下方撰写正文,MarkDown 格式书写即可。这样在下次编译的时候就会自动识别标题、时间、类别等等。
1.2 摘要
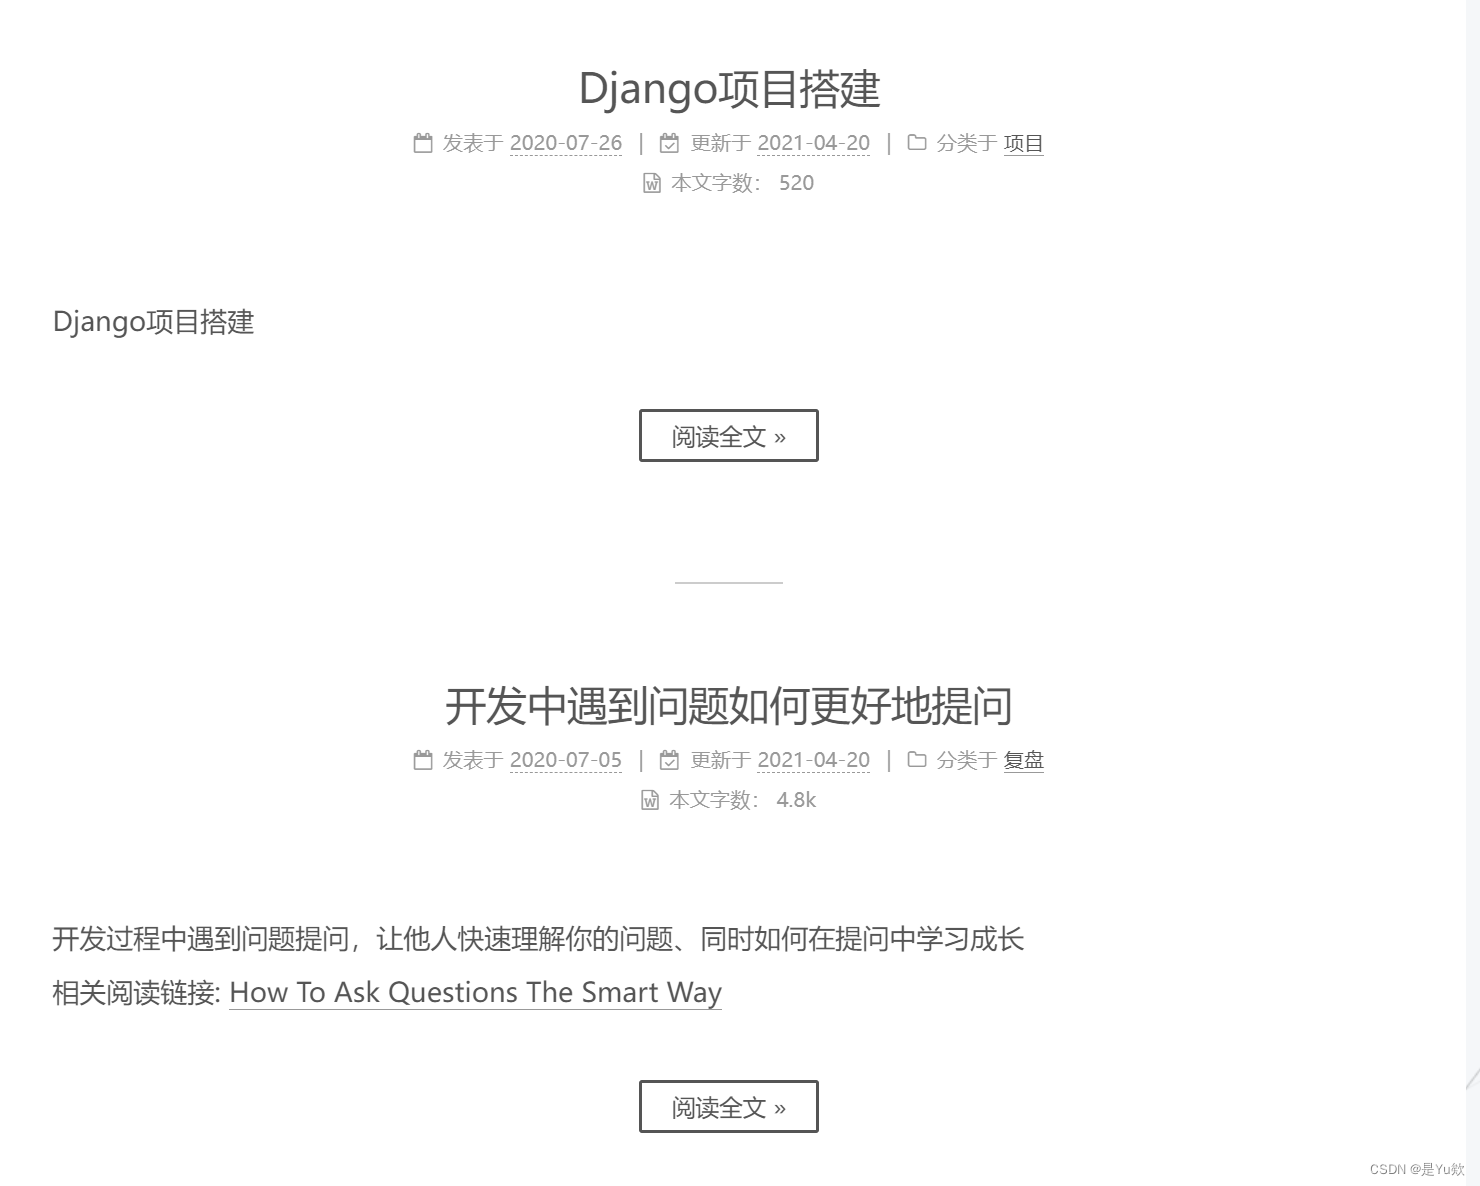
Hexo设置简要摘要,在文章内容中插入一行即可。
<!-- more -->
- 1
该标签之上的文本为摘要,需点击阅读全文才能查看剩余的内容。
另外,也可以在_config.yml配置文件中设置每页显示多少篇文章。

二、个性化设置
另外还有其他的一些参数设置,可以参考文档:https://hexo.io/zh-cn/docs/writing.html。
2.1 标签页
现在我们的博客只有首页、文章页,如果我们想要增加标签页,可以自行添加,这里 Hexo 也给我们提供了这个功能,在根目录执行命令如下:
hexo new page tags
- 1
执行这个命令之后会自动帮我们生成一个 source/tags/index.md 文件,内容是这样的:
---
title: tags
date: 2019-09-26 16:44:17
---
- 1
- 2
- 3
- 4
可以自行添加一个 type 字段来指定页面的类型:
type: tags
comments: false
- 1
- 2
然后再在主题的 _config.yml 文件将这个页面的链接添加到主菜单里面,修改 menu 字段如下:
menu:
  home: / || home
  #about: /about/ || user
  tags: /tags/ || tags
  #categories: /categories/ || th
  archives: /archives/ || archive
  #schedule: /schedule/ || calendar
  #sitemap: /sitemap.xml || sitemap
  #commonweal: /404/ || heartbeat
- 1
- 2
- 3
- 4
- 5
- 6
- 7
- 8
- 9
这样重新本地启动看下页面状态,可以看到左侧导航也出现了标签,点击之后右侧会显示标签的列表。
2.2 分类页
分类功能和标签类似,一个文章可以对应某个分类,如果要增加分类页面可以使用如下命令创建:
hexo new page categories
- 1
然后同样地,会生成一个 source/categories/index.md 文件。
我们可以自行添加一个 type 字段来指定页面的类型:
type: categories
comments: false
- 1
- 2
然后再在主题的 _config.yml 文件将这个页面的链接添加到主菜单里面,修改 menu 字段如下:
menu:
  home: / || home
  #about: /about/ || user
  tags: /tags/ || tags
  categories: /categories/ || th
  archives: /archives/ || archive
  #schedule: /schedule/ || calendar
  #sitemap: /sitemap.xml || sitemap
  #commonweal: /404/ || heartbeat
- 1
- 2
- 3
- 4
- 5
- 6
- 7
- 8
- 9
这样页面就会增加分类的支持。
2.3 搜索页
很多情况下我们需要搜索全站的内容,所以一个搜索功能的支持也是很有必要的。
如果要添加搜索的支持,需要先安装一个插件,叫做 hexo-generator-searchdb,命令如下:
npm install hexo-generator-searchdb --save
- 1
然后在项目的 _config.yml 里面添加搜索设置如下:
search:
  path: search.xml
  field: post
  format: html
  limit: 10000
- 1
- 2
- 3
- 4
- 5
然后在主题的 _config.yml 里面修改如下:
# Local search
# Dependencies: https://github.com/wzpan/hexo-generator-search
local_search:
  enable: true
  # If auto, trigger search by changing input.
  # If manual, trigger search by pressing enter key or search button.
  trigger: auto
  # Show top n results per article, show all results by setting to -1
  top_n_per_article: 5
  # Unescape html strings to the readable one.
  unescape: false
  # Preload the search data when the page loads.
  preload: false
- 1
- 2
- 3
- 4
- 5
- 6
- 7
- 8
- 9
- 10
- 11
- 12
- 13
这里用的是 Local Search,如果想启用其他是 Search Service 的话可以参考官方文档:https://theme-next.org/docs/third-party-services/search-services。
2.4 404 页面
另外还需要添加一个 404 页面,直接在根目录 source 文件夹新建一个 404.md 文件即可,内容可以仿照如下:
---
title: 404 Not Found
date: 2019-09-22 10:41:27
---


<center>
对不起,您所访问的页面不存在或者已删除。
您可以<a href="https://blog.nightteam.cn>">点击此处</a>返回首页。
</center>


<blockquote class="blockquote-center">
    NightTeam
</blockquote>
- 1
- 2
- 3
- 4
- 5
- 6
- 7
- 8
- 9
- 10
- 11
- 12
- 13
- 14
- 15
这里面的一些相关信息和链接可以替换成自己的。
增加了这个 404 页面之后就可以。
三、其他
完成了上面的配置基本就完成了大半了,其实 Hexo 还有很多很多功能,这里就介绍不过来了,大家可以直接参考官方文档:https://hexo.io/zh-cn/docs/ 查看更多的配置。
四、参考
https://cuiqingcai.com/7625.html
https://blog.csdn.net/dta0502/article/details/84387959


