- 1使用hping3网络工具构造TCP/IP数据包和进行DDos攻击_hping3 ddos 攻击
- 2SQLyog安装配置(注册码)连接MySQL_注册sqlyog在哪输入名称
- 3辅助脚本使用教程手册_野马脚本
- 4RoboCom机器人大赛使用yolov5抽取20个随机图片进行人群识别_编写代码,从100张图片中随机选出20张图片,识别出图片中的虛拟人物,统计虚拟人物的
- 5ROS 2 Humble Hawksbill发布时间节点(转载)_ros2开线程监控发布时间
- 6伪分布式Hadoop+Spark+Scala的搭建
- 7chromium 53 chrome 各个版本发布功能列表(85-108)
- 8python通过数据库实现简单的注册+登录_用python使用字符串作为数据库,模拟注册与登录
- 9微信小程序开发学习笔记《17》uni-app框架-tabBar_uniapp设置tabbar
- 10在pandas导入csv文件时出现 ‘utf-8‘ codec can‘t decode_pandas读取csv文件报错utf-8
Rust入门:GCC或VS2019中的c或c++程序如何调用Rust静态库_c++调用rust
赞
踩
首先创建一个rust的库,这里我假设命名为c-to-rust1
cargo new --lib c-to-rust1
其中,src/lib.rs的内容如下,
- #[no_mangle]
- pub extern "C" fn get_string() -> *const u8 {
- b"Hello C World\0".as_ptr()
- }
注解 #[no_mangle],它用于告诉 Rust 编译器:不要乱改函数的名称。 Mangling 原来的作用是:当 Rust 因为编译需要时会自动修改函数的名称,例如为了让名称包含更多的信息,这样其它的编译部分就能从该名称获取相应的信息,但这种修改会导致函数名变得相当不可读。因此,为了让 Rust 函数能顺利被其它语言调用,我们必须要禁止掉该功能。
然后,把cargo.toml的内容修改为,
- [package]
- name = "hello-c-world"
- version = "0.1.0"
- edition = "2021"
-
- [lib]
- crate-type = ["staticlib"]
再然后,执行命令,
cargo build --release这样,就会在target目录下生成lib文件,
target\release\hello_c_world.lib
这个lib文件,就是我们需要 提交给C或C++程序调用的文件。注意,我这里是windows系统,如果是在linux系统,应该是一个名叫libhello_c_world.a的文件。
再接下来,开始我们的C++程序main.cpp,内容如下,
- #include <stdio.h>
-
- // for main.c
- //extern const char *get_string(void);
-
- // for main.cpp
- extern "C" const char* get_string(void);
-
- int main()
- {
- const char *string = get_string();
- printf("%s\n", string);
- }
这里要注意,如果你使用的是main.c,那么就是C调用,直接使用
extern const char *get_string(void);
就可以了,如果你使用的是c++(cpp)那么就要显示的指明使用C调用,
extern "C" const char* get_string(void);
Gcc编译调用
在windows中使用gcc编译的指令如下,
gcc -L./target/release/ -o my_main src/main.cpp -lhello_c_world
然后你会得到一个my_main.exe文件,可以直接在cmd窗口中运行了。
附加说明:windows中gcc的安装
本人在windows中使用的是MSYS2,具体安装方法请参考:
https://code.visualstudio.com/docs/cpp/config-mingw
我把主要的安装步骤拷贝到下面
-
You can download the latest installer from the MSYS2 page or use this direct link to the installer.
-
Run the installer and follow the steps of the installation wizard. Note that MSYS2 requires 64 bit Windows 8.1 or newer.
-
In the wizard, choose your desired Installation Folder. Record this directory for later. In most cases, the recommended directory is acceptable. The same applies when you get to setting the start menu shortcuts step. When complete, ensure the Run MSYS2 now box is checked and select Finish. This will open a MSYS2 terminal window for you.
-
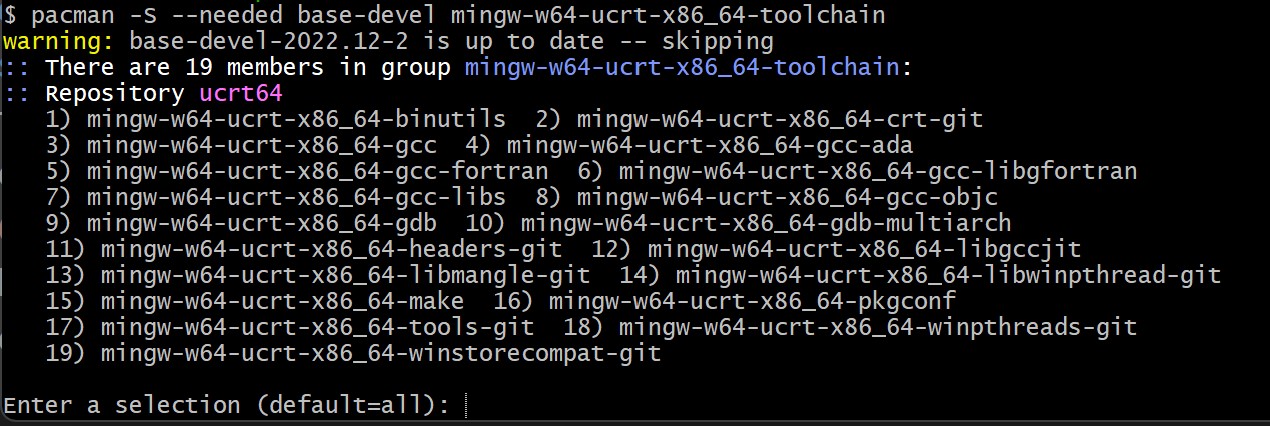
In this terminal, install the MinGW-w64 toolchain by running the following command:
pacman -S --needed base-devel mingw-w64-ucrt-x86_64-toolchain -
Accept the default number of packages in the
toolchaingroup by pressing Enter.
-
Enter
Ywhen prompted whether to proceed with the installation. -
Add the path to your MinGW-w64
binfolder to the WindowsPATHenvironment variable by using the following steps:- In the Windows search bar, type Settings to open your Windows Settings.
- Search for Edit environment variables for your account.
- In your User variables, select the
Pathvariable and then select Edit. - Select New and add the MinGW-w64 destination folder you recorded during the installation process to the list. If you used the default settings above, then this will be the path:
C:\msys64\ucrt64\bin. - Select OK to save the updated PATH. You will need to reopen any console windows for the new PATH location to be available
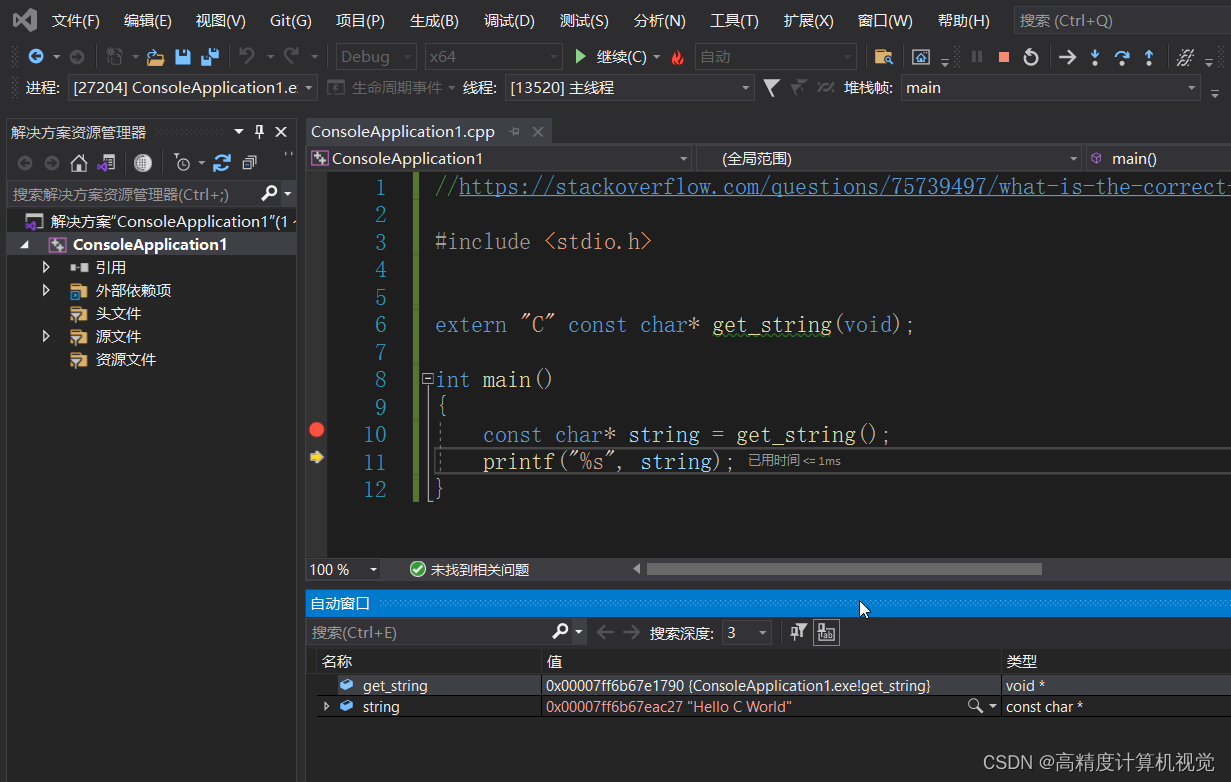
VS2019中调用Rust静态库
直接创建一个console application,同样建一个main.cpp文件,注意在属性中,配置属性->链接器->输入->附加依赖项 这条需要链接到hello_c_world.lib,如下图所示,

然后就可以正常编译调试了。

于我自己个人而言,在windows系统中我更推荐使用visual studio,调试起来更灵活方便。
本文结束


