热门标签
当前位置: article > 正文
Spring Boot 3.2.5 集成 MyBatisPlus_springboot 3.2.5 mybatis-plus
作者:小小林熬夜学编程 | 2024-06-07 20:14:24
赞
踩
springboot 3.2.5 mybatis-plus
前置条件,先连接好数据库,并且数据库里新建表插入几条数据
版本
Spring Boot 3.2.5
第一步,添加依赖
<dependency>
	<groupId>com.baomidou</groupId>
	<artifactId>mybatis-plus-spring-boot3-starter</artifactId>
	<version>3.5.5</version>
</dependency>
<dependency>
	<groupId>org.mybatis</groupId>
	<artifactId>mybatis-spring</artifactId>
	<version>3.0.3</version>
</dependency>
- 1
- 2
- 3
- 4
- 5
- 6
- 7
- 8
- 9
- 10
第二步,添加yml配置
mybatis-plus:
  mapper-locations: classpath*:/mapper/*Mapper.xml
  type-aliases-package: com.example.arrow_smart_toilet_back_01.mapper
  configuration:
    map-underscore-to-camel-case: true
    log-impl: org.apache.ibatis.logging.stdout.StdOutImpl
  global-config:
    banner: true
    db-config:
      id-type: auto
      logic-delete-field: deleted
      logic-not-delete-value: 0
      logic-delete-value: 1
  extension:
    enabled: true
    mapper-package: com.example.arrow_smart_toilet_back_01.mapper
    data-permission:
      enabled: true
- 1
- 2
- 3
- 4
- 5
- 6
- 7
- 8
- 9
- 10
- 11
- 12
- 13
- 14
- 15
- 16
- 17
- 18
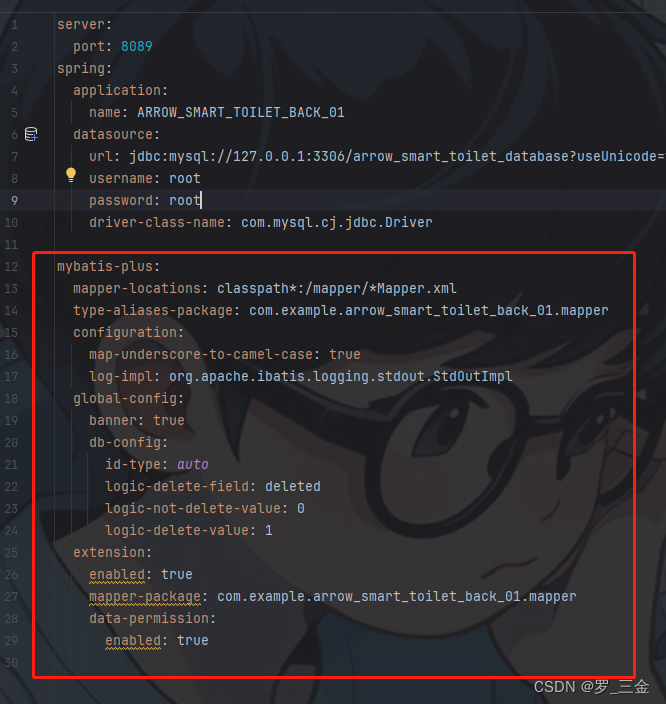
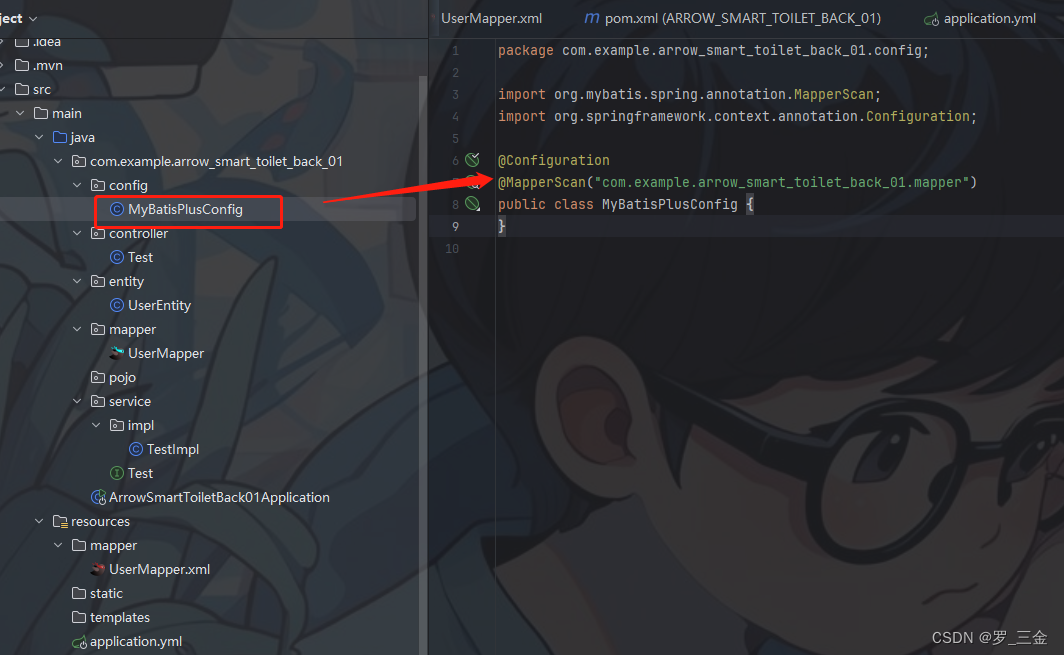
第三步,配置全局扫描mapper
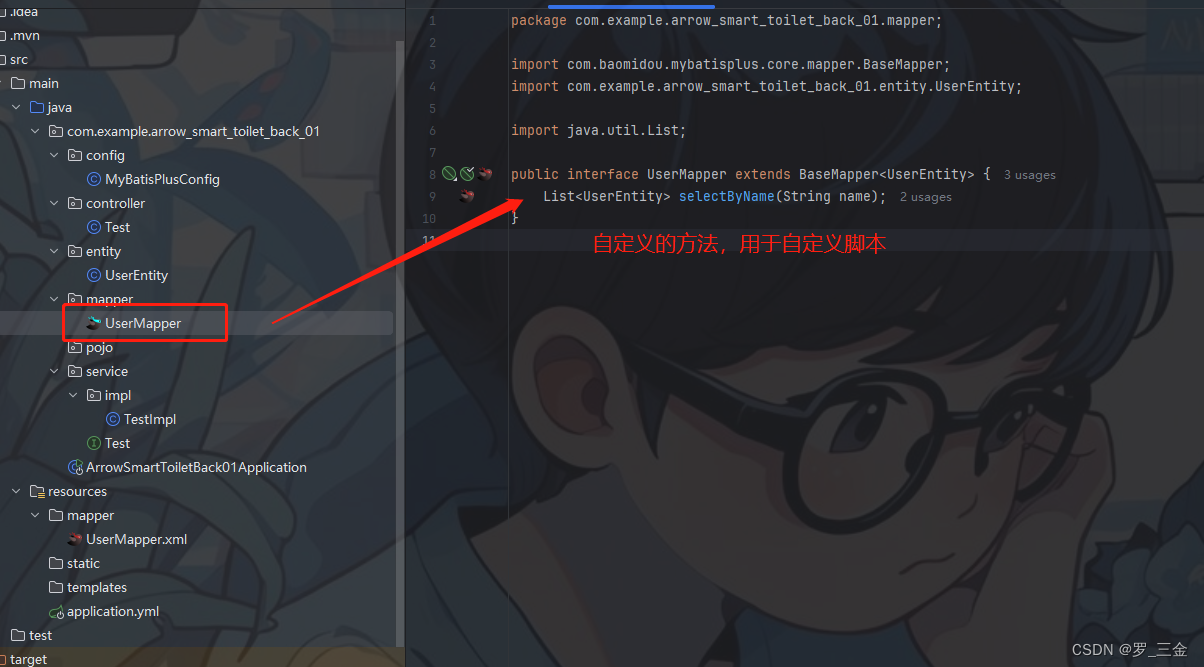
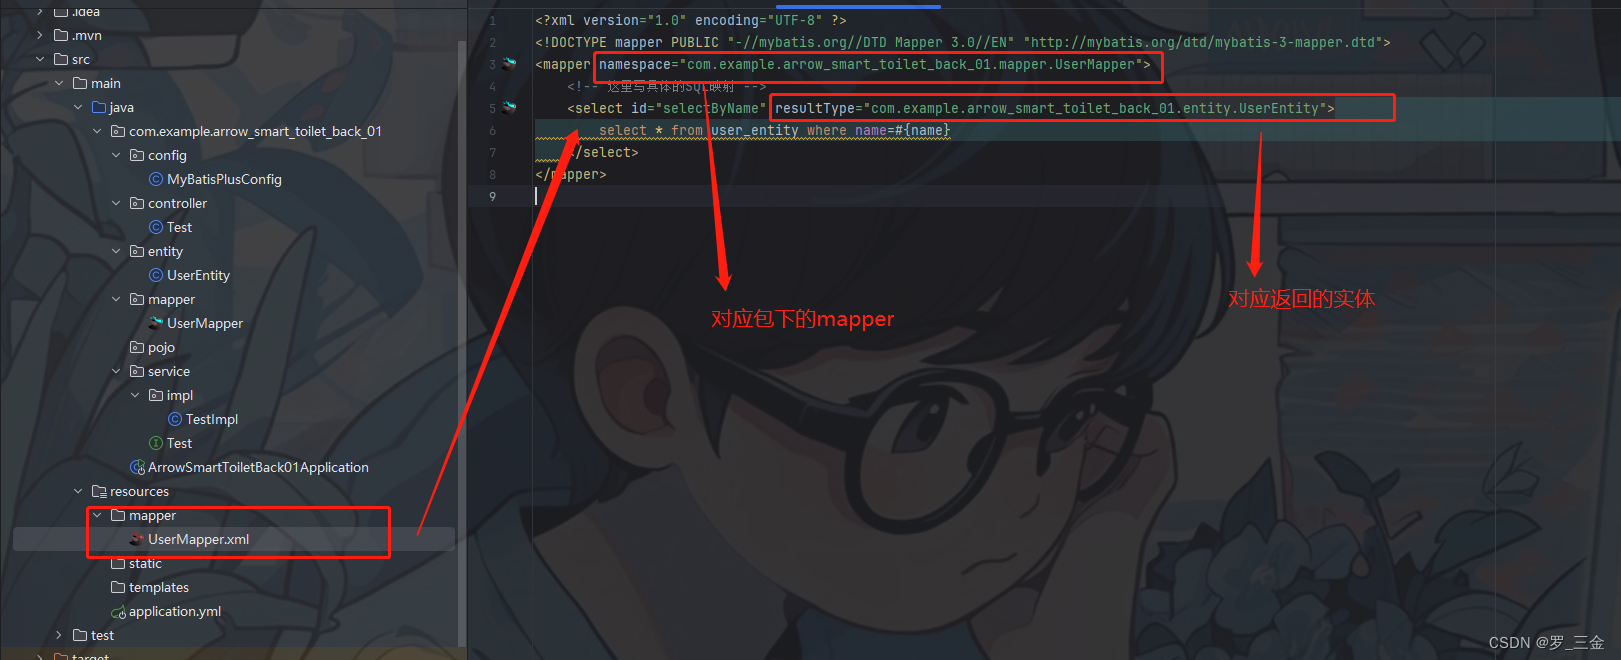
第四步,编写mapper代码,(如需自定义sql脚本需要在mapper.xml里编写sql代码)
第五步,测试代码并且访问接口
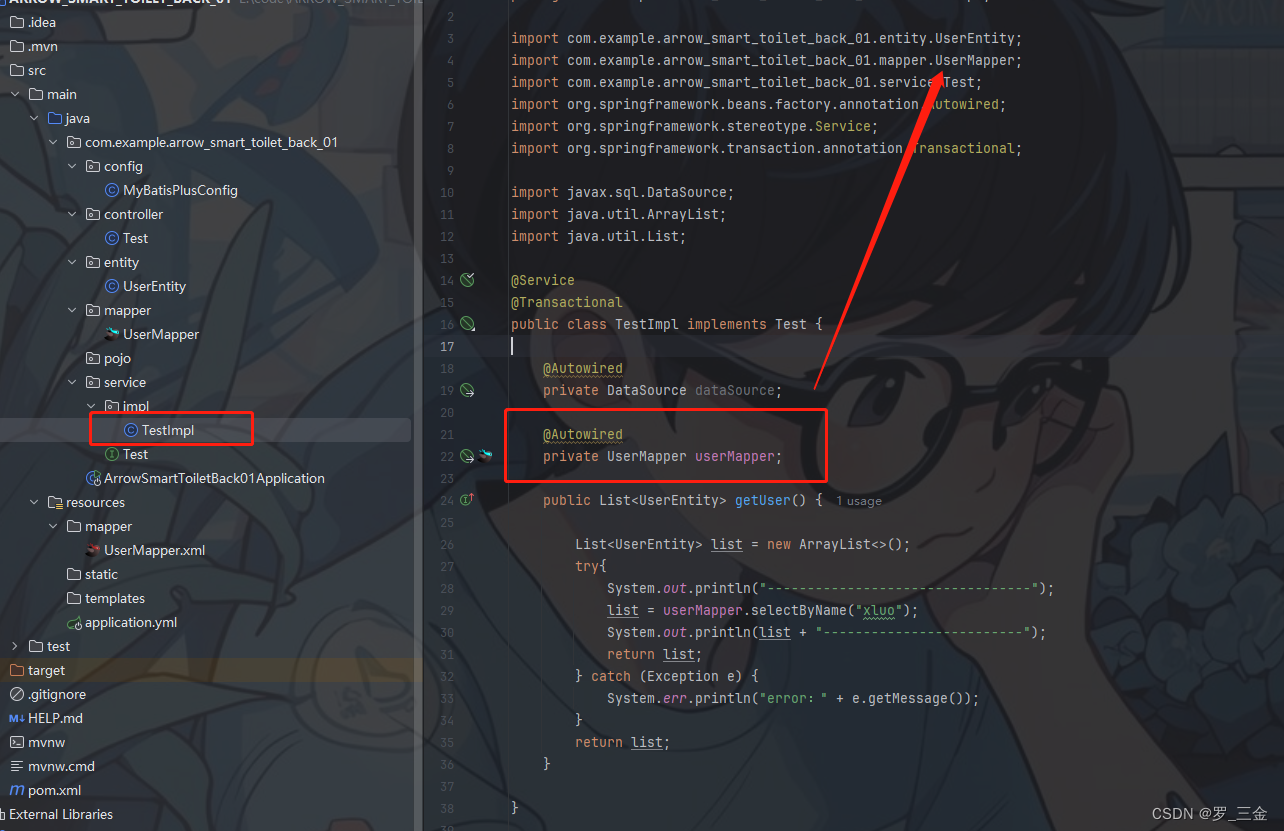


连接成功!希望对你有帮助!
声明:本文内容由网友自发贡献,不代表【wpsshop博客】立场,版权归原作者所有,本站不承担相应法律责任。如您发现有侵权的内容,请联系我们。转载请注明出处:https://www.wpsshop.cn/w/小小林熬夜学编程/article/detail/686864
推荐阅读
相关标签


