
热门标签
热门文章
- 1python学习 字符串_len("python\n编程\t很\t容易\t学会")
- 2新闻分类任务实战(自然语言处理经典案例实战)_自然语言处理案例代码
- 3【RabbitMQ】之高可用集群搭建
- 4Git 详细安装教程【图文讲解】_git安装教程图文详解
- 5向上管理(中高层核心能力的表现)_向上管理能力
- 6防护墙概述以及USG6000基础应用实验配置_usg6000e旁挂三层配置
- 7GQA数据集介绍
- 8在一台电脑上管理多个github、gitlab账号_一个电脑多个git账号 如何控制提交代码的git账号
- 9linux 安装 nacos 使用命令sh startup.sh -m standalone启动报错:
- 10智能零售柜商品识别从零开始使用YOLOv5+PyQt5+OpenCV实现(支持图片、视频、摄像头实时检测)_零售柜ai动态识别算法
当前位置: article > 正文
windows下安装pytorch1.7.1_pytorch1.7.1安装
作者:小蓝xlanll | 2024-04-22 13:49:17
赞
踩
pytorch1.7.1安装
前言
cuda11.0+pytorch1.7.1
一、安装好cuda和cudnn
具体的可以见:
https://blog.csdn.net/weixin_41891632/article/details/126583538?spm=1001.2014.3001.5502
二、安装pytorch
1.打开官网,安装对应合适的版本(cuda):
https://pytorch.org/get-started/previous-versions/
conda安装方式:
我的cuda版本是11.0的。要安装的pytorch是1.7.1的,直接找到对应的命令,复制下来:
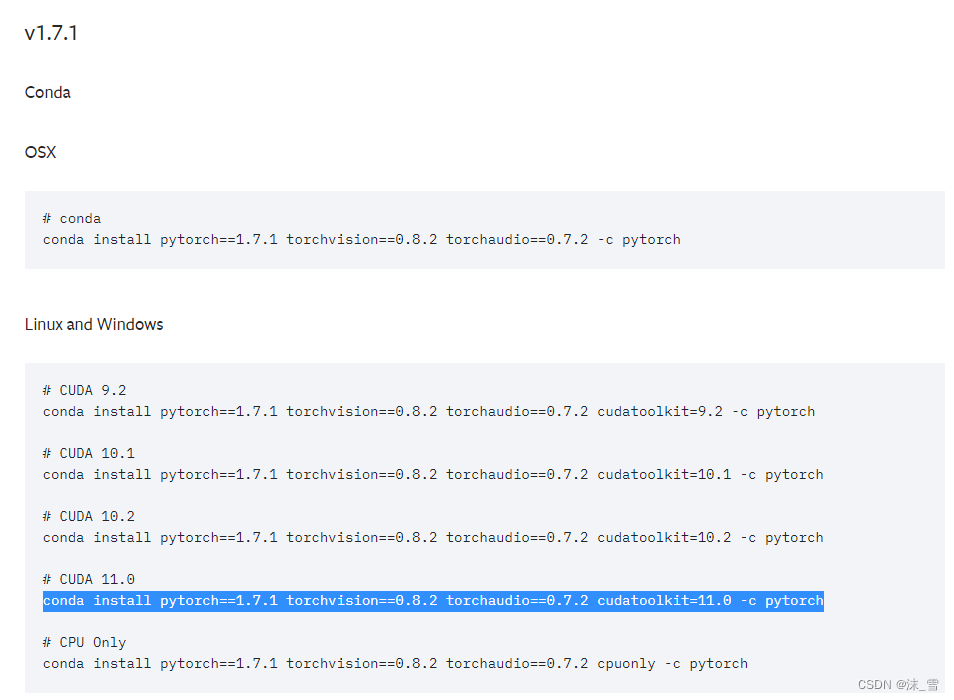
conda install pytorch==1.7.1 torchvision==0.8.2 torchaudio==0.7.2 cudatoolkit=11.0 -c pytorch
- 1
这里如果用-c后面的默认源,安装会很慢,可以换源:
打开这个网址:
https://mirrors.tuna.tsinghua.edu.cn/anaconda/cloud/pytorch/
选择自己的系统:
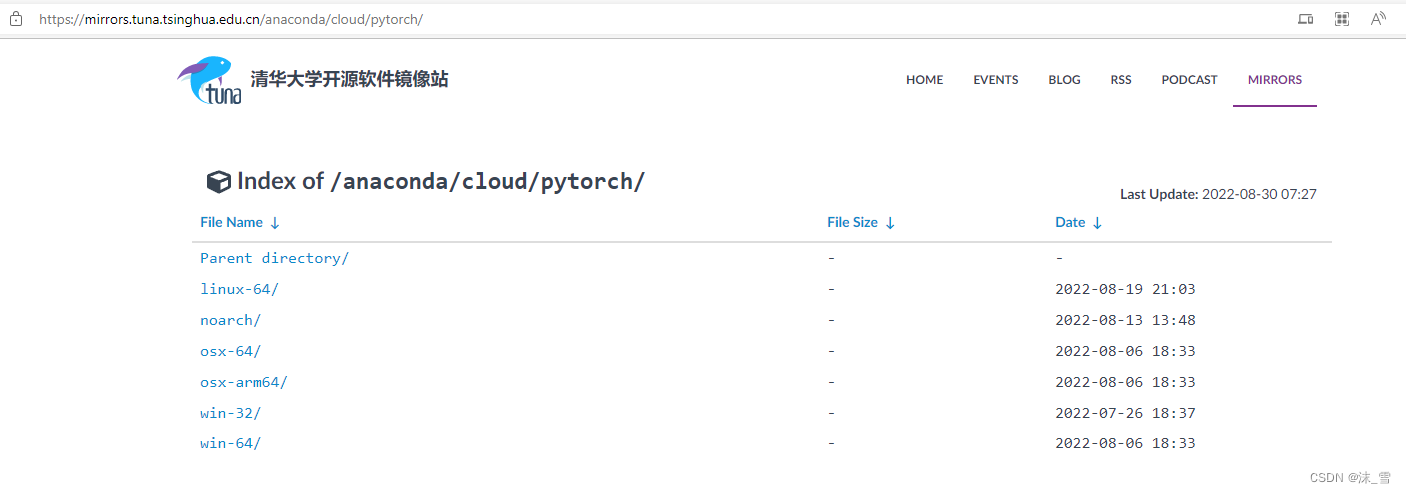
我这里是win10,64位:
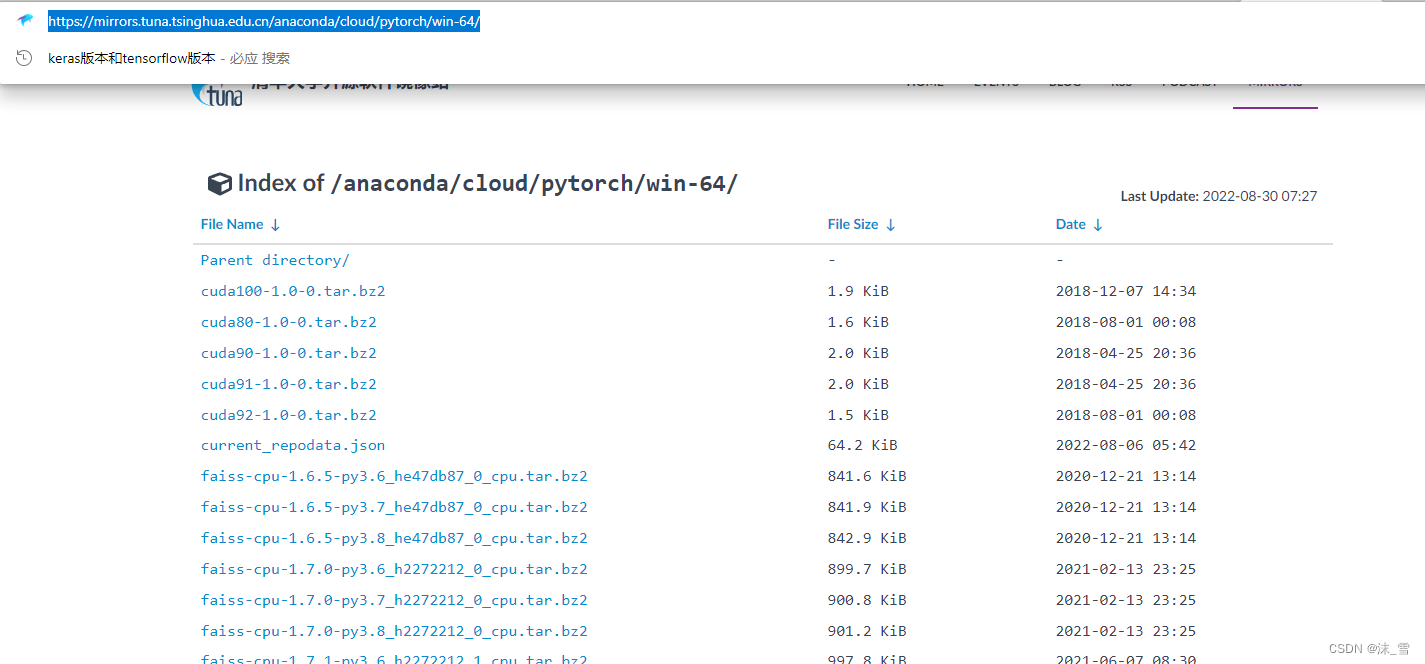
点开之后,复制这个网址,替换掉上面的-c后面内容:将-c pytorch更改为:
conda install pytorch==1.7.1 torchvision==0.8.2 torchaudio==0.7.2 cudatoolkit=11.0 -c https://mirrors.tuna.tsinghua.edu.cn/anaconda/cloud/pytorch/win-64/
- 1
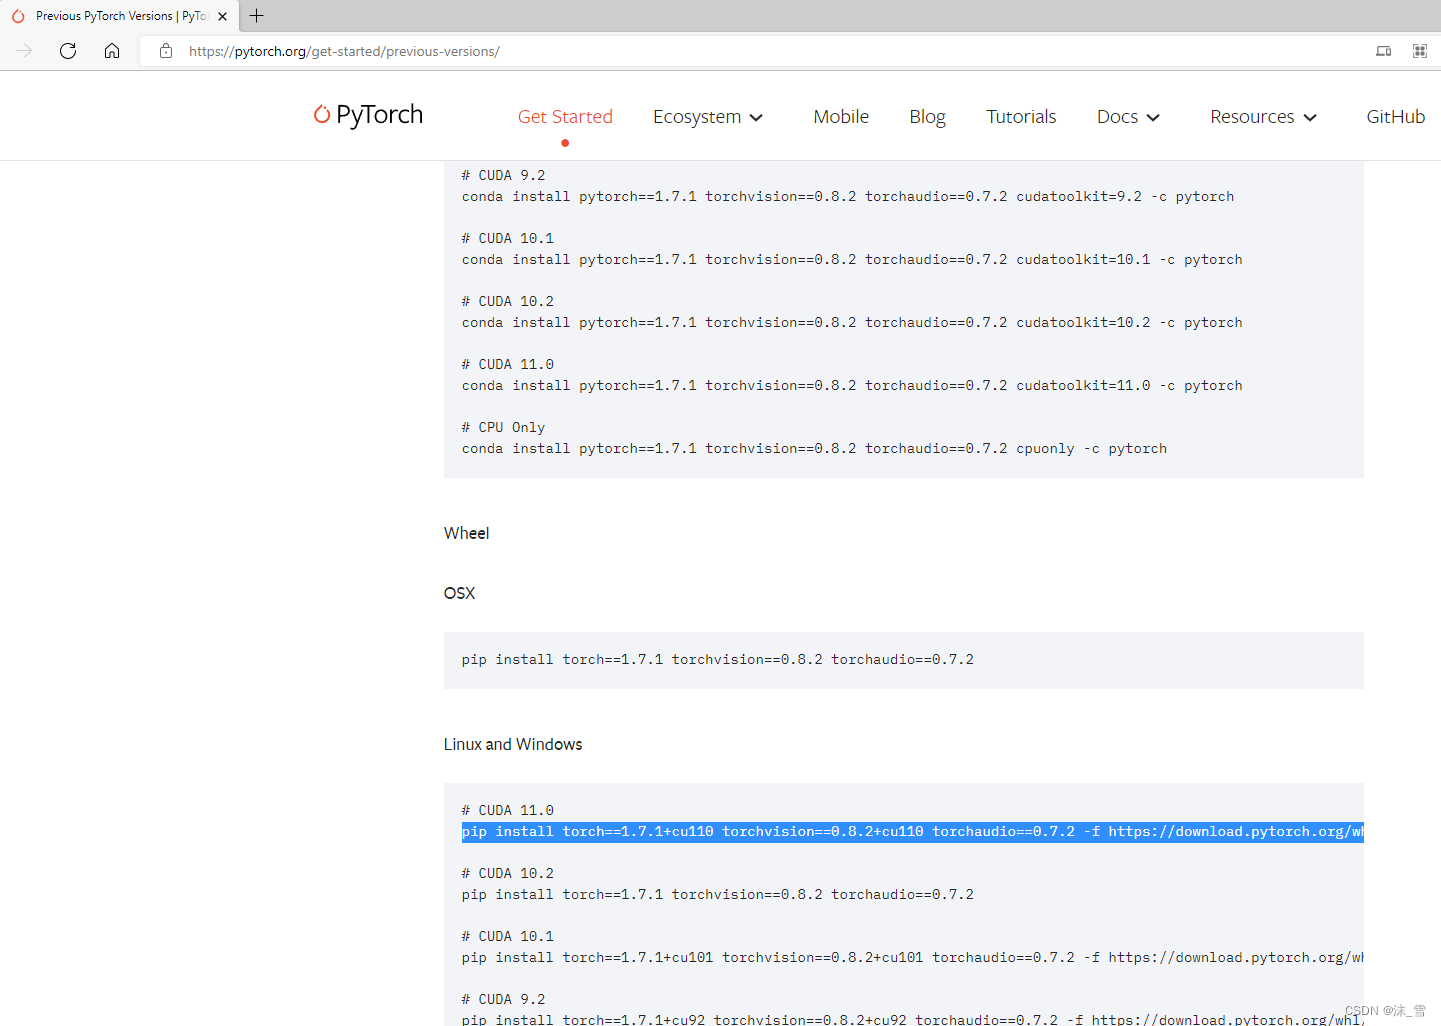
另外一种安装方式是pip安装,我这里用的是这种方式:
直接找到对应的pip安装命令,复制,我默认用的这个官方源,下载速度也还可以

在自己conda创建的环境中运行安装就行,我之前创建了一个tf2.4环境,在里面运行,安装成功
pip install torch==1.7.1+cu110 torchvision==0.8.2+cu110 torchaudio==0.7.2 -f https://download.pytorch.org/whl/torch_stable.html
- 1

2.测试是否安装成功:
代码如下(示例):
python

import torch
print(torch.__version__)

print(torch.version.cuda)
print(torch.backends.cudnn.version())

torch.cuda.is_available()
#cuda是否可用;

torch.cuda.device_count()
#返回gpu数量;

torch.cuda.get_device_name(0)
#返回gpu名字,设备索引默认从0开始;

torch.cuda.current_device()
#返回当前设备索引

- 1
- 2
- 3
- 4
- 5
- 6
- 7
- 8
- 9
- 10
- 11
- 12
- 13
- 14
- 15
- 16
- 17
- 18
- 19
- 20

备注:
1、安装pytorch可以参考官网:https://pytorch.org/get-started/previous-versions/
2、python中安装cv2太慢:pip install -i https://pypi.tuna.tsinghua.edu.cn/simple opencv-python
3、安装Notepad++: https://notepad-plus.en.softonic.com/
声明:本文内容由网友自发贡献,不代表【wpsshop博客】立场,版权归原作者所有,本站不承担相应法律责任。如您发现有侵权的内容,请联系我们。转载请注明出处:https://www.wpsshop.cn/w/小蓝xlanll/article/detail/468843
推荐阅读
相关标签

