- 1如何从github上下载文件并运行_如何打开一个github上下载的app
- 2基于机器学习数据分析聚类的早期糖尿病风险预测-毕业设计分享 完整代码数据可直接运行_基于某个数据集,利用所学机器学习算法(分类、回归、聚类等)实现数据的分析,论文糖
- 3spark—三层架构_控制层,服务层,持久层
- 4git上传遇到 “在签出前,请清理存储库工作树。”_在签出前,请清理仓库工作树。
- 5Java进阶笔记-日期与时间、包装类、正则表达式、Arrays类、常见算法、Lambda表达式枚举_java 正则匹配年月日时分秒
- 6MySQL之复制(十)
- 7C++ STL之queue详解_c++ stl queue
- 8linux部署yolov5_linux yolov5
- 9等保测评2.0——机房的安全物理环境_等保2.0对静电地板的要求
- 102024年最全【数据结构与算法】链表2W字终极无敌总结
【fly-iot飞凡物联】(4):在linux系统上搭建arduino环境,可以使用离线包,导入到arduino上即可。_arduino linux 开发平台
赞
踩
前言
本文的原文连接是:
https://blog.csdn.net/freewebsys/article/details/108971807
未经博主允许不得转载。
博主CSDN地址是:https://blog.csdn.net/freewebsys
博主掘金地址是:https://juejin.cn/user/585379920479288
博主知乎地址是:https://www.zhihu.com/people/freewebsystem
1,关于
下载:
https://www.arduino.cc/en/software
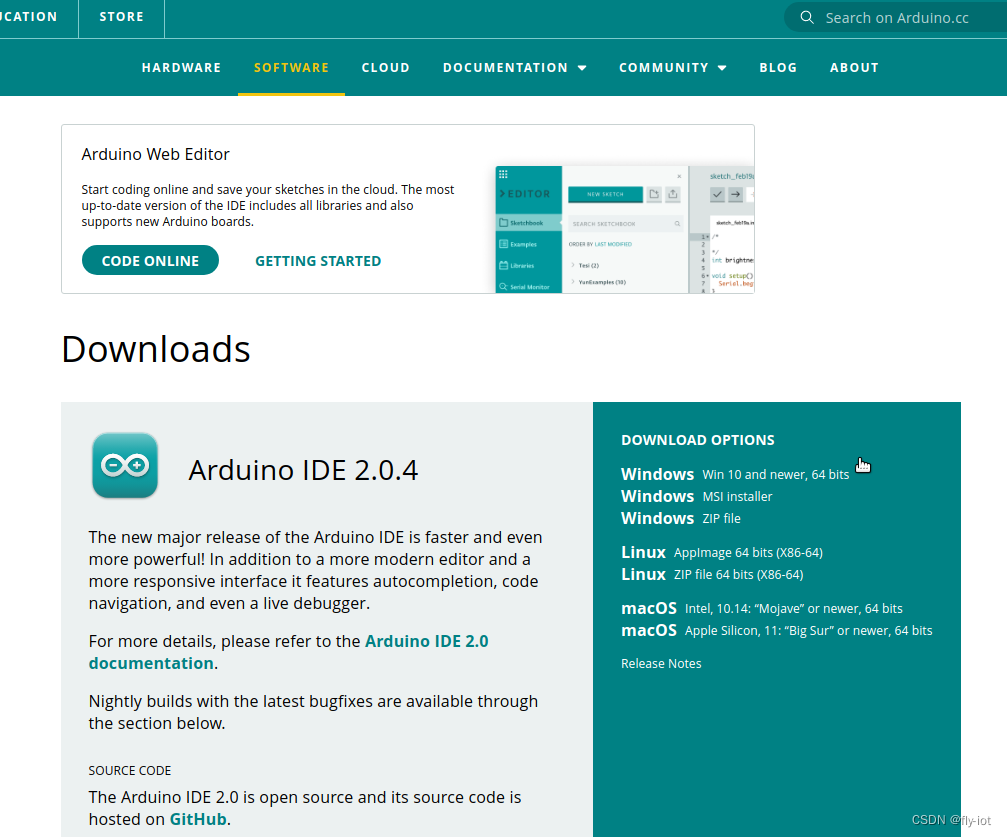
目前已经是2.0.4 的版本了。
在linux 上面直下载 appImage 的文件,就一个打包的。直接允许就行。
有些类库不找不到了。还是使用经典的比较好:
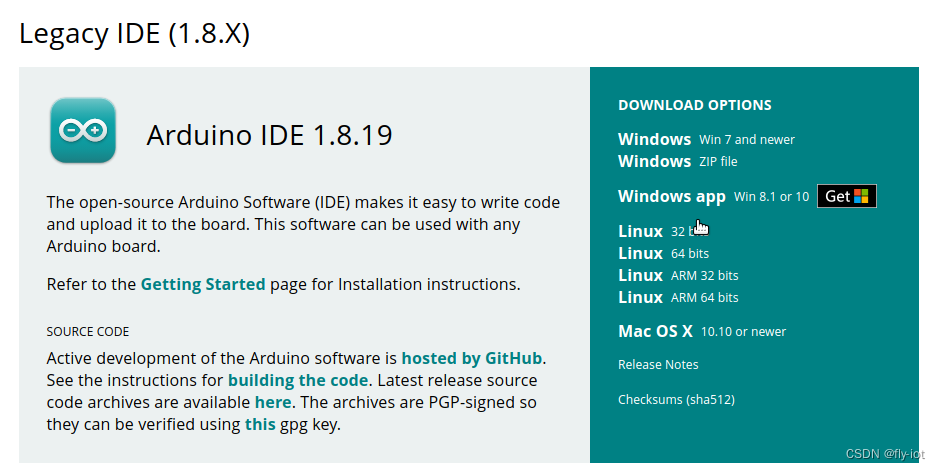
2,然后就可以找到ESP32,ESP8266的主版
设置扩展地址:
http://arduino.esp8266.com/stable/package_esp8266com_index.json
配置扩展地址之后,就可以找到ESP8266 了。
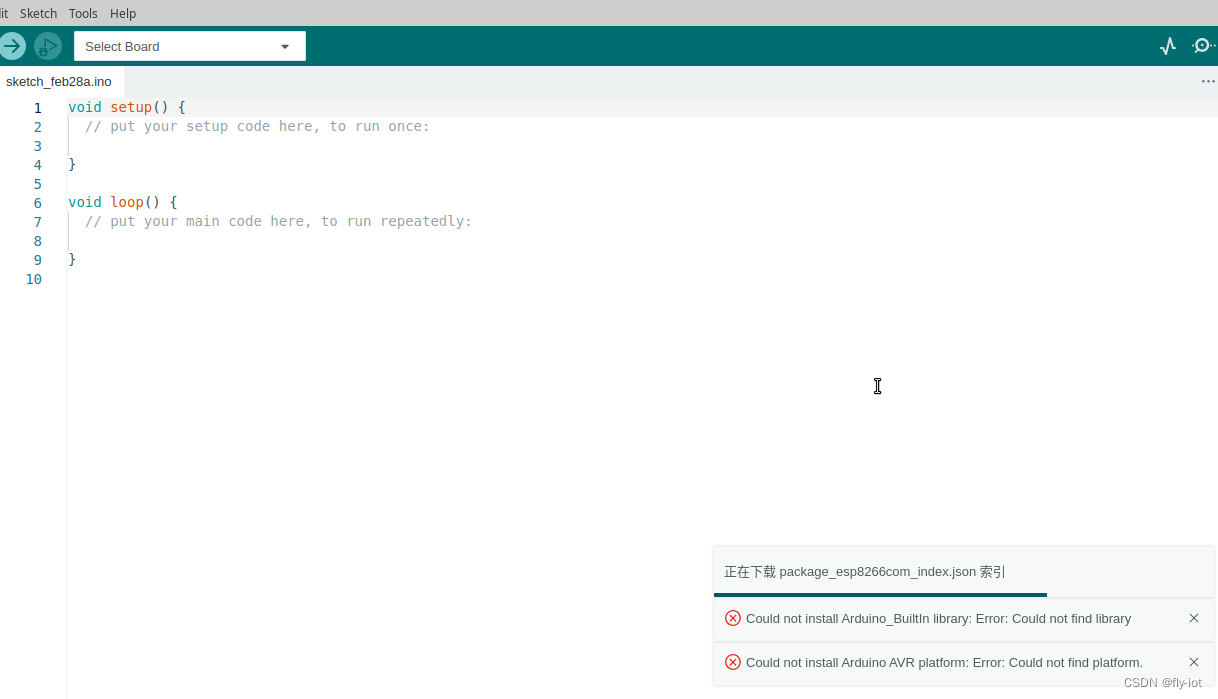
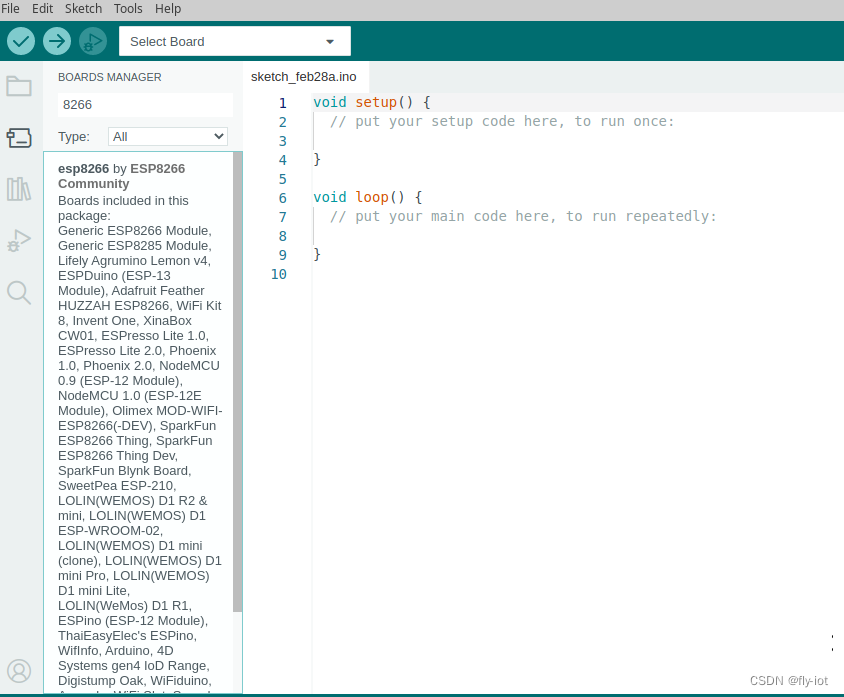
esp8266:python3@3.7.2-post1
Failed to install platform: esp8266:esp8266.
Error: 2 UNKNOWN: Get "https://github.com/earlephilhower/esp-quick-toolchain/releases/download/2.5.0-4/python3-via-env.tar.gz": dial tcp 20.205.243.166:443: connect: connection timed out
- 1
- 2
- 3
- 4
然后在用相同的方法,配置好 ESP32 的地址:
https://dl.espressif.com/dl/package_esp32_index.json
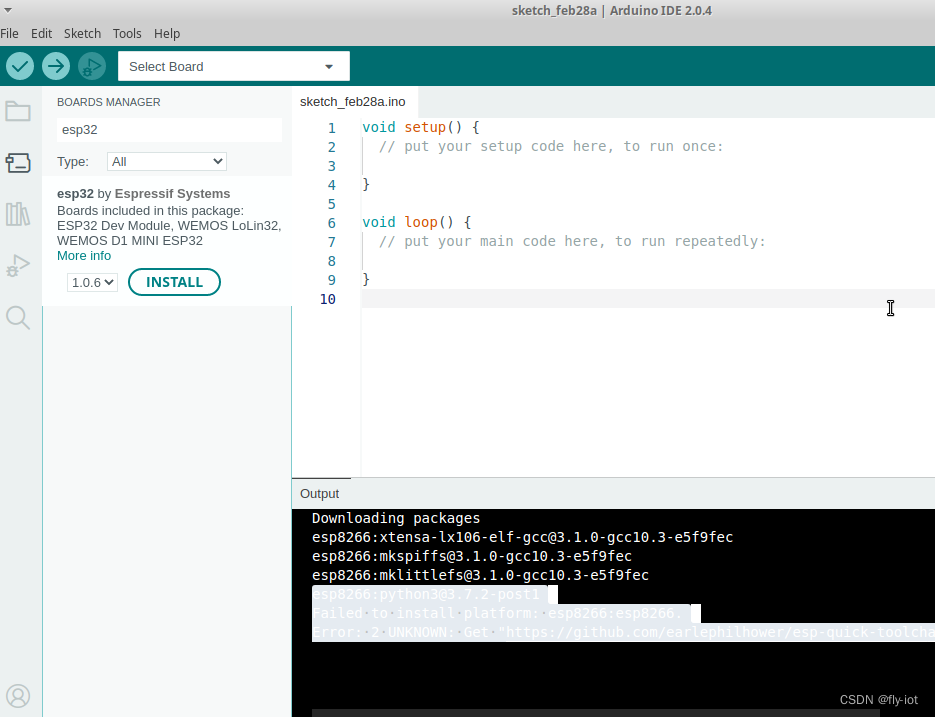
github 访问不太好,多试验几次就行。或者切换成其他网络。
Failed to install platform: esp32:esp32.
Error: 2 UNKNOWN: Get "https://github.com/espressif/arduino-esp32/releases/download/1.0.5-rc5/esptool-3.0.0.2-linux.tar.gz": unexpected EOF
- 1
- 2
- 3
3,方法2,github下载,然后手动添加到ide中吧
官方网站是这里:
https://github.com/espressif/arduino-esp32/releases
https://github.com/esp8266/Arduino/releases
已经有人总结好经验了:
https://blog.csdn.net/bolanlanlan/article/details/112289556
教程做的挺详细的。
4,总结
esp8266 的镜像还是新的,但是 esp32 的镜像地址居然是很老的。
最新的还是要从github上面下载,然后手动添加上最靠谱的。
没有折腾。
本文的原文连接是:
https://blog.csdn.net/freewebsys/article/details/108971807


