
- 1OpenCV中的图像基本操作--B站视频教程笔记(七)_opencv窗口截图 匹配算法 b站
- 2Java 面试题大全及答案大全(共 2000+,2022最新版)
- 3深度学习-目标检测YOLOV3 YOLOv4原理详解_yolov4是深度学习吗
- 4Javascript 基础知识学习_javascript学习
- 5OpenCV图像处理——阈值处理/二值化(python实现和c++实现)_opencv 二值化 c++
- 6《深入理解计算机系统》(CSAPP)读书笔记 —— 第二章 信息的表示和处理_csapp第二章笔记
- 7c语言用指针返回两个值,C语言的函数中,如何使用指针交换两个数的值,深入理解指针...
- 8c#学习笔记(一)c#注册与登录界面_c# 注册登录远吗
- 9考研中常见的算法-逆置
- 10校验ChatGPT 4真实性的三个经典问题:提供免费测试网站快速区分 GPT3.5 与 GPT4
Hexo-Matery主题细致美化_jjnlubmb7ki
赞
踩
文章目录
- Hexo-Matery主题美化
- 下载安装Matery主题
- 新建页面
- 添加 emoji 表情支持
- 代码高亮
- 主题的搜索功能
- 文章字数统计插件
- 添加 RSS 订阅支持
- 修改页脚
- 修改社交链接
- 修改打赏的二维码图片
- 配置音乐播放器
- 文章 Front-matter 介绍
- 自定制修改
- 其他一些个性DIY
- 修改网站背景图
- valine评论模块配置
- 新建文章模板修改
- 看板娘模块的安装和使用
- 添加博客天气插件
- 添加页面樱花飘落动效
- 关闭首页颜色变换
- 给卡片区添加背景
- Matery 添加加载动画
- 主页新增关注我的Bilibili
- **Hexo添加博客导航页
- **优化网站加载速度
- Hexo 博客订阅文章通知功能
- 修改博客标题在手机端的字体大小
- 阅读文章的密码验证功能 私密文章设置
- 添加ICP/公网安备案号
- 自定义字体
Hexo-Matery主题美化
在一番瞎改js代码后,终于无法忍受next主题,于是愤然投入Matery大家庭,结果证明,香!
下面是我记录的配置Matery主题的流程,仅供后来的师傅们参考。
大家可以来我Hexo博客主页看看具体效果 我的小站
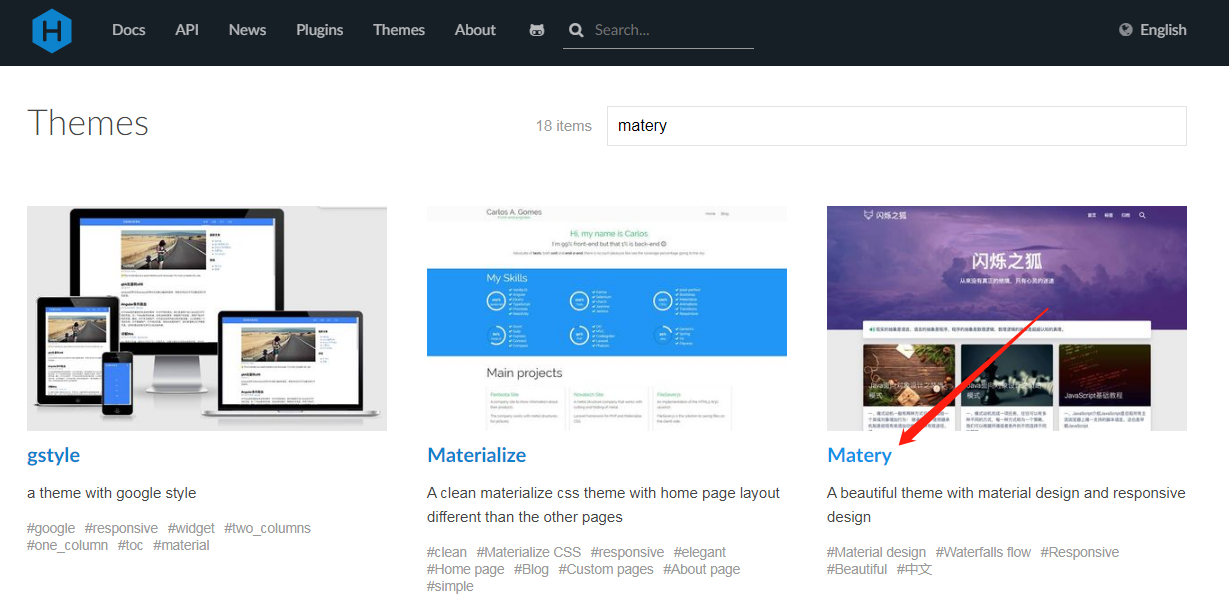
下载安装Matery主题
首先在hexo官网主题里面搜索Matery主题点击进入作者大大的github,然后下载 master 分支的最新稳定版的代码,解压缩后将 hexo-theme-matery 的文件夹重命名为matery,复制到Hexo 的 themes 文件夹中
可以在themes 文件夹下使用Git clone命令来下载:
git clone https://github.com/blinkfox/hexo-theme-matery.git
- 1
切换主题
下载完后,将站点配置文件中的 theme 值修改为你下载主题的文件名
# Extensions
## Plugins: https://hexo.io/plugins/
## Themes: https://hexo.io/themes/
theme: matery
- 1
- 2
- 3
- 4
一些其他在站点目录配置:
language: zh-CN网站的语言设置
url: https://www.guixinchn.cn 网站的网站(域名)
per_page: 12建议修改为 6 的倍数,主题排版比较好
新建页面
1、标签页
hexo new page "tags"
- 1
编辑新建的/source/tags/index.md文件
---
title: tags
date: 2020-02-23 19:37:07
type: "tags"
layout: "tags"
---
- 1
- 2
- 3
- 4
- 5
- 6
2、分类页
hexo new page "categories"
- 1
编辑新建的/source/categories/index.md文件
---
title: categories
date: 2020-02-23 19:37:07
type: "categories"
layout: "categories"
---
- 1
- 2
- 3
- 4
- 5
- 6
3、关于页面
hexo new page "about"
- 1
编辑新建的/source/about/index.md文件
---
title: about
date: 2020-02-23 19:37:07
type: "about"
layout: "about"
---
- 1
- 2
- 3
- 4
- 5
- 6
4、留言板
hexo new page "contact"
- 1
编辑新建的/source/contact/index.md文件
---
title: contact
date: 2020-02-23 19:37:07
type: "contact"
layout: "contact"
---
- 1
- 2
- 3
- 4
- 5
- 6
5、友情链接
hexo new page "friends"
- 1
编辑新建的/source/friends/index.md文件
---
title: friends
date: 2020-02-23 19:37:07
type: "friends"
layout: "friends"
---
- 1
- 2
- 3
- 4
- 5
- 6
然后在博客 source 目录下新建 _data 目录,在 _data 目录中新建 friends.json 文件,文件内容如下所示:
[
	{
	    "avatar": "https://cdn.jsdelivr.net/gh/guixinchn/image/blog/csdn.png",
	    "name": "Blog",
	    "introduction": "CSDN社区",
	    "url": "https://blog.csdn.net/guixinchn",
	    "title": "CSDN"
	},
	{
        "avatar": "https://cdn.jsdelivr.net/gh/guixinchn/image/blog/bokeyuan.png",
        "name": "Blog",
        "introduction": "博客园",
        "url": "https://www.cnblogs.com/guixinchn/",
        "title": "博客园"
	},
	{
	    "avatar": "https://cdn.jsdelivr.net/gh/guixinchn/image/blog/github.png",
	    "name": "github",
	    "introduction": "github",
	    "url": "https://github.com/guixinchn",
	    "title": "github"
	},
	{
	    "avatar": "https://cdn.jsdelivr.net/gh/guixinchn/image/blog/touxiang.jpg",
	    "name": "Blog",
	    "introduction": "咕咕星",
	    "url": "https://ythan.top",
	    "title": "咕咕星"
	}
]

- 1
- 2
- 3
- 4
- 5
- 6
- 7
- 8
- 9
- 10
- 11
- 12
- 13
- 14
- 15
- 16
- 17
- 18
- 19
- 20
- 21
- 22
- 23
- 24
- 25
- 26
- 27
- 28
- 29
- 30
6、添加 404 页面
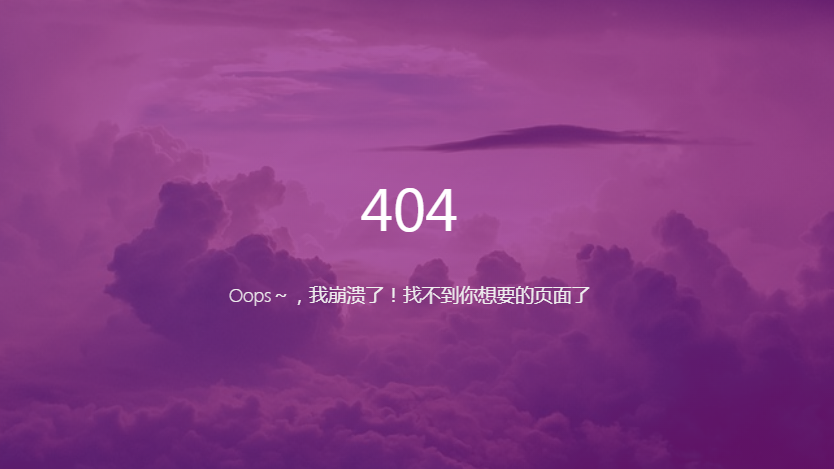
首先再站点根目录下的 source 文件夹下新建 404.md 文件,里面内容如下:
---
title: 404
date: 2020-02-23 19:37:07
type: "404"
layout: "404"
description: "Oops~,我崩溃了!找不到你想要的页面了"
---
- 1
- 2
- 3
- 4
- 5
- 6
- 7
紧接着再新建主题文件夹的 layout 目录下新建 404.ejs 文件,添加内容如下:
<style type="text/css">
    /* don't remove. */
    .about-cover {
        height: 90.2vh;
    }
</style>
<div class="bg-cover pd-header about-cover">
    <div class="container">
        <div class="row">
            <div class="col s10 offset-s1 m8 offset-m2 l8 offset-l2">
                <div class="brand">
                    <div class="title center-align">
                        404
                    </div>
                    <div class="description center-align">
                        <%= page.description %>
                    </div>
                </div>
            </div>
        </div>
    </div>
</div>

<script>
    // 每天切换 banner 图.  Switch banner image every day.
    $('.bg-cover').css('background-image', 'url(/medias/banner/' + new Date().getDay() + '.jpg)');
</script>
- 1
- 2
- 3
- 4
- 5
- 6
- 7
- 8
- 9
- 10
- 11
- 12
- 13
- 14
- 15
- 16
- 17
- 18
- 19
- 20
- 21
- 22
- 23
- 24
- 25
- 26
- 27
7、添加自定义页面
首先在站点目录下的 source 文件夹下新建 aboutme 文件,文件名可自定义,然后编写一个 index.html 放入 aboutme 文件夹下,然后在主题配置文件下的导航配置信息添加下面的配置:
About:
    url: /
    icon: fas fa-address-card
    children:
      - name: 关于我
        url: /about
        icon: fas fa-user-circle
      - name: Another    #这是新添加的,在原有配置基础上添加
        url: /aboutme
        icon: fa fa-user-secret
- 1
- 2
- 3
- 4
- 5
- 6
- 7
- 8
- 9
- 10
然后在站点配置文件下,找到 skip_render,在后面添加属性,如下:
# 其意思为在对文件进行渲染时跳过aboutme文件下的所有文件
skip_render:
    - aboutme/**
    - aaa/**
    - bbb/**
- 1
- 2
- 3
- 4
- 5
配置菜单导航
配置基本菜单导航的名称、路径 url 和图标 icon.
图标 icon 可以在 Font Awesome 中查找
# main menu navigation url and icon
# 配置菜单导航的名称、路径和图标icon.
menu:
  Index:
    url: /
    icon: fas fa-home
  Tags:
    url: /tags
    icon: fas fa-tags
  Categories:
    url: /categories
    icon: fas fa-bookmark
  Archives:
    url: /archives
    icon: fas fa-archive
  About:
    url: /about
    icon: fas fa-user-circle
  Contact:
    url: /contact
    icon: fas fa-comments
  Friends:
    url: /friends
    icon: fas fa-address-book
- 1
- 2
- 3
- 4
- 5
- 6
- 7
- 8
- 9
- 10
- 11
- 12
- 13
- 14
- 15
- 16
- 17
- 18
- 19
- 20
- 21
- 22
- 23
- 24
二级菜单配置方法
如果你需要二级菜单则可以在原基本菜单导航的基础上如下操作
1.在需要添加二级菜单的一级菜单下添加children关键字(如:About菜单下添加children)
2.在children下创建二级菜单的 名称name,路径url和图标icon.
3.注意每个二级菜单模块前要加 -.
4.注意缩进格式
menu:
  Index:
    url: /
    icon: fas fa-home
  Tags:
    url: /tags
    icon: fas fa-tags
  Categories:
    url: /categories
    icon: fas fa-bookmark
  Archives:
    url: /archives
    icon: fas fa-archive
  About:
    url: /about
    icon: fas fa-user-circle-o
  Friends:
    url: /friends
    icon: fas fa-address-book
  Medias:
    icon: fas fa-list
    children:
      - name: Musics
        url: /musics
        icon: fas fa-music
      - name: Movies
        url: /movies
        icon: fas fa-film
      - name: Books
        url: /books
        icon: fas fa-book
      - name: Galleries
        url: /galleries
        icon: fas fa-image
- 1
- 2
- 3
- 4
- 5
- 6
- 7
- 8
- 9
- 10
- 11
- 12
- 13
- 14
- 15
- 16
- 17
- 18
- 19
- 20
- 21
- 22
- 23
- 24
- 25
- 26
- 27
- 28
- 29
- 30
- 31
- 32
- 33
- 34
添加 emoji 表情支持
需要安装插件 hexo-filter-github-emojis
npm install hexo-filter-github-emojis --save
- 1
没成功
在 Hexo 根目录下的 _config.yml 文件中,新增以下的配置项:
githubEmojis:
  enable: true
  className: github-emoji
  inject: true
  styles:
  customEmojis:
- 1
- 2
- 3
- 4
- 5
- 6
- mysql分页和排序_mysql分页mysql分页一、分页1.概念分页就是指在数据库获取数据时,只获得我们所需的数据条目2.limitselect*frombook_pwherepid=1limit0,2; 从0开始获取两条pid... [详细]
赞
踩
- 点击上方“小白学视觉”,选择加"星标"或“置顶”重磅干货,第一时间送达Datawhale干货来源:Tianchi,内容:Docker环境配置Docker是一个开源的引擎,可以轻松的为任何应用创建一个轻量级的、可移植的、自给自足的容器。开发者... [详细]
赞
踩
- 84.柱状图中最大的矩形给定n个非负整数,用来表示柱状图中各个柱子的高度。每个柱子彼此相邻,且宽度为1。求在该柱状图中,能够勾勒出来的矩形的最大面积。解题思路:我们可以遍历数组中的每一个元素,将该元素作为矩形的高,则矩形的长则是两边元素首先... [详细]
赞
踩
- 图片如果设计跨域,那么需要在img标签上增加crossorigin,同时对应的图片服务器也要增加允许跨域,缺一不可.第一种,import载入图片。第二种,newImage实例。colorThief+vite+react使用方法 官... [详细]
赞
踩
- 复制“计算机”证书模板,名称为“计算机副本”,申请并颁发一张供windows服务器使用的证书,证书友好名称为pc,(将证书导入到需要证书的windows服务器),证书信息:证书有效期=5年,公用名=skills.com,国家=CN,省=Be... [详细]
赞
踩
- 1:如果Win7系统封装母盘是Administrator账户,可以直接封装,如果使用的是其他账户,需要先启用Administrator账户,然后注销账户进入Administrator账户中删除其他账户后再封装。注:如果点击【断开连接】出现如... [详细]
赞
踩
- 2019年第十届蓝桥杯省赛A组(C/C++组)题目分析+赛后总结+题解答案_蓝桥杯省赛题c++青少蓝桥杯省赛题c++青少获取更多题解,算法讲解欢迎关注公众号:算法梦工厂试题A:平方和【问题描述】:小明对数位中含有2、0、1、9的数字很感兴趣... [详细]
赞
踩
- 分割与合并的思想1.分割:和安卓多线程下载类似,首先将文件长度按N段分,然后将每段文件读取并写入到相应的临时文件,以达到分割的目的2.合并:将每段临时文件依次读取,然后写入到要合并成的新文件_c语言注释块分割c语言注释块分割分割与合并的思想... [详细]
赞
踩
- 1修改C:\Windows\System32\drivers\etc的hosts文件2如图修改3.刷新DNS在cmd中运行ipconfig/flushdns转:https://www.jianshu.com/p/0493dcc15d6f转载... [详细]
赞
踩
- 常规操作:uname-r、uname-a,然后就没有然后了,一起来看一下更全的操作命令吧!_查看内核版本查看内核版本前言常规操作:uname-r 、uname-a,然后就没有然后了,一起来看一下更全的操作命令吧!一、内核版本查看&... [详细]
赞
踩
- 【输入】H3el5o2【输出】HHHellllloo#include
#include usingnamespacestd;intmain(){charch[100];cin>>ch;intlen;len... [详细] 赞
踩
- Domino中的源代码管理工具_domino如何看nsf的代码行数domino如何看nsf的代码行数大家好,才是真的好。上次Notes/Domino14Drop2发布的时候,我们就提到,HCL一起发布了一款源代码管理工具。这里还是简单科普一... [详细]
赞
踩
- 在瘦AP+无线控制器(AC)的方案中,所有的AP都由AC统一控制。随着瘦AP方案迅速得到普及,各个厂商之间的兼容性变得越来越重要,这是制定CAPWAP协议的主要原因,目的是AC可以控制不同厂商的AP,但是现在还未能实现。_在瘦ap与ac通讯... [详细]
赞
踩
- 阮一峰JavaScript教程读书笔记——异步操作1.单线程模型JavaScript单线程(为了避免浏览器复杂性,锁机制),不代表JavaScript引擎只有一个线程。JavaScript引擎有多个线程,单个脚本只能在一个线程上运行(称为主... [详细]
赞
踩
- 上传npm包到私有nexus仓库中《解决服务端安装npm依赖失败的问题》1.问题背景:最近在做后台管理系统时候,做富文本编辑器,使用到了最新版本的"tinymce":"^6.1.0"包。在本地安装使用没有任何问题。最近要弄自动化部署,结果提... [详细]
赞
踩
- MySQL中如何实现分页操作?MySQL如何规定查询显示的条数?MySQL查询现实的条数太多?如何显示指定条数?看完本文相信你会得到答案。_mysql分页mysql分页MySQL中的分页操作一、背景什么是分页,就是查询时候数据量太大,一次性... [详细]
赞
踩
- 分页查询,就是将将过多的结果在有限的界面上分好多页来显示,这个是很多网站常用的功能,也是最基本的功能,今天简单总结一下。分页以前听人们说都是一项技术,但是我觉的不尽然。我认为分页是将数据库的数据,利用一些特殊的sql语句来进行查询,显示理所... [详细]
赞
踩
- nexus3maven仓库迁移,nexus3mavensnapshot仓库迁移,snapshot仓库迁移,maven仓库迁移_nexus3仓库迁移nexus3仓库迁移迁移背景:从nexus3.33升级到nexus3.64过程中,私服mave... [详细]
赞
踩
- 点击蓝字关注我们国内Vue那么火,为什么大厂都以React居多?其实框架并没有好坏之分,只有适不适合。比如是比较小的项目,那肯定是用Vue更合适,毕竟在业务不复杂的情况下,V..._为什么大厂react为什么大厂react点击蓝字关注我们国... [详细]
赞
踩
- 太久没玩iOS代码了,今天编译真机中运行发现以下两个问题:1.CommunicationwithApplefailed.Youcurrentlydon'thaveaccesstothismembershipresource.Toresolv... [详细]
赞
踩
Copyright © 2003-2013 www.wpsshop.cn 版权所有,并保留所有权利。

