- 1Payoneer注册、收款、提现常见问题_payoneer提现手续费
- 2PCL库教程_pcl教程
- 3面试题整理_es查看执行计划
- 4李宏毅LLM——生成式学习的两种策略_llm生成式 模板 学习
- 5ChatGPT又多了一个强有力的竞争对手:Meta发布Llama 3开源模型!附体验地址_meta ai llama 3模型下载
- 6Redux详解(二)
- 7Linux部署自动化运维平台Spug_运维自动部署平台
- 8jmeter最大请求数_jmeter 测试某网页最大并发用户数;
- 9【Thunder送书 | 第三期 】「Python系列丛书」_python从入门到精通(微课精编版)怎么样
- 10微信小程序点餐系统的开发与实现_基于微信小程序点餐系统设计与实现
OpenCV图像处理基础(变换和去噪),2024最新Python面试题及答案
赞
踩

#将图像转换为灰度图像
show_img_1 = cv2.cvtColor(img,cv2.COLOR_BGR2GRAY)
plt.imshow(show_img_1,cmap=plt.cm.gray)
#打印图像形状
print(show_img_1.shape)
plt.show()
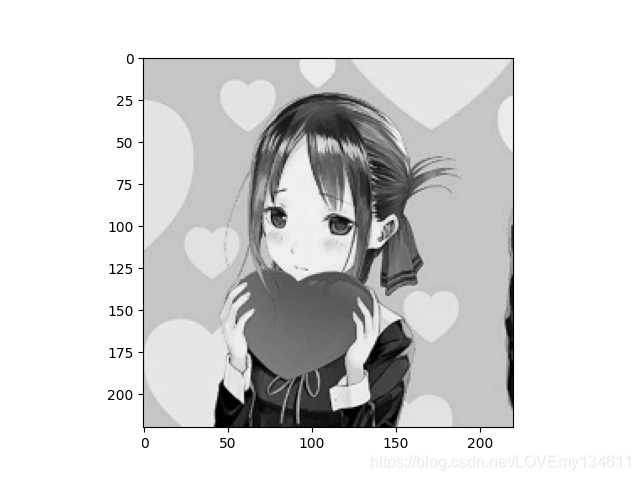
图像变换在深度学习中常用于图像增强。
仿射变换
仿射变换可以进行缩放、旋转、平移、裁剪和翻转。总计而言,仿射变换会保留图中直线的平直性和平行性。表示成矩阵形式:
[ x ^ y ^ 1 ] = [ a 1 a 2 t 1 a 3 a 4 t 2 0 0 1 ] × [ x y 1 ]
其中 [ a 1 a 2 a 3 a 4 ]
在OpenCV中可以使用WarpAffine函数进行仿射变换。
wrapAffine(src, M, dsize, flags, borderMode, borderValue)
参数:
src: 源图像
M: 仿射变换矩阵
dsize: 输出图像大小
flags: 插值方式
borderMode: 边界像素模式
borderValue: 边界填充值
同时为了更方便的使用,使用函数getRotationMatrix2D可以方便生成变换矩阵:
getRotationMatrix2D(center, angle, scale)
参数:
center: 旋转中心
angle: 旋转角度
scale: 缩放系数
图像缩放
show_img_3 = cv2.resize(img, (200,200))
plt.imshow(show_img_3)
plt.show()

rows, cols, _ = img.shape
matrix = cv2.getRotationMatrix2D((cols/2,rows/2),0,0.5)
show_img_4 = cv2.warpAffine(img,matrix,(cols,rows))
plt.imshow(show_img_4)
plt.show()

图像旋转
matrix = cv2.getRotationMatrix2D((cols/2,rows/2),90,1)
show_img_5 = cv2.warpAffine(img,matrix,(cols,rows))
matrix = cv2.getRotationMatrix2D((cols/2,rows/2),180,1)
show_img_6 = cv2.warpAffine(img,matrix,(cols,rows))
matrix = cv2.getRotationMatrix2D((cols/2,rows/2),270,1)
show_img_7 = cv2.warpAffine(img,matrix,(cols,rows))
plt.subplot(131)
plt.imshow(show_img_5)
plt.subplot(132)
plt.imshow(show_img_6)
plt.subplot(133)
plt.imshow(show_img_7)
plt.show()

图像平移
import numpy as np
matrix = np.float32([[1,0,25],[0,1,25]])
show_img_8 = cv2.warpAffine(img,matrix,(cols,rows))
matrix = np.float32([[1,0,50],[0,1,50]])
show_img_9 = cv2.warpAffine(img,matrix,(cols,rows))
matrix = np.float32([[1,0,100],[0,1,0]])
show_img_10 = cv2.warpAffine(img,matrix,(cols,rows))
plt.subplot(131)
plt.imshow(show_img_8)
plt.subplot(132)
plt.imshow(show_img_9)
plt.subplot(133)
plt.imshow(show_img_10)
plt.show()

图像裁剪
#[左上角x轴坐标:右下角x轴坐标,左上角y轴坐标:右下角y轴坐标]
show_img_11 = img[50:150,50:150]
plt.imshow(show_img_11)
plt.show()

图像翻转
srcPoints = np.float32([[0,0],[0,150],[200,200]])
canvasPoints = np.float32([[0,0],[0,150],[150,150]])
matrix = cv2.getRotationMatrix2D((0,0),0,0.5)
show_img_12 = cv2.warpAffine(img,matrix,(cols,rows))
plt.subplot(121)
plt.imshow(show_img_12)
matrix = cv2.getAffineTransform(np.array(srcPoints),np.array(canvasPoints))
show_img_13 = cv2.warpAffine(img,matrix,(cols,rows))
plt.subplot(122)
plt.imshow(show_img_13)
plt.show()

亮度与对比度变换
通过调整像素值来改变图像亮度和对比度:
f ( x ^ ) = α f ( x ) + β f(\hat x)=\alpha f(x) + \beta f(x^)=αf(x)+β
α \alpha α用于调整对比度, β \beta β用于调整亮度。
#调整亮度
show_img_14 = np.uint8(np.clip((img+20),0,255))
#调整对比度
show_img_15 = np.uint8(np.clip((1.5*img),0,254))
plt.subplot(121)
plt.imshow(show_img_14)
plt.subplot(122)
plt.imshow(show_img_15)
plt.show()

常见噪声包括高斯噪声和椒盐噪声。
高斯噪声
噪声的概率密度符合高斯分布的图片噪声称为高斯噪声。
def gasuss_noise(image, mean=0, var=0.001):
‘’’
添加高斯噪声
mean : 均值
var : 方差
‘’’
image = np.array(image/255, dtype=float)
noise = np.random.normal(mean, var ** 0.5, image.shape)
out = image + noise
if out.min() < 0:
low_clip = -1.
else:
low_clip = 0.
out = np.clip(out, low_clip, 1.0)
out = np.uint8(out*255)
#cv.imshow(“gasuss”, out)
return out
show_img_16 = gasuss_noise(img,var=0.01)
show_img_17 = gasuss_noise(img,var=0.04)
plt.subplot(121)
plt.imshow(show_img_16)
plt.subplot(122)
plt.imshow(show_img_17)
plt.show()

椒盐噪声
椒盐噪声是指图片中包含白色的盐噪声和黑色的胡椒噪声。
def sp_noise(image,prob):
‘’’
自我介绍一下,小编13年上海交大毕业,曾经在小公司待过,也去过华为、OPPO等大厂,18年进入阿里一直到现在。
深知大多数Python工程师,想要提升技能,往往是自己摸索成长或者是报班学习,但对于培训机构动则几千的学费,着实压力不小。自己不成体系的自学效果低效又漫长,而且极易碰到天花板技术停滞不前!
因此收集整理了一份《2024年Python开发全套学习资料》,初衷也很简单,就是希望能够帮助到想自学提升又不知道该从何学起的朋友,同时减轻大家的负担。
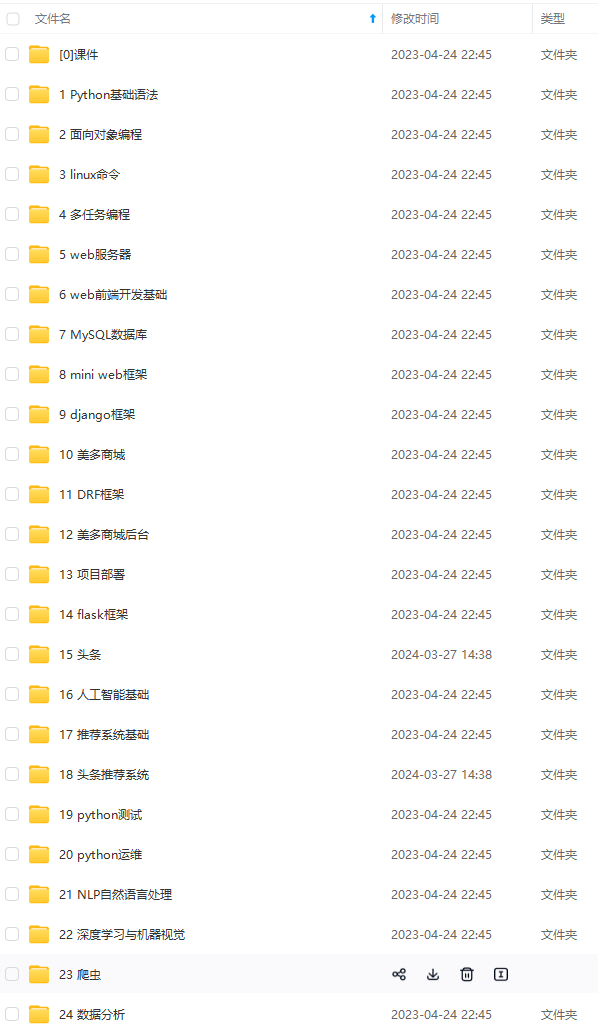

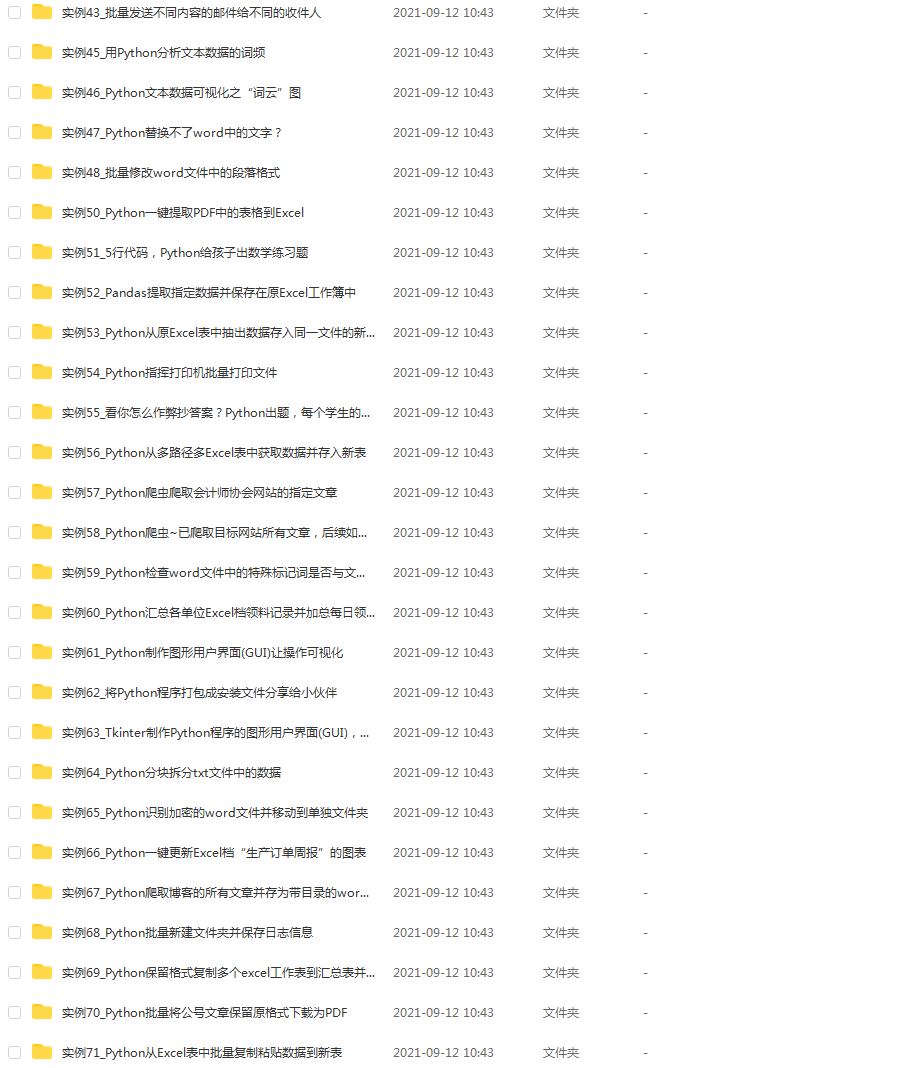

既有适合小白学习的零基础资料,也有适合3年以上经验的小伙伴深入学习提升的进阶课程,基本涵盖了95%以上Python开发知识点,真正体系化!
由于文件比较大,这里只是将部分目录大纲截图出来,每个节点里面都包含大厂面经、学习笔记、源码讲义、实战项目、讲解视频,并且后续会持续更新
如果你觉得这些内容对你有帮助,可以添加V获取:vip1024c (备注Python)

最后
Python崛起并且风靡,因为优点多、应用领域广、被大牛们认可。学习 Python 门槛很低,但它的晋级路线很多,通过它你能进入机器学习、数据挖掘、大数据,CS等更加高级的领域。Python可以做网络应用,可以做科学计算,数据分析,可以做网络爬虫,可以做机器学习、自然语言处理、可以写游戏、可以做桌面应用…Python可以做的很多,你需要学好基础,再选择明确的方向。这里给大家分享一份全套的 Python 学习资料,给那些想学习 Python 的小伙伴们一点帮助!
声明:本文内容由网友自发贡献,不代表【wpsshop博客】立场,版权归原作者所有,本站不承担相应法律责任。如您发现有侵权的内容,请联系我们。转载请注明出处:https://www.wpsshop.cn/w/知新_RL/article/detail/554666
Copyright © 2003-2013 www.wpsshop.cn 版权所有,并保留所有权利。


