
- 1服务器的免密登录+ssh工作分流阶段+常用加密算法_服务器配置免密登录
- 2机器学习之调参的基本思想_模型预测为什么要进行调参
- 3这样定了,每周 7 评论送书 !
- 4ChatGPT原理与技术演进剖析_chatgpt context
- 5用小诺框架如何写sql
- 6uniapp IOS从打包到上架流程(详细简单)
- 7“系统的UI”——SystemUI_系统软件 系统ui 系统服务
- 8移动魔百盒CM311-1sa_ZG代工_S905L3A 安卓9.0 鸿蒙动画_线刷固件包
- 9Java基础学习day14【谷】_定义一个公司员工类,属性有姓名、员工号和部门以及当前员工对象个数,有2个构造方
- 10地图开发是怎么应用起来的?哪里去找地图开发服务?
Linux安装和卸载MySQL5.7详细教程_linux环境卸载docker部署的mysql5.7
赞
踩
目录
一、序
MySQL5.7是我们平时常用的Web数据库之一,Linux下安装和卸载可能会遇到不少坑,本文以Centos7下安装和卸载社区版MySQL5.7为例,详细记录了安装和卸载过程,方便大家参考,喜欢的可以点赞收藏,关注咱不迷路。
| 操作系统 | MySQL |
| Centos7.9 | MySQL5.7社区版 |
注意:确保以root用户身份登录系统安装
二、MySQL安装详细步骤
更新软件包
yum update -y检查是否安装过MySQL
rpm -qa | grep -i mysql如果发现已经安装过,可参考第四部分的MySQL卸载
下载Yum源配置文件
- # noarch表示该软件包不依赖特定Linux发行版
- wget https://dev.mysql.com/get/mysql57-community-release-el7-11.noarch.rpm
安装Yum源配置文件
执行安装命令
rpm -ivh mysql57-community-release-el7-11.noarch.rpm缺省会在/etc/yum.repos.d目录下生成两个配置文件

安装MySQL服务器
yum -y install mysql-community-server默认会安装以下5个rpm包

注意:此处可能安装失败,提示Public key for mysql-community-common-5.7.43-1.el7.x86_64.rpm is not installed异常信息:

问题原因:MySQL秘钥过期导致
解决方法:导入新的秘钥信息
rpm --import https://repo.mysql.com/RPM-GPG-KEY-mysql-2022重新执行安装,出现如下信息表示安装成功

启动MySQL服务器
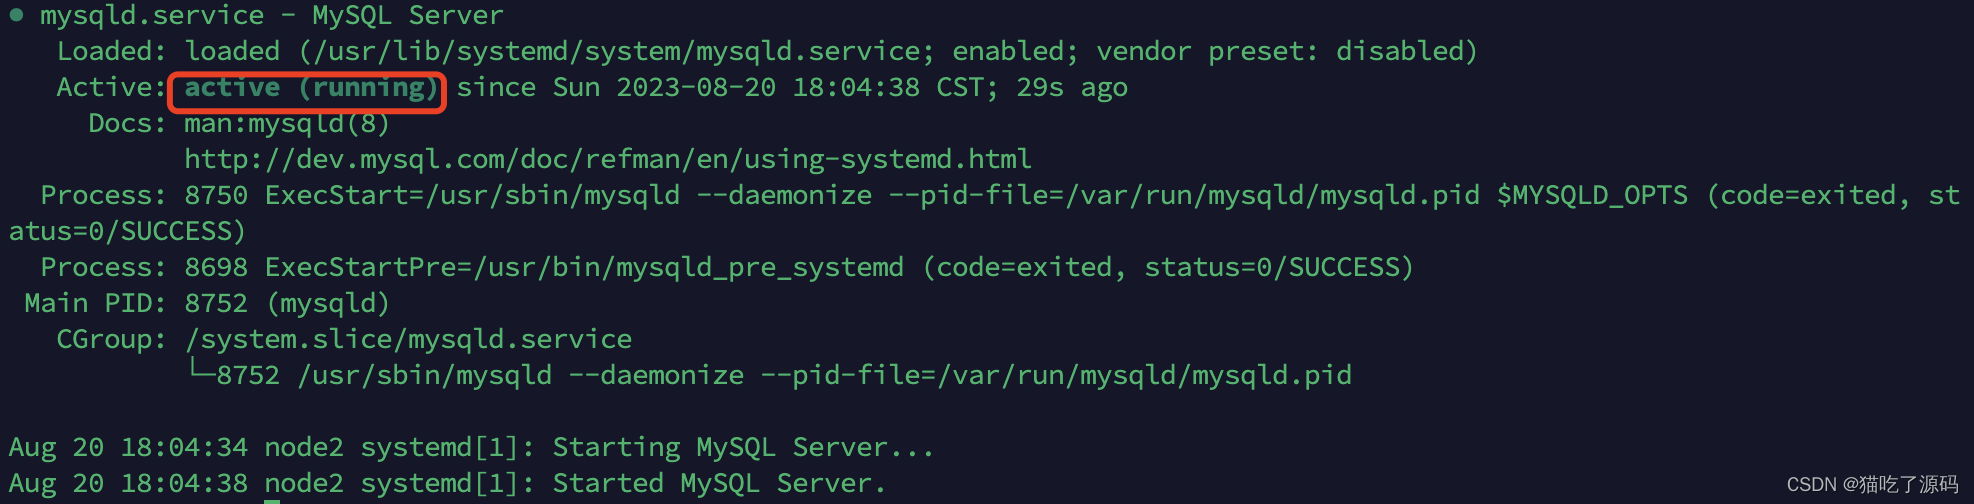
systemctl start mysqld查看MySQL状态
systemctl status mysqldactive (running)表示已经启动成功正在运行
查看MySQL版本
mysql -V执行结果

获取临时密码
grep "password" /var/log/mysqld.log执行结果
![]()
设置root密码
首次登录可使用如下两种方式设置root密码:
运行安全脚本(生产环境推荐)
执行安全脚本,加固MySQL安全性,设置新的root密码
mysql_secure_installation输入临时root密码

设置新的root密码,缺省安全策略是MEDIUM,要求至少包含8个字符,其中至少有一个大小写字母,一个特殊字符,一个数字,否则报 ... Failed! Error: Your password does not satisfy the current policy requirements异常。

输入要求的密码后可继续如下配置
- Estimated strength of the password: 100
- Do you wish to continue with the password provided?(Press y|Y for Yes, any other key for No) : y
- By default, a MySQL installation has an anonymous user,
- allowing anyone to log into MySQL without having to have
- a user account created for them. This is intended only for
- testing, and to make the installation go a bit smoother.
- You should remove them before moving into a production
- environment.
-
- # 移除匿名用户
- Remove anonymous users? (Press y|Y for Yes, any other key for No) : y
- Success.
-
-
- Normally, root should only be allowed to connect from
- 'localhost'. This ensures that someone cannot guess at
- the root password from the network.
-
- # 禁用远程root登录
- Disallow root login remotely? (Press y|Y for Yes, any other key for No) : y
- Success.
-
- By default, MySQL comes with a database named 'test' that
- anyone can access. This is also intended only for testing,
- and should be removed before moving into a production
- environment.
-
- # 删除测试数据库及权限
- Remove test database and access to it? (Press y|Y for Yes, any other key for No) : y
- - Dropping test database...
- Success.
-
- - Removing privileges on test database...
- Success.
-
- Reloading the privilege tables will ensure that all changes
- made so far will take effect immediately.
-
- # 重新加载授权表
- Reload privilege tables now? (Press y|Y for Yes, any other key for No) : y
- Success.
-
- All done!

修改安全策略
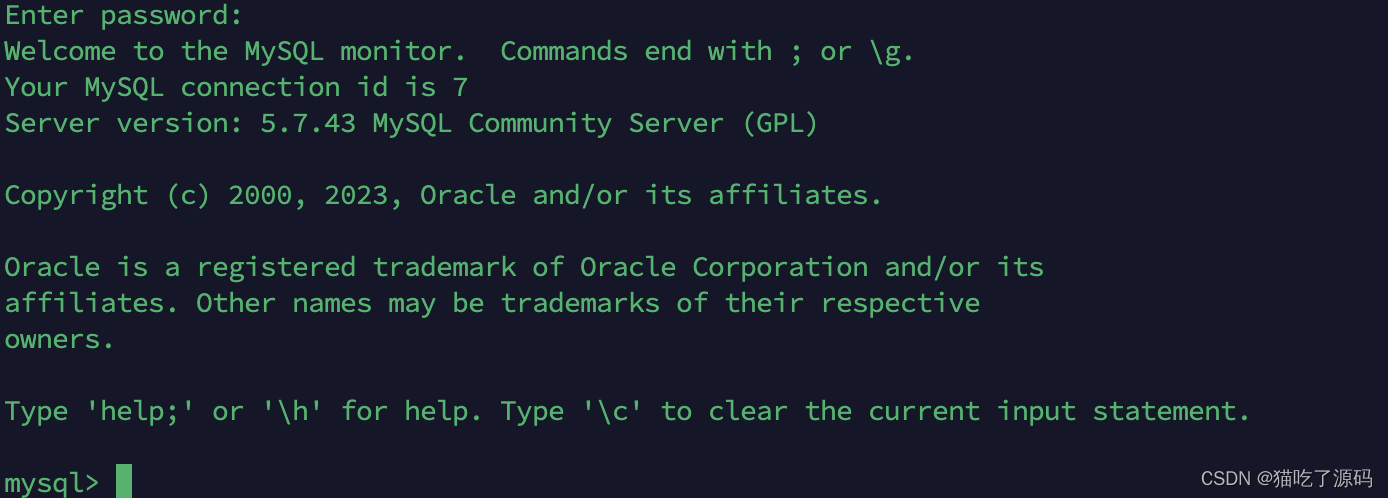
执行登录
mysql -uroot -p输入临时密码,进入MySQL
修改安全策略,使用简单密码登录
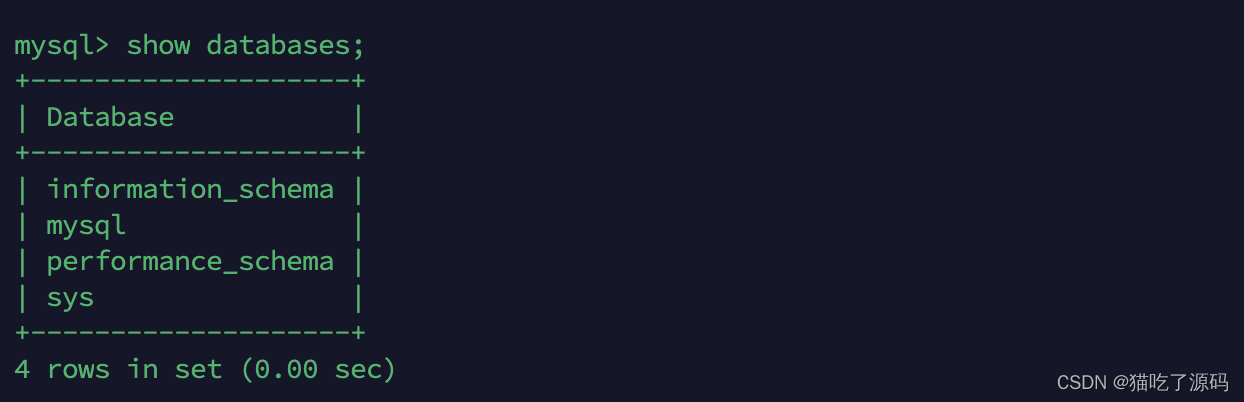
- # 查看当前安全策略
- show variables like 'validate_password%';
- # 最低安全策略(0->LOW ,1->MEDIUM, 2->STRONG)
- set global validate_password_policy=0;
- # 最小密码字符长度是4
- set global validate_password_length=4;
- # 设置本机root密码
- alter user 'root'@'localhost' identified by 'root';
设置成功后,输入quit命令使用修改后的密码重新登录,该方法只是临时生效重启MySQL后会失效,如果需要永久生效,需要修改/etc/my.conf重启MySQL服务。
设置开机启动
systemctl enable mysqld停止MySQL服务器
systemctl stop mysqld三、MySQL使用示例
远程访问
登录本机,针对root用户赋权和设置密码
- # 授权,all表示所有ddl和dml操作权限,*.*表示针对所有数据库所有表,%表示本机和远程主机均能访问
- grant all privileges on *.* to 'root'@'%' identified by '123456' with grant option;
- # 刷新权限
- flush privileges;
关闭本机防火墙
systemctl stop firewalld通过远程主机执行,输入密码即可访问
mysql -h 192.168.5.11 -uroot -p结果
四、MySQL卸载详细步骤
停止MySQL服务
卸载MySQL之前,首先需要停止MySQL服务
systemctl stop mysqld卸载MySQL软件包
yum -y remove mysql-server mysql-client mysql-common mysql-libs结果如下表示卸载完毕

删除MySQL数据文件和配置文件
MySQL的数据文件和配置文件通常位于 /var/lib/mysql 和 /etc/my.cnf,执行删除命令
- rm -rf /var/lib/mysql
- rm -rf /etc/my.cnf
卸载Yum源配置文件
rpm -e mysql57-community-release-el7-11.noarch清理MySQL用户和组
- userdel mysql
- groupdel mysql
清理MySQL日志文件和临时文件
- rm -rf /var/log/mysql
- rm -rf /tmp/mysql*


