热门标签
热门文章
- 1Jmeter系列(48)- 详解 Random Variable 随机变量
- 2Pandas数据透视表--pivot_table_pivot table
- 3Niginx工作笔记-通过error.log定位错误(记录一个寻找问题的方法)_error.log 怎么看问题
- 4opencv(38) 图像轮廓之七:椭圆拟合和直线拟合_opencv椭圆拟合
- 5使用Transformers微调基于BERT模型做中文命名实体识别任务_transformers实现中文实体识别
- 6git如何统计代码行数
- 7JAVA计算机毕业设计在线玩具租赁系统Mybatis+源码+数据库+lw文档+系统+调试部署
- 8整个公司都可以敏捷吗?
- 9Pytest系列(14)- 配置文件pytest.ini的详细使用_pytest ini文件 markers
- 10汽车之家 css自定义字体反爬解析_汽车之家字体反爬
当前位置: article > 正文
Nginx增加SSL证书时报错:/configure: error: SSL modules require the OpenSSL library.
作者:AllinToyou | 2024-06-02 09:23:44
赞
踩
ssl modules require the openssl library
错误详情:
/configure: error: SSL modules require the OpenSSL library.
You can either do not enable the modules, or install the OpenSSL library into the system, or build the OpenSSL library statically from the source with nginx by using --with-openssl=

步骤1:先看下是否安装OpenSSL依赖
注意:nginx不是全局的话需要到nginx的sbin里面执行
nginx -V
- 1
结果:
[root@zwb ~]# nginx -V
nginx version: nginx/1.15.9
built by gcc 4.8.5 20150623 (Red Hat 4.8.5-44) (GCC)
configure arguments: --prefix=/usr/local/nginx --user=nginx --group=nginx --with-http_stub_status_module
- 1
- 2
- 3
- 4
configure arguments中不包含** --with-http_ssl_module**这个参数的表示未安装,否则可跳过安装OpenSSL的步骤
步骤2:安装OpenSSL(两种方式)
第一种:通过yum 快速安装
命令为:
# -y 自动安装,需要确认全部为是,不然需要手动输y/n
yum -y install openssl openssl-devel
- 1
- 2
等待完成即可
第二种:内网离线安装
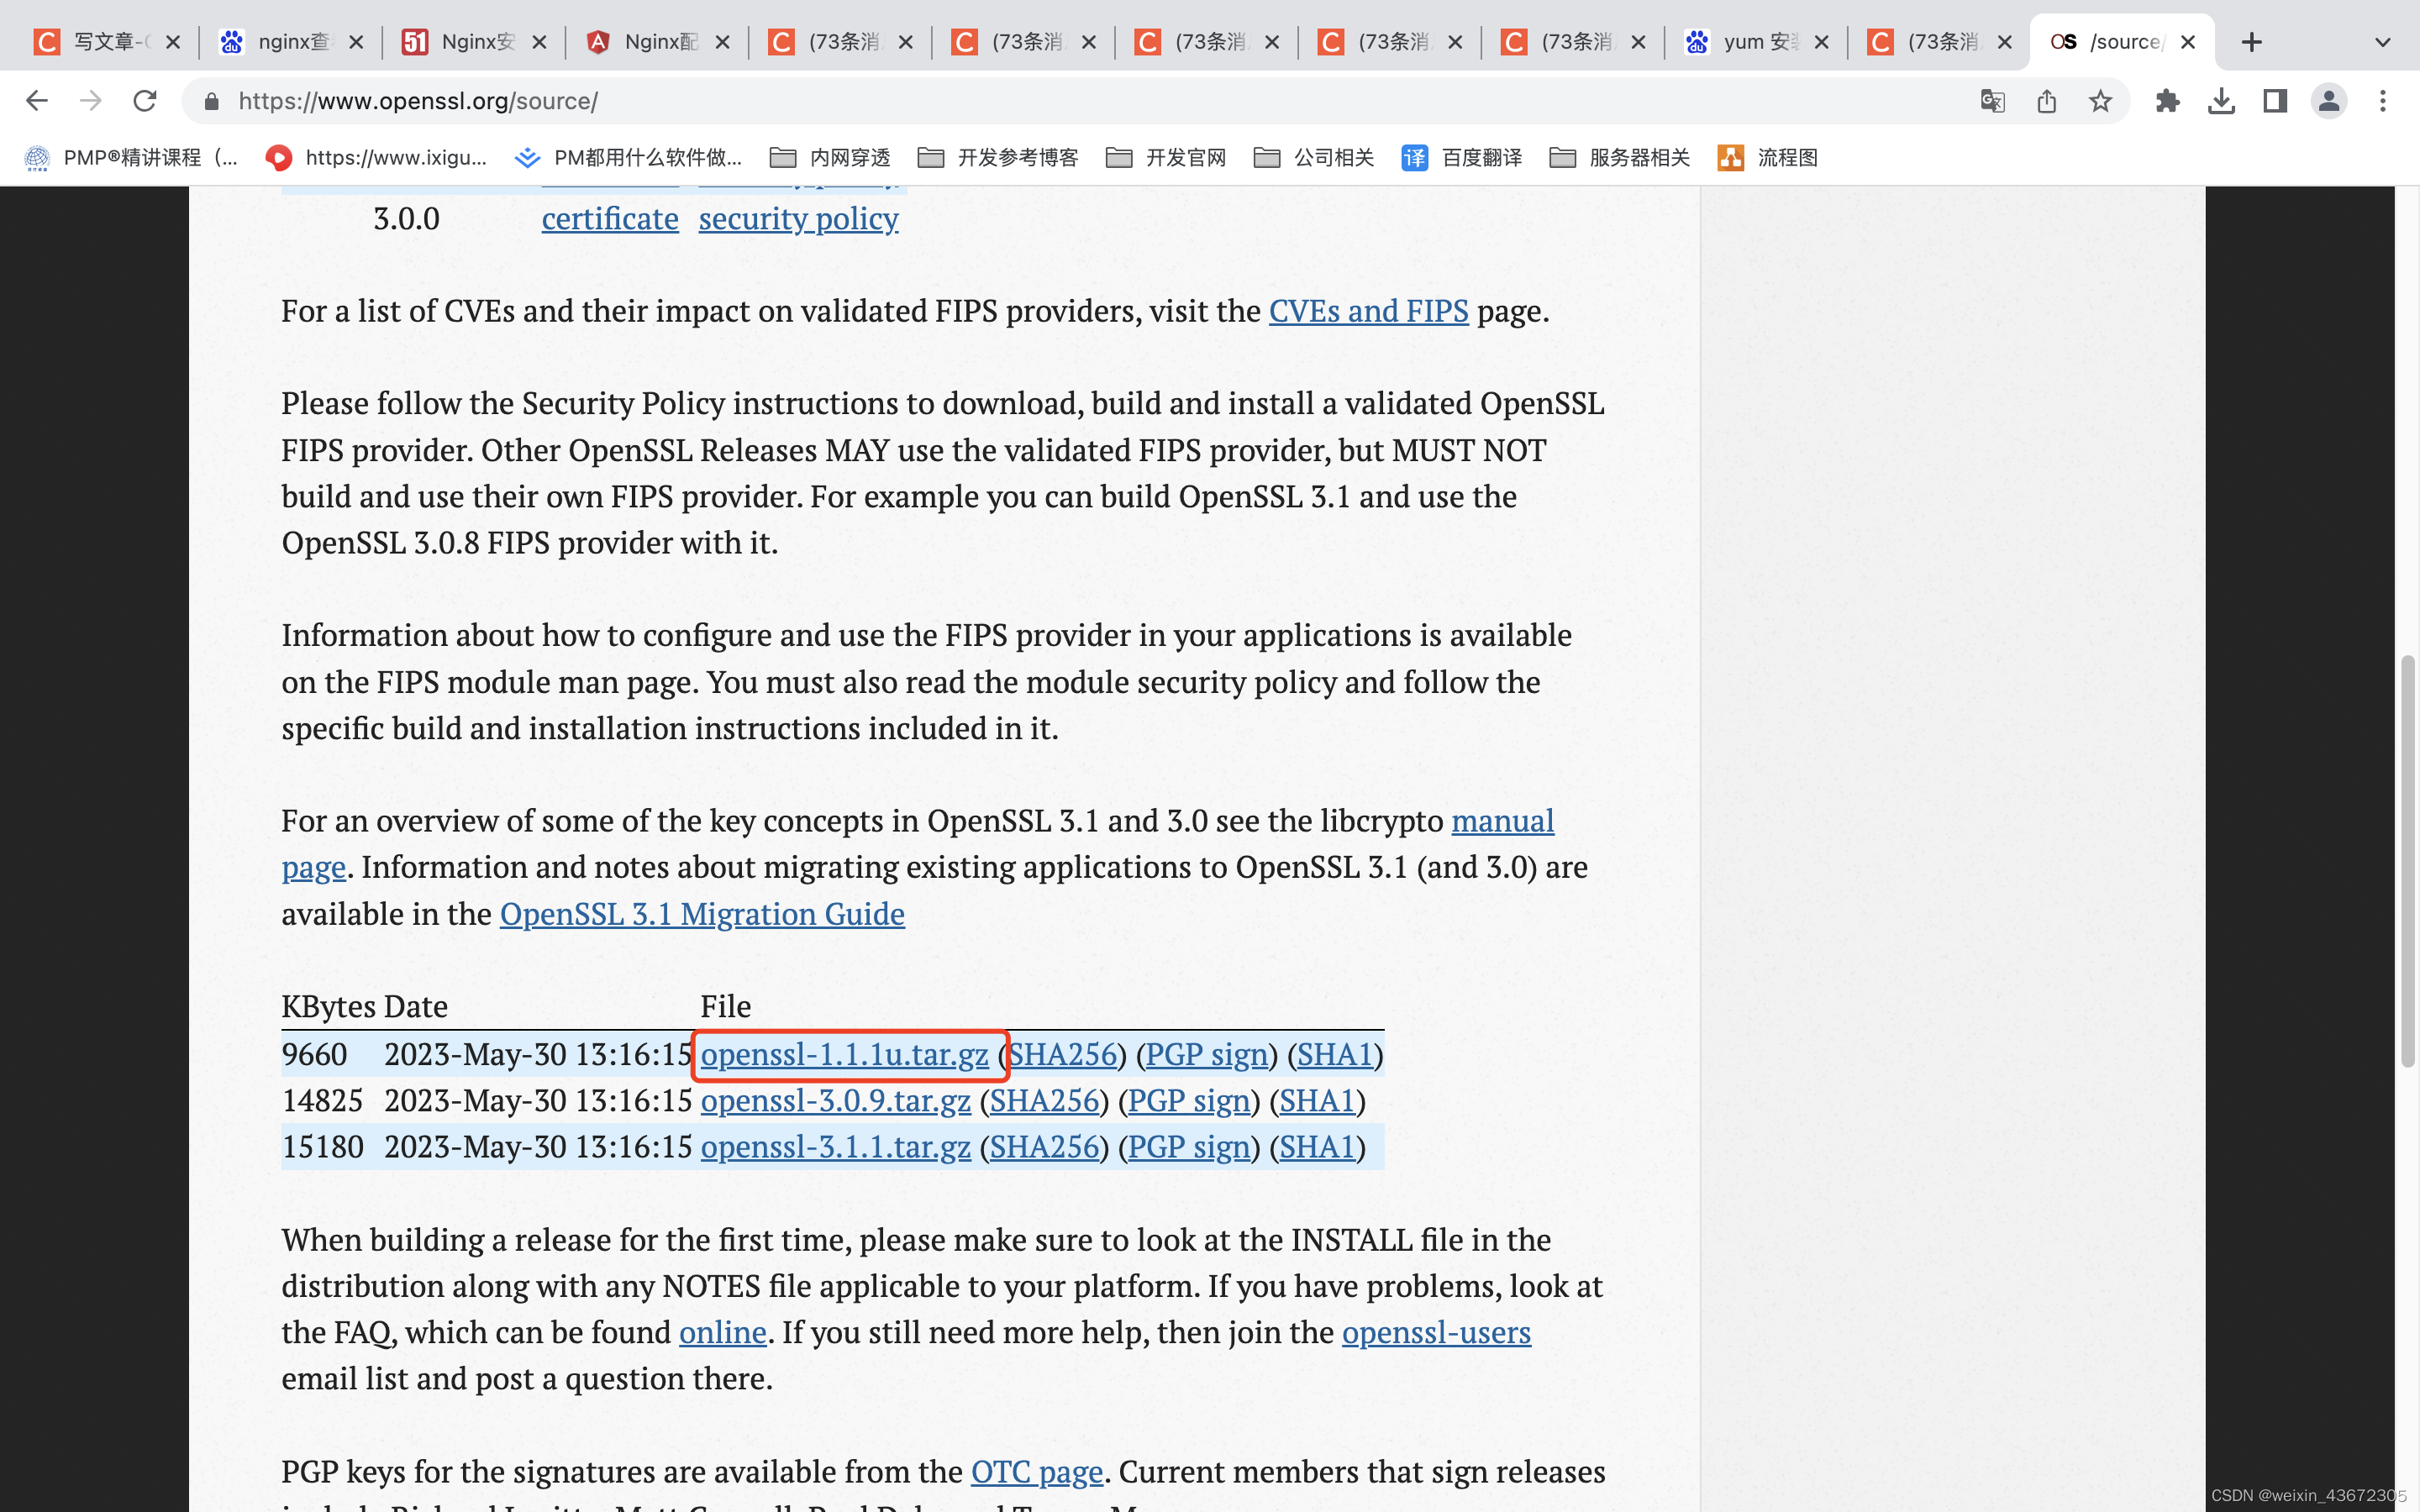
源码文件下载地址:https://www.openssl.org/,进入download中,我用的是1.1所以我下载是这个,看实际情况而定

下载好之后解压到路径中,记住这个路径,一会要用!!!
步骤3
进入Nginx的源码包,注意是源码包,就是你从Nginx官网下载然后解压的包,里面有一个configure名字的可执行文件,然后执行:
通过yum安装的
./configure --with-http_ssl_module
- 1
离线安装的
./configure --with-http_ssl_module --with-openssl=离线解压的路径(上一步让你记住的那个)
- 1
然后进行编译:
make && make install
- 1
只用make也行,会在Nginx目录下的objs中生成编译文件,上述命令则会直接编译并安装,默认路径为:/usr/local/nginx/sbin
步骤4
确认是否安装成功
nginx -V
- 1
结果如下就成功了

步骤五
给Nginx增加SSL证书,可参考https://blog.csdn.net/weixin_43672305/article/details/131858293
声明:本文内容由网友自发贡献,不代表【wpsshop博客】立场,版权归原作者所有,本站不承担相应法律责任。如您发现有侵权的内容,请联系我们。转载请注明出处:https://www.wpsshop.cn/w/AllinToyou/article/detail/662174
推荐阅读
相关标签


