- 1NanoEdge AI Studio教程 第四章-- 多分类
- 2Unity2019接入IOS SDK_unity ios sdk接入
- 3【AI编程工具合集】55款 AI 代码助手工具精选合集,开发者必备
- 4激活函数ReLu、sigmoid、tanh的区别_请对比下sigmoid、tanh、relu这三个激活函数
- 5vmware tool下载安装_vmtool下载
- 6Avalonia11.0.2+.Net6.0支持多语言,国际化(3)
- 7druid keepAlive 导致数据库连接数飙升_druid 活跃连接数居高不降
- 8姿态估计与行为识别(行为检测、行为分类)的区别_图像行为检测
- 9@JsonFormat(pattern = “yyyy-MM-dd“) 年月日用法
- 10appium做自动化时,屏蔽键盘会导致某些输入框无法呼出键盘导致发送按钮不可见_appium 10 j 禁用键盘
【python】python爱心代码【附源码】_csdn python爱心代码
赞
踩
前些天发现了一个巨牛的人工智能学习网站,通俗易懂,风趣幽默,忍不住分享一下给大家。点击跳转:网站。
人工智能学习网站 https://www.captainbed.cn/yan
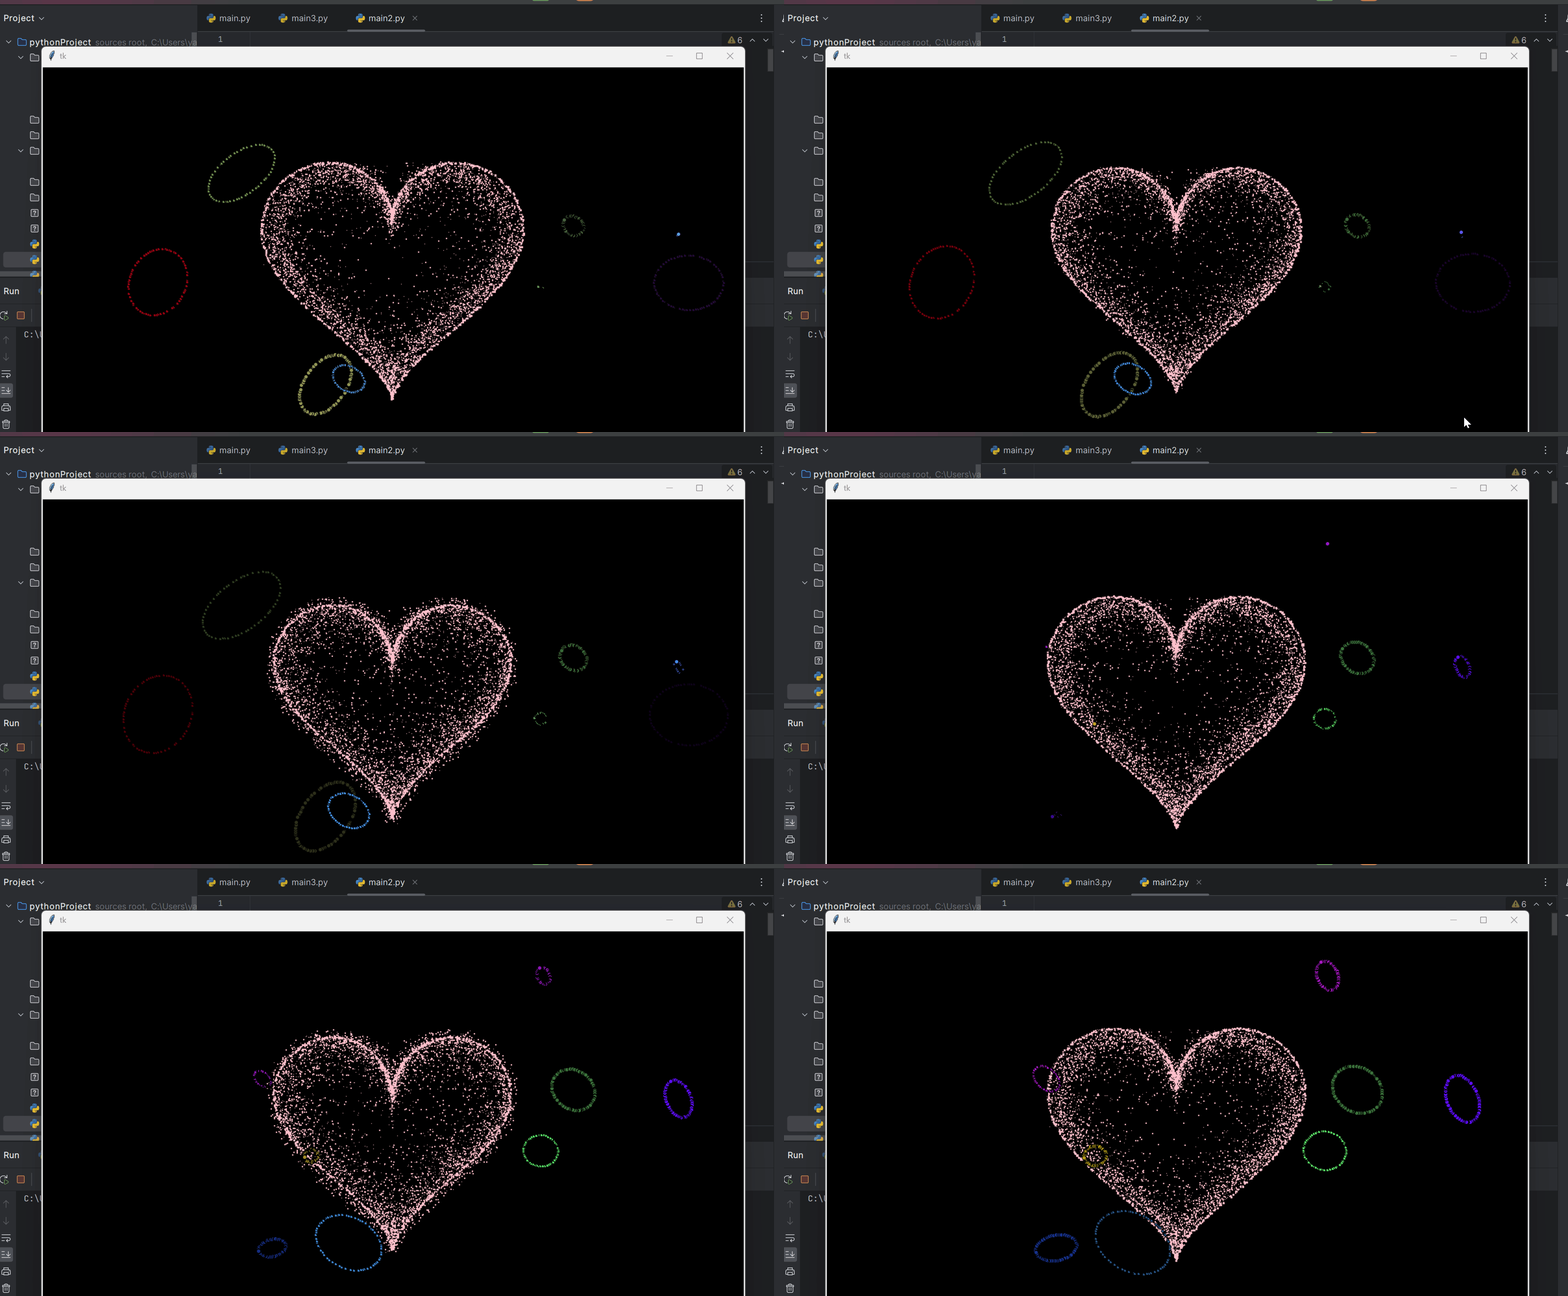
一、实现效果:

欢迎来到英杰社区![]() https://bbs.csdn.net/topics/617804998
https://bbs.csdn.net/topics/617804998
二、准备工作
(1)、导入必要的模块:
代码首先导入了需要使用的模块:requests、lxml和csv。
- import requests
- from lxml import etree
- import csv
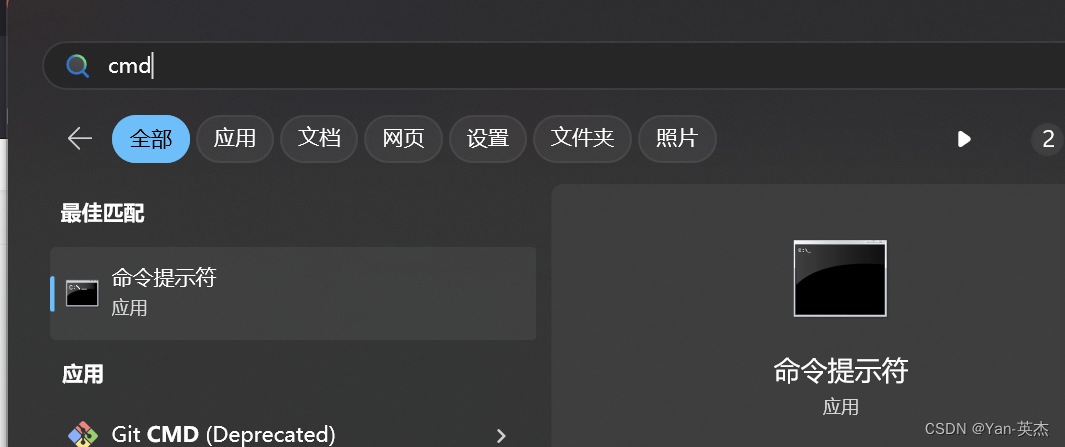
如果出现模块报错

进入控制台输入:建议使用国内镜像源
pip install 模块名称 -i https://mirrors.aliyun.com/pypi/simple
我大致罗列了以下几种国内镜像源:
- 清华大学
- https://pypi.tuna.tsinghua.edu.cn/simple
-
- 阿里云
- https://mirrors.aliyun.com/pypi/simple/
-
- 豆瓣
- https://pypi.douban.com/simple/
-
- 百度云
- https://mirror.baidu.com/pypi/simple/
-
- 中科大
- https://pypi.mirrors.ustc.edu.cn/simple/
-
- 华为云
- https://mirrors.huaweicloud.com/repository/pypi/simple/
-
- 腾讯云
- https://mirrors.cloud.tencent.com/pypi/simple/
firework 类
- class firework:
- def __init__(self, x, y, color):
- self.x = x
- self.y = y
- self.color = color
- self.radius = 1
- self.speed = random.uniform(0.5, 1.5)
- self.angle = math.radians(random.randint(0, 360))
- self.vx = self.speed * math.cos(self.angle)
- self.vy = self.speed * math.sin(self.angle)
- self.age = 0
- self.alive = True
- self.particles = []
这个类表示了一个烟花对象,它有以下属性:
x和y:当前烟花的坐标。
color:当前烟花的颜色。
radius:当前烟花的半径。
speed:当前烟花的速度。
angle:当前烟花的运动角度。
vx和vy:当前烟花的速度在 x 和 y 方向上的分量。
age:当前烟花已经存在的时间。
alive:当前烟花是否还存活。
particles:当前烟花爆炸后生成的粒子列表。
colorChange 函数
- def colorChange(color, age):
- r, g, b = color
- if age > 255:
- age = 255
- if age <= 85:
- return (r+age, g, b)
- elif age <= 170:
- return (r, g+age-85, b)
- else:
- return (r, g, b+age-170)
这个函数用于计算烟花的颜色,它接受两个参数:
-
color:当前烟花的颜色。 -
age:当前烟花已经存在的时间。
根据 age 的值,逐渐改变颜色的 R、G、B 分量来实现颜色的渐变效果。具体来说,如果 age 小于等于 85,则只改变红色分量,否则如果 age 小于等于 170,则同时改变红色和绿色分量,否则同时改变红色、绿色和蓝色分量。
appendFirework 函数
- def appendFirework():
- f = firework(random.randint(100, w-100), h, (random.randint(0, 255), random.randint(0, 255), random.randint(0, 255)))
- fireworks.append(f)
- root.after(random.randint(100, 1000), appendFirework)
这个函数用于递归生成烟花对象,并在画布上显示烟花效果。具体来说,它做了以下几件事情:
-
创建一个新的
firework对象,随机指定其坐标、颜色、速度和角度等属性。 -
将新的烟花对象添加到
fireworks列表中。 -
随机生成 100 到 1000 毫秒的时间,之后再次调用
appendFirework函数,实现递归生成烟花对象。
heart_function 函数
- def heart_function(theta):
- x = 16 * math.sin(theta) ** 3
- y = 13 * math.cos(theta) - 5 * math.cos(2*theta) - 2 * math.cos(3*theta) - math.cos(4*theta)
- return (x, -y)
这个函数用于计算心形图案上的点坐标,它接受一个参数 theta,表示当前点所在的极角。具体来说,它使用一组极坐标方程来计算出心形图案上的点坐标,然后将其转换为笛卡尔坐标系下的坐标值并返回。
scatter_inside 函数
- def scatter_inside(p, speed):
- x, y = p.pos
- vx, vy = p.vel
- dist = math.hypot(x, y)
- if dist < 1:
- dist = 1
- dx = x / dist
- dy = y / dist
- force = (10 / (dist ** 2)) * speed
- dvx = force * dx
- dvy = force * dy
- p.vel = (vx+dvx, vy+dvy)
这个函数用于实现心形内部的扩散效果,它接受两个参数:
-
p:当前粒子对象。 -
speed:扩散速度。
首先根据当前粒子的位置计算出一个向心力,然后根据该力的大小和方向改变粒子的速度,从而实现向外扩散的效果。
shrink 函数
- def shrink(p, speed):
- x, y = p.pos
- vx, vy = p.vel
- dist = math.hypot(x, y)
- if dist < 1:
- dist = 1
- dx = x / dist
- dy = y / dist
- force = (-10 / (dist ** 2)) * speed
- dvx = force * dx
- dvy = force * dy
- p.vel = (vx+dvx, vy+dvy)
这个函数用于实现心形收缩效果,它接受两个参数:
-
p:当前粒子对象。 -
speed:收缩速度。
与 scatter_inside 函数类似,这个函数也是根据当前粒子的位置计算出一个向心力,然后根据该力的大小和方向改变粒子的速度,从而实现向内收缩的效果。
curve 函数
- def curve(t):
- if t < 1:
- return math.sin(t*math.pi/2)
- else:
- return math.sin((2-t)*math.pi/2) * 0.5 + 0.5
这个函数返回一个介于 0 和 4 之间的值,用于控制心形动画的曲线效果。具体来说,它接受一个参数 t,表示当前时间占总动画时间的比例,然后根据 t 的值返回一个介于 0 和 4 之间的值,用于控制心形动画的曲线效果。
Heart 类
- class Heart:
- def __init__(self):
- self.points = []
- self.colors = []
- self.particles = []
- self.speed = 5
- self.pos = (w/2, h/2)
- self.rotation = 0
- self.scale = 1
- self._create_heart()
-
- def _create_heart(self):
- for i in range(1000):
- theta = i / 1000 * math.pi * 2
- r = heart_function(theta)[0]
- x = r * math.cos(theta)
- y = r * math.sin(theta)
- self.points.append((x, y))
- self.colors.append((random.randint(128, 255), random.randint(0, 128), random.randint(0, 128)))
-
- def update(self):
- for p in self.particles:
- p.update()
- self.particles = [p for p in self.particles if p.alive]
-
- if random.random() < 0.3:
- x, y = self.pos
- dx = random.uniform(-1, 1) * self.speed
- dy = random.uniform(-1, 1) * self.speed
- p = Particle((x+dx, y+dy), (dx/4, dy/4))
- self.particles.append(p)
-
- self.rotation += 0.001
- self.scale = curve(self.rotation)
-
- def draw(self, canvas):
- cx, cy = self.pos
- for i, (x, y) in enumerate(self.points):
- r, g, b = self.colors[i]
-
- x *= self.scale
- y *= self.scale
-
- x, y = rotate(x, y, self.rotation)
-
- x += cx
- y += cy
-
- canvas.create_oval(x-1, y-1, x+1, y+1, fill="#%02x%02x%02x" % (r, g, b), width=0)
这个类用于生成爱心图案及其动态效果,它有以下属性:
points:存储心形图案上的所有点的坐标。
colors:存储心形图案上的所有点的颜色。
particles:存储所有心形收缩和扩散过程中生成的粒子。
speed:控制粒子运动速度的参数。
pos:控制心形图案位置的参数。
rotation:控制心形图案旋转角度的参数。
scale:控制心形图案缩放比例的参数。
其中,初始化函数 _create_heart 用于生成心形图案上的所有点和颜色,update 函数用于更新心形图案的动画效果,draw 函数用于在画布上绘制心形图案,并在每一帧更新心形的动态效果。
draw 函数
- def draw():
- global fireworks, hearts
- canvas.delete("all")
- for f in fireworks:
- if f.alive:
- f.draw(canvas)
- f.update()
- else:
- for p in f.particles:
- if random.random() < 0.5:
- hearts.append(Heart())
- fireworks.remove(f)
- for h in hearts:
- h.draw(canvas)
- h.update()
- root.after(25, draw)
这个函数用于在画布上绘制烟花和心形图案,并在每一帧更新它们的动画效果。具体来说,它做了以下几件事情:
遍历所有烟花对象,如果烟花还存活,则在画布上显示它的效果并更新它的状态;否则将烟花爆炸后生成的粒子转化为心形对象,并将烟花从
fireworks列表中移除。遍历所有心形对象,显示它们的效果并更新它们的状态。
在
root窗口上注册一个定时器,在 25 毫秒之后再次调用draw函数,实现连续播放动画的效果。
三、完整代码:
- import math
- import random
- import threading
- import time
- from math import sin, cos, pi, log
- from tkinter import *
- import re
-
- # 烟花相关设置
- Fireworks = []
- maxFireworks = 8
- CANVAS_WIDTH = 1080 # 画布的宽
- CANVAS_HEIGHT = 600 # 画布的高
- CANVAS_CENTER_X = CANVAS_WIDTH / 2 # 画布中心的X轴坐标
- CANVAS_CENTER_Y = CANVAS_HEIGHT / 2 # 画布中心的Y轴坐标
- IMAGE_ENLARGE = 12 # 放大比例
- HEART_COLOR = "pink" # 心的颜色
-
-
- # 烟花类
- class firework(object):
- def __init__(self, color, speed, width, height):
- self.radius = random.randint(2, 3) # 粒子半径为2~3像素
- self.color = color # 粒子颜色
- self.speed = speed # speed是1.5-3.5秒
- self.status = 0 # 在烟花未爆炸的情况下,status=0;爆炸后,status>=1;当status>100时,烟花的生命期终止
- self.nParticle = random.randint(80, 100) # 粒子数量
- self.center = [random.randint(0, width - 15), random.randint(0, height - 15)] # 烟花随机中心坐标
- self.oneParticle = [] # 原始粒子坐标(100%状态时)
- self.rotTheta = random.uniform(-1, 2 * math.pi) # 椭圆平面旋转角
- self.ellipsePara = [random.randint(30, 40), random.randint(20, 30)] # 椭圆参数方程:x=a*cos(theta),y=b*sin(theta)
-
- theta = 2 * math.pi / self.nParticle
- for i in range(self.nParticle):
- t = random.uniform(-1.0 / 16, 1.0 / 16) # 产生一个 [-1/16,1/16) 的随机数
- x, y = self.ellipsePara[0] * math.cos(theta * i + t), self.ellipsePara[1] * math.sin(theta * i + t) # 椭圆参数方程
- xx, yy = x * math.cos(self.rotTheta) - y * math.sin(self.rotTheta), y * math.cos(
- self.rotTheta) + x * math.sin(self.rotTheta) # 平面旋转方程
- self.oneParticle.append([xx, yy])
-
- self.curParticle = self.oneParticle[0:] # 当前粒子坐标
- self.thread = threading.Thread(target=self.extend) # 建立线程对象
- 完整代码,见文末
资料获取,更多粉丝福利,关注:“英杰代码编程”获取
回复"python爱心代码",“爱心代码”,“python爱心” 均可获取完整代码


