热门标签
热门文章
- 1carwash
- 2Matlab 计算均方误差MSE的三种方法_matlab mse函数
- 3标签体系-内容建设思路_内容标签体系
- 4Hadoop伪分布式配置_info namenode.fsimage: fsimagesaver clean checkpoi
- 5人工智能/自动化办公/自动化测试 | Python全栈开发班开始报名啦
- 6txt文件的编码结构_txt 的字节码前几位是什么
- 7Leaks 真机测试无法定位到代码 只显示地址_ios dwarf with dsym file已经改了,调试工具还是只有内存地址
- 8网络安全介绍
- 9太强了!利用 Python 连接 ES 查询索引某个字段命中数的脚本!
- 10ML/DL 学习框架汇总_mlddlog
当前位置: article > 正文
Docker配置Mysql并设置远程连接_docker mysql远程访问
作者:Cpp五条 | 2024-03-30 22:00:59
赞
踩
docker mysql远程访问
一、环境
Linux、Docker、云服务器
二、操作
第一步:拉取镜像
默认拉取最新版docker pull mysql,指定版本docker pull mysql:版本号
[root@VM-4-15-centos ~]# docker pull mysql
- 1
拉取成功的话,输入docker images 会出现如下情况
[root@VM-4-15-centos local]# docker images
REPOSITORY   TAG       IMAGE ID       CREATED       SIZE
mysql        latest    99afc808f15b   5 weeks ago   577MB
- 1
- 2
- 3
第二步:启动容器
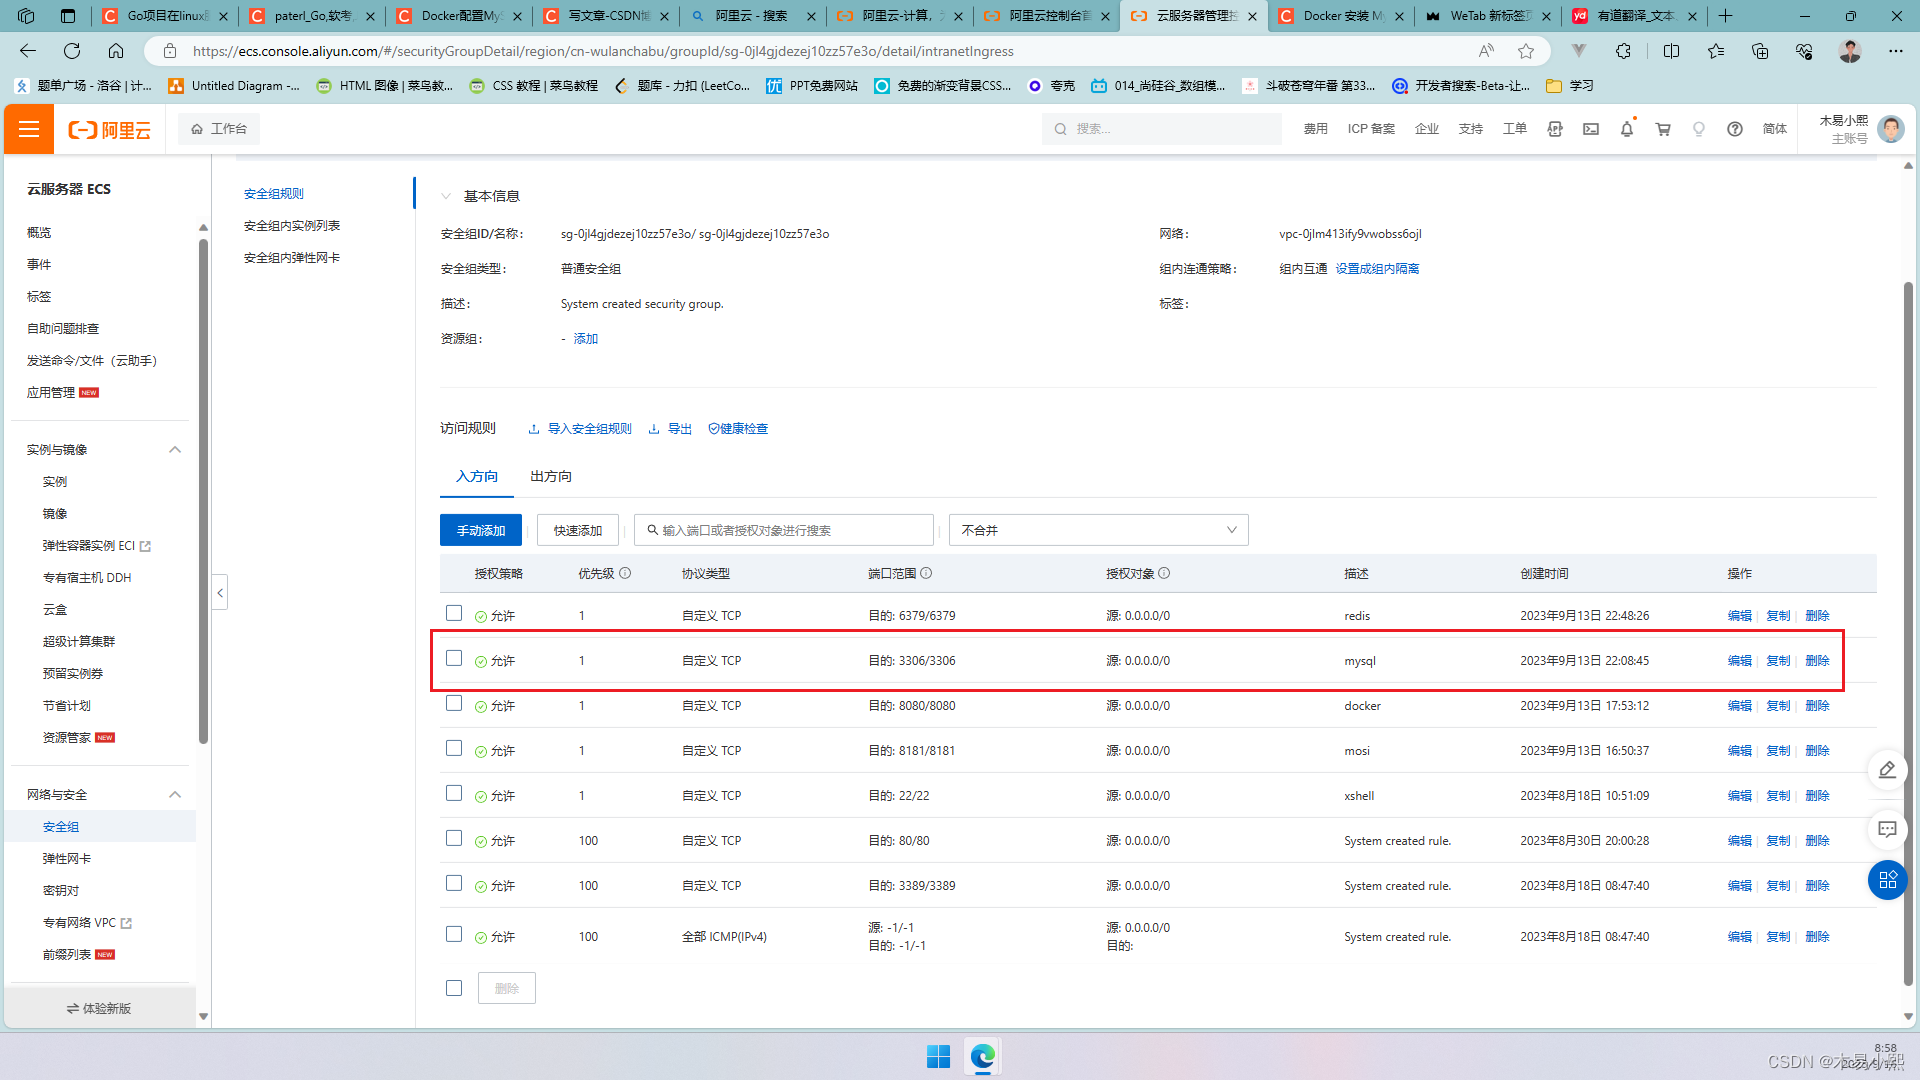
首先开放安全组

输入docker run -d -p 3306:3306 -e MYSQL_ROOT_PASSWORD=123456 --name my_mysql mysql
[root@VM-4-15-centos local]# docker run -d -p 3306:3306 -e MYSQL_ROOT_PASSWORD=123456 --name my_mysql mysql
abac92103cc8412888bc49c15b99c20acd4d9a4817732793fa96ec03d326deea
- 1
- 2
参数解读
run -d							// 后台运行
-p 3306:3306					// 宿主机端口:容器内部端口    云服务器需要开放端口
-e MYSQL_ROOT_PASSWORD=123456	// 设置默认root用户密码为 123456
--name my_mysql					// 容器名称
mysql							// 镜像名
- 1
- 2
- 3
- 4
- 5
输入docker ps,运行成功返回如下
[root@VM-4-15-centos local]# docker ps
CONTAINER ID   IMAGE     COMMAND                  CREATED         STATUS         PORTS                                                  NAMES
abac92103cc8   mysql     "docker-entrypoint.s…"   3 seconds ago   Up 2 seconds   0.0.0.0:3306->3306/tcp, :::3306->3306/tcp, 33060/tcp   my_mysql
- 1
- 2
- 3
第三步:进入容器,设置远程连接
首先 docker exec -it my_mysql bash,进入容器
[root@VM-4-15-centos local]# docker exec -it my_mysql bash
bash-4.4#
- 1
- 2
登录mysqlmysql -uroot -p123456
[root@VM-4-15-centos local]# docker exec -it my_mysql bash
bash-4.4# mysql -uroot -p123456
- 1
- 2
进入成功返回如下
mysql: [Warning] Using a password on the command line interface can be insecure.
Welcome to the MySQL monitor.  Commands end with ; or \g.
Your MySQL connection id is 8
Server version: 8.1.0 MySQL Community Server - GPL

Copyright (c) 2000, 2023, Oracle and/or its affiliates.

Oracle is a registered trademark of Oracle Corporation and/or its
affiliates. Other names may be trademarks of their respective
owners.

Type 'help;' or '\h' for help. Type '\c' to clear the current input statement.

mysql>
- 1
- 2
- 3
- 4
- 5
- 6
- 7
- 8
- 9
- 10
- 11
- 12
- 13
- 14
添加远程连接用户alter user 'root'@'%' identified with mysql_native_password by '123456';
mysql> alter user 'root'@'%' identified with mysql_native_password by '123456';
Query OK, 0 rows affected (0.01 sec)
- 1
- 2
- 3
如果安装的是Mysql5.6左右的版本,使用如下语句
添加远程连接用户GRANT ALL PRIVILEGES ON *.* TO 'root'@'%' IDENTIFIED BY '123456' WITH GRANT OPTION;
mysql> GRANT ALL PRIVILEGES ON *.* TO 'root'@'%' IDENTIFIED BY '123456' WITH GRANT OPTION;
Query OK, 0 rows affected (0.00 sec)
- 1
- 2
- 3
刷新权限flush privileges;
mysql> flush privileges;
Query OK, 0 rows affected (0.01 sec)
- 1
- 2
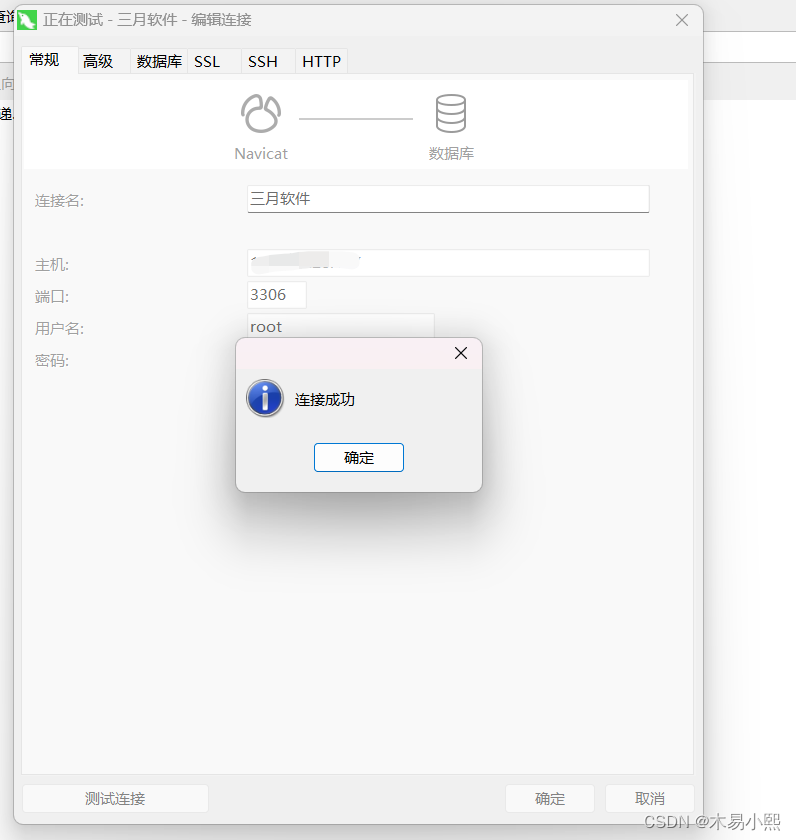
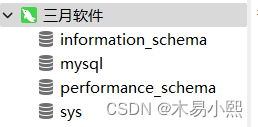
测试连接

第四步:设置自启动
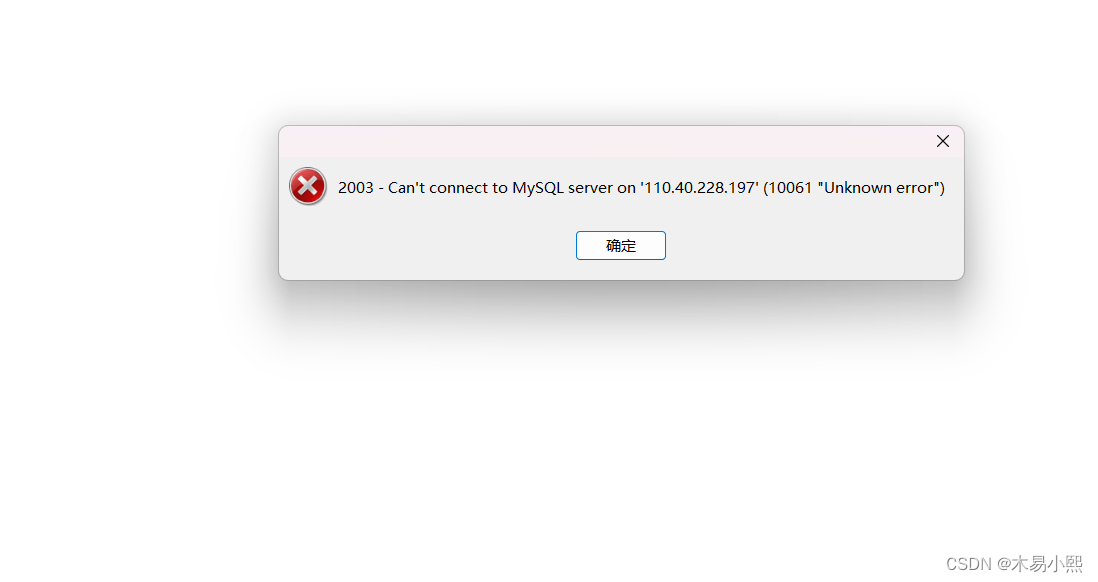
现在当我们重启服务器,数据库远程连接时会出现

这是因为我们并没有设置开机自启动,服务器每次重启需要我们手动启动mysql容器docker start 容器id。但是每次都手动启动未免也太麻烦了。
设置mysql容器自启动docker update --restart=always 容器id
[root@VM-4-15-centos ~]# docker update --restart=always 60b0da3e5819
60b0da3e5819
- 1
- 2
现在服务器重启时,就不需要我们再手动启动了
重启服务器,测试连接,成功

声明:本文内容由网友自发贡献,不代表【wpsshop博客】立场,版权归原作者所有,本站不承担相应法律责任。如您发现有侵权的内容,请联系我们。转载请注明出处:https://www.wpsshop.cn/w/Cpp五条/article/detail/341906
推荐阅读
相关标签


