
- 1依据象限搜索及混合预计耗费的A*改进算法,包含8邻域及24邻域的改进_a*8邻域扩展到16邻域
- 22023年Java最新面试题,附详解答案_java2023年最新面试题
- 3Quartus II 13.0波形仿真(解决无法产生仿真波形问题)_quartus ii波形仿真
- 4毕业设计 2023-2024年最新软件工程专业毕设选题题目推荐汇总_软件工程课题项目选题
- 5Vue3 + setup + ts 使用技巧_vue3 setup ts
- 6自然语言处理中的文本情感分析与情感图谱
- 7springboot3探索日记(3)——Security6配置_springboot3 security6
- 8凤鸣镇目标服务器无法响应,新一轮合服天龙3 4月5日八组服务器移民公告
- 9车辆巡检管理_沐舟智能巡检试用账号密码
- 10Git(3): VS2019 + Gitee 回滚代码、删除分支_vs git 还原
书生·浦语大模型全链路开源体系-第6课
赞
踩
书生·浦语大模型全链路开源体系-第6课
为了推动大模型在更多行业落地应用,让开发人员更高效地学习大模型的开发与应用,上海人工智能实验室重磅推出书生·浦语大模型实战营,为开发人员提供大模型学习和开发实践的平台。
本文是书生·浦语大模型全链路开源体系-第6课的课程实战。
相关资源
- InternLM项目地址
https://github.com/InternLM/InternLM
https://github.com/InternLM/LMDeploy
- InternLM2技术报告
https://arxiv.org/pdf/2403.17297.pdf
- 书生·万卷 数据
https://opendatalab.org.cn/
- 课程链接
https://www.bilibili.com/video/BV1Xt4217728/
Lagent & AgentLego 智能体应用搭建
环境准备
创建虚拟环境
首先创建一个新的虚拟环境。
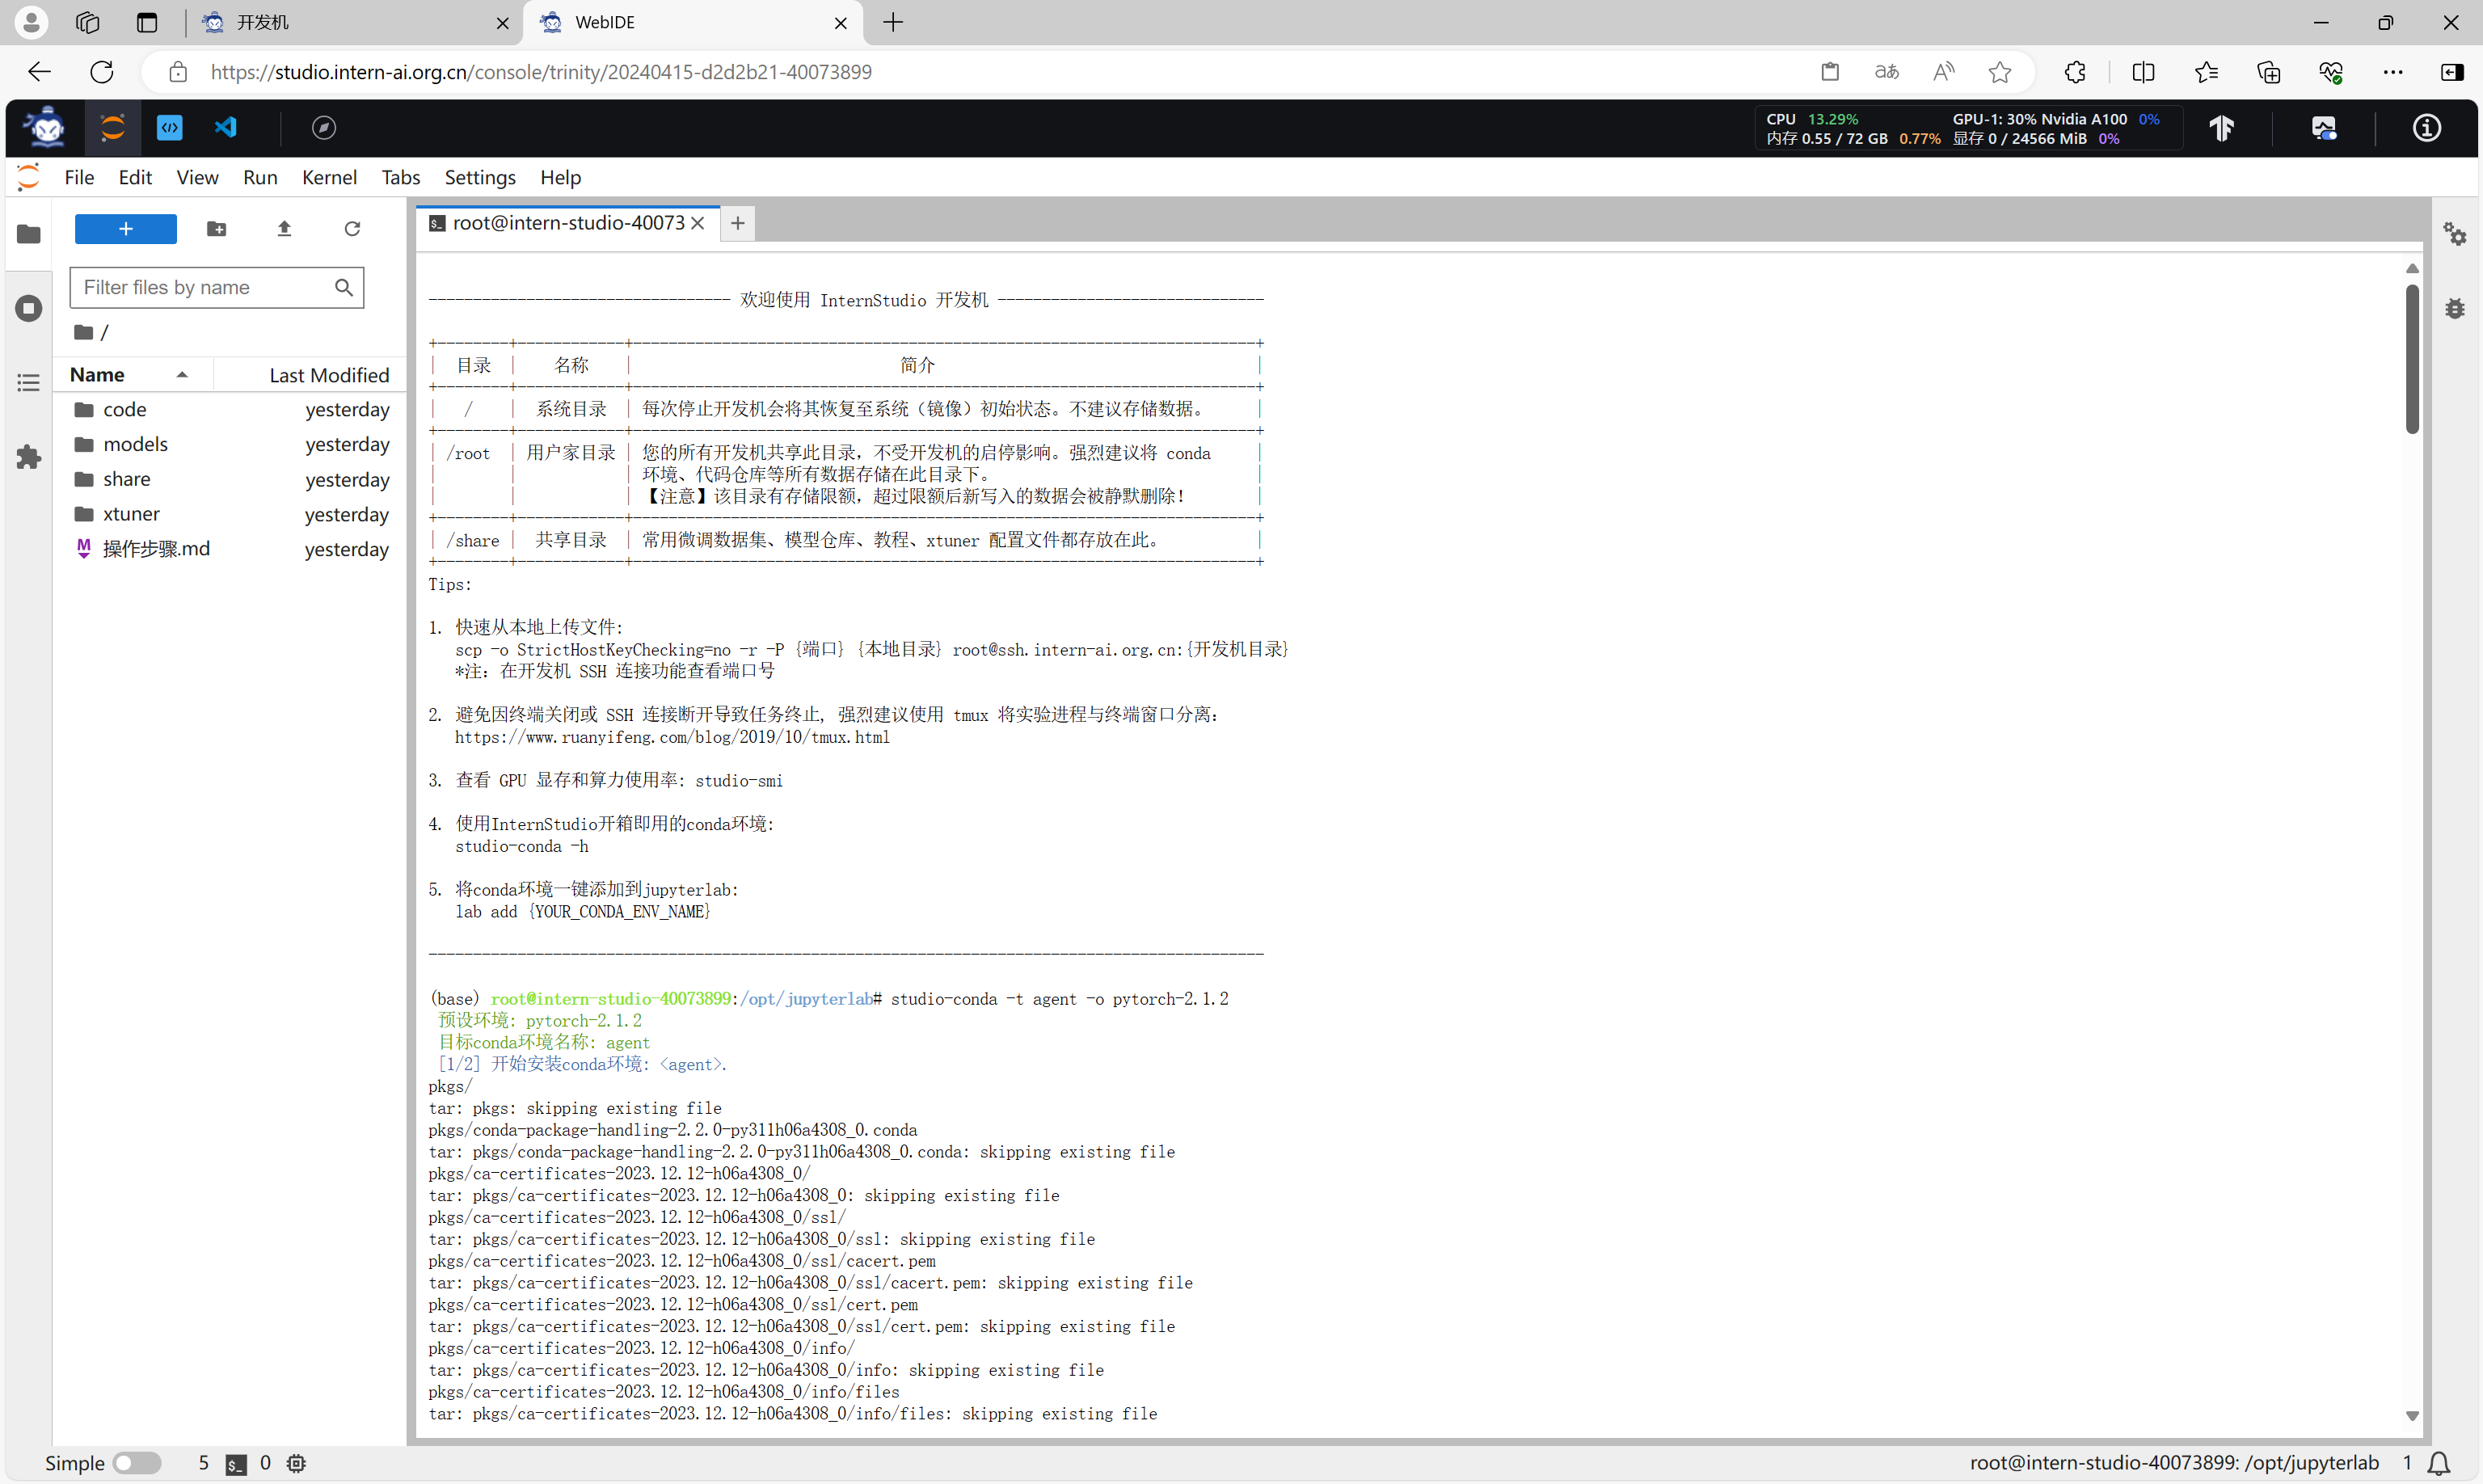
studio-conda -t agent -o pytorch-2.1.2
conda activate agent
- 1
- 2
同步Kernel。

创建完成。
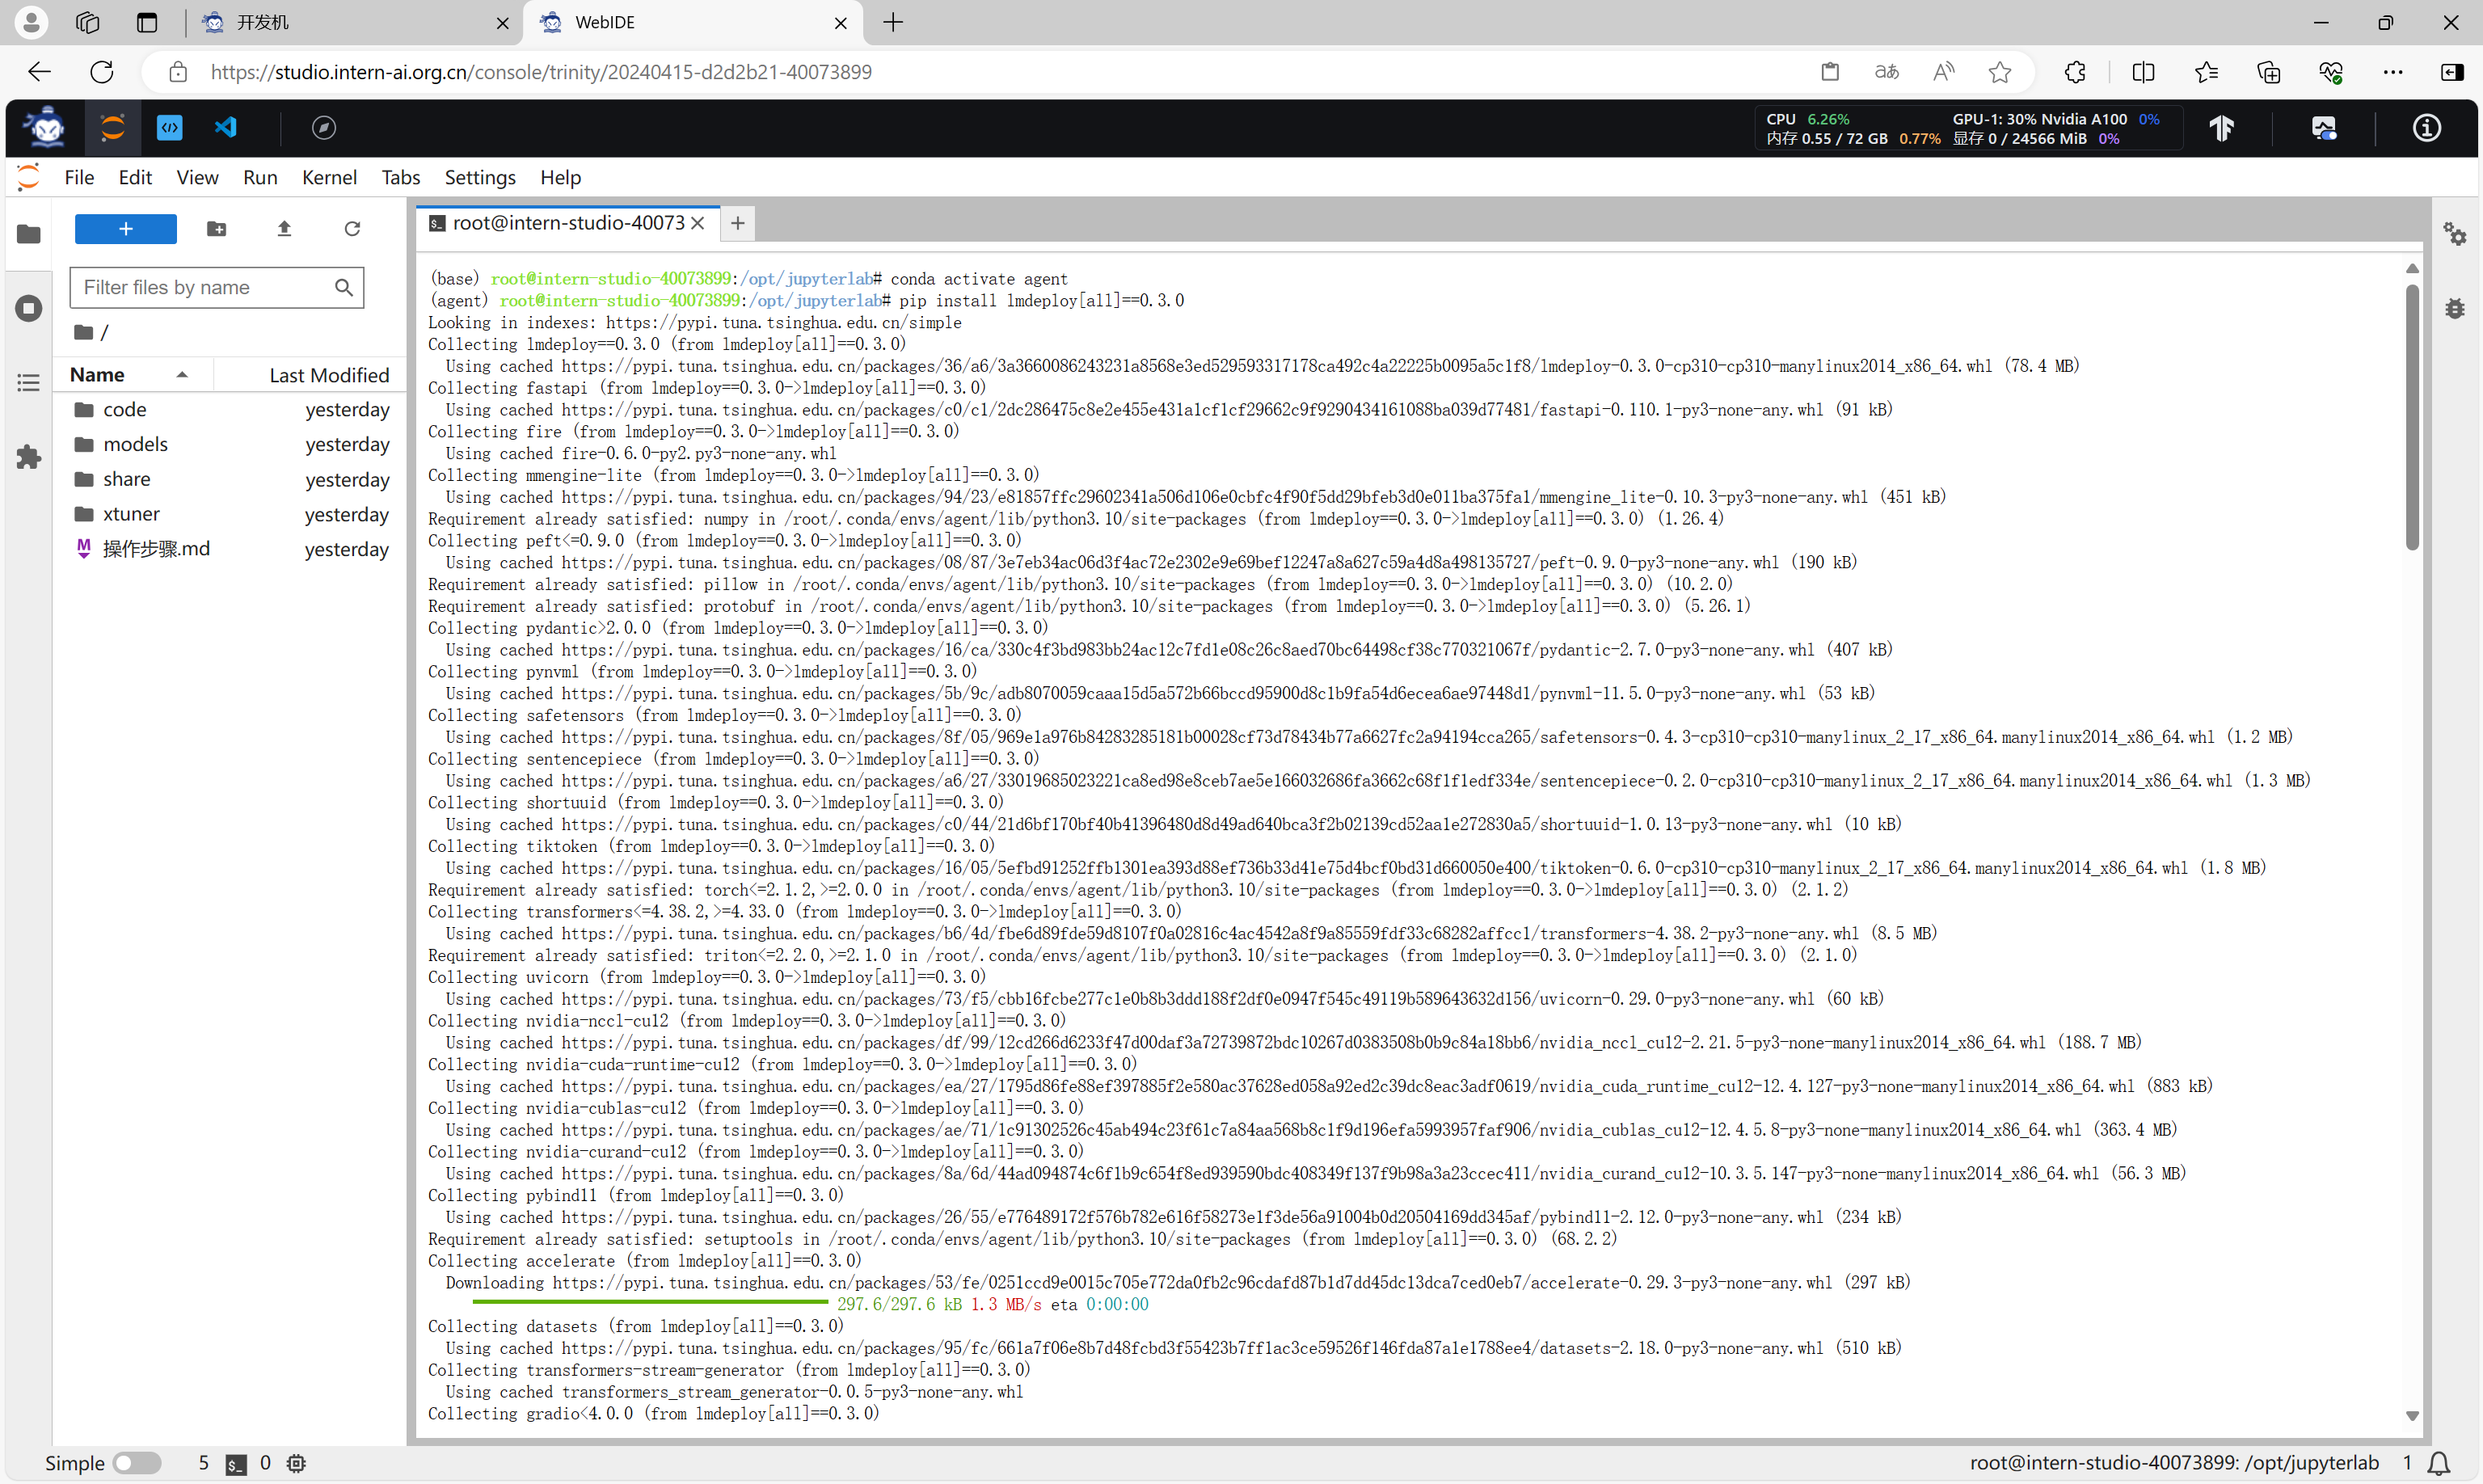
安装LMDeploy
由于 Lagent 的 Web Demo 需要用到 LMDeploy 所启动的 api_server,所以需要先安装LMDeploy。
# 安装LMDeploy
pip install lmdeploy[all]==0.3.0
- 1
- 2
安装 Lagent
下载源码,执行命令安装Lagent。
# 安装Lagent
git clone https://gitee.com/internlm/lagent.git
cd lagent
git checkout 581d9fb
pip install -e .
- 1
- 2
- 3
- 4
- 5

安装 AgentLego
下载源码,执行命令安装AgentLego。
# 安装AgentLego
git clone https://gitee.com/internlm/agentlego.git
cd agentlego
git checkout 7769e0d
pip install -e .
- 1
- 2
- 3
- 4
- 5

Lagent 轻量级智能体框架
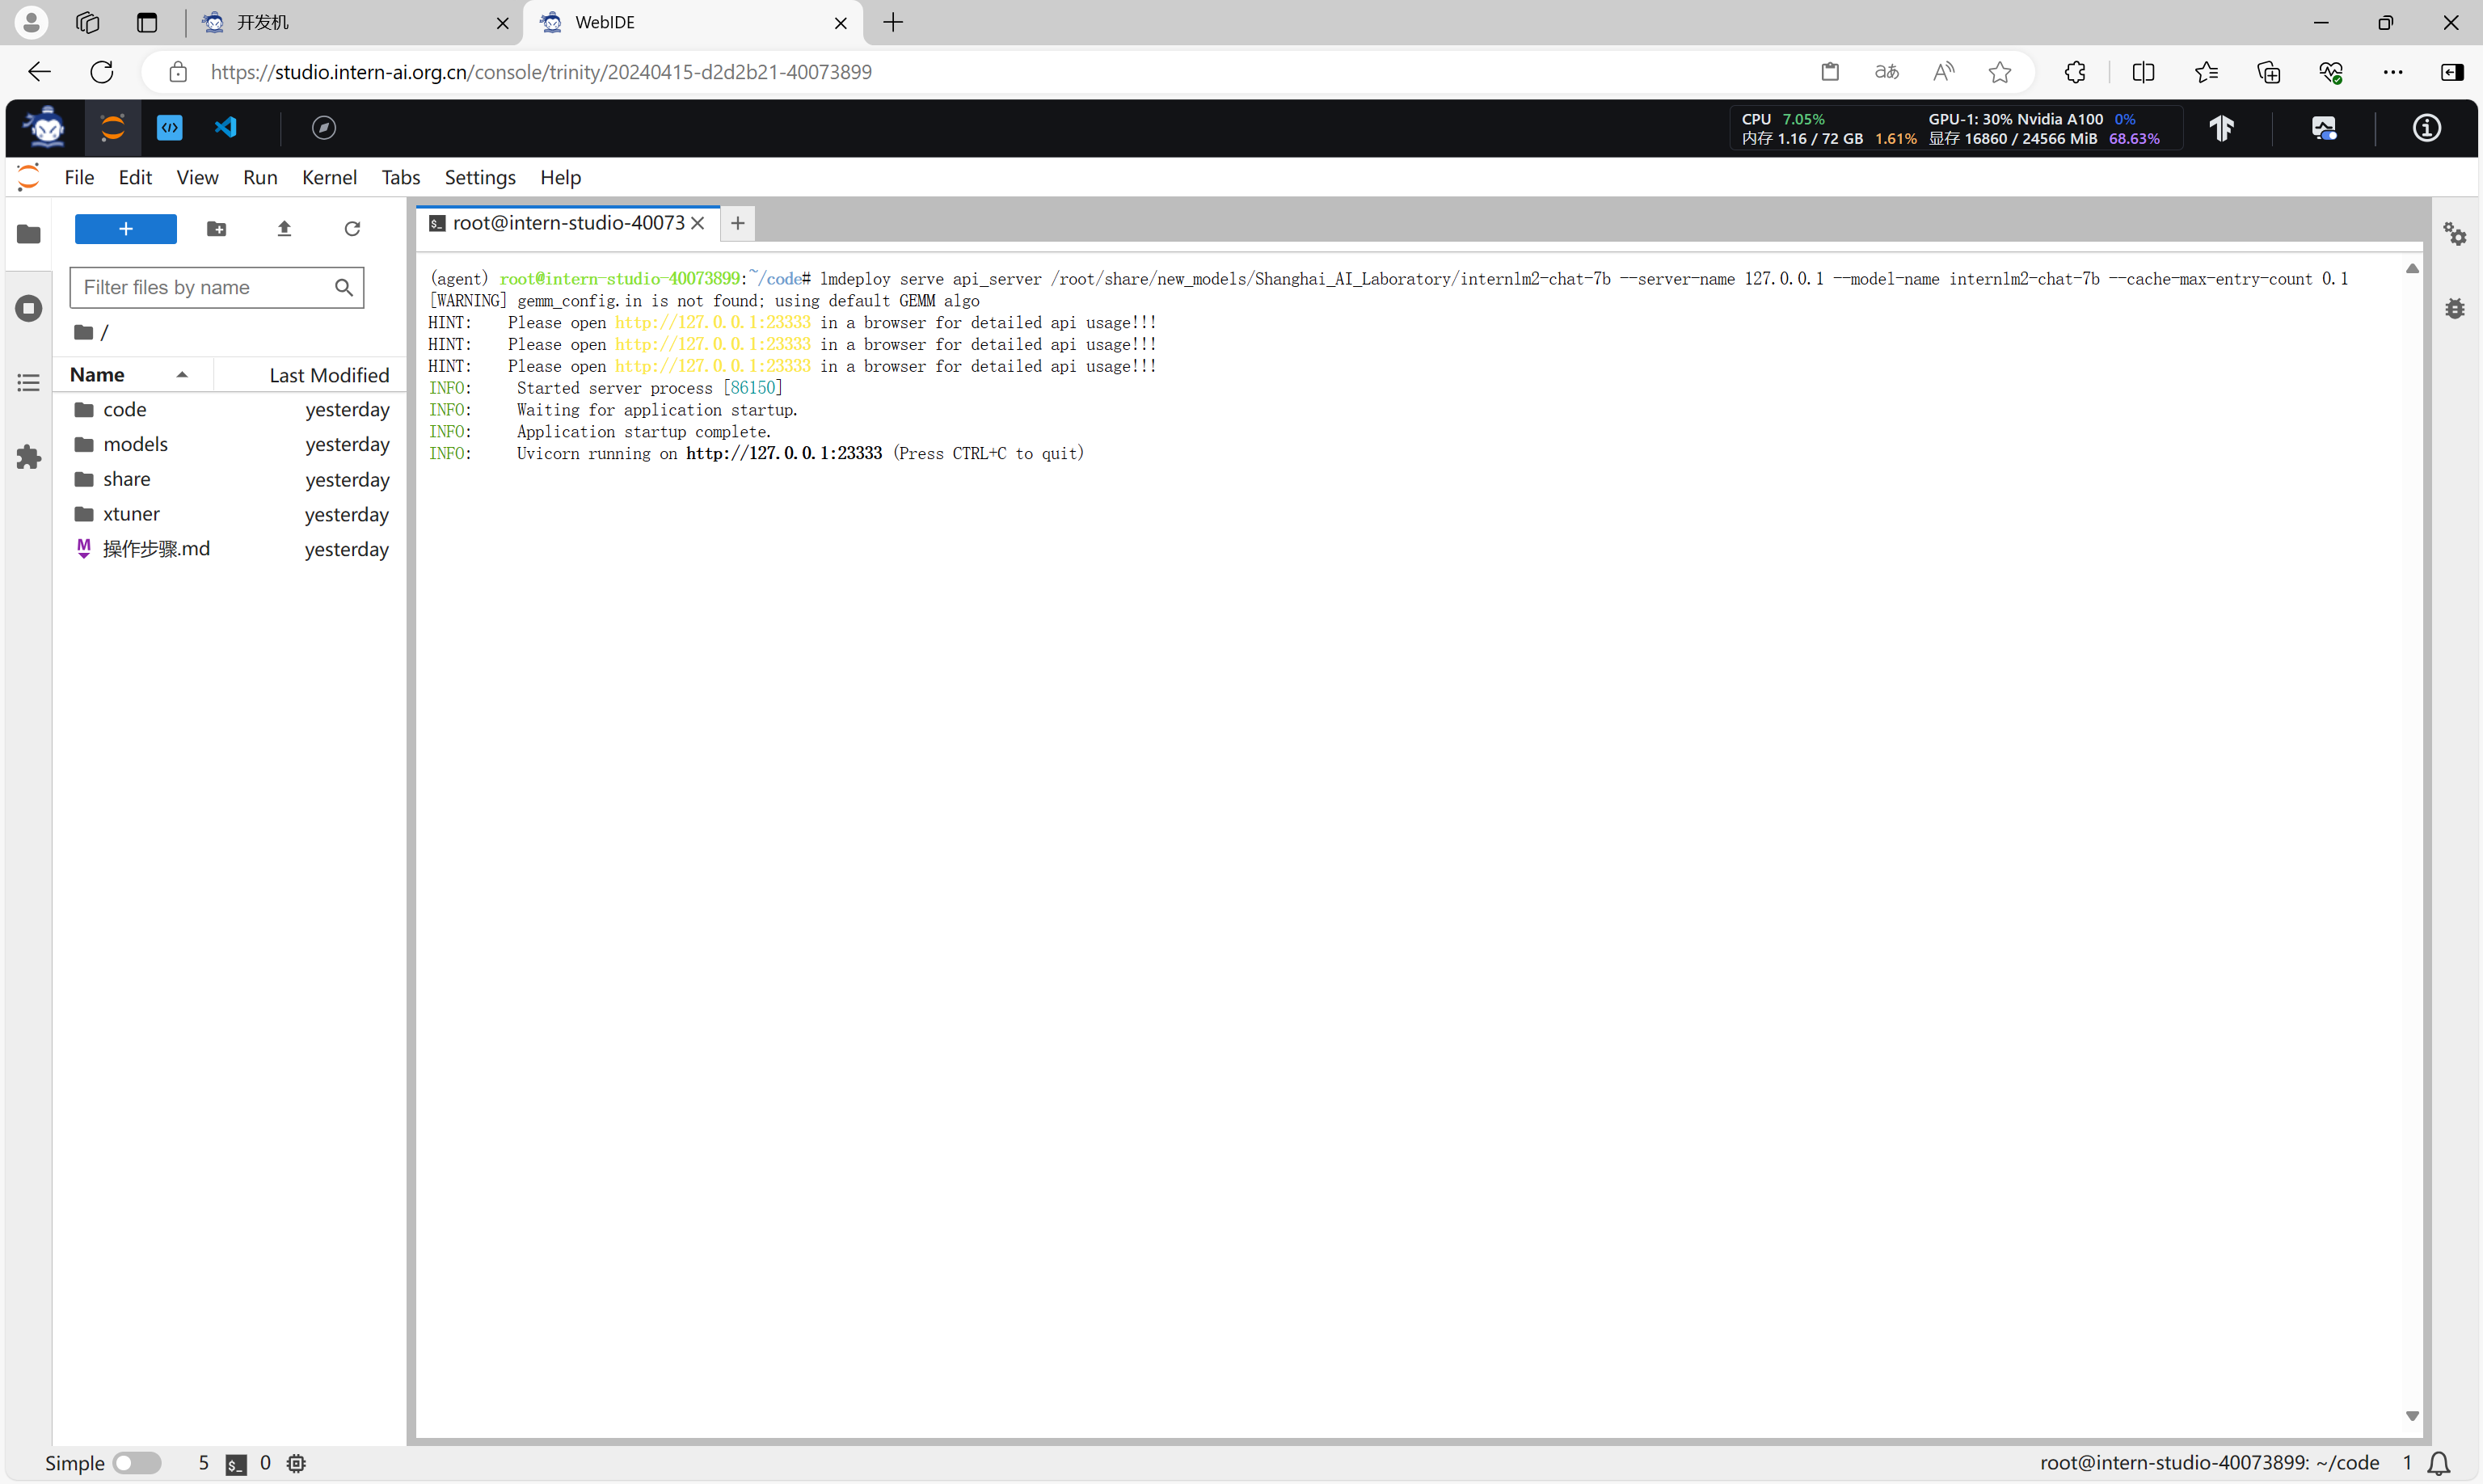
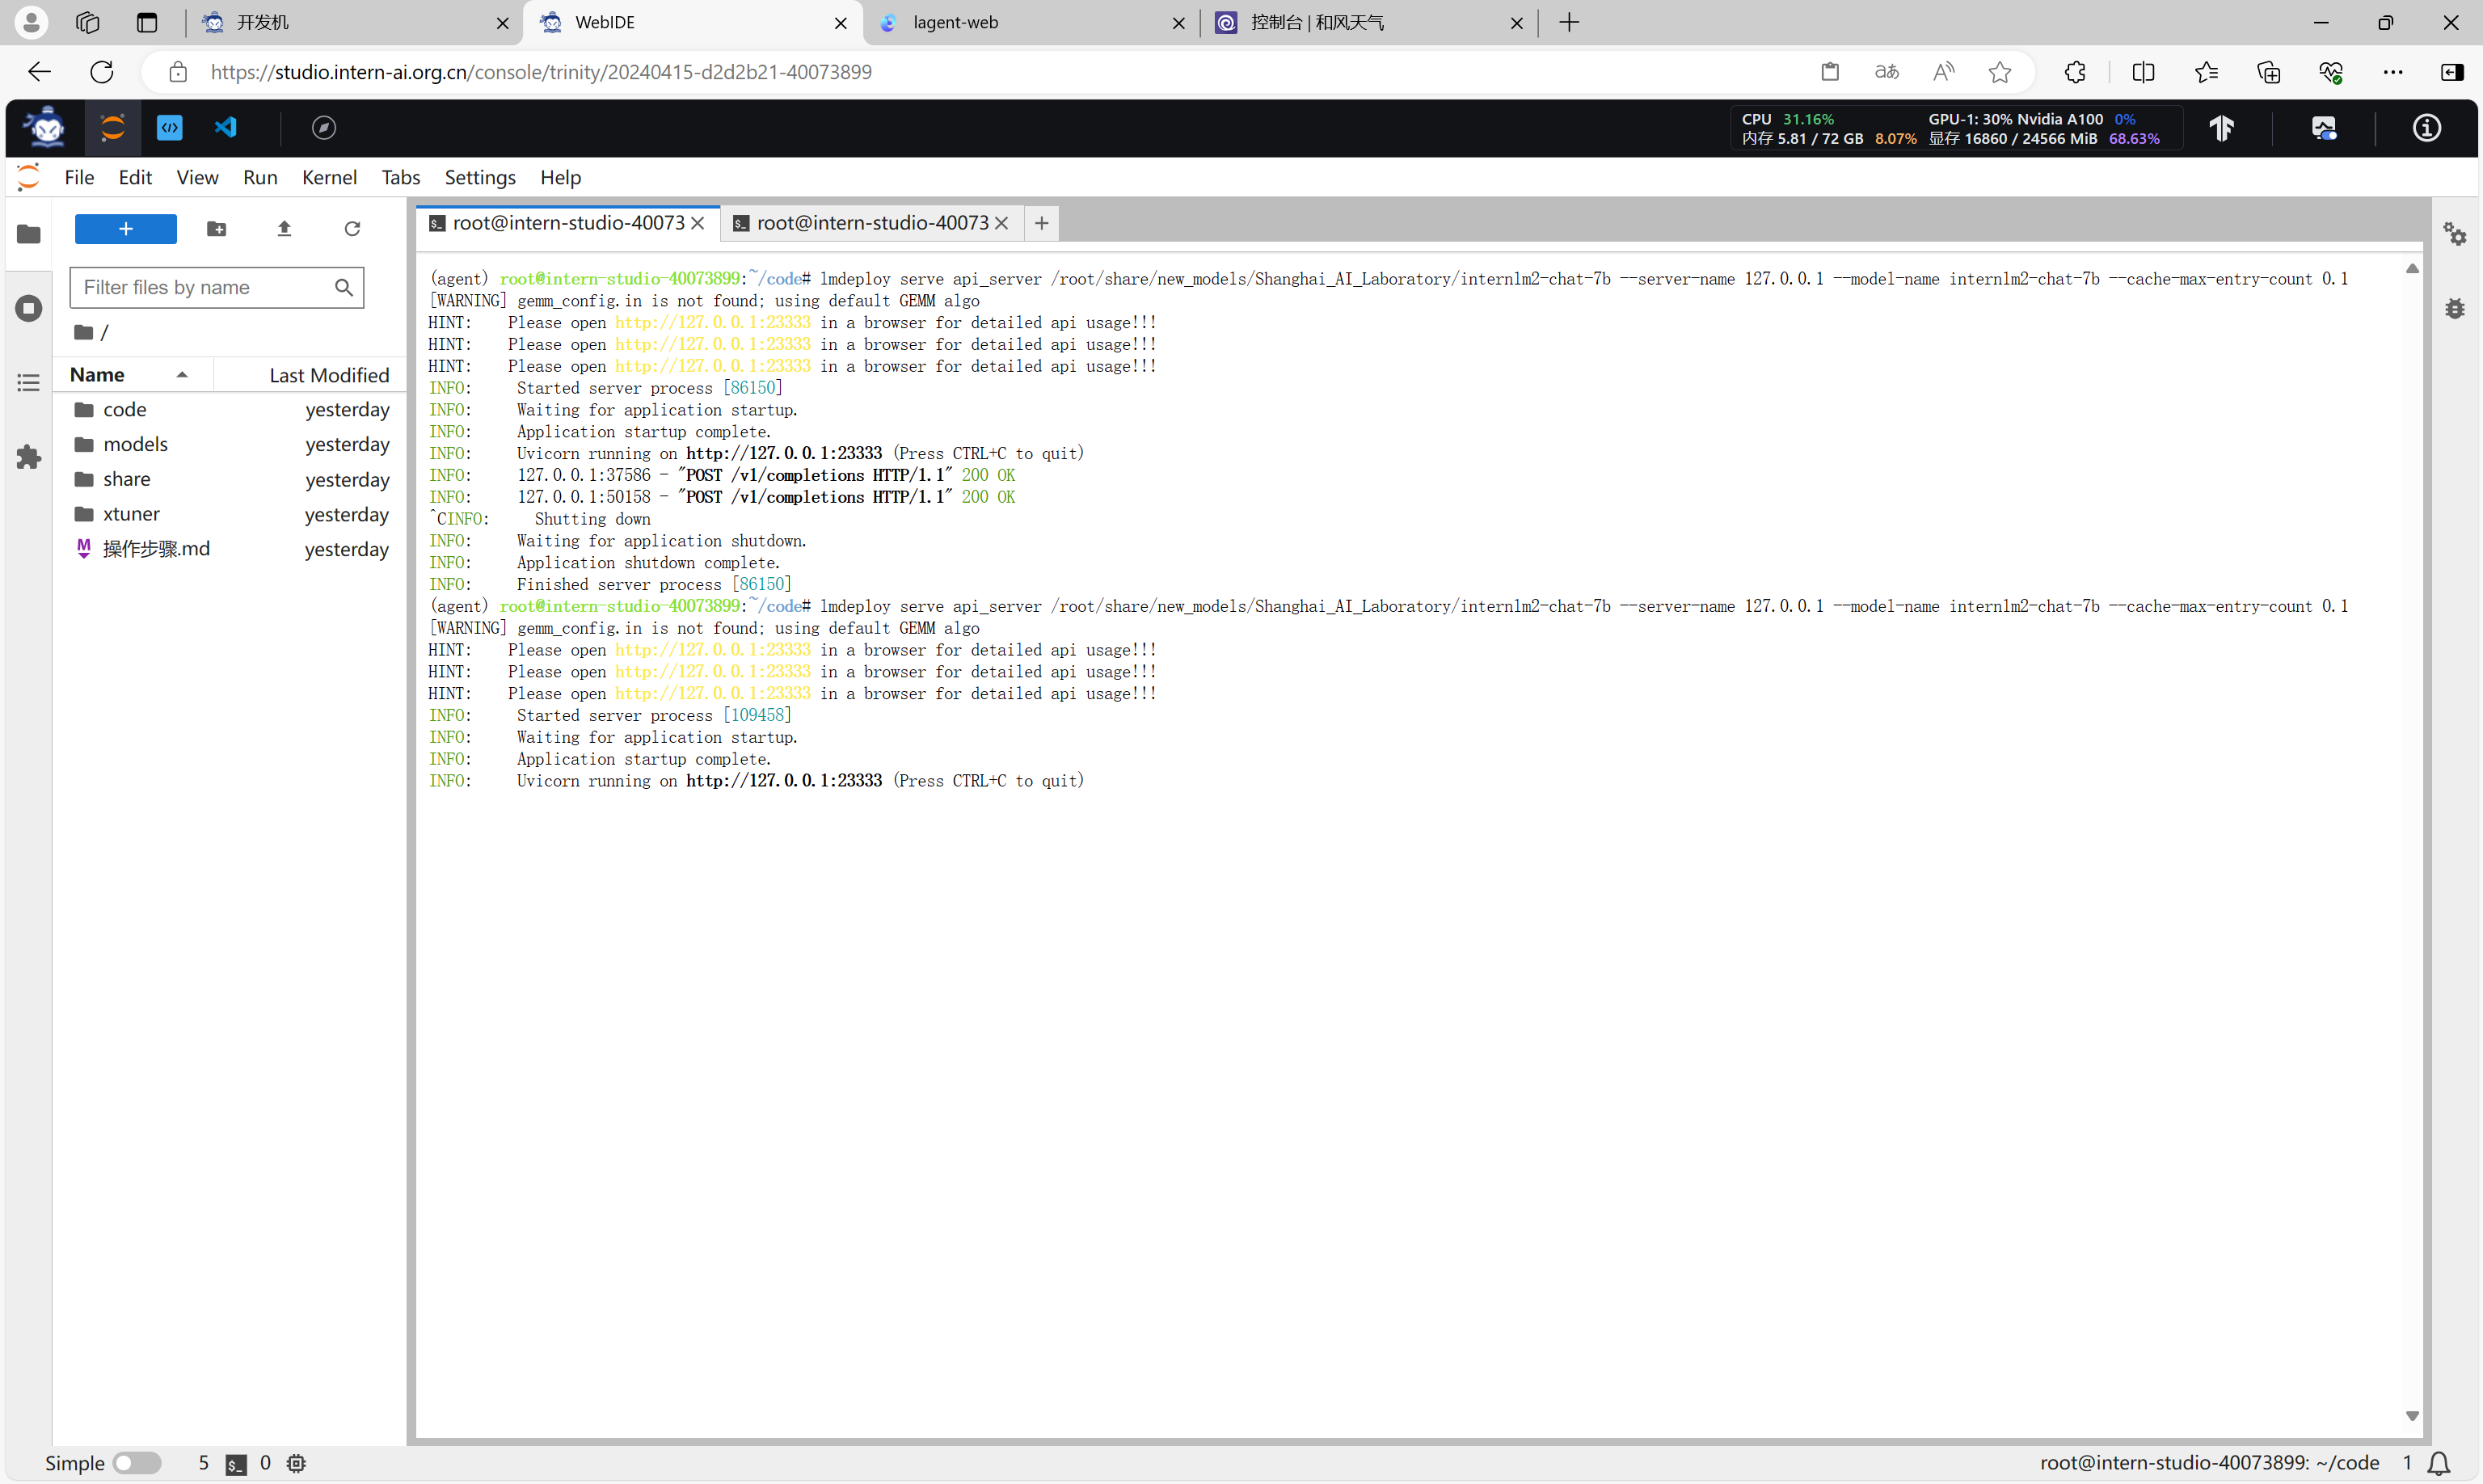
使用 LMDeploy 部署
执行如下代码使用 LMDeploy 启动一个 api_server。
lmdeploy serve api_server /root/share/new_models/Shanghai_AI_Laboratory/internlm2-chat-7b --server-name 127.0.0.1 --model-name internlm2-chat-7b --cache-max-entry-count 0.1
- 1
启动并使用 Lagent Web Demo
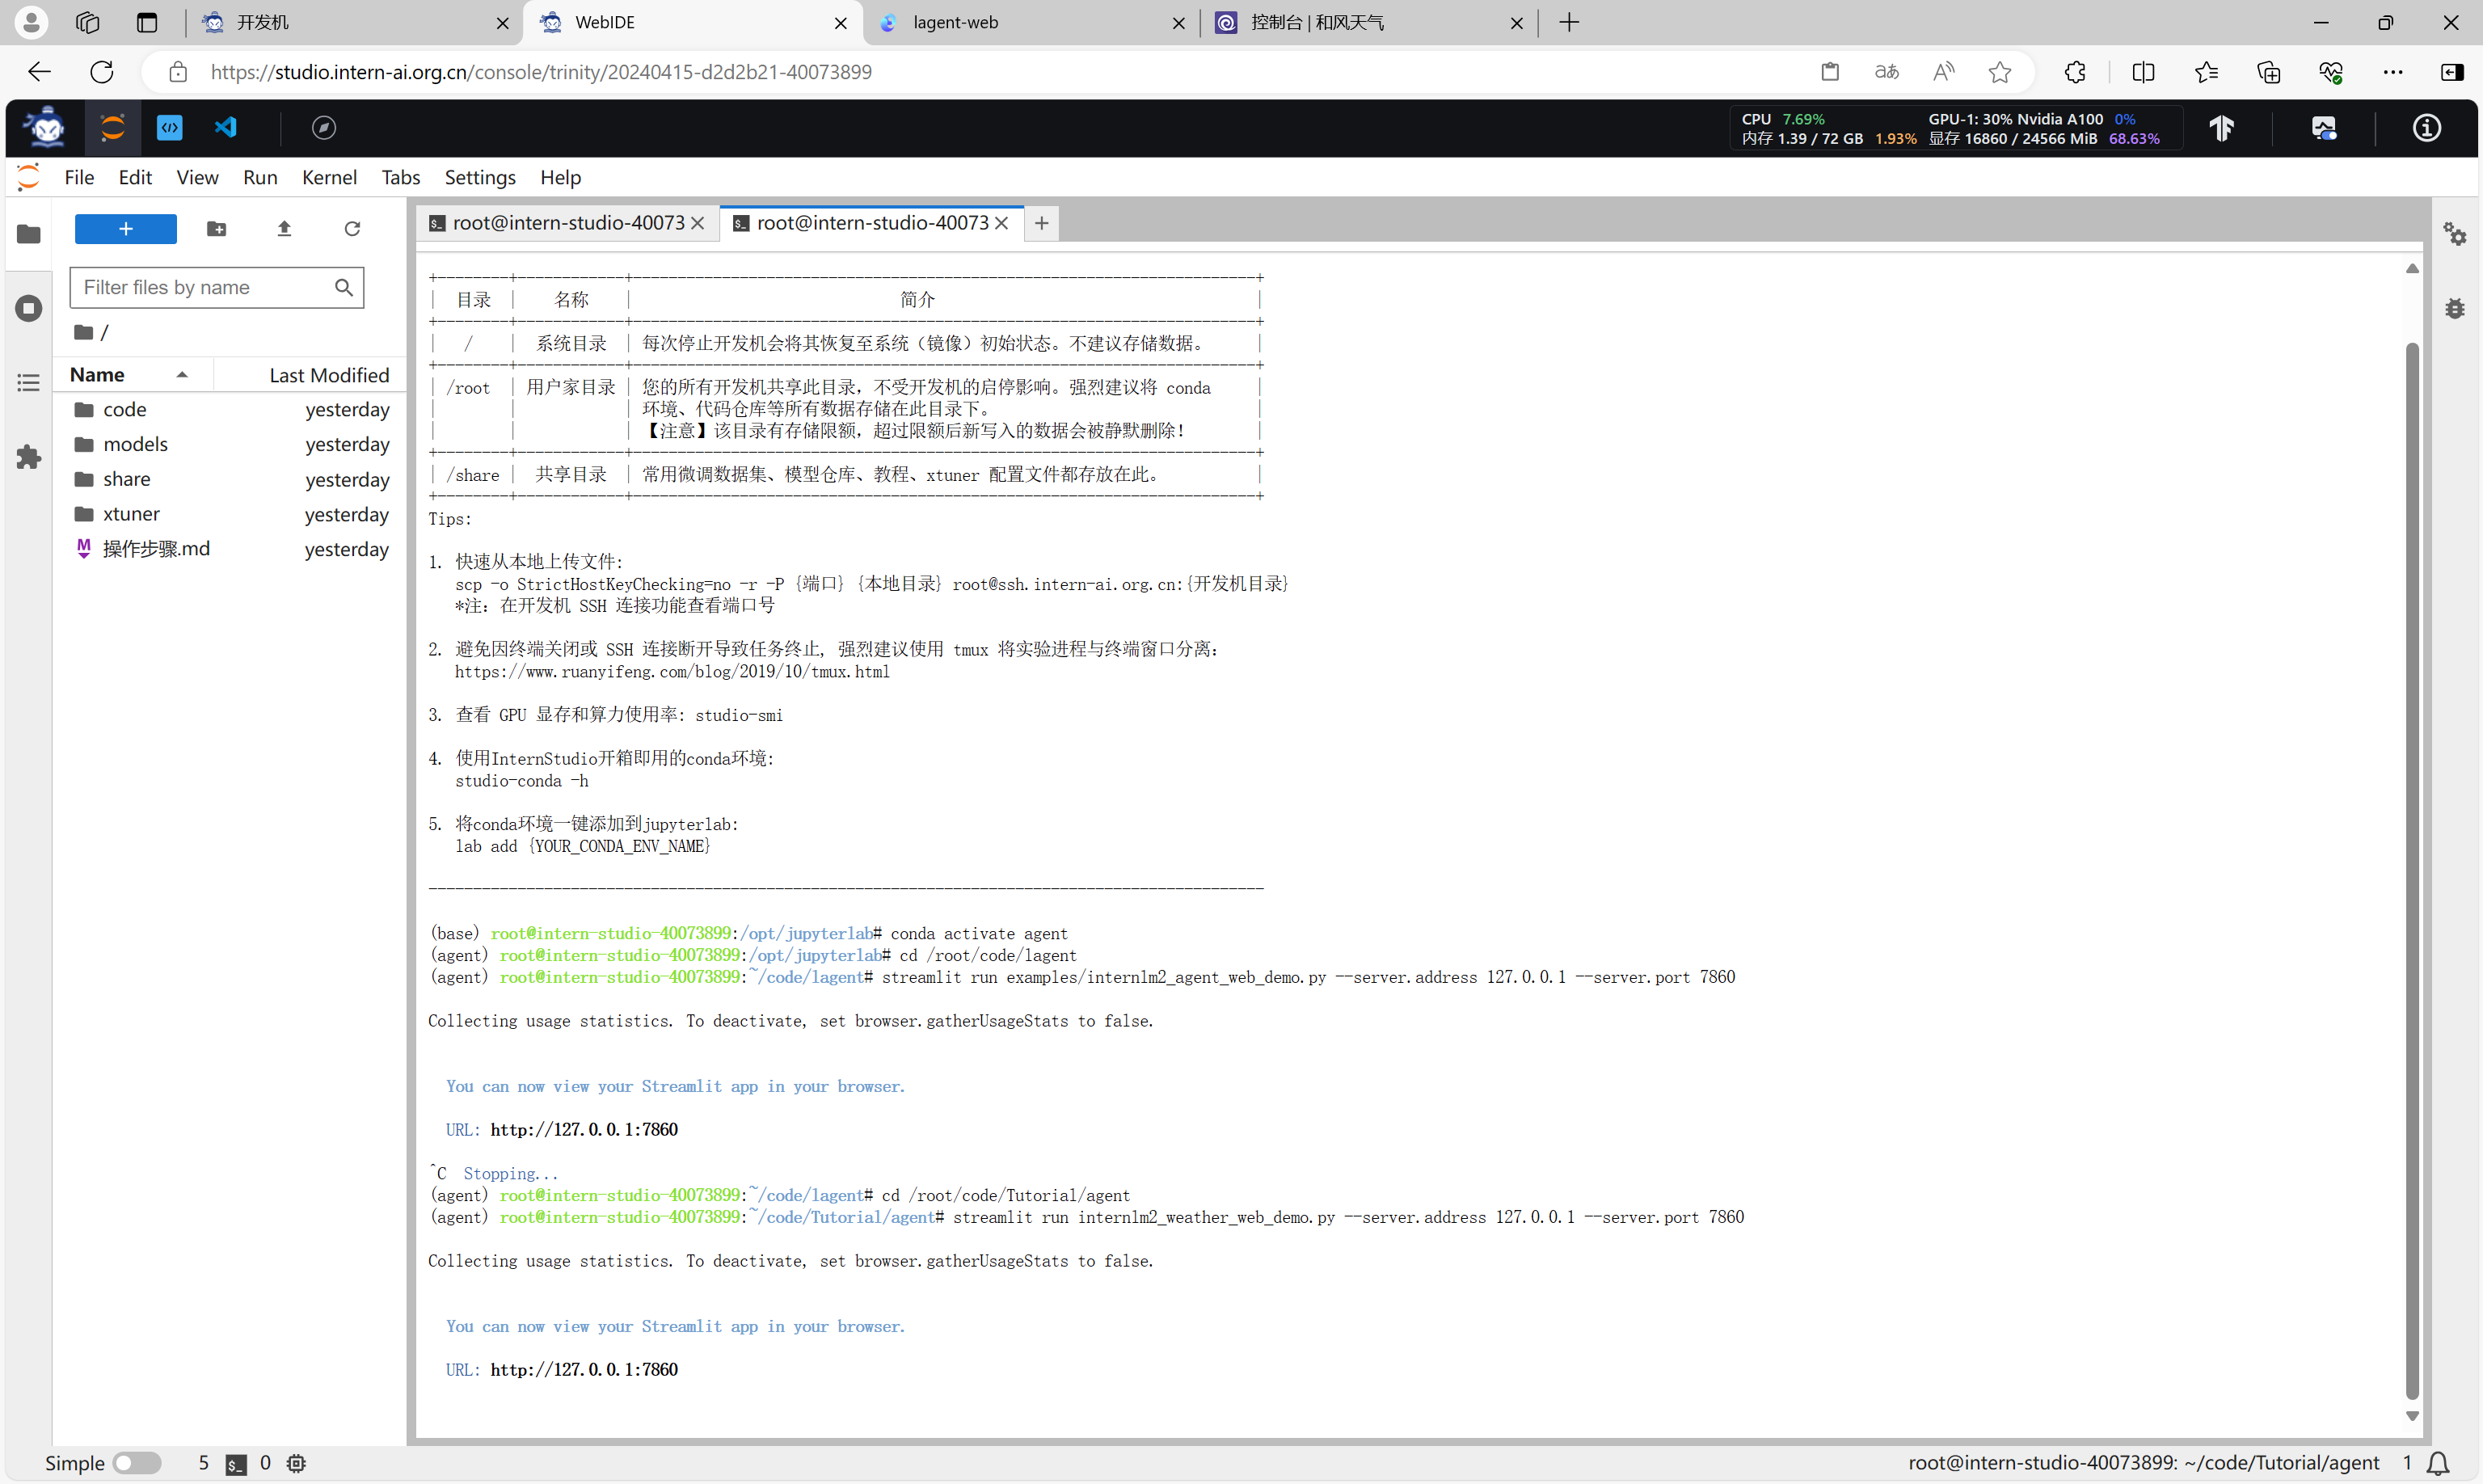
接下来我们新建一个 terminal 以启动 Lagent Web Demo。
cd /root/code/lagent
streamlit run examples/internlm2_agent_web_demo.py --server.address 127.0.0.1 --server.port 7860
- 1
- 2
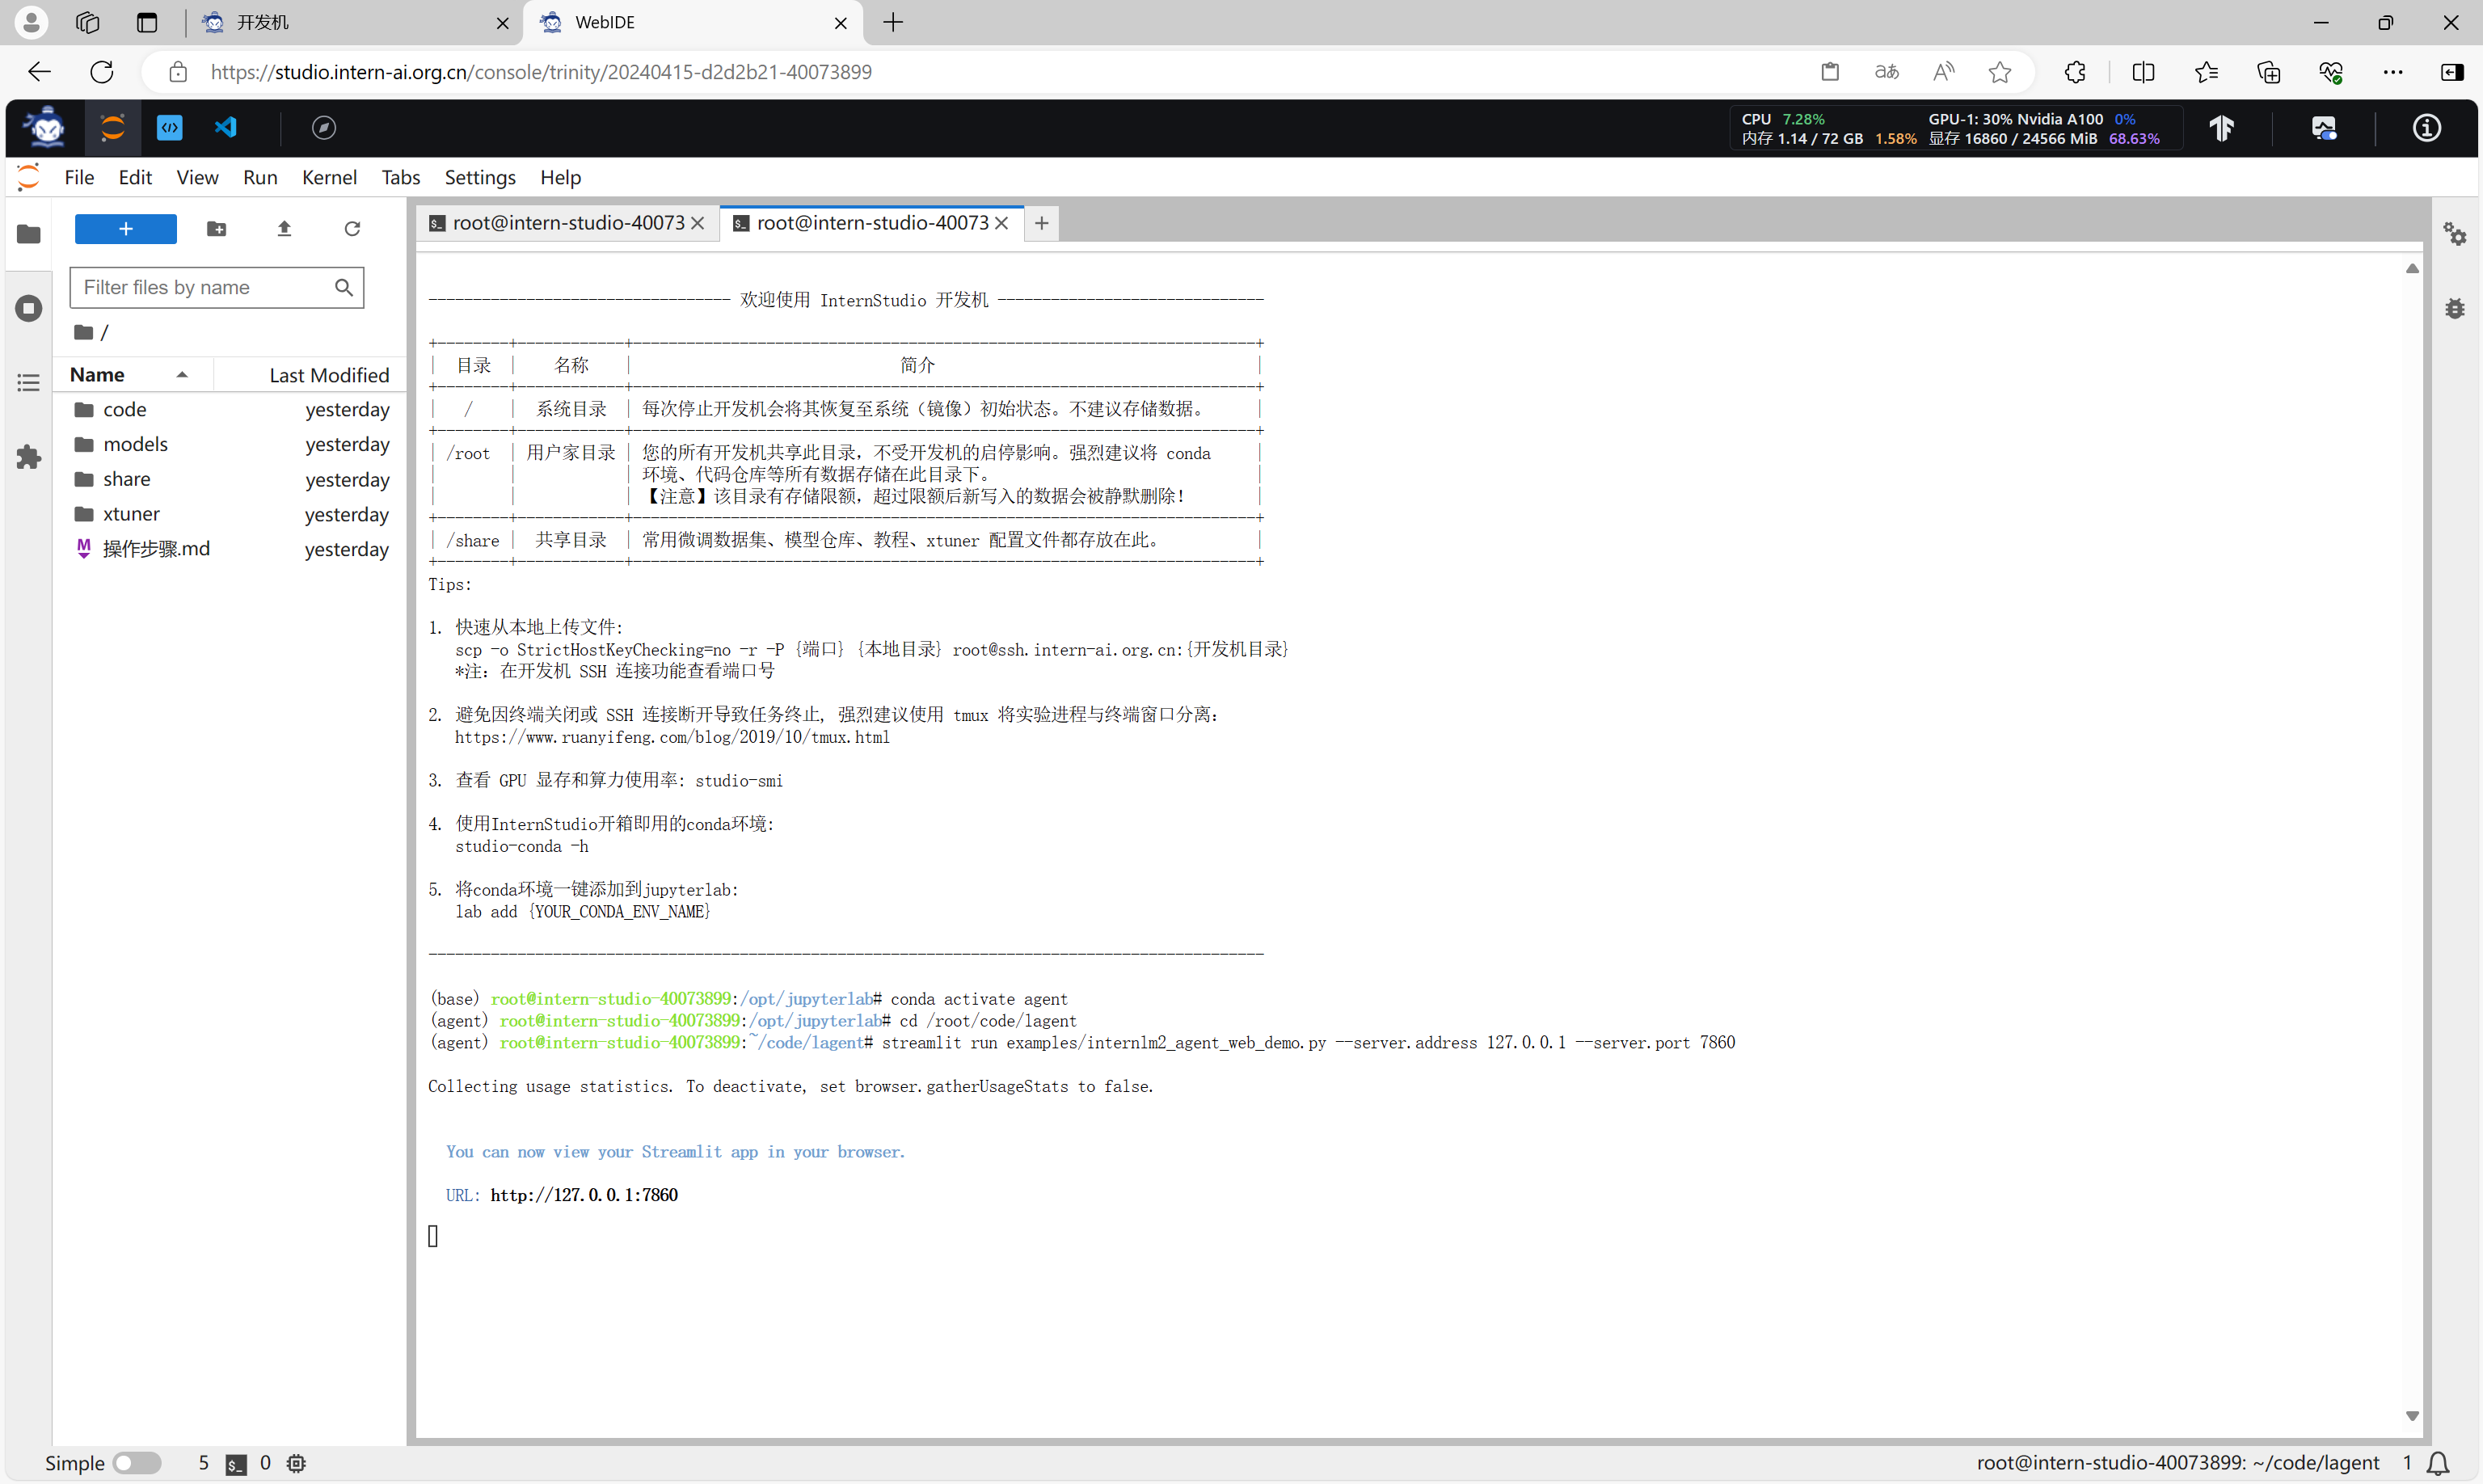
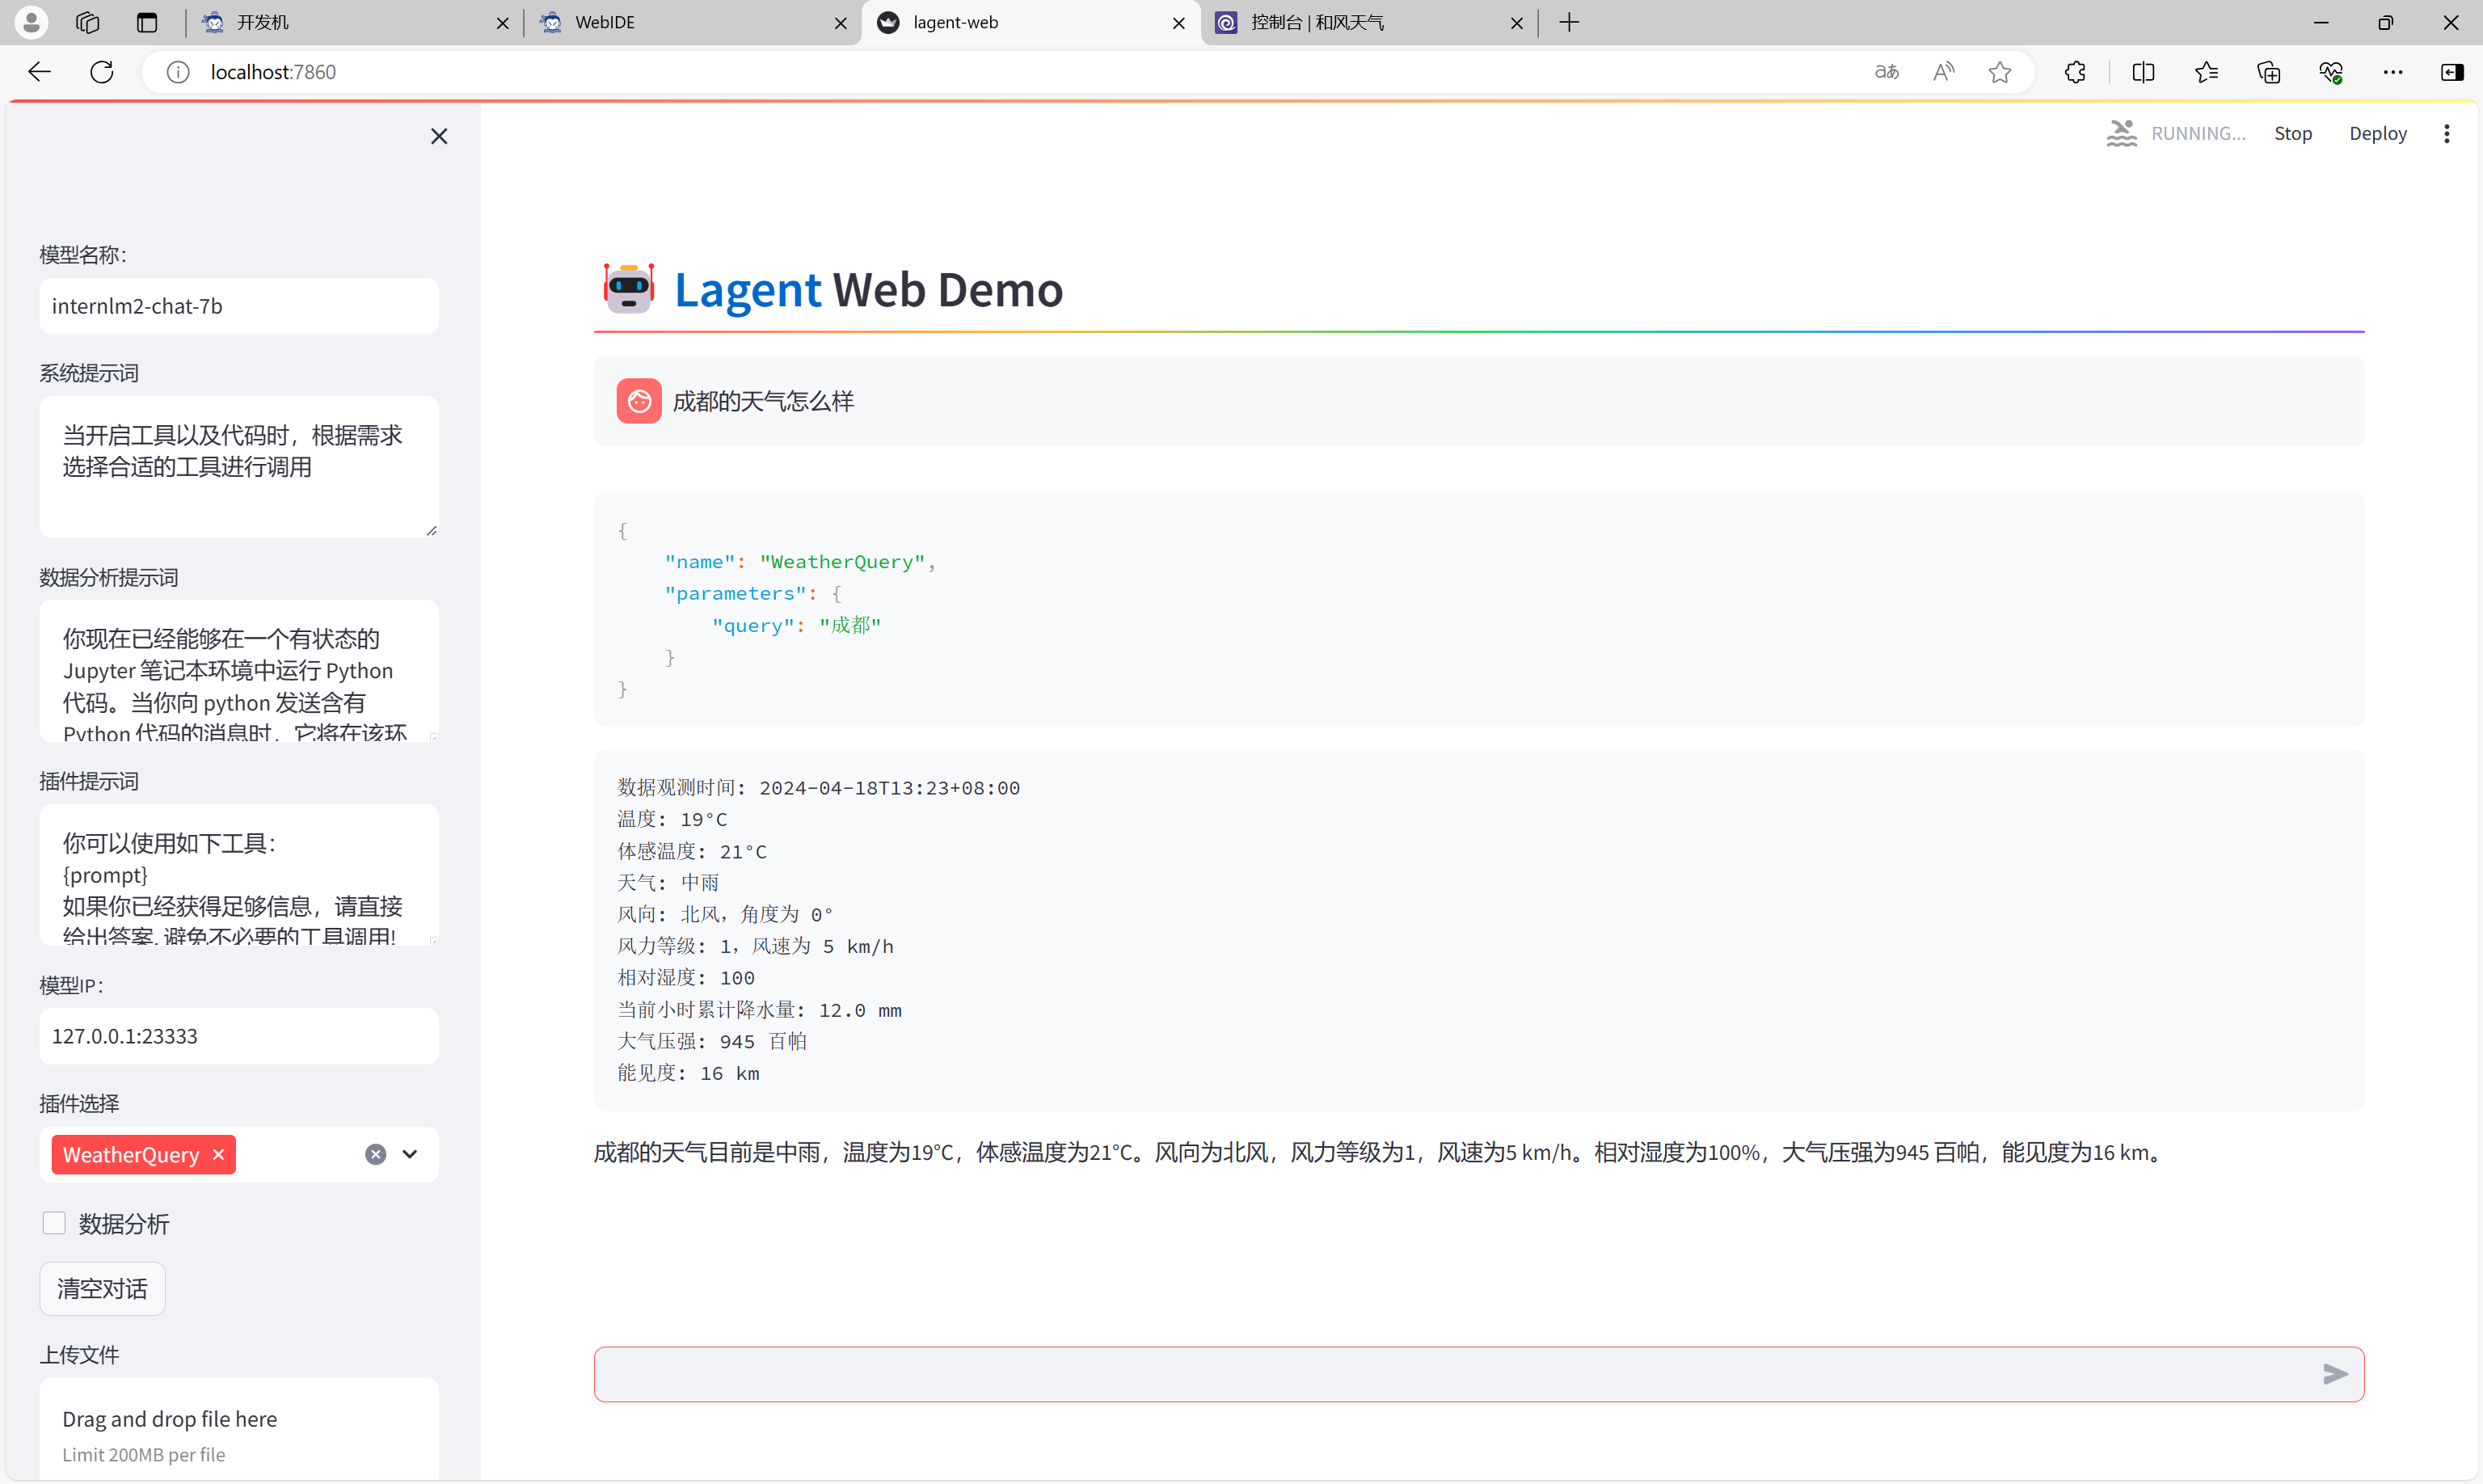
在本地建立SSH隧道端口映射之后,使用浏览器访问7860端口,并使用工具。

使用自定义工具
我们将基于 Lagent 自定义一个工具。
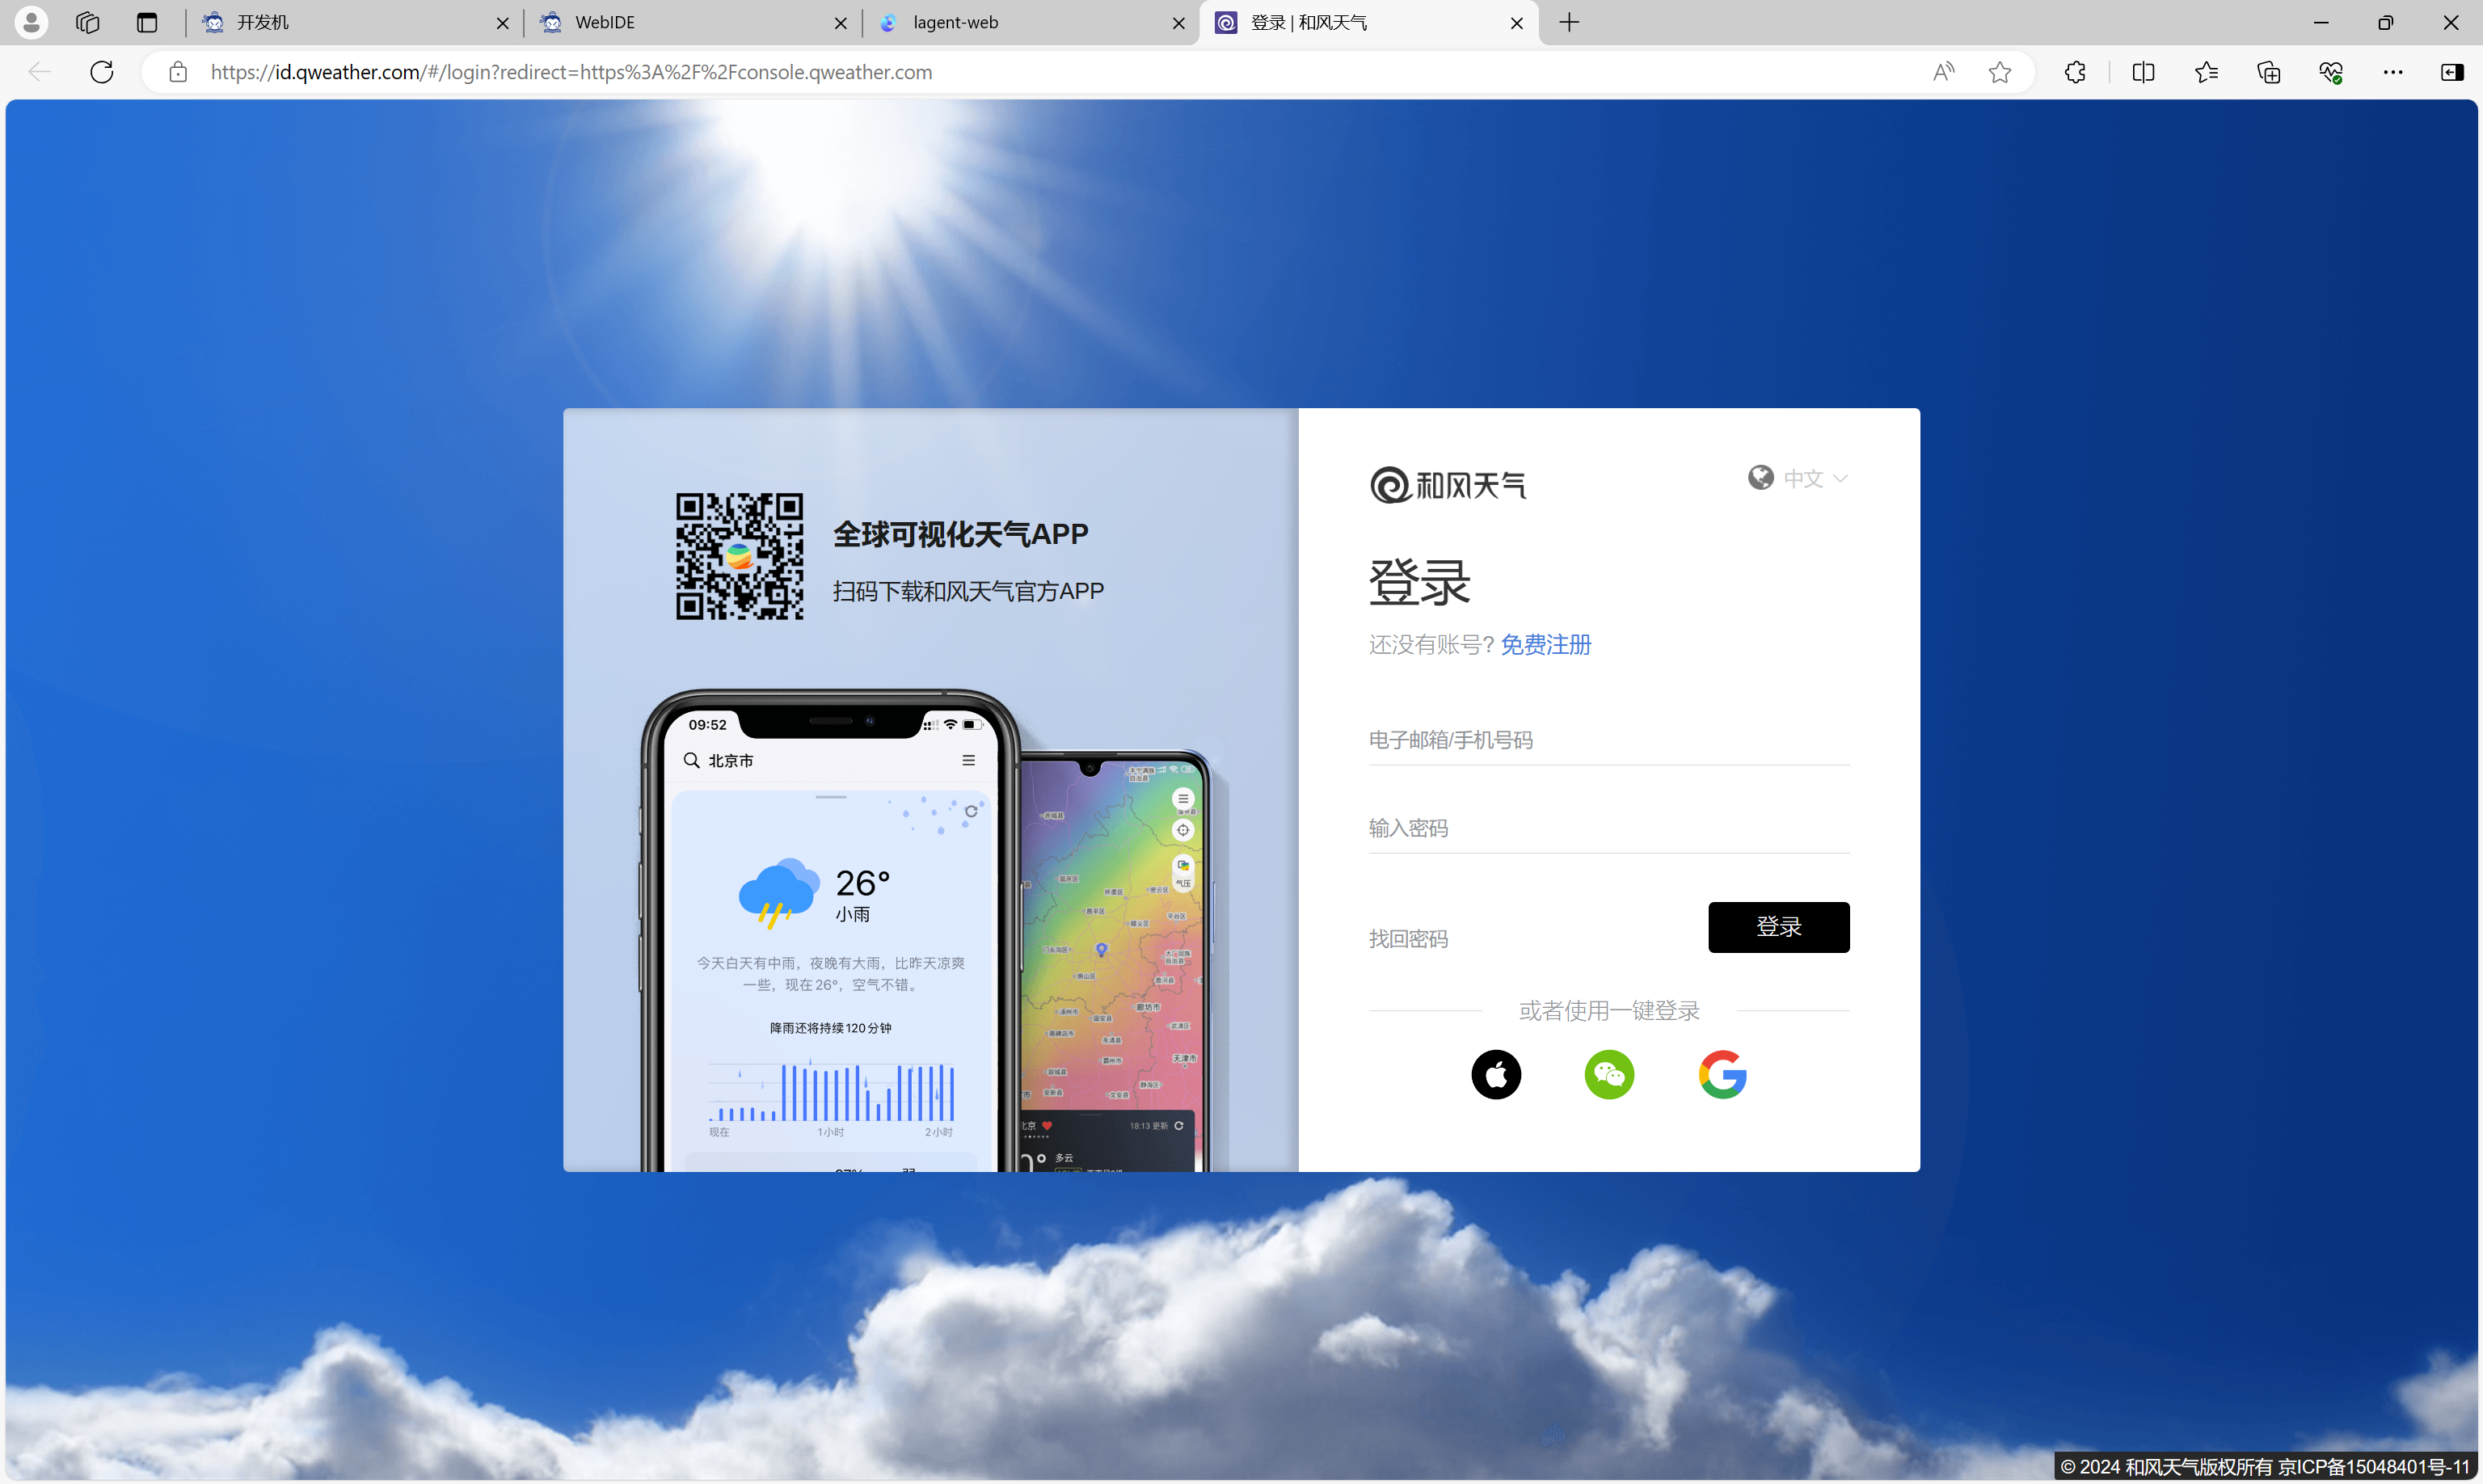
获取 API KEY
首先要获取 API KEY。首先打开 https://dev.qweather.com/ 后,登录。
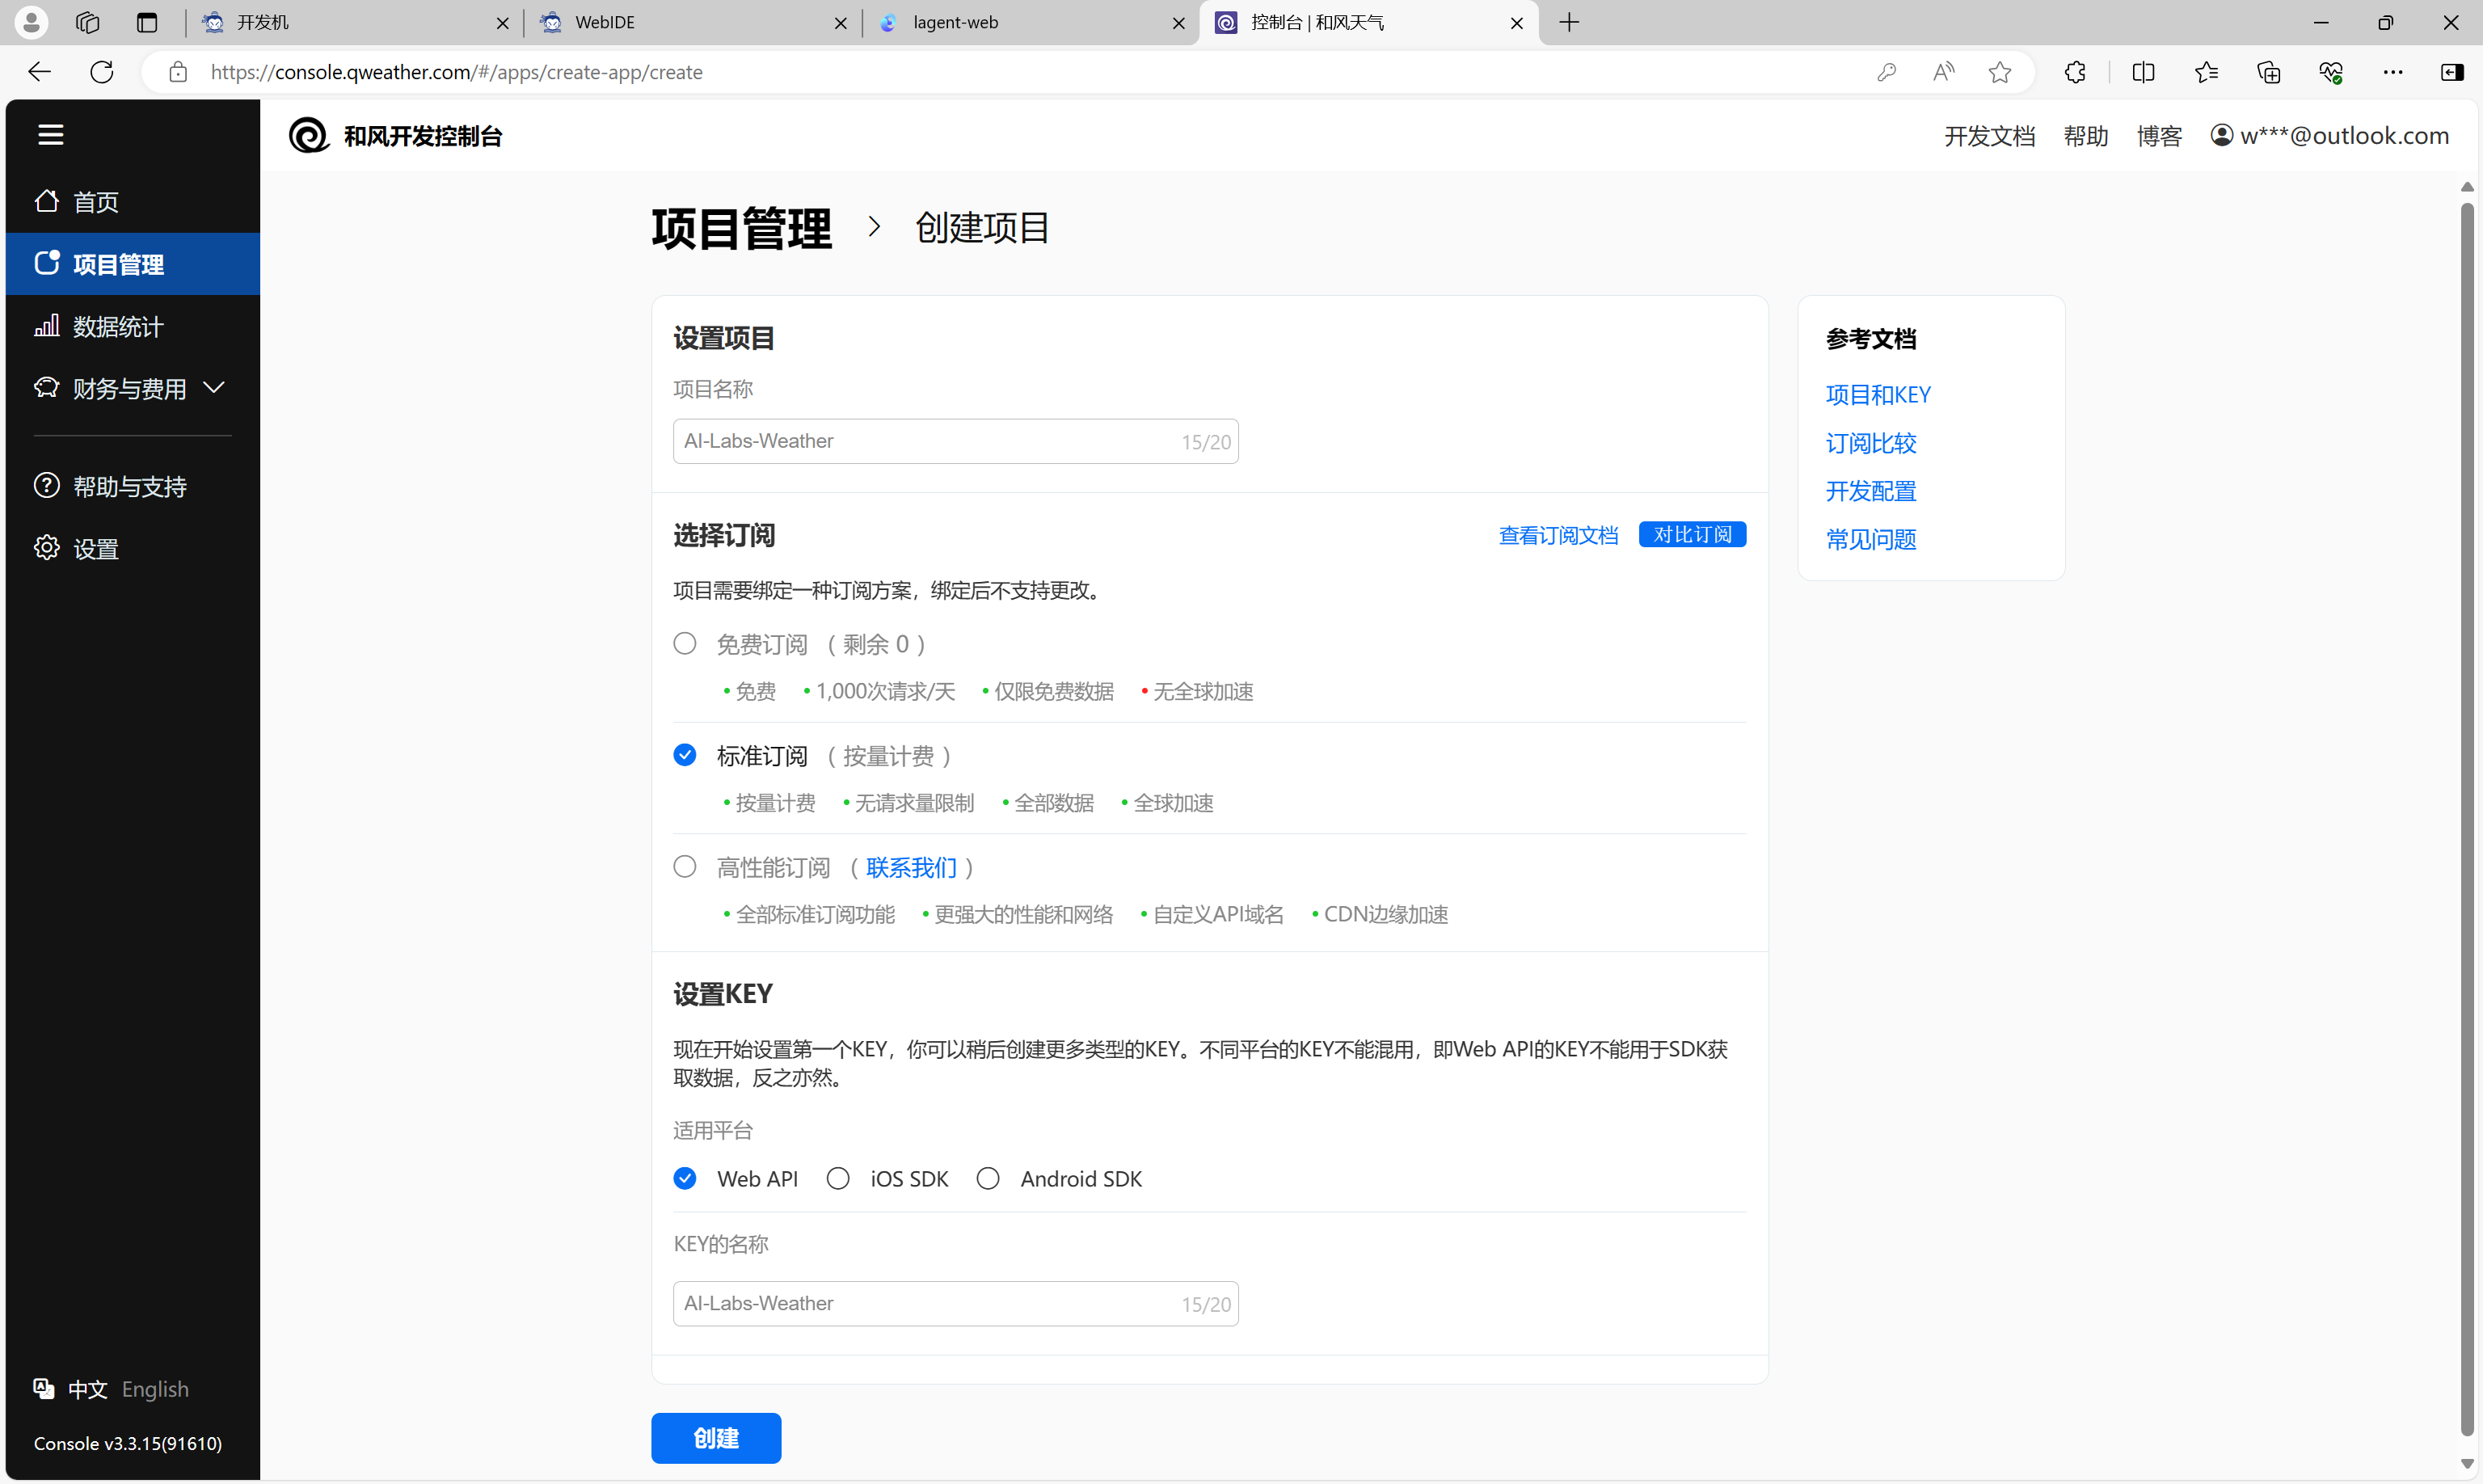
通过项目管理菜单创建一个项目。
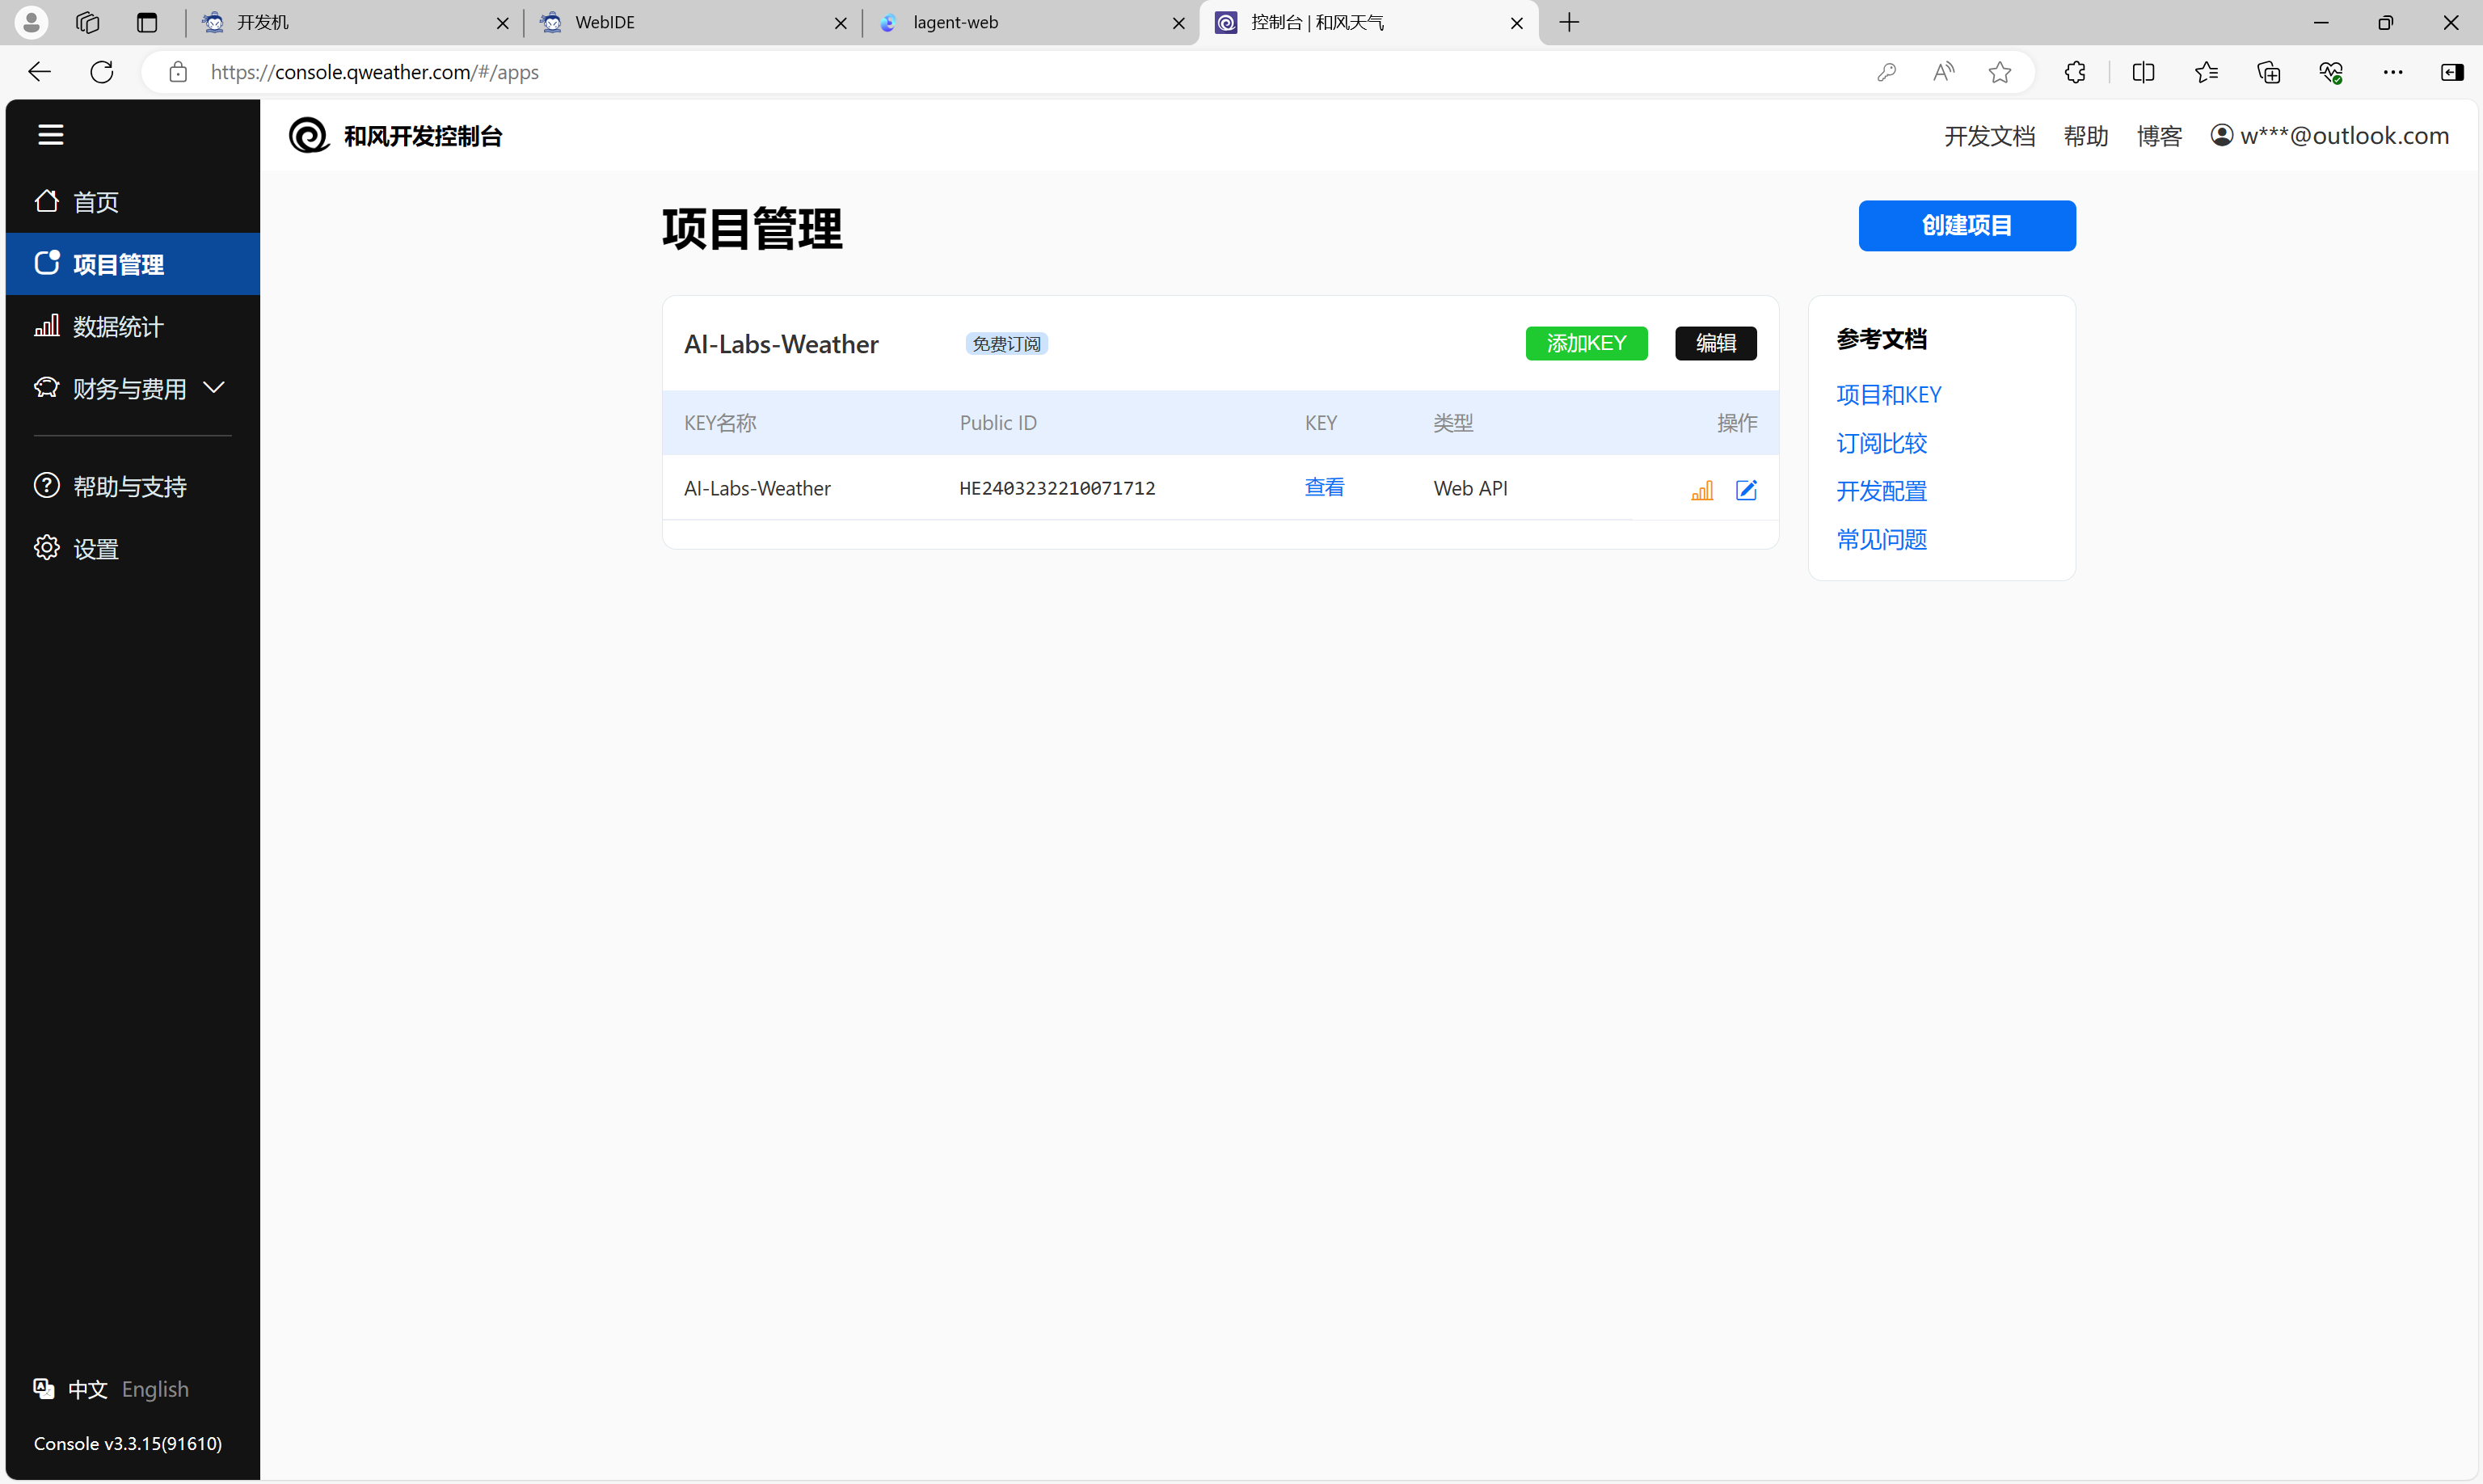
在项目列表里面可以查看API KEY。
创建工具文件
首先通过 touch /root/code/lagent/lagent/actions/weather.py(大小写敏感)新建工具文件,该文件内容如下:
import json
import os
import requests
from typing import Optional, Type

from lagent.actions.base_action import BaseAction, tool_api
from lagent.actions.parser import BaseParser, JsonParser
from lagent.schema import ActionReturn, ActionStatusCode

class WeatherQuery(BaseAction):
    """Weather plugin for querying weather information."""

    def __init__(self,
                 key: Optional[str] = None,
                 description: Optional[dict] = None,
                 parser: Type[BaseParser] = JsonParser,
                 enable: bool = True) -> None:
        super().__init__(description, parser, enable)
        key = os.environ.get('WEATHER_API_KEY', key)
        if key is None:
            raise ValueError(
                'Please set Weather API key either in the environment '
                'as WEATHER_API_KEY or pass it as `key`')
        self.key = key
        self.location_query_url = 'https://geoapi.qweather.com/v2/city/lookup'
        self.weather_query_url = 'https://devapi.qweather.com/v7/weather/now'

    @tool_api
    def run(self, query: str) -> ActionReturn:
        """一个天气查询API。可以根据城市名查询天气信息。

        Args:
            query (:class:`str`): The city name to query.
        """
        tool_return = ActionReturn(type=self.name)
        status_code, response = self._search(query)
        if status_code == -1:
            tool_return.errmsg = response
            tool_return.state = ActionStatusCode.HTTP_ERROR
        elif status_code == 200:
            parsed_res = self._parse_results(response)
            tool_return.result = [dict(type='text', content=str(parsed_res))]
            tool_return.state = ActionStatusCode.SUCCESS
        else:
            tool_return.errmsg = str(status_code)
            tool_return.state = ActionStatusCode.API_ERROR
        return tool_return

    def _parse_results(self, results: dict) -> str:
        """Parse the weather results from QWeather API.

        Args:
            results (dict): The weather content from QWeather API
                in json format.

        Returns:
            str: The parsed weather results.
        """
        now = results['now']
        data = [
            f'数据观测时间: {now["obsTime"]}',
            f'温度: {now["temp"]}°C',
            f'体感温度: {now["feelsLike"]}°C',
            f'天气: {now["text"]}',
            f'风向: {now["windDir"]},角度为 {now["wind360"]}°',
            f'风力等级: {now["windScale"]},风速为 {now["windSpeed"]} km/h',
            f'相对湿度: {now["humidity"]}',
            f'当前小时累计降水量: {now["precip"]} mm',
            f'大气压强: {now["pressure"]} 百帕',
            f'能见度: {now["vis"]} km',
        ]
        return '\n'.join(data)

    def _search(self, query: str):
        # get city_code
        try:
            city_code_response = requests.get(
                self.location_query_url,
                params={'key': self.key, 'location': query}
            )
        except Exception as e:
            return -1, str(e)
        if city_code_response.status_code != 200:
            return city_code_response.status_code, city_code_response.json()
        city_code_response = city_code_response.json()
        if len(city_code_response['location']) == 0:
            return -1, '未查询到城市'
        city_code = city_code_response['location'][0]['id']
        # get weather
        try:
            weather_response = requests.get(
                self.weather_query_url,
                params={'key': self.key, 'location': city_code}
            )
        except Exception as e:
            return -1, str(e)
        return weather_response.status_code, weather_response.json()

- 1
- 2
- 3
- 4
- 5
- 6
- 7
- 8
- 9
- 10
- 11
- 12
- 13
- 14
- 15
- 16
- 17
- 18
- 19
- 20
- 21
- 22
- 23
- 24
- 25
- 26
- 27
- 28
- 29
- 30
- 31
- 32
- 33
- 34
- 35
- 36
- 37
- 38
- 39
- 40
- 41
- 42
- 43
- 44
- 45
- 46
- 47
- 48
- 49
- 50
- 51
- 52
- 53
- 54
- 55
- 56
- 57
- 58
- 59
- 60
- 61
- 62
- 63
- 64
- 65
- 66
- 67
- 68
- 69
- 70
- 71
- 72
- 73
- 74
- 75
- 76
- 77
- 78
- 79
- 80
- 81
- 82
- 83
- 84
- 85
- 86
- 87
- 88
- 89
- 90
- 91
- 92
- 93
- 94
- 95
- 96
- 97
重启LMDeploy
重启Lagent Web
验证自定义工具
这里可以看到天气信息获取成功。
AgentLego 组装智能体
安装依赖库
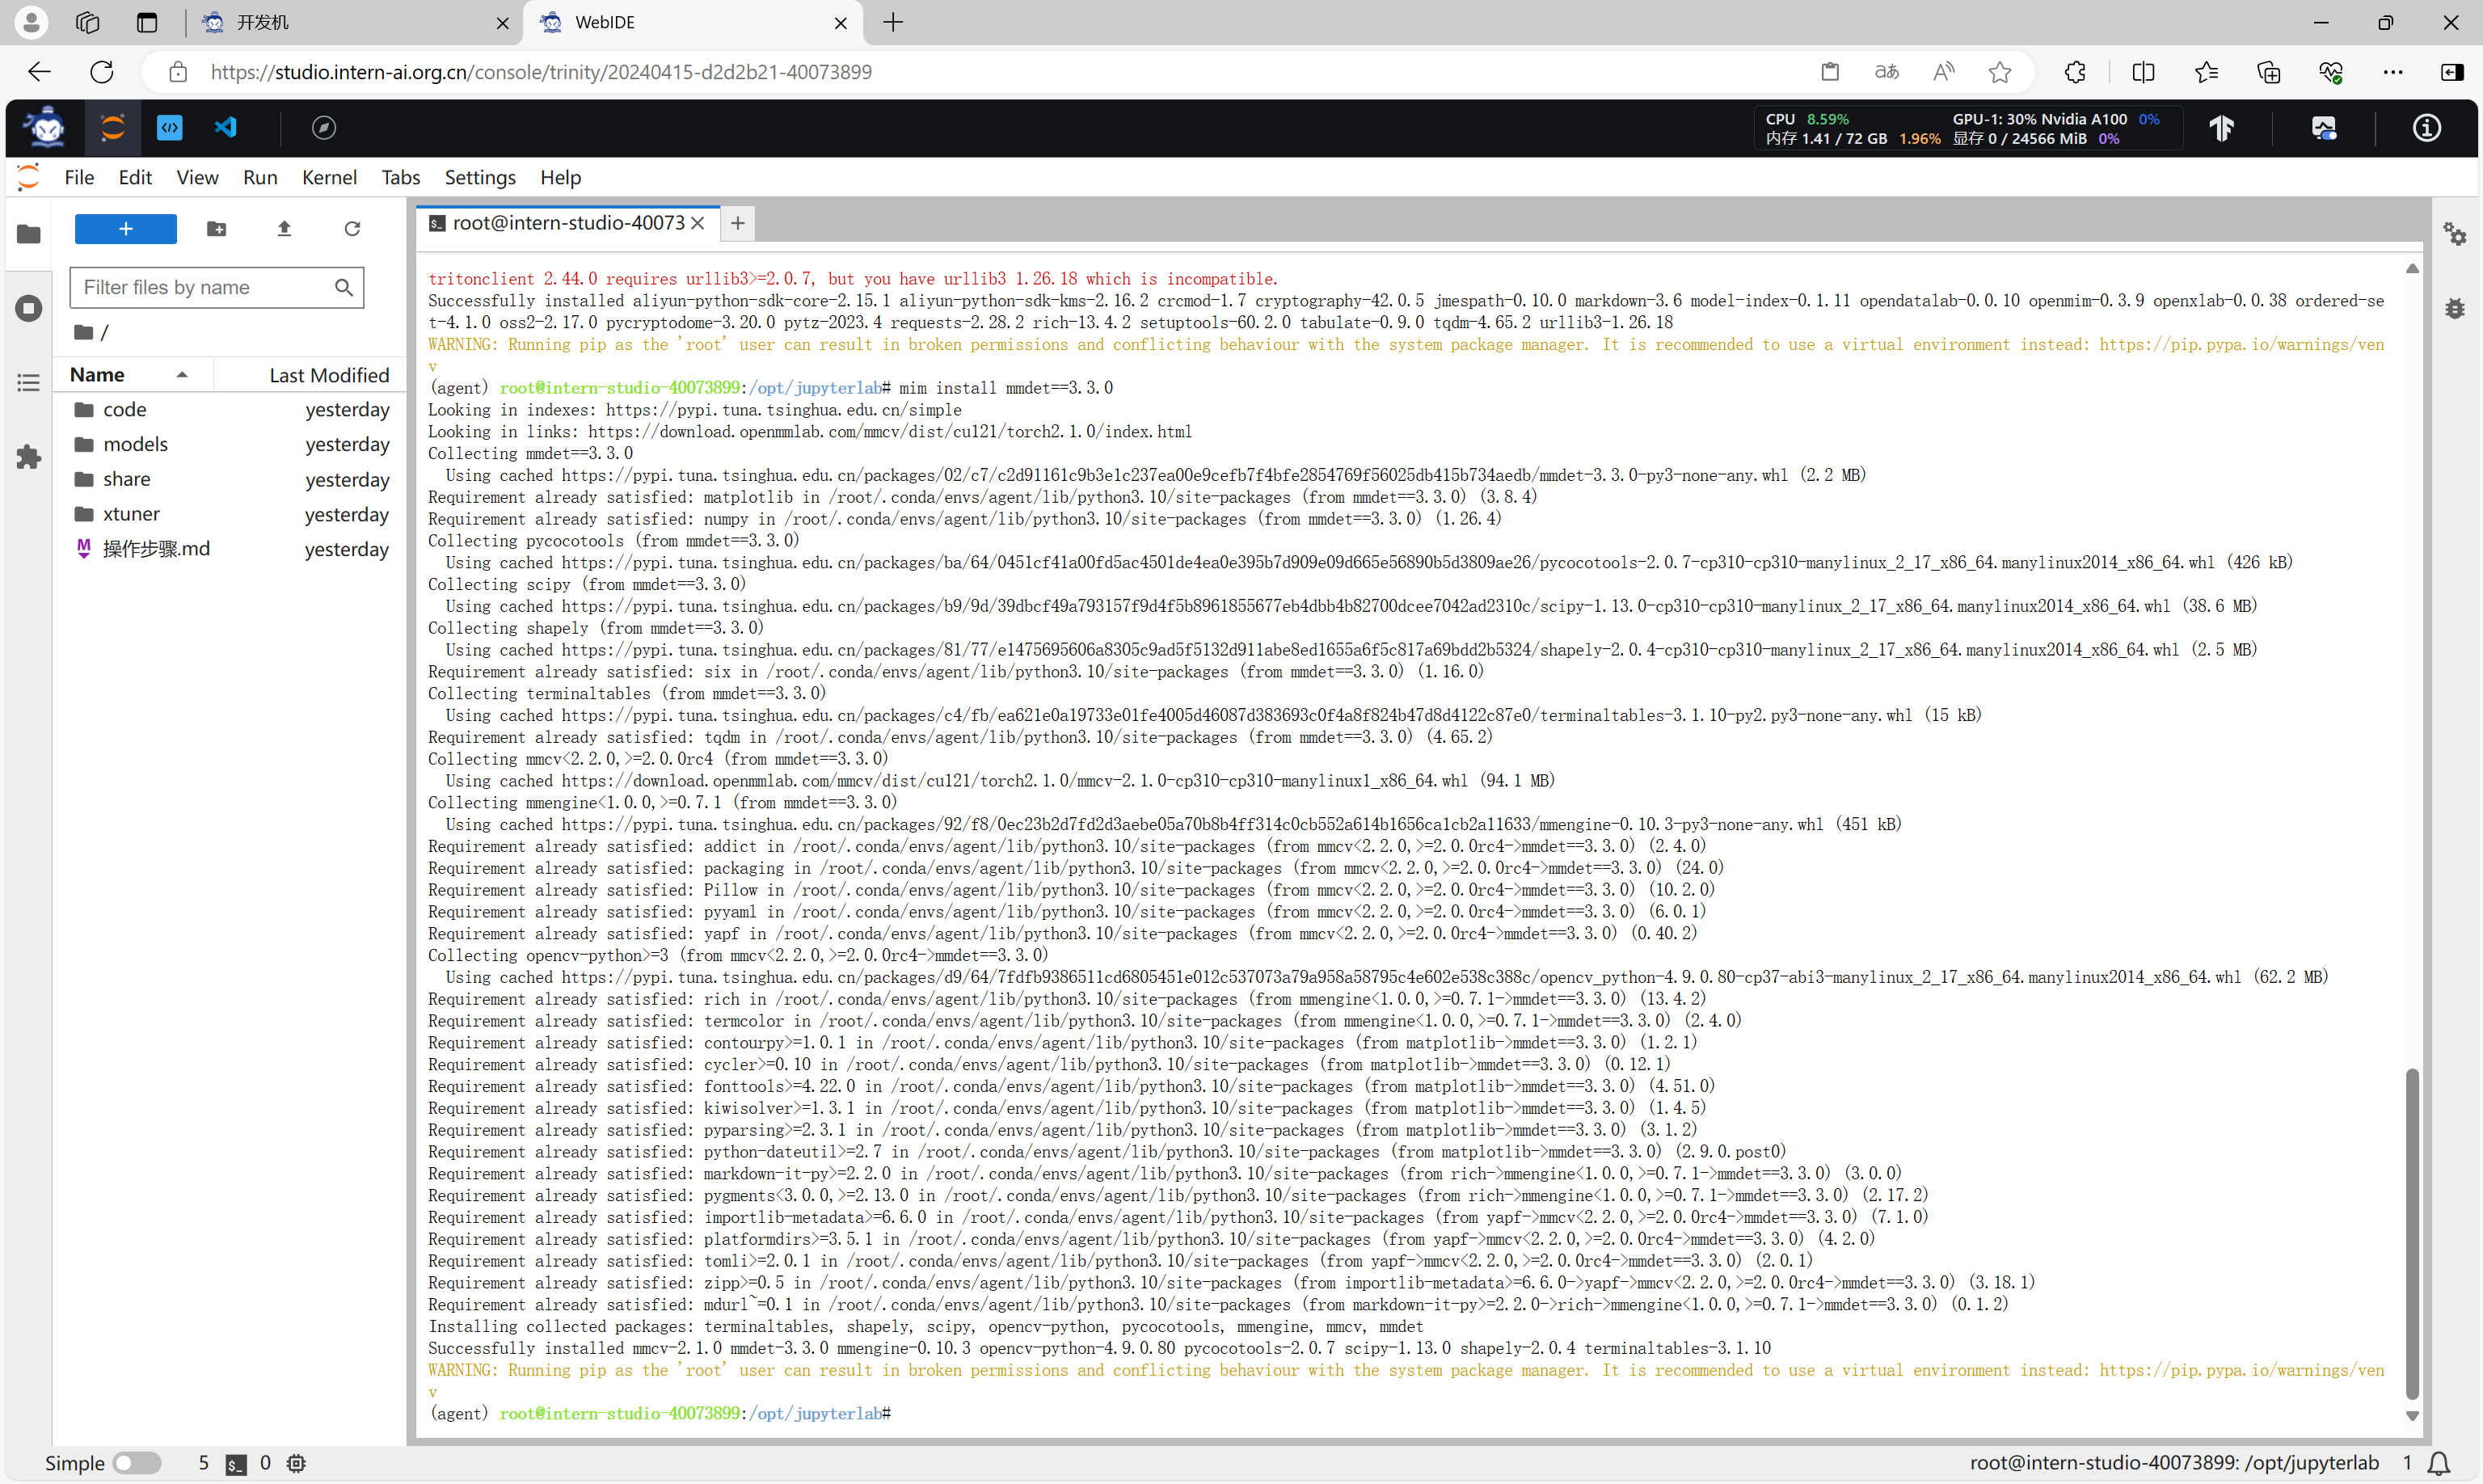
由于 AgentLego 在安装时并不会安装某个特定工具的依赖,因此接下来准备安装目标检测工具运行时所需依赖。
AgentLego 所实现的目标检测工具是基于 mmdet (MMDetection) 算法库中的 RTMDet-Large 模型,因此我们首先安装 mim,然后通过 mim 工具来安装 mmdet。
conda activate lmdeploy
pip install openmim==0.3.9
mim install mmdet==3.3.0
- 1
- 2
- 3
安装 mim

安装 mmdet
直接运行AgentLego
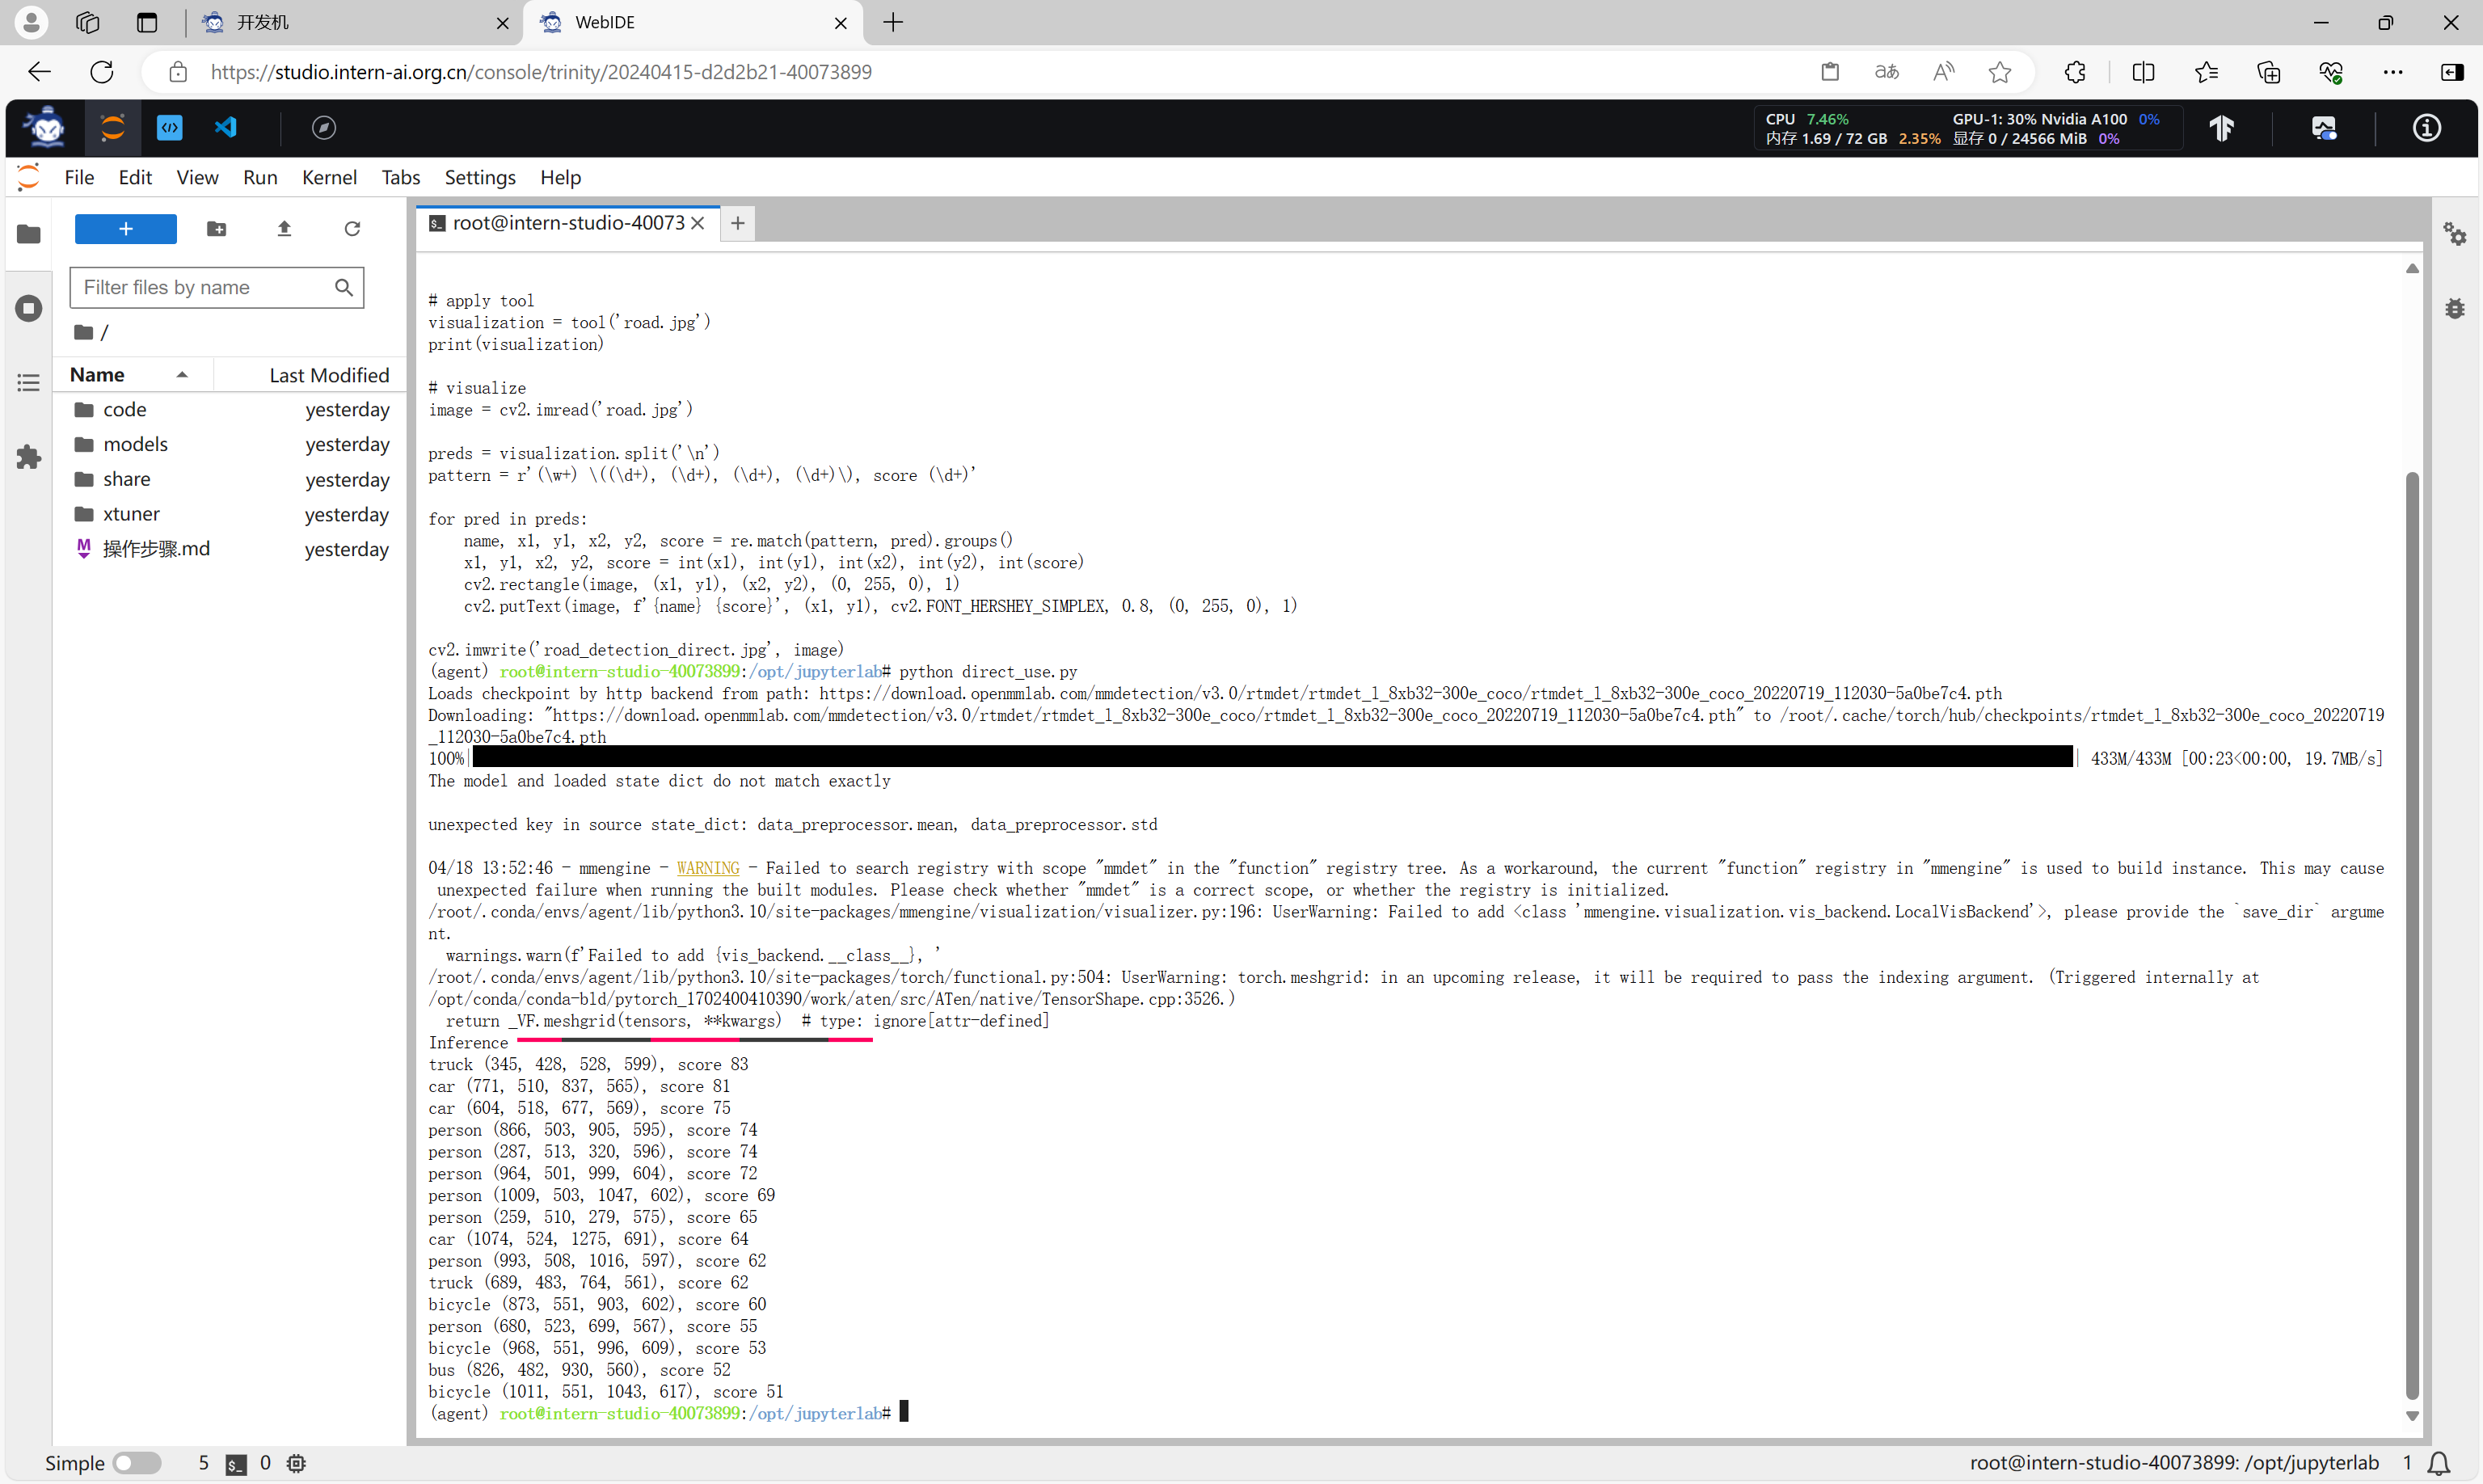
安装完成后,创建一个direct_use.py文件。
import re

import cv2
from agentlego.apis import load_tool

# load tool
tool = load_tool('ObjectDetection', device='cuda')

# apply tool
visualization = tool('road.jpg')
print(visualization)

# visualize
image = cv2.imread('road.jpg')

preds = visualization.split('\n')
pattern = r'(\w+) \((\d+), (\d+), (\d+), (\d+)\), score (\d+)'

for pred in preds:
    name, x1, y1, x2, y2, score = re.match(pattern, pred).groups()
    x1, y1, x2, y2, score = int(x1), int(y1), int(x2), int(y2), int(score)
    cv2.rectangle(image, (x1, y1), (x2, y2), (0, 255, 0), 1)
    cv2.putText(image, f'{name} {score}', (x1, y1), cv2.FONT_HERSHEY_SIMPLEX, 0.8, (0, 255, 0), 1)

cv2.imwrite('road_detection_direct.jpg', image)
- 1
- 2
- 3
- 4
- 5
- 6
- 7
- 8
- 9
- 10
- 11
- 12
- 13
- 14
- 15
- 16
- 17
- 18
- 19
- 20
- 21
- 22
- 23
- 24
- 25
然后通过命令直接执行。
python direct_use.py
- 1

在等待 RTMDet-Large 权重下载并推理完成后,我们就可以看到如下输出。
作为智能体工具使用
由于 AgentLego 算法库默认使用 InternLM2-Chat-20B 模型,因此我们首先需要修改 /root/code/agentlego/webui/modules/agents/lagent_agent.py 文件的第105行位置,将 internlm2-chat-20b 修改为 internlm2-chat-7b,即
def llm_internlm2_lmdeploy(cfg):
    url = cfg['url'].strip()
    llm = LMDeployClient(
-         model_name='internlm2-chat-20b',
+         model_name='internlm2-chat-7b',
        url=url,
        meta_template=INTERNLM2_META,
        top_p=0.8,
        top_k=100,
        temperature=cfg.get('temperature', 0.7),
        repetition_penalty=1.0,
        stop_words=['<|im_end|>'])
    return llm
- 1
- 2
- 3
- 4
- 5
- 6
- 7
- 8
- 9
- 10
- 11
- 12
- 13
使用 LMDeploy 部署
执行如下代码使用 LMDeploy 启动一个 api_server。
lmdeploy serve api_server /root/share/new_models/Shanghai_AI_Laboratory/internlm2-chat-7b --server-name 127.0.0.1 --model-name internlm2-chat-7b --cache-max-entry-count 0.1
- 1
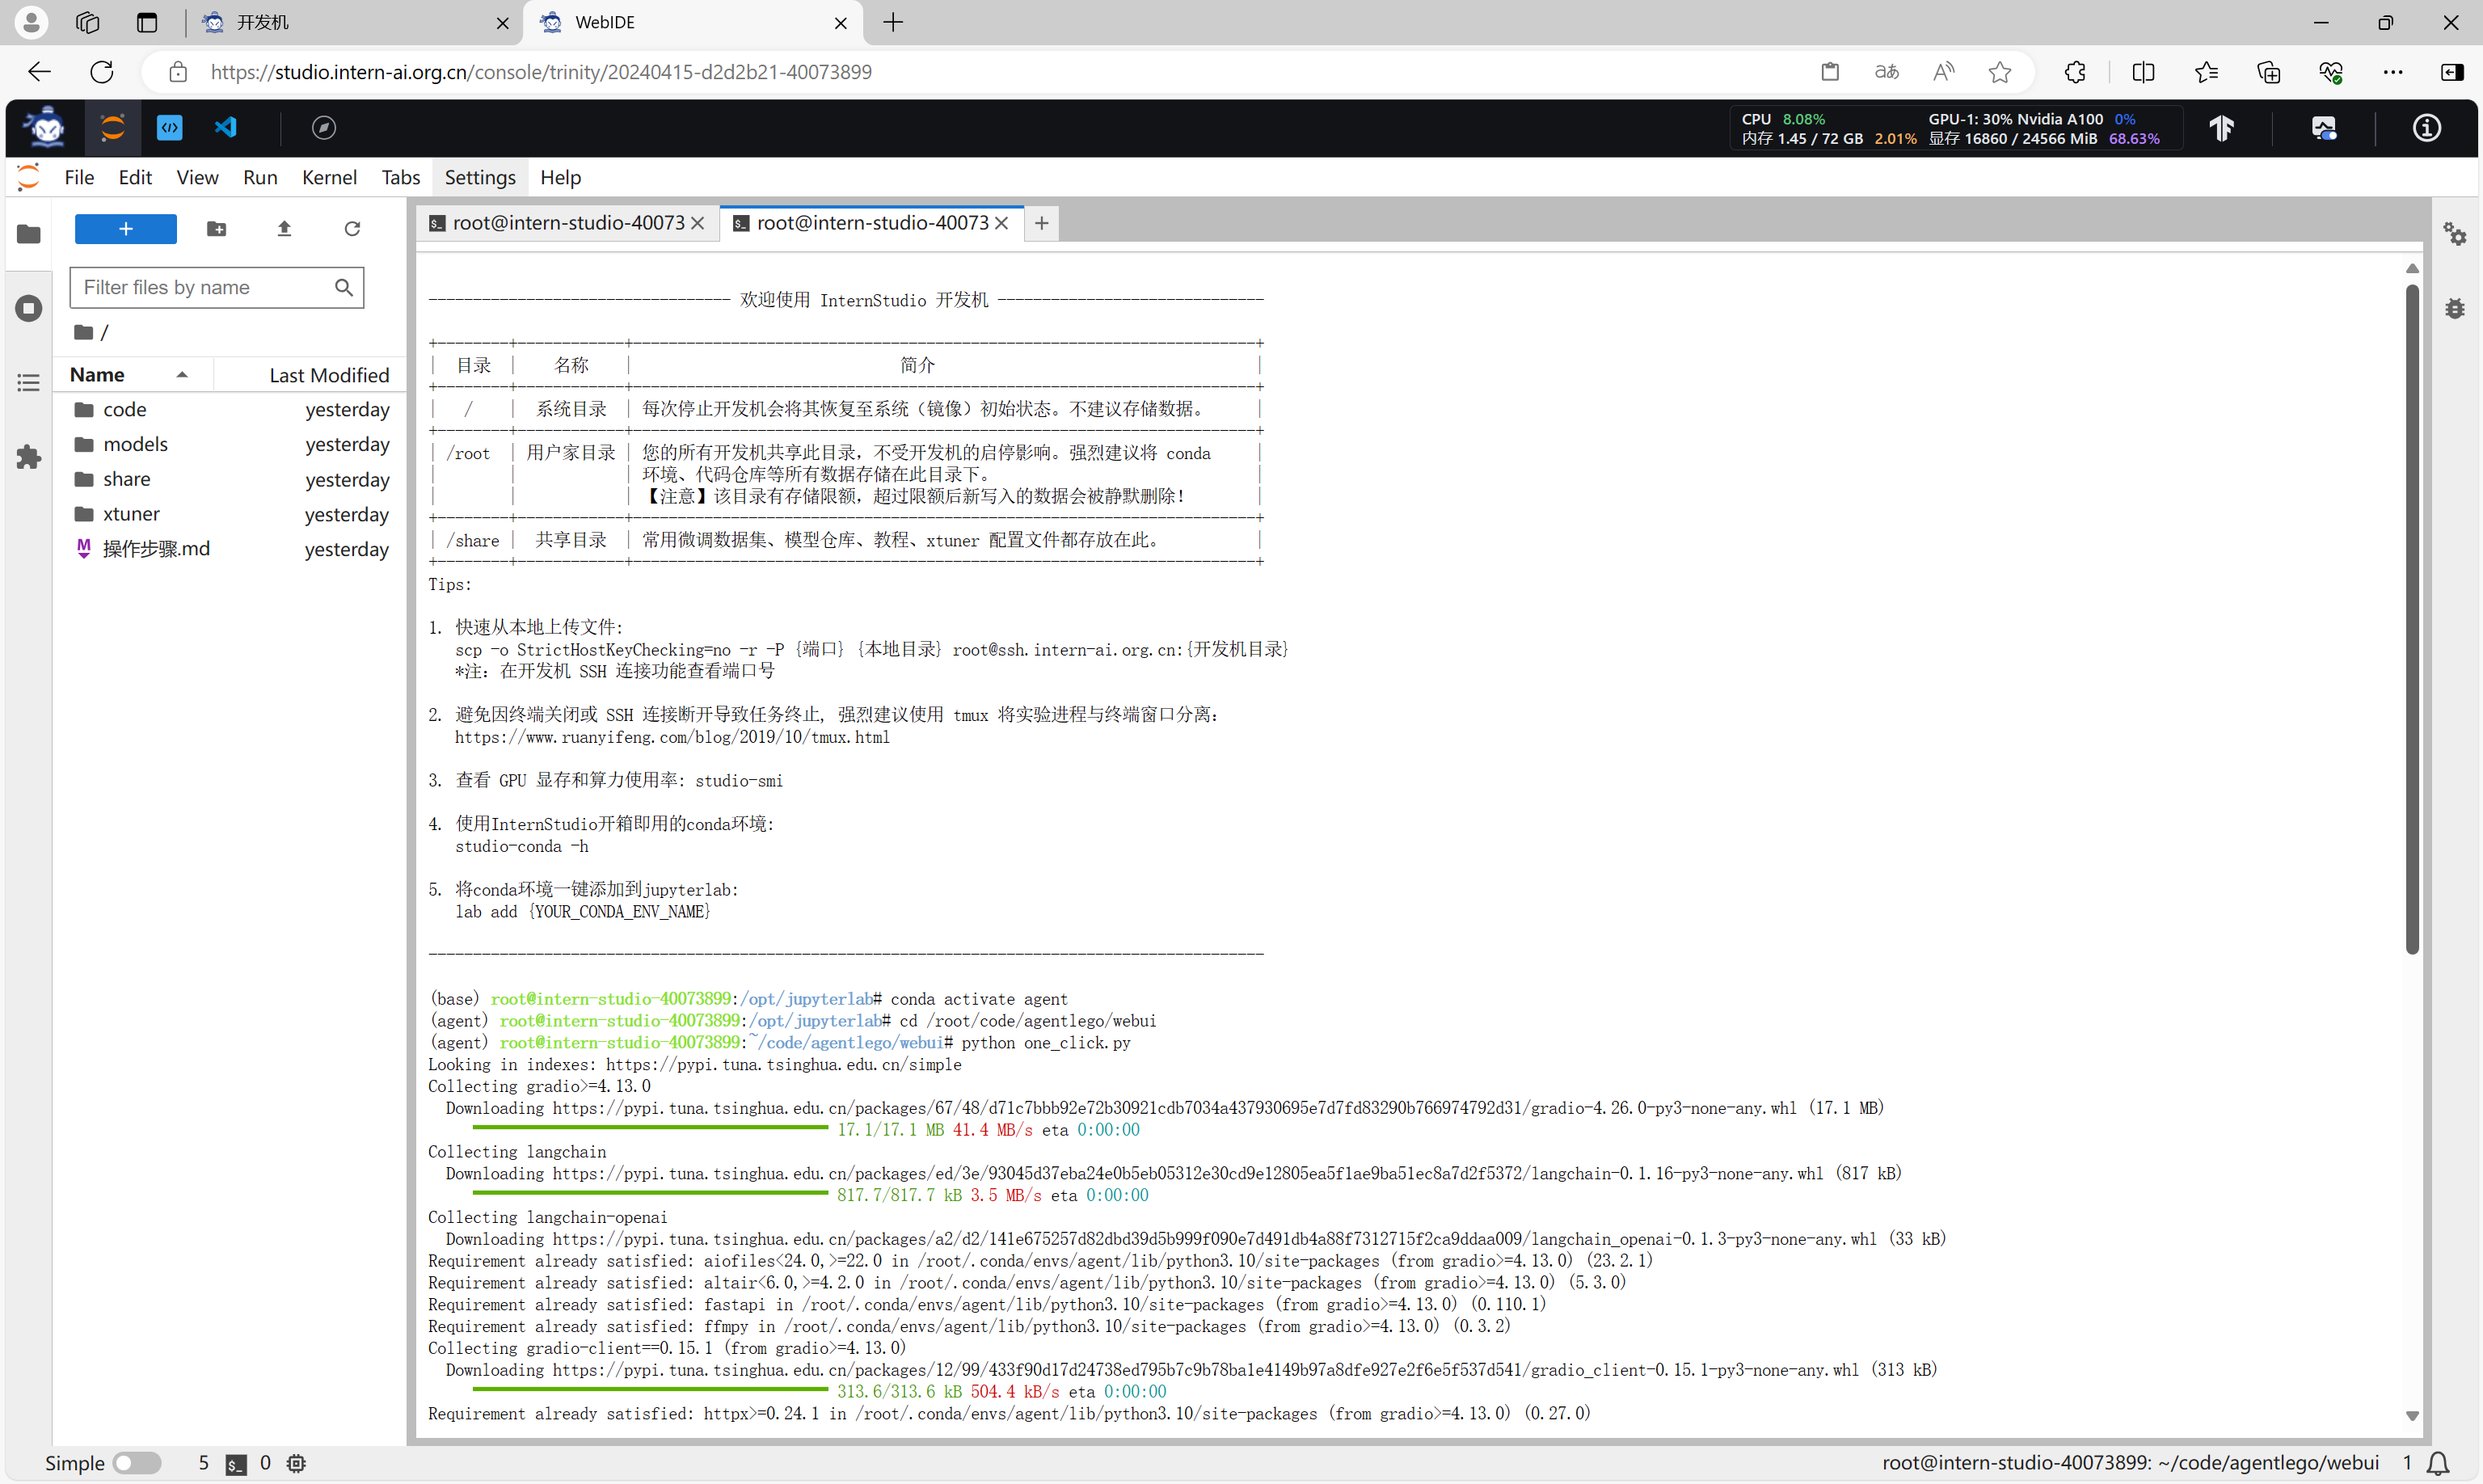
启动 AgentLego WebUI
新建一个 terminal 以启动 AgentLego WebUI。执行如下指令:
conda activate agent
cd /root/code/agentlego/webui
python one_click.py
- 1
- 2
- 3
启动完成后,服务端口是7860。
建立端口映射。
ssh -CNg -L 7860:127.0.0.1:7860 -L 23333:127.0.0.1:23333 root@ssh.intern-ai.org.cn -p 你的 ssh 端口号
- 1
在浏览器中访问相应的地址即可访问AgentLego WebUI。
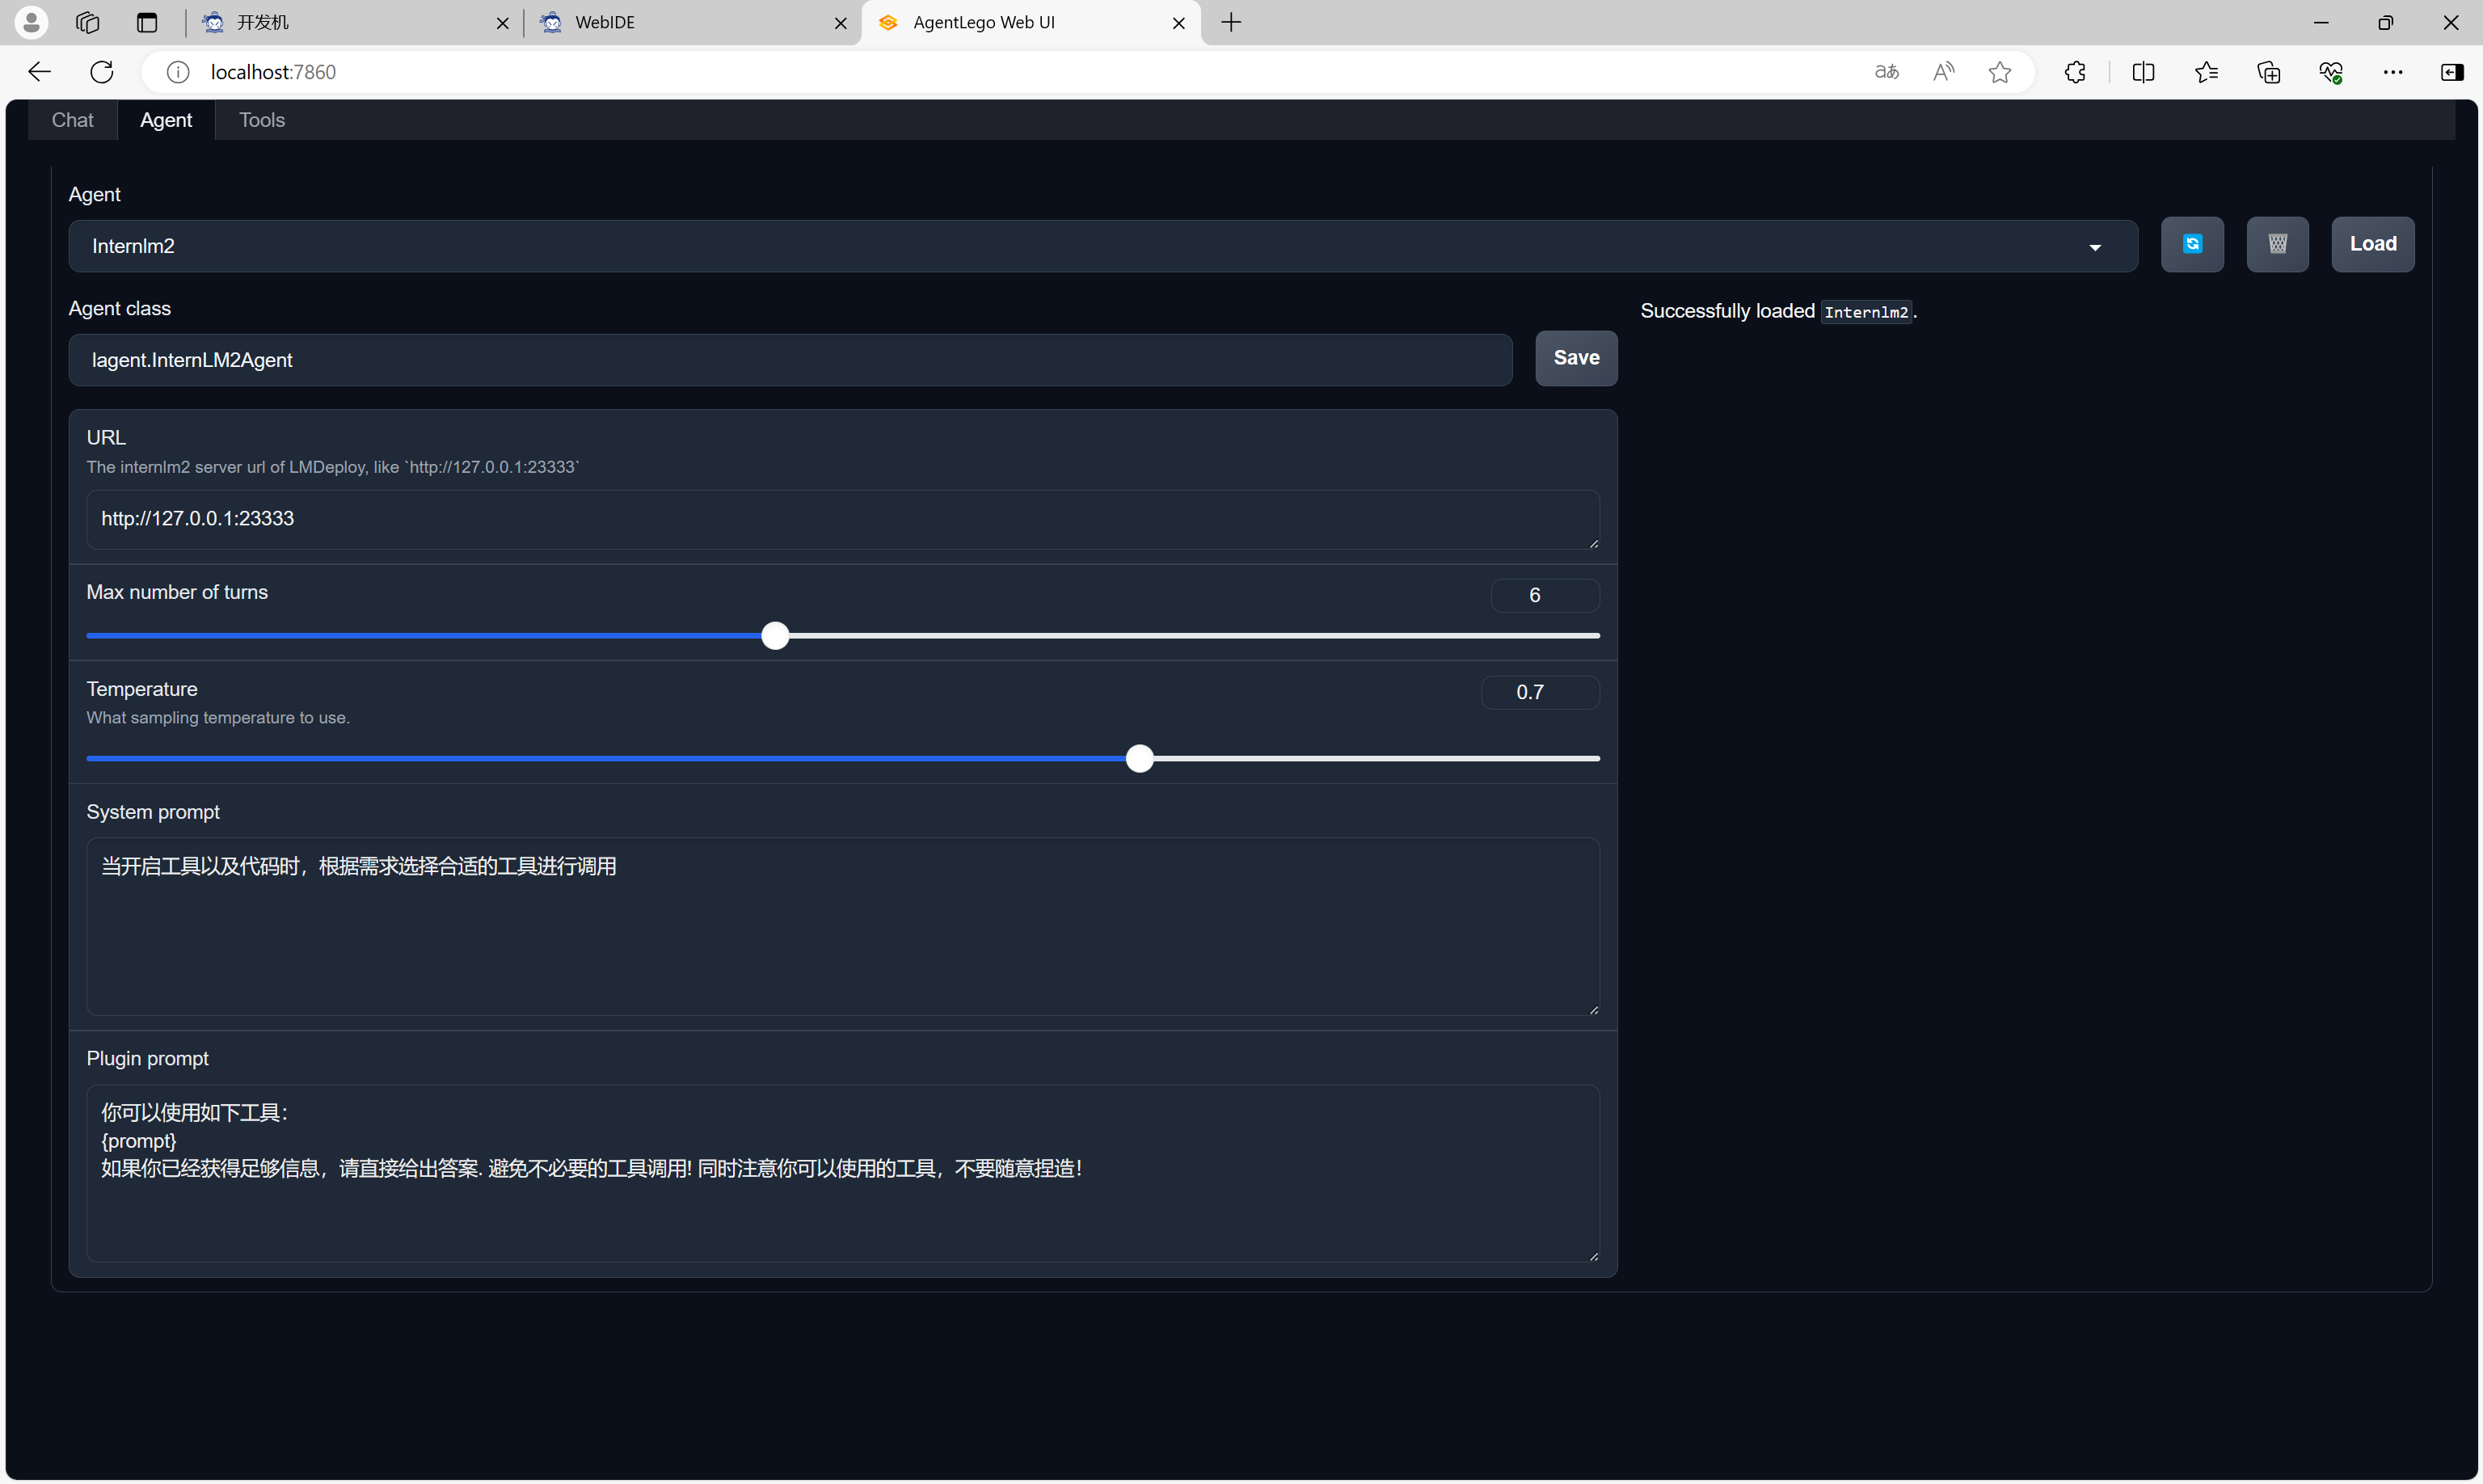
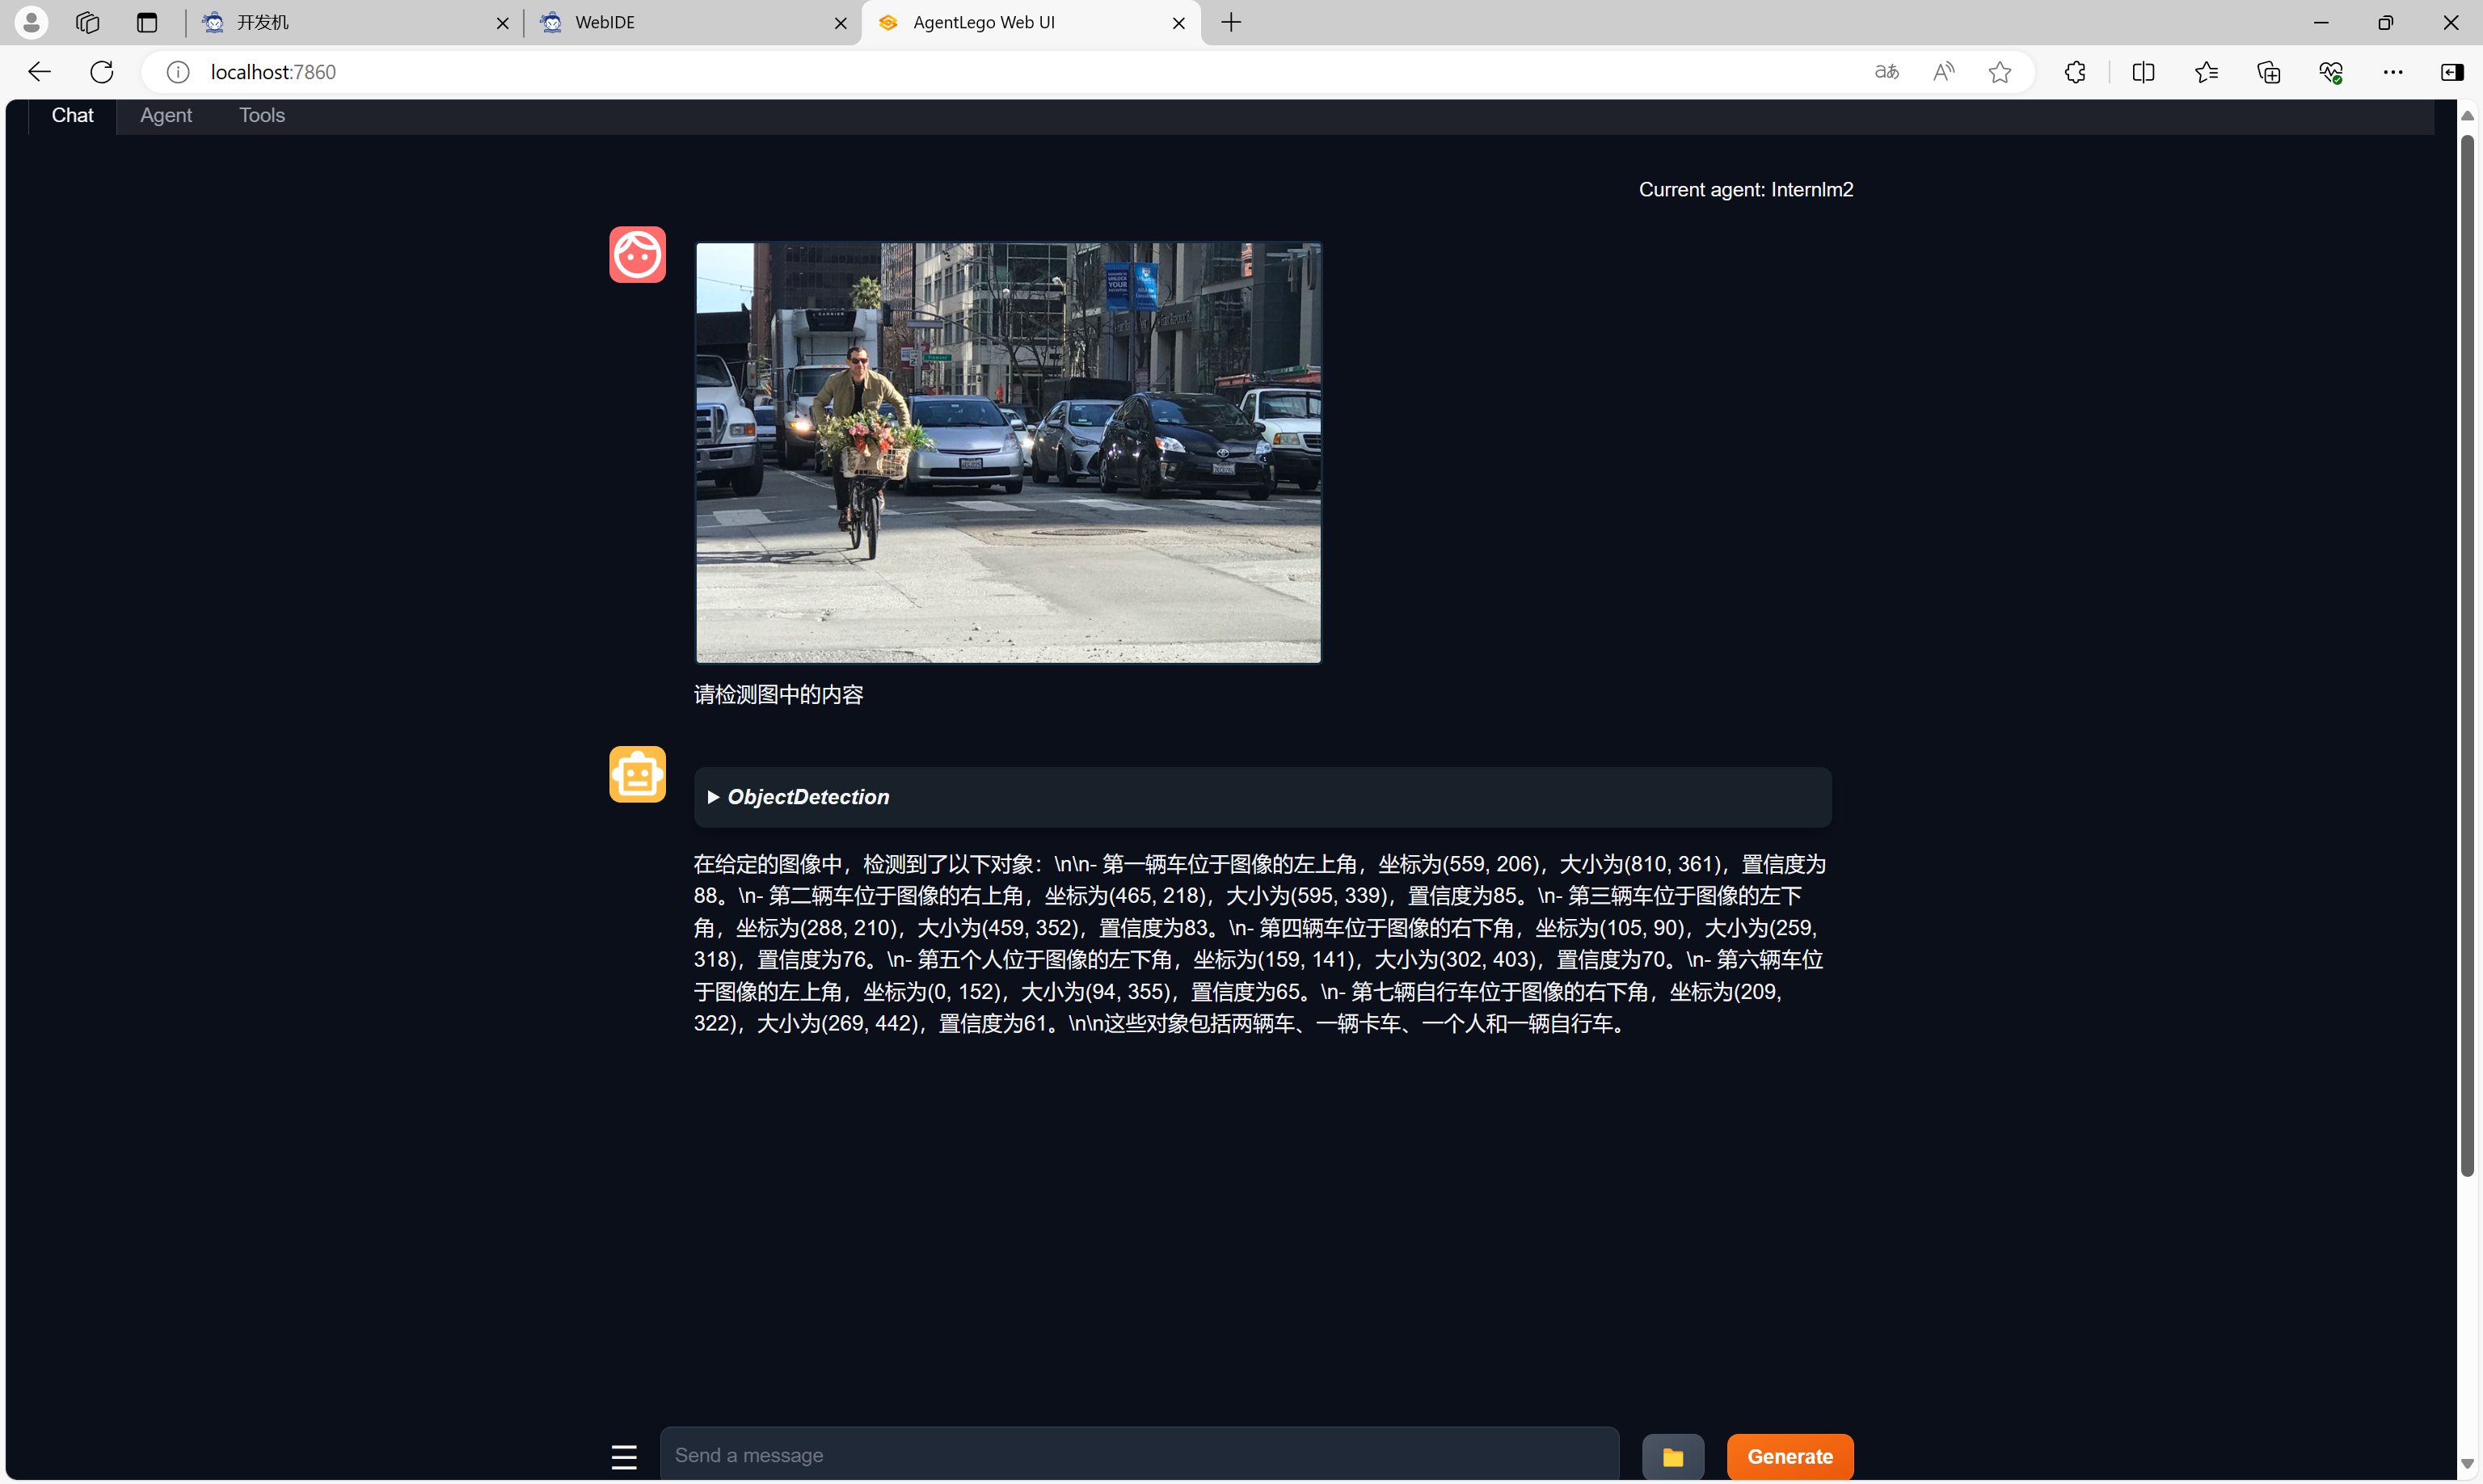
首先需要在Agent页面配置一个Agent。
然后配置相关的工具。

最后就可以基于工具进行问答。
至此,课程内容完成。

