- 1一文搞懂!最好用的七大顶级 API 接口测试工具_接口调试工具
- 2对比学习系列(五)---SimSiam
- 3数据库的简单查询和连接查询_查询软件工程系女生的学生学号姓名及考试成绩
- 4Python中的*(星号)和**(双星号)完全详解_python运算符**
- 5Linux中CPU亲和性
- 6惠普暗影精灵6安装Ubuntu双系统显卡及Wi-Fi问题解决_graphics switch
- 7粤嵌实训(笔记)_粤嵌电子相册实验报告
- 8极域工具包 1.1正式发布!窗口化极域,解键盘锁,适配学生机房管理助手7.4-7.5!
- 9【SpringCloud篇】Eureka服务的基本配置和操作_如何访问eureka的服务
- 10Matlab对图像和视频的简单处理(图像视频文件读取和输出,转灰度图,取指定帧的图像)
html实现图像拼接,OpenCV实现多图像拼接成一张大图
赞
踩
本文实例为大家分享了OpenCV实现多图像拼接成大图的具体代码,供大家参考,具体内容如下
开始尝试merge函数,具体如下:
定义四个矩阵A,B,C,D。得到矩阵combine。
#include
#include
#include
#include
using namespace std;
using namespace cv;
int main()
{
cv::Mat a = (cv::Mat_(2,2)<<1,2,3,4);
cv::Mat b = (cv::Mat_(2,2)<<5,6,7,8);
cv::Mat c = (cv::Mat_(2,2)<<9,10,11,12);
cv::Mat d = (cv::Mat_(2,2)<<13,14,15,16);
std::vector<:mat> v1;
v1.push_back(a);
v1.push_back(b);
v1.push_back(c);
v1.push_back(d);
cv::Mat combine;
cv::merge(v1, combine);
cout << "combine=" <
cout<
system("pause");
return 0;
}
结果如下:
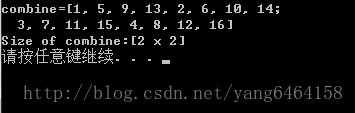
显然,不是我们需要的结果。
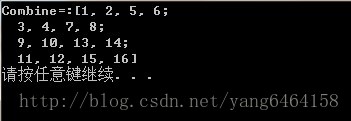
尝试hconcat和vconcat函数,这两个函数opencv本身并没有。
具体实现如下:
#include
#include
#include
#include
using namespace std;
using namespace cv;
int main()
{
cv::Mat a = (cv::Mat_(2,2)<<1,2,3,4);
cv::Mat b = (cv::Mat_(2,2)<<5,6,7,8);
cv::Mat c = (cv::Mat_(2,2)<<9,10,11,12);
cv::Mat d = (cv::Mat_(2,2)<<13,14,15,16);
Mat combine,combine1,combine2;
hconcat(a,b,combine1);
hconcat(c,d,combine2);
vconcat(combine1,combine2,combine);
//namedWindow("Combine",CV_WINDOW_AUTOSIZE);
//imshow("Combine",combine);
cout<
system("pause");
return 0;
}
结果:
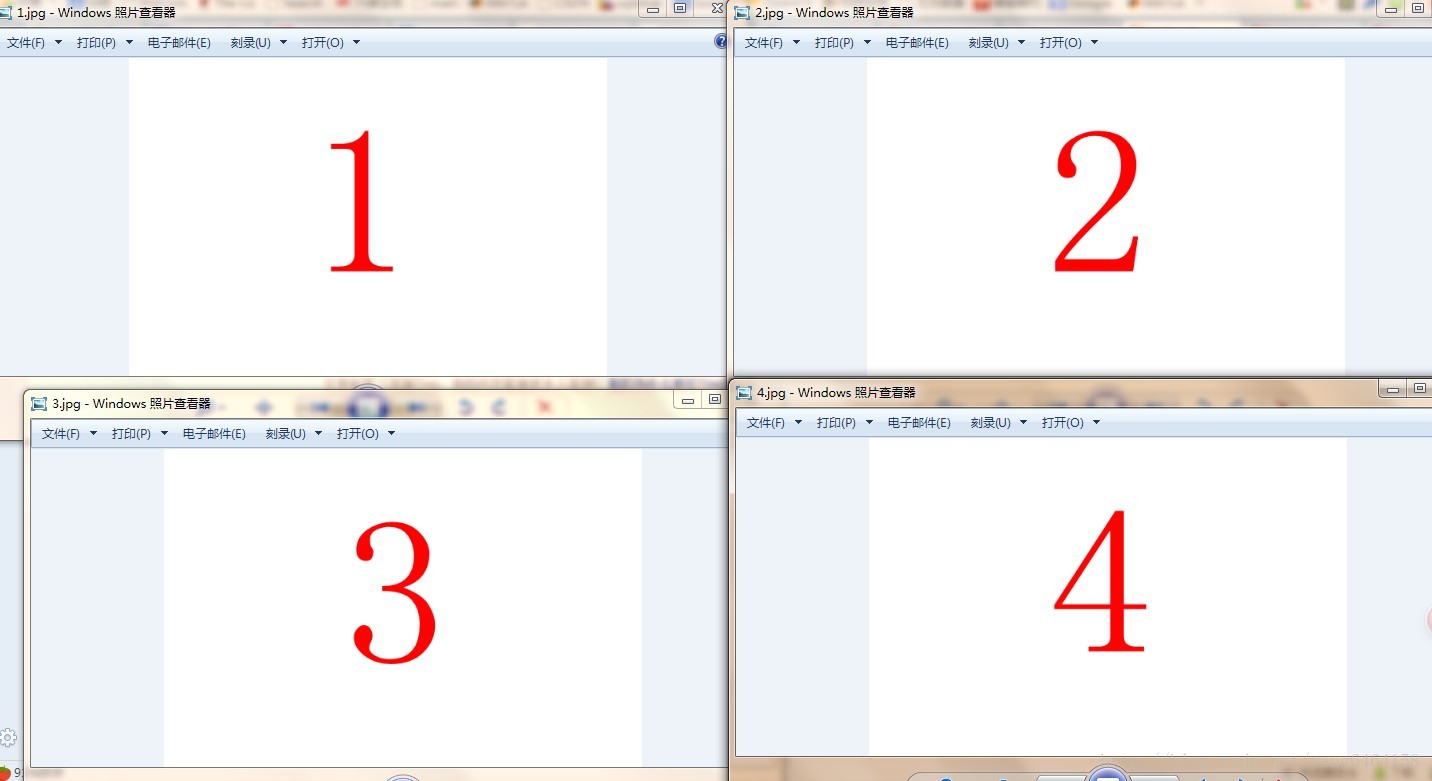
图像拼接实现
#include
#include
#include
#include
using namespace std;
using namespace cv;
int main()
{
//cv::Mat a = (cv::Mat_(2,2)<<1,2,3,4);
//cv::Mat b = (cv::Mat_(2,2)<<5,6,7,8);
//cv::Mat c = (cv::Mat_(2,2)<<9,10,11,12);
//cv::Mat d = (cv::Mat_(2,2)<<13,14,15,16);
Mat combine,combine1,combine2;
Mat a=imread("1.jpg");
Mat b=imread("2.jpg");
Mat c=imread("3.jpg");
Mat d=imread("4.jpg");
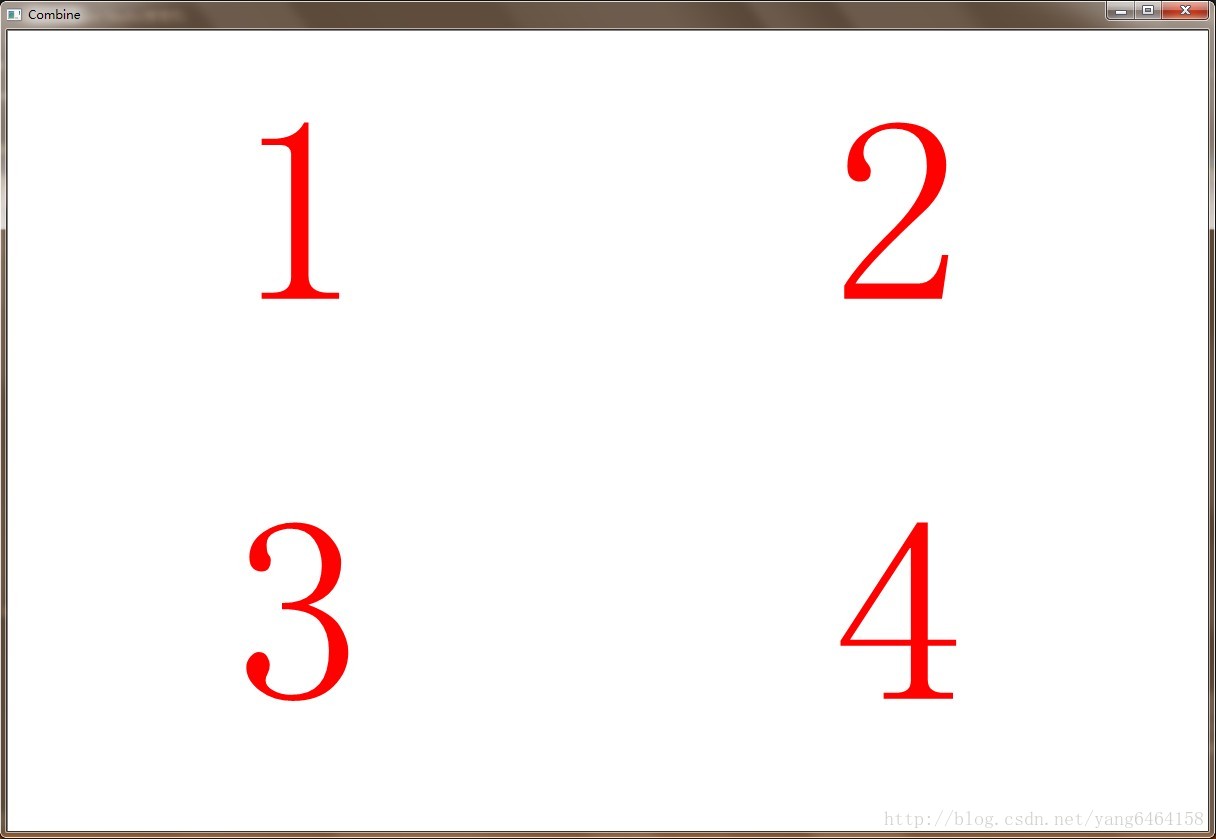
hconcat(a,b,combine1);
hconcat(c,d,combine2);
vconcat(combine1,combine2,combine);
namedWindow("Combine",CV_WINDOW_AUTOSIZE);
imshow("Combine",combine);
waitKey(0);
//cout<
system("pause");
return 0;
}
图像结果显示如下:
以上就是本文的全部内容,希望对大家的学习有所帮助,也希望大家多多支持脚本之家。
- 个人主页网页设计 ...
赞
踩