热门标签
热门文章
- 1【华为OD机试考生抽中题 C&D卷】孙悟空吃蟠桃,用 Python 编码,速通_华为机考爱吃蟠桃的孙悟空
- 2Docker部署PostgreSQL数据库_docker下如何部署postgresql
- 3【全网首发】Linux系统最全笔记(建议收藏)_linux笔记
- 4牛客周赛 Round 39题解
- 5UE5 利用Project Launcher快速打包_ue5打包项目
- 6Linux进程控制实验_使用fork函数创建两个子进程,其中一个子进程运行“ls-l”指令,另一个子进程在暂停
- 73分钟部署完成Docker Registry及可视化管理工具Docker-UI_docker-registry-ui
- 8数据结构学习--第2章_数据结构第二章
- 9基于FPGA的FFT算法实现_用xilinx的fpga实现fft变换
- 10图文并茂解释TCP/IP原理_tcpip原理
当前位置: article > 正文
WPF Material Design UI框架:部分常用控件简单使用_materialdesignin最新版
作者:Monodyee | 2024-04-24 17:34:54
赞
踩
materialdesignin最新版
前言
Material Design in xaml 是开源免费的ui框架,工控软件主打的就是简单界面。
以下简称MD
相关资源
MD 框架使用
启动环境配置
安装Nuget包

App.xaml 配置
<Application x:Class="WpfApp1.App"
        xmlns="http://schemas.microsoft.com/winfx/2006/xaml/presentation"
        xmlns:x="http://schemas.microsoft.com/winfx/2006/xaml"
        xmlns:materialDesign="http://materialdesigninxaml.net/winfx/xaml/themes"
        StartupUri="MainWindow.xaml">
    <Application.Resources>
        <ResourceDictionary>
            <!--添加MD 资源包-->
            <ResourceDictionary.MergedDictionaries>
                <materialDesign:BundledTheme BaseTheme="Light"
                        PrimaryColor="DeepPurple" SecondaryColor="Lime" />
                <ResourceDictionary
                        Source="pack://application:,,,/MaterialDesignThemes.Wpf;component/Themes/MaterialDesignTheme.Defaults.xaml" />
            </ResourceDictionary.MergedDictionaries>
        </ResourceDictionary>
    </Application.Resources>
</Application>
- 1
- 2
- 3
- 4
- 5
- 6
- 7
- 8
- 9
- 10
- 11
- 12
- 13
- 14
- 15
- 16
- 17
测试导入是否成功
MainWindow.xmal
<Window x:Class="WpfApp1.MainWindow"
        xmlns="http://schemas.microsoft.com/winfx/2006/xaml/presentation"
        xmlns:x="http://schemas.microsoft.com/winfx/2006/xaml"
        xmlns:d="http://schemas.microsoft.com/expression/blend/2008"
        xmlns:mc="http://schemas.openxmlformats.org/markup-compatibility/2006"
        xmlns:local="clr-namespace:WpfApp1"
        xmlns:MD="http://materialdesigninxaml.net/winfx/xaml/themes"
        xmlns:Views="clr-namespace:WpfApp1.Views" mc:Ignorable="d"
        Title="MainWindow" Height="450" Width="800">
    <Window.Resources>
        <Style x:Key="my_text" TargetType="TextBlock">
            <Setter Property="FontSize" Value="30" />
            <Setter Property="Margin" Value="8" />
        </Style>
    </Window.Resources>
    <Window.DataContext>
        <!--需要命名来指定数据源-->
        <local:MainWindowViewModel x:Name="viewModel" />
    </Window.DataContext>
    <Grid>
        <!--不能直接写TitleValue,Binding数据源会有问题-->
        <MD:Card>
            <TabControl  MD:ColorZoneAssist.Mode="PrimaryLight"
                    >
                <TabItem Header="Tab 1">

                </TabItem>
                <TabItem Header="Tab 2">

                </TabItem>
                <TabItem Header="Tab 3">

                </TabItem>
            </TabControl>
        </MD:Card>
    </Grid>
</Window>
- 1
- 2
- 3
- 4
- 5
- 6
- 7
- 8
- 9
- 10
- 11
- 12
- 13
- 14
- 15
- 16
- 17
- 18
- 19
- 20
- 21
- 22
- 23
- 24
- 25
- 26
- 27
- 28
- 29
- 30
- 31
- 32
- 33
- 34
- 35
- 36
- 37
- 38
- 39
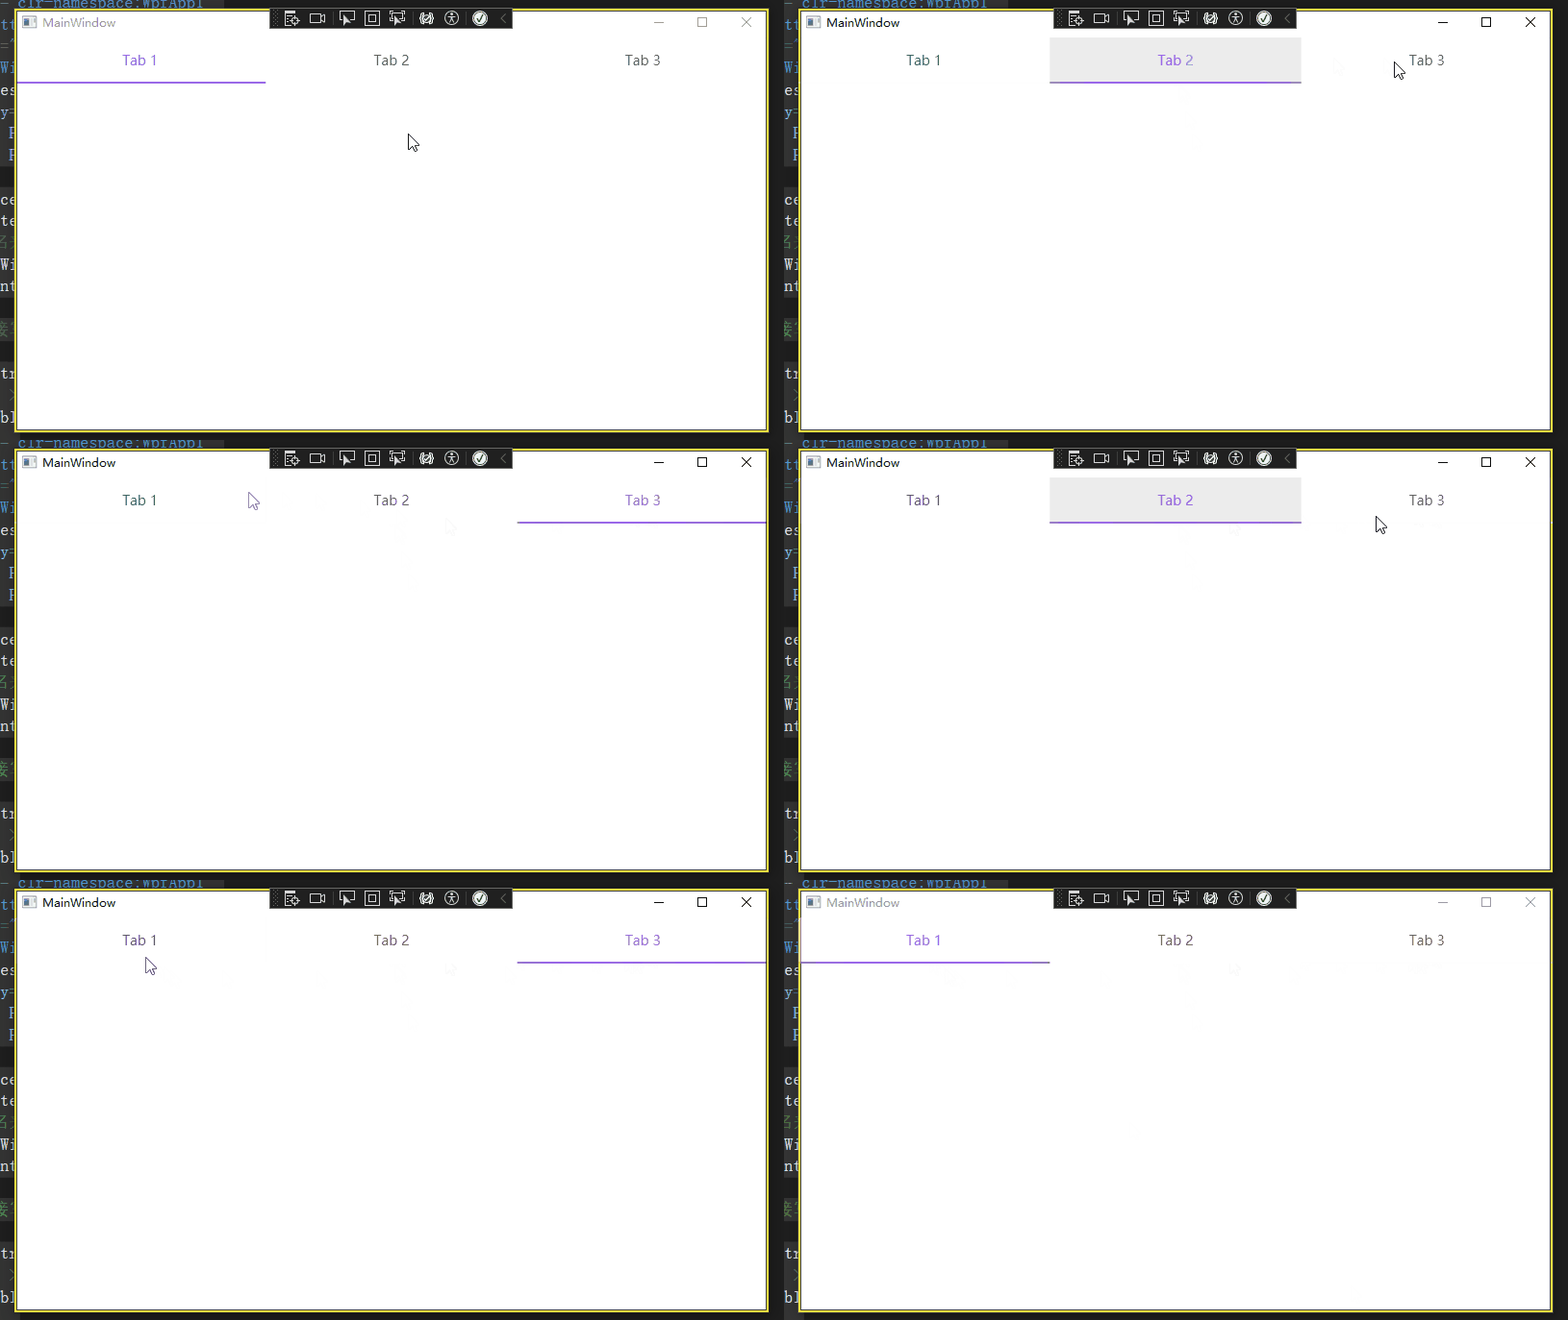
MD 组件使用测试
Button
Card
<WrapPanel Margin="10">
    <Button Width="90" Content="Button" Margin="5"/>
    <Button Margin="5" >

        <MD:PackIcon Kind="Alarm" Width="30" Height="25"/>
    </Button>
</WrapPanel>
- 1
- 2
- 3
- 4
- 5
- 6
- 7

我后面想稍微改一下按钮,比如改个圆角,发现很麻烦,可能需要覆写控件模板。想想还是算了,先用官方的解决方案。先学套路,解决问题,再了解底层,扩展方法。
ComboBoxes:单项框
<ComboBox MD:HintAssist.Hint="性别" Margin="5" Cursor="">
    <ComboBoxItem Content="男" />
    <ComboBoxItem Content="女" />
    <ComboBoxItem Content="保密" />
</ComboBox>
- 1
- 2
- 3
- 4
- 5

数据绑定版
<ComboBox MD:HintAssist.Hint="学历" Margin="5" Cursor="" Width="256"
        ItemsSource="{Binding StrLists}"
        Style="{StaticResource MaterialDesignOutlinedComboBox}">
</ComboBox>
- 1
- 2
- 3
- 4
数据:
StrLists = new List<string>()
{
    "小学","初中","高中","大学"
};
- 1
- 2
- 3
- 4
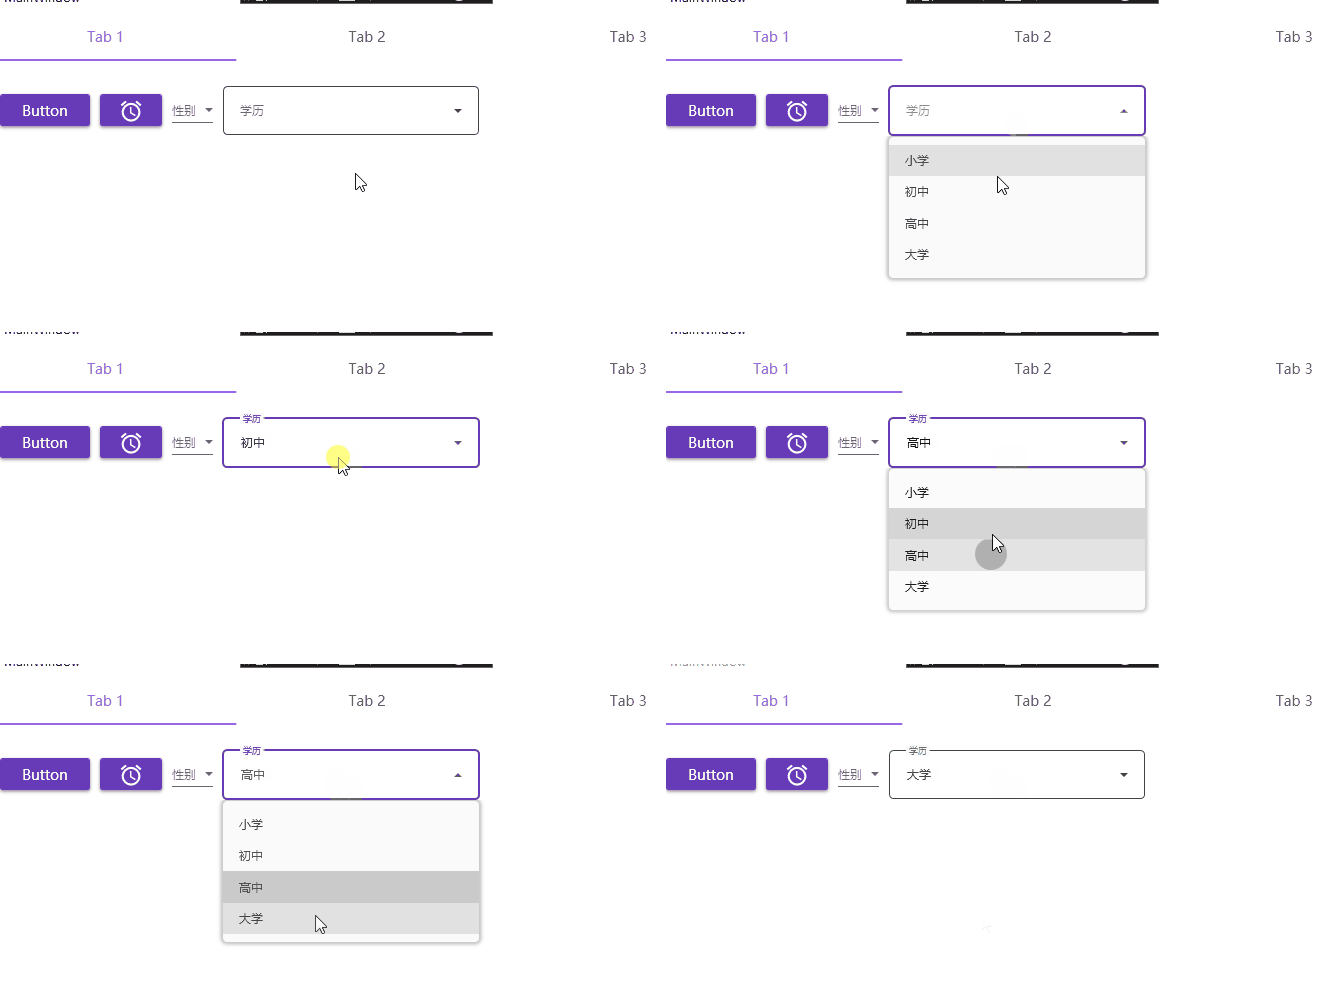
Data Grids:表格
这里只用最简单最简单的自动生成
<DataGrid CanUserAddRows="False" ItemsSource="{Binding Templates}"
        SelectionMode="Extended" SelectionUnit="Cell" />
- 1
- 2
数据源
//类定义
public class TemplateDate
{
    public string Name { get; set; }

    public int Age { get; set; }

    public long Phone { get; set; }

    public enum SexEnum { 男,女,保密}

    public SexEnum Sex  { get; set; }
}
- 1
- 2
- 3
- 4
- 5
- 6
- 7
- 8
- 9
- 10
- 11
- 12
- 13
- 14
- 15
//数据源定义
Templates = new List<TemplateDate>() {
    new TemplateDate(){Name="小明",Age = 16,Phone = 13214324920,Sex = TemplateDate.SexEnum.男},
    new TemplateDate(){Name="小红",Age = 17,Phone = 38188949204,Sex = TemplateDate.SexEnum.女}
};
- 1
- 2
- 3
- 4
- 5
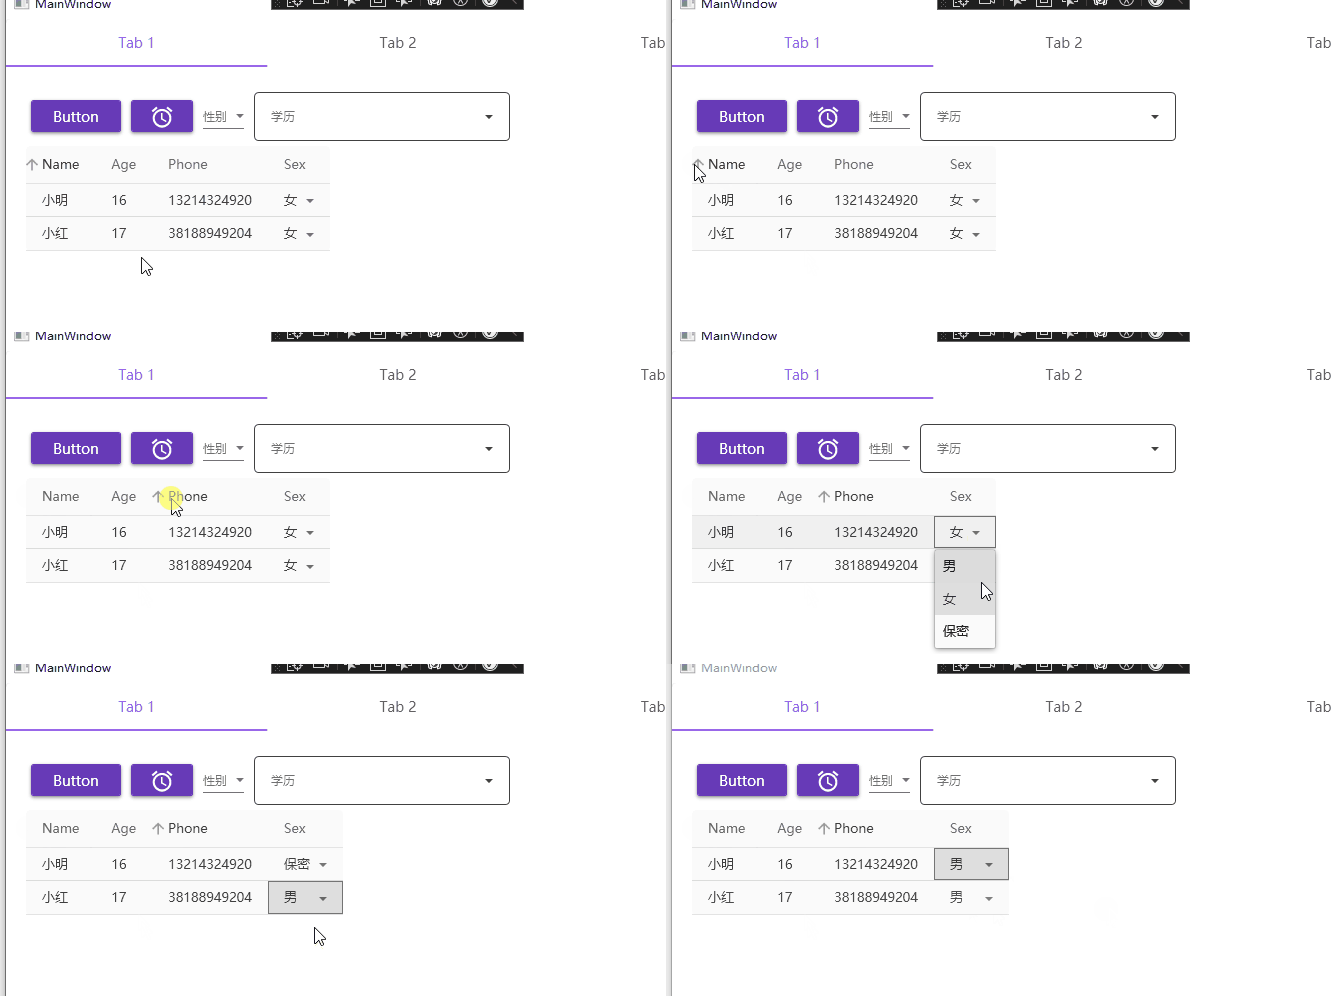
Dialogs:弹窗
简单弹窗功能
<MD:DialogHost >
    <Button
            Command="{x:Static MD:DialogHost.OpenDialogCommand}">
        <Button.CommandParameter>
            <StackPanel Margin="16">
                <ProgressBar
                        Style="{DynamicResource MaterialDesignCircularProgressBar}"
                        HorizontalAlignment="Center" Margin="16"
                        IsIndeterminate="True" Value="0" />
                <Button IsCancel="True" Margin="8 0 0 0"
                        Command="{x:Static MD:DialogHost.CloseDialogCommand}"
                        Content="Save" />
            </StackPanel>
        </Button.CommandParameter>
        Edit
    </Button>
</MD:DialogHost>
- 1
- 2
- 3
- 4
- 5
- 6
- 7
- 8
- 9
- 10
- 11
- 12
- 13
- 14
- 15
- 16
- 17
- 18
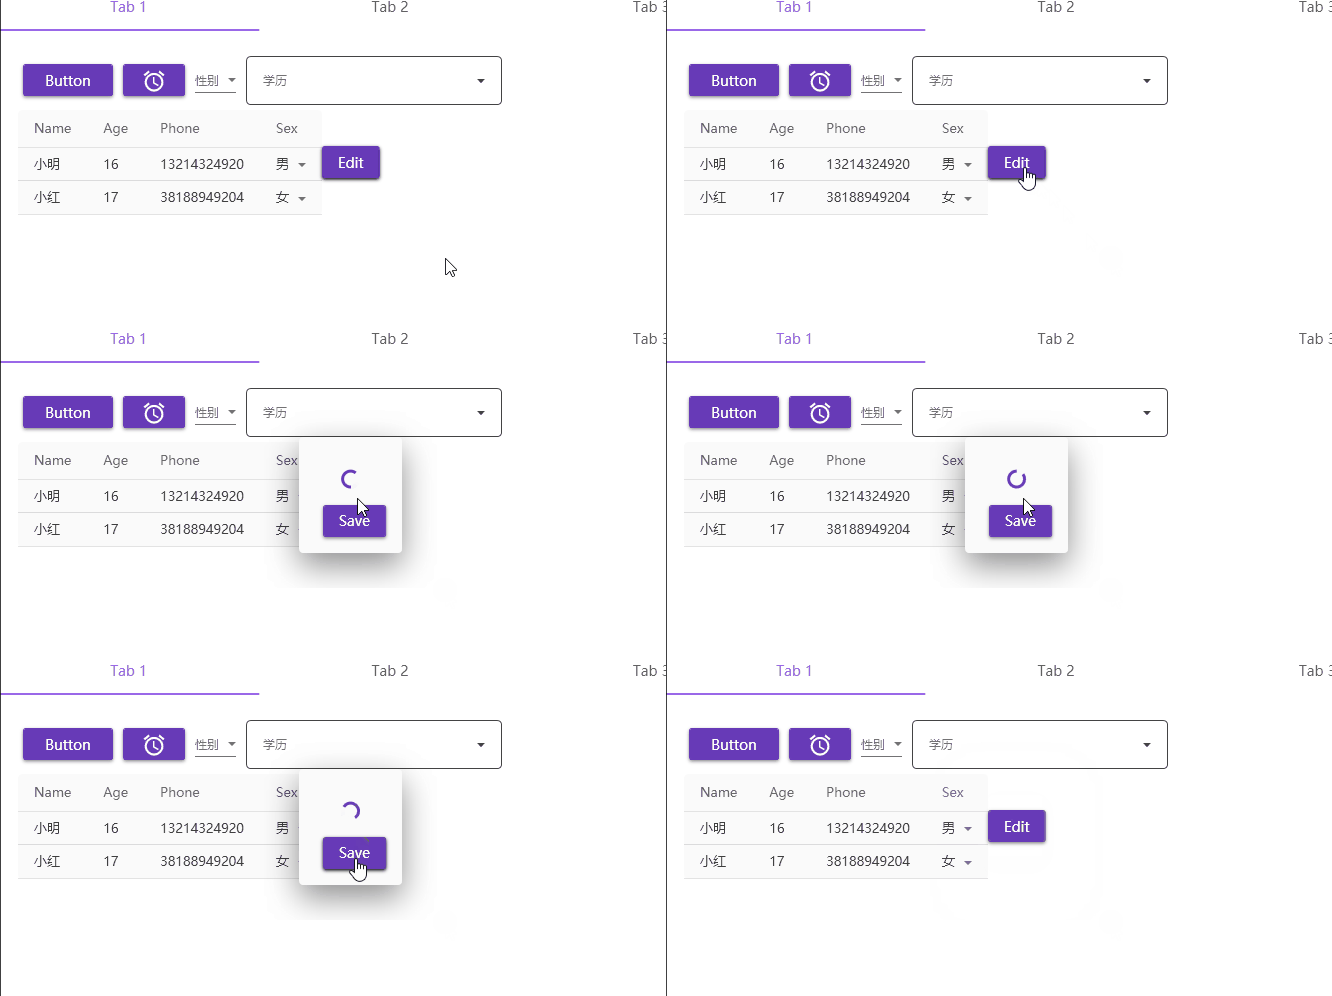
简单讲解
Dialogs一般有三种弹窗:
- Notice:通知,过会消失
- Confrim:确定弹窗,点击确定或者取消
- Input,弹窗输入
一般有4种状态:Debug,Info,Warning,Error
这不不做展开,以后有机会研究一下。
还有两点需要注意:
- DialogHost :需要将弹窗内容放在DialogHost里面
- DialogHost给了通用的按钮事件,OpenDialogCommand打开弹窗,CloseDialogCommand关闭弹窗。如果需要对这两个事件进行控制需要自己重写一个方法
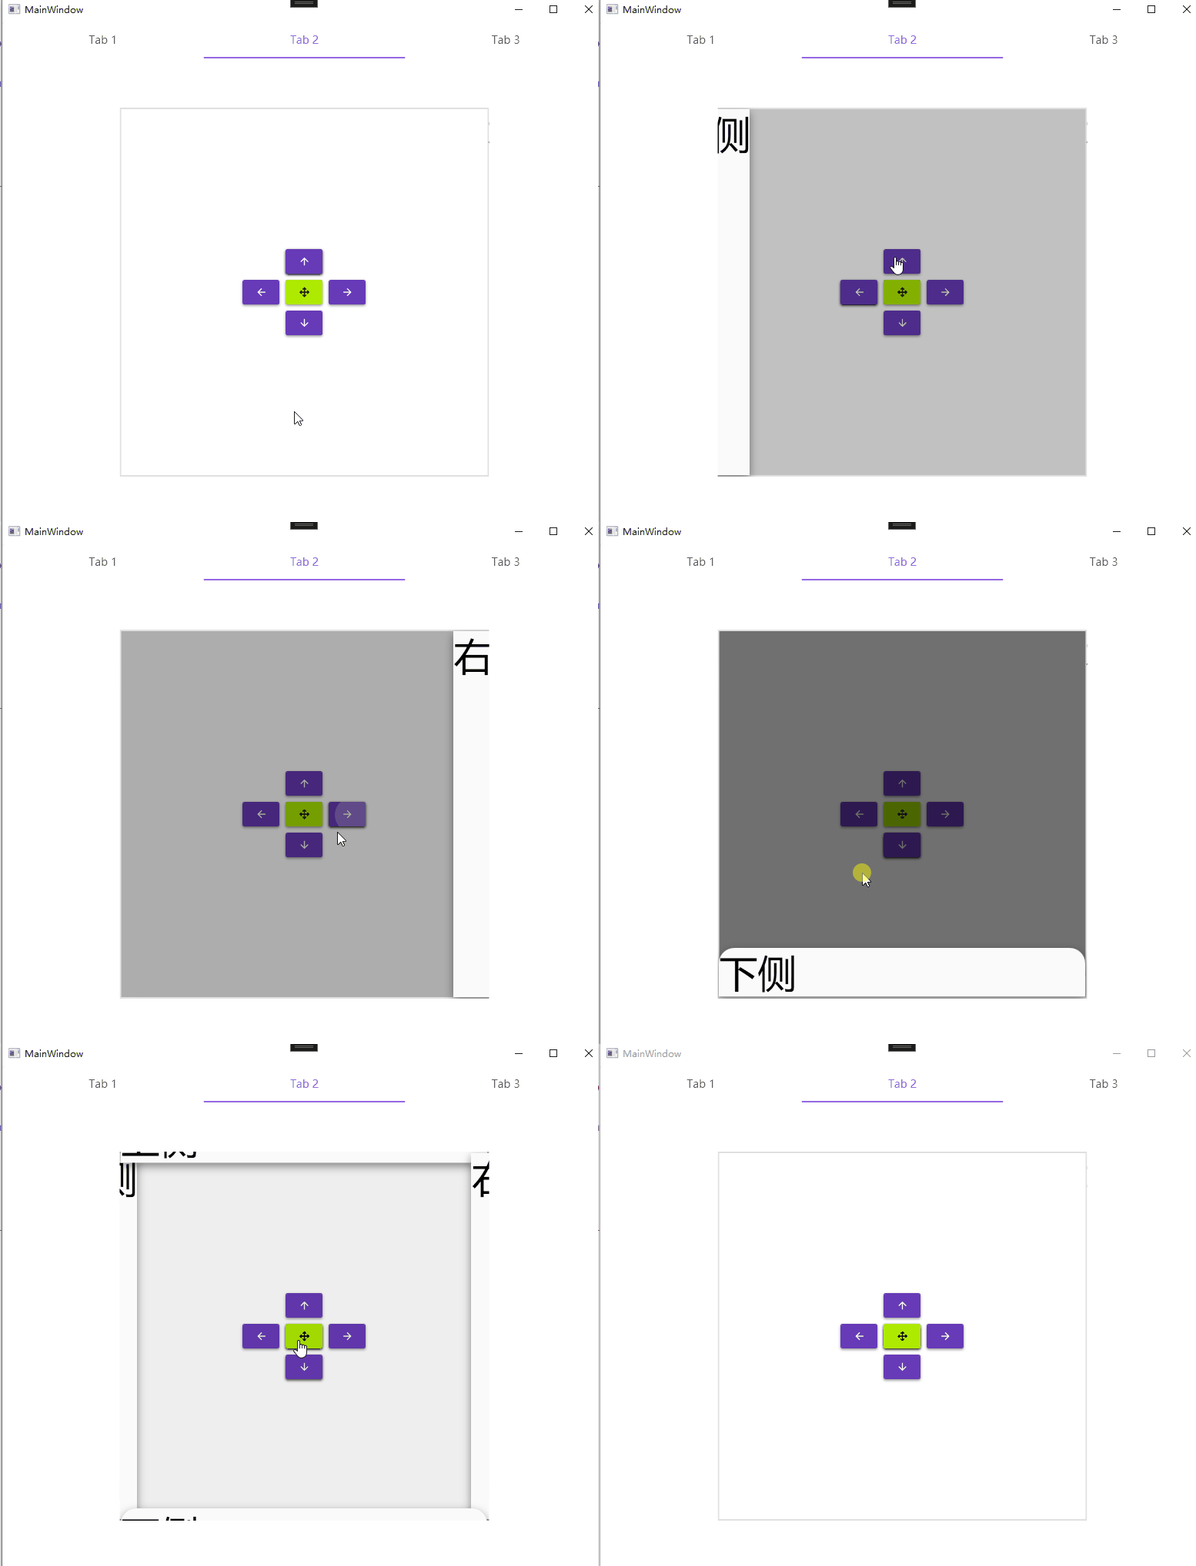
Drawer:侧边栏
代码比较复杂
<DockPanel>

    <materialDesign:DrawerHost x:Name="DrawerHost" Width="480" Height="480"
            Margin="32" HorizontalAlignment="Center"
            VerticalAlignment="Center"
            BorderBrush="{DynamicResource MaterialDesignDivider}"
            BorderThickness="2"
            BottomDrawerCornerRadius="20 20 0 0">
            <!--侧边栏区-->
        <materialDesign:DrawerHost.LeftDrawerContent>
            <TextBlock Text="左侧" FontSize="50" />

        </materialDesign:DrawerHost.LeftDrawerContent>
        <materialDesign:DrawerHost.TopDrawerContent>
            <TextBlock Text="上侧" FontSize="50"/>
        </materialDesign:DrawerHost.TopDrawerContent>
        <materialDesign:DrawerHost.RightDrawerContent>
            <TextBlock Text="右侧" FontSize="50"/>

        </materialDesign:DrawerHost.RightDrawerContent>
        <materialDesign:DrawerHost.BottomDrawerContent>
            <TextBlock Text="下侧" FontSize="50"/>

        </materialDesign:DrawerHost.BottomDrawerContent>
        <!--按钮事件区-->
        <Grid HorizontalAlignment="Center" VerticalAlignment="Center">
            <Grid.RowDefinitions>
                <RowDefinition />
                <RowDefinition />
                <RowDefinition />
            </Grid.RowDefinitions>
            <Grid.ColumnDefinitions>
                <ColumnDefinition />
                <ColumnDefinition />
                <ColumnDefinition />
            </Grid.ColumnDefinitions>
            <Button Grid.Row="1" Grid.Column="0" Margin="4"
                    Command="{x:Static materialDesign:DrawerHost.OpenDrawerCommand}"
                    CommandParameter="{x:Static Dock.Left}"
                    Content="{materialDesign:PackIcon Kind=ArrowLeft}" />
            <Button Grid.Row="0" Grid.Column="1" Margin="4"
                    Command="{x:Static materialDesign:DrawerHost.OpenDrawerCommand}"
                    CommandParameter="{x:Static Dock.Top}"
                    Content="{materialDesign:PackIcon Kind=ArrowUp}" />
            <Button Grid.Row="1" Grid.Column="2" Margin="4"
                    Command="{x:Static materialDesign:DrawerHost.OpenDrawerCommand}"
                    CommandParameter="{x:Static Dock.Right}"
                    Content="{materialDesign:PackIcon Kind=ArrowRight}" />
            <Button Grid.Row="2" Grid.Column="1" Margin="4"
                    Command="{x:Static materialDesign:DrawerHost.OpenDrawerCommand}"
                    CommandParameter="{x:Static Dock.Bottom}"
                    Content="{materialDesign:PackIcon Kind=ArrowDown}" />
            <Button Grid.Row="1" Grid.Column="1" Margin="4"
                    Command="{x:Static materialDesign:DrawerHost.OpenDrawerCommand}"
                    Content="{materialDesign:PackIcon Kind=ArrowAll}"
                    Style="{StaticResource MaterialDesignRaisedSecondaryButton}" />
        </Grid>
    </materialDesign:DrawerHost>
</DockPanel>
- 1
- 2
- 3
- 4
- 5
- 6
- 7
- 8
- 9
- 10
- 11
- 12
- 13
- 14
- 15
- 16
- 17
- 18
- 19
- 20
- 21
- 22
- 23
- 24
- 25
- 26
- 27
- 28
- 29
- 30
- 31
- 32
- 33
- 34
- 35
- 36
- 37
- 38
- 39
- 40
- 41
- 42
- 43
- 44
- 45
- 46
- 47
- 48
- 49
- 50
- 51
- 52
- 53
- 54
- 55
- 56
- 57
- 58
- 59
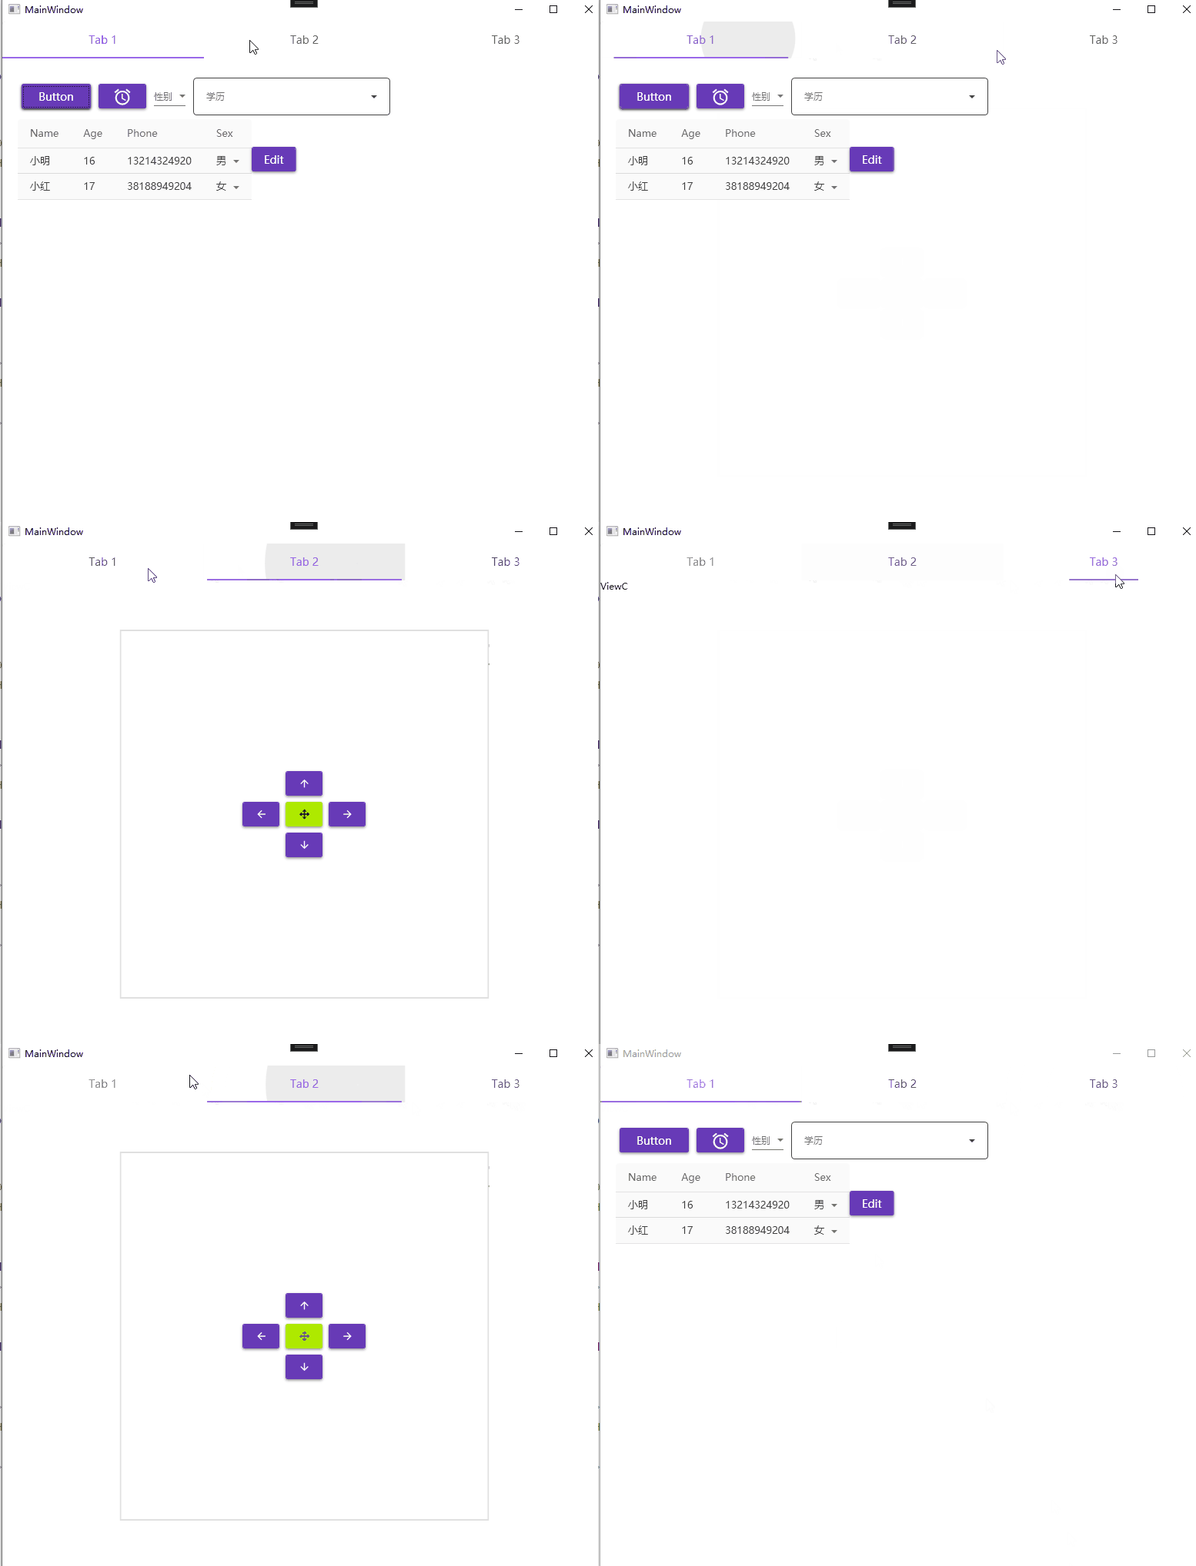
Tabs
<MD:Card>
    <TabControl MD:ColorZoneAssist.Mode="PrimaryLight">
        <TabItem Header="Tab 1" Cursor="">
            <Grid Margin="10">

            </Grid>
        </TabItem>
        <TabItem Header="Tab 2">
            <Grid Margin="10">
            </Grid>


        </TabItem>
        <TabItem Header="Tab 3">

        </TabItem>
    </TabControl>
</MD:Card>
- 1
- 2
- 3
- 4
- 5
- 6
- 7
- 8
- 9
- 10
- 11
- 12
- 13
- 14
- 15
- 16
- 17
- 18
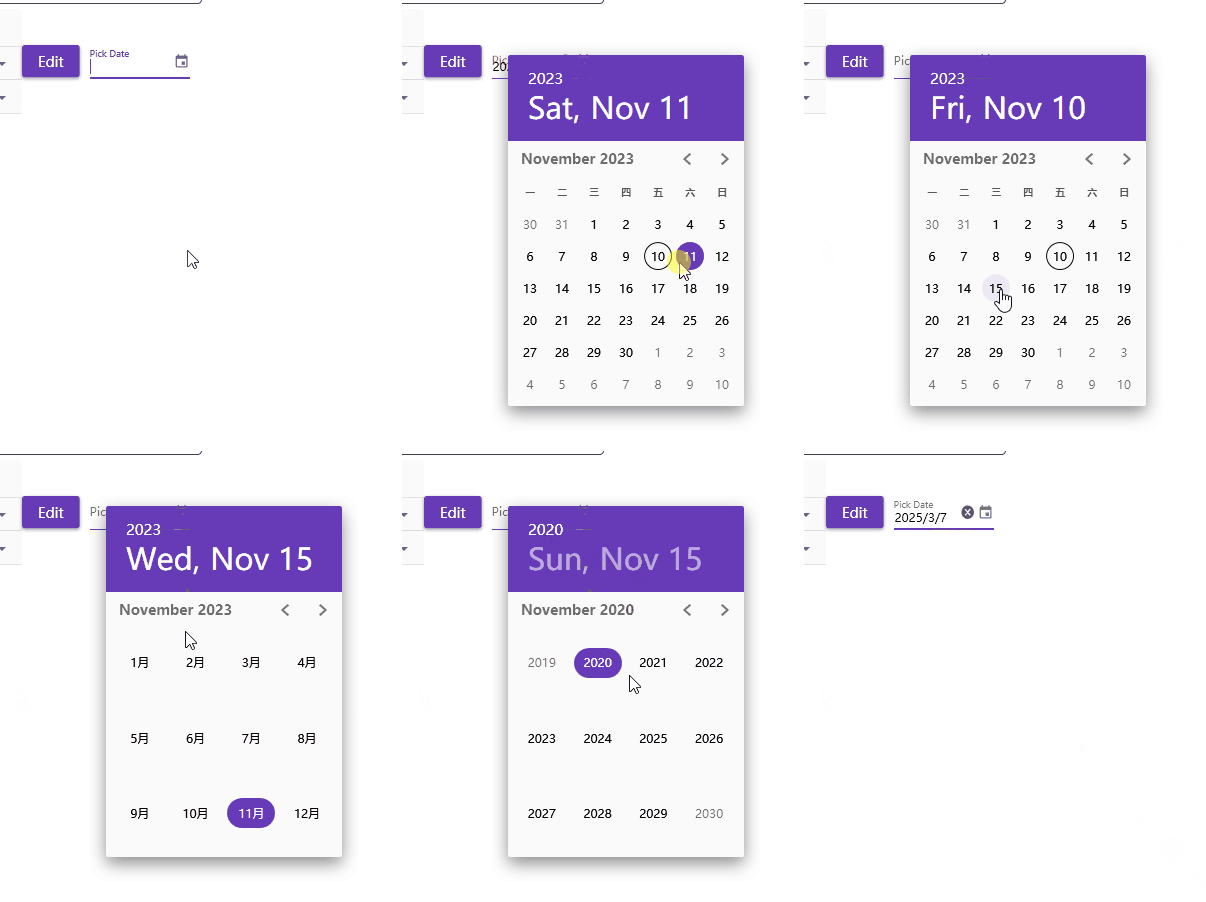
Pickers:时间选择器
<DatePicker Margin="10" Width="100" MD:HintAssist.Hint="Pick Date"
        MD:TextFieldAssist.HasClearButton="True"
        Style="{StaticResource MaterialDesignFloatingHintDatePicker}" />
- 1
- 2
- 3
- 4
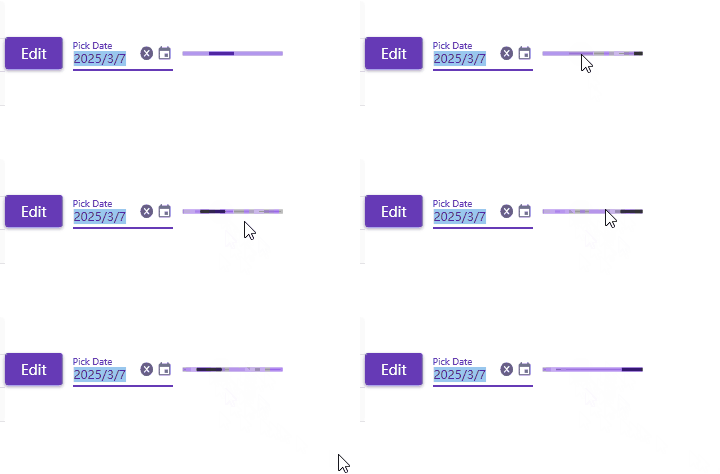
Progress Indicators:进度条
<ProgressBar Width="100" IsIndeterminate="True" />
- 1
声明:本文内容由网友自发贡献,不代表【wpsshop博客】立场,版权归原作者所有,本站不承担相应法律责任。如您发现有侵权的内容,请联系我们。转载请注明出处:https://www.wpsshop.cn/w/Monodyee/article/detail/480699
推荐阅读
相关标签


