
- 1Ubuntu18.04安装Anaconda、cuda、cudnn、pytorch 、pycharm(附:保姆级图文流程)_ubuntu18安装anaconda
- 2最新区块链论文速读--CCF A会议 SIGMOD 2024 共2篇 附pdf下载_sigmod2024会议哪里开
- 33h精通OpenCV(一)-读取图像视频与网络摄像头_opencv读取图像
- 4【Python笔记-FastAPI】后台任务+WebSocket监控进度_fastapi list[websocket]
- 5STM32维特智能JY60HAL库读取_维特iic读取
- 6github.com连接超时
- 7数据结构进阶篇,数组连续子序列专题
- 8一篇文章搞懂富人的内在逻辑|普通人如何改变命运?【财富02】_有钱人社会的运行逻辑
- 9基于HTML5气3D仿真培训系统
- 10【全网第一详细】Windows下编译使用GPU版本的DLib_windows 安装dlib gpu
python爬取网页详细教程,python爬取网页的代码_pathon爬取网页
赞
踩
大家好,小编来为大家解答以下问题,python爬取网页数据步骤图解,python爬取网页数据存入excel,现在让我们一起来看看吧!
一、分析网页

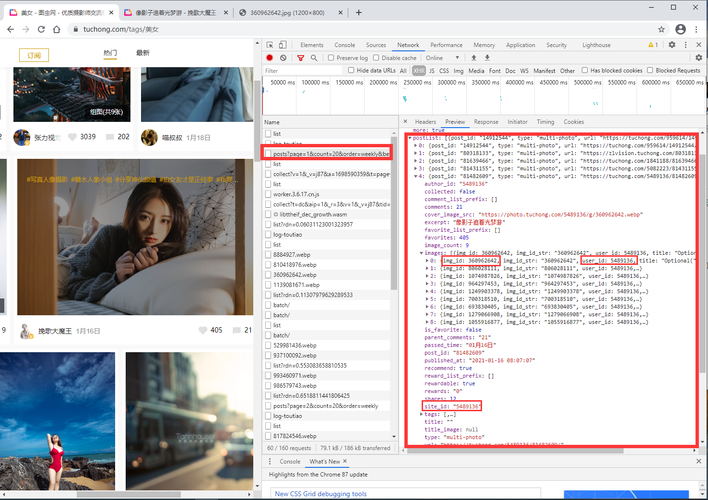
以经典的爬取豆瓣电影 Top250 信息为例。每条电影信息在 ol class 为 grid_view 下的 li 标签里,获取到所有 li 标签的内容,然后遍历,就可以从中提取出每一条电影的信息python流星雨特效代码。
翻页查看url变化规律:
第1页:https://movie.douban.com/top250?start=0&filter=
第2页:https://movie.douban.com/top250?start=25&filter=
第3页:https://movie.douban.com/top250?start=50&filter=
第10页:https://movie.douban.com/top250?start=225&filter=
start参数控制翻页,start = 25 * (page - 1)
本文分别利用正则表达式、BeautifulSoup、PyQuery、Xpath来解析提取数据,并将豆瓣电影 Top250 信息保存到本地。
二、正则表达式
正则表达式是一个特殊的字符序列,它能帮助你方便地检查一个字符串是否与某种模式匹配,常用于数据清洗,也可以顺便用于爬虫,从网页源代码文本中匹配出我们想要的数据。
re.findall
- 在字符串中找到正则表达式所匹配的所有子串,并返回一个列表,如果没有找到匹配的,则返回空列表。
- 注意:match和 search 是匹配一次;而 findall 匹配所有。
- 语法格式为:findall(string[, pos[, endpos]])
- string : 待匹配的字符串;pos : 可选参数,指定字符串的起始位置,默认为 0;endpos : 可选参数,指定字符串的结束位置,默认为字符串的长度。
示例如下:
- import re
- text = """
- <div class="box picblock col3" style="width:186px;height:264px">
- <img src2="http://pic2.sc.chinaz.com/Files/pic/pic9/202007/apic26584_s.jpg" 123nfsjgnalt="山水风景摄影图片">
- <a target="_blank" href="http://sc.chinaz.com/tupian/200509002684.htm"
- <img src2="http://pic2.sc.chinaz.com/Files/pic/pic9/202007/apic26518_s.jpg" enrberonbialt="山脉湖泊山水风景图片">
- <a target="_blank" href="http://sc.chinaz.com/tupian/200509002684.htm"
- <img src2="http://pic2.sc.chinaz.com/Files/pic/pic9/202006/apic26029_s.jpg" woenigoigniefnirneialt="旅游景点山水风景图片">
- <a target="_blank" href="http://sc.chinaz.com/tupian/200509002684.htm"
- """
-
- pattern = re.compile(r'\d+') # 查找所有数字
- result1 = pattern.findall('me 123 rich 456 money 1000000000000')
- print(result1)
- img_info = re.findall('<img src2="(.*?)" .*alt="(.*?)">', text) # 匹配src2 alt里的内容
-
- for src, alt in img_info:
- print(src, alt)
-
- ['123', '456', '1000000000000']
- http://pic2.sc.chinaz.com/Files/pic/pic9/202007/apic26584_s.jpg 山水风景摄影图片
- http://pic2.sc.chinaz.com/Files/pic/pic9/202007/apic26518_s.jpg 山脉湖泊山水风景图片
- http://pic2.sc.chinaz.com/Files/pic/pic9/202006/apic26029_s.jpg 旅游景点山水风景图片

代码如下:
- # -*- coding: UTF-8 -*-
- """
- @Author :叶庭云
- @公众号 :修炼Python
- @CSDN :https://yetingyun.blog.csdn.net/
- """
- import requests
- import re
- from pandas import DataFrame
- from fake_useragent import UserAgent
- import logging
-
- # 日志输出的基本配置
- logging.basicConfig(level=logging.INFO, format='%(asctime)s - %(levelname)s: %(message)s')
- # 随机产生请求头
- ua = UserAgent(verify_ssl=False, path='fake_useragent.json')
-
-
- def random_ua():
- headers = {
- "Accept-Encoding": "gzip",
- "Connection": "keep-alive",
- "User-Agent": ua.random
- }
- return headers
-
-
- def scrape_html(url):
- resp = requests.get(url, headers=random_ua())
- # print(resp.status_code, type(resp.status_code))
- if resp.status_code == 200:
- return resp.text
- else:
- logging.info('请求网页失败')
-
-
- def get_data(page):
- url = f"https://movie.douban.com/top250?start={25 * page}&filter="
- html_text = scrape_html(url)
- # 电影名称 导演 主演
- name = re.findall('<img width="100" alt="(.*?)" src=".*"', html_text)
- director_actor = re.findall('(.*?)<br>', html_text)
- director_actor = [item.strip() for item in director_actor]
- # 上映时间 上映地区 电影类型信息 去除两端多余空格
- info = re.findall('(.*) / (.*) / (.*)', html_text)
- time_ = [x[0].strip() for x in info]
- area = [x[1].strip() for x in info]
- genres = [x[2].strip() for x in info]
- # 评分 评分人数
- rating_score = re.findall('<span class="rating_num" property="v:average">(.*)</span>', html_text)
- rating_num = re.findall('<span>(.*?)人评价</span>', html_text)
- # 一句话引言
- quote = re.findall('<span class="inq">(.*)</span>', html_text)
- data = {'电影名': name, '导演和主演': director_actor,
- '上映时间': time_, '上映地区': area, '电影类型': genres,
- '评分': rating_score, '评价人数': rating_num, '引言': quote}
- df = DataFrame(data)
- if page == 0:
- df.to_csv('movie_data2.csv', mode='a+', header=True, index=False)
-
- else:
- df.to_csv('movie_data2.csv', mode='a+', header=False, index=False)
- logging.info(f'已爬取第{page + 1}页数据')
-
-
- if __name__ == '__main__':
- for i in range(10):
- get_data(i)
结果如下:
三、BeautifulSoup
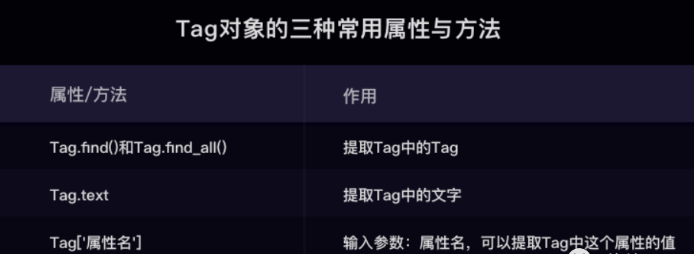
find( )与 find_all( ) 是 BeautifulSoup 对象的两个方法,它们可以匹配 html 的标签和属性,把 BeautifulSoup 对象里符合要求的数据都提取出来: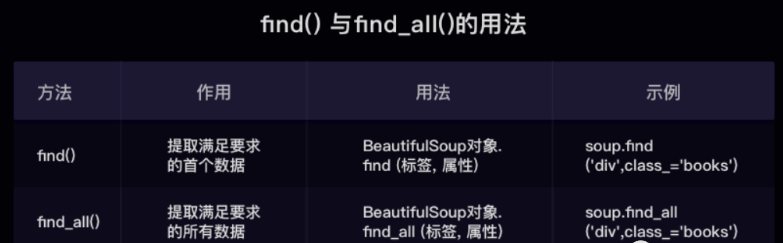
- find( )只提取首个满足要求的数据
- find_all( )提取出的是所有满足要求的数据
- find( ) 或 find_all( ) 括号中的参数:标签和属性可以任选其一,也可以两个一起使用,这取决于我们要在网页中提取的内容。括号里的class_,这里有一个下划线,是为了和 python 语法中的类 class 区分,避免程序冲突。当然,除了用 class 属性去匹配,还可以使用其它属性,比如 style 属性等;只用其中一个参数就可以准确定位的话,就只用一个参数检索。如果需要标签和属性同时满足的情况下才能准确定位到我们想找的内容,那就两个参数一起使用。
代码如下:
- # -*- coding: UTF-8 -*-
- """
- @Author :叶庭云
- @公众号 :修炼Python
- @CSDN :https://yetingyun.blog.csdn.net/
- """
- import requests
- from bs4 import BeautifulSoup
- import openpyxl
- from fake_useragent import UserAgent
- import logging
-
- # 日志输出的基本配置
- logging.basicConfig(level=logging.INFO, format='%(asctime)s - %(levelname)s: %(message)s')
- # 随机产生请求头
- ua = UserAgent(verify_ssl=False, path='fake_useragent.json')
- wb = openpyxl.Workbook() # 创建工作簿对象
- sheet = wb.active # 获取工作簿的活动表
- sheet.title = "movie" # 工作簿重命名
- sheet.append(["排名", "电影名", "导演和主演", "上映时间", "上映地区", "电影类型", "评分", "评价人数", "引言"])
-
-
- def random_ua():
- headers = {
- "Accept-Encoding": "gzip",
- "Connection": "keep-alive",
- "User-Agent": ua.random
- }
- return headers
-
-
- def scrape_html(url):
- resp = requests.get(url, headers=random_ua())
- # print(resp.status_code, type(resp.status_code))
- if resp.status_code == 200:
- return resp.text
- else:
- logging.info('请求网页失败')
-
-
- def get_data(page):
- global rank
- url = f"https://movie.douban.com/top250?start={25 * page}&filter="
- html_text = scrape_html(url)
- soup = BeautifulSoup(html_text, 'html.parser')
- lis = soup.find_all('div', class_='item')
- for li in lis:
- name = li.find('div', class_='hd').a.span.text
- temp = li.find('div', class_='bd').p.text.strip().split('\n')
- director_actor = temp[0]
- temp1 = temp[1].rsplit('/', 2)
- time_, area, genres = [item.strip() for item in temp1]
- quote = li.find('p', class_='quote')
- # 有些电影信息没有一句话引言
- if quote:
- quote = quote.span.text
- else:
- quote = None
- rating_score = li.find('span', class_='rating_num').text
- rating_num = li.find('div', class_='star').find_all('span')[-1].text
- sheet.append([rank, name, director_actor, time_, area, genres, rating_score, rating_num, quote])
- logging.info([rank, name, director_actor, time_, area, genres, rating_score, rating_num, quote])
- rank += 1
-
-
- if __name__ == '__main__':
- rank = 1
- for i in range(10):
- get_data(i)
- wb.save(filename='movie_info4.xlsx')
结果如下:
四、PyQuery
- 每个网页,都有一定的特殊结构和层级关系,并且很多节点都有 id 或 class 作为区分,我们可以借助它们的结构和属性来提取信息。
- 强大的 HTML 解析库:pyquery,利用它,我们可以直接解析 DOM 节点的结构,并通过 DOM 节点的一些属性快速进行内容提取。
如下示例:在解析 HTML 文本的时候,首先需要将其初始化为一个 pyquery 对象。它的初始化方式有多种,比如直接传入字符串、传入 URL、传入文件名等等。
- from pyquery import PyQuery as pq
-
- html = '''
- <div>
- <ul class="clearfix">
- <li class="item-0">first item</li>
- <li class="item-1"><a href="link2.html">second item</a></li>
- <li><img src="http://pic.netbian.com/uploads/allimg/210107/215736-1610027856f6ef.jpg"></li>
- <li><img src="http://pic.netbian.com//uploads/allimg/190902/152344-1567409024af8c.jpg"></li>
- </ul>
- </div>
- '''
-
- doc = pq(html)
- print(doc('li'))
结果如下:
- <li class="item-0">first item</li>
- <li class="item-1"><a href="link2.html">second item</a></li>
- <li><img src="http://pic.netbian.com/uploads/allimg/210107/215736-1610027856f6ef.jpg"/></li>
- <li><img src="http://pic.netbian.com//uploads/allimg/190902/152344-1567409024af8c.jpg"/></li>
首先引入 pyquery 这个对象,取别名为 pq,然后定义了一个长 HTML 字符串,并将其当作参数传递给 pyquery 类,这样就成功完成了初始化。接下来,将初始化的对象传入 CSS 选择器。在这个实例中,我们传入 li 节点,这样就可以选择所有的 li 节点。
代码如下:
- # -*- coding: UTF-8 -*-
- """
- @Author :叶庭云
- @公众号 :修炼Python
- @CSDN :https://yetingyun.blog.csdn.net/
- """
- import requests
- from pyquery import PyQuery as pq
- import openpyxl
- from fake_useragent import UserAgent
- import logging
-
- # 日志输出的基本配置
- logging.basicConfig(level=logging.INFO, format='%(asctime)s - %(levelname)s: %(message)s')
- # 随机产生请求头
- ua = UserAgent(verify_ssl=False, path='fake_useragent.json')
- wb = openpyxl.Workbook() # 创建工作簿对象
- sheet = wb.active # 获取工作簿的活动表
- sheet.title = "movie" # 工作簿重命名
- sheet.append(["排名", "电影名", "导演和主演", "上映时间", "上映地区", "电影类型", "评分", "评价人数", "引言"])
-
-
- def random_ua():
- headers = {
- "Accept-Encoding": "gzip",
- "Connection": "keep-alive",
- "User-Agent": ua.random
- }
- return headers
-
-
- def scrape_html(url):
- resp = requests.get(url, headers=random_ua())
- # print(resp.status_code, type(resp.status_code))
- if resp.status_code == 200:
- return resp.text
- else:
- logging.info('请求网页失败')
-
-
- def get_data(page):
- global rank
- url = f"https://movie.douban.com/top250?start={25 * page}&filter="
- html_text = scrape_html(url)
- doc = pq(html_text)
- lis = doc('.grid_view li')
- for li in lis.items():
- name = li('.hd a span:first-child').text()
- temp = li('.bd p:first-child').text().split('\n')
- director_actor = temp[0]
- temp1 = temp[1].rsplit('/', 2)
- time_, area, genres = [item.strip() for item in temp1]
- quote = li('.quote span').text()
- rating_score = li('.star .rating_num').text()
- rating_num = li('.star span:last-child').text()
- sheet.append([rank, name, director_actor, time_, area, genres, rating_score, rating_num, quote])
- logging.info([rank, name, director_actor, time_, area, genres, rating_score, rating_num, quote])
- rank += 1
-
-
- if __name__ == '__main__':
- rank = 1
- for i in range(10):
- get_data(i)
- wb.save(filename='movie_info3.xlsx')
结果如下:
五、Xpath
Xpath是一个非常好用的解析方法,同时也作为爬虫学习的基础,在后面的 **Selenium **以及 **Scrapy **框架中也会涉及到这部分知识。
首先我们使用 lxml 的 etree 库,然后利用 etree.HTML 初始化,然后我们将其打印出来。其中,这里体现了 lxml 的一个非常实用的功能就是自动修正 html 代码,大家应该注意到了,最后一个 li 标签,其实我把尾标签删掉了,是不闭合的。不过,lxml 因为继承了 libxml2 的特性,具有自动修正 HTML 代码的功能,通过 xpath 表达式可以提取标签里的内容,如下所示:
- from lxml import etree
- text = '''
- <div>
- <ul>
- <li class="item-0"><a href="link1.html">first item</a></li>
- <li class="item-1"><a href="link2.html">second item</a></li>
- <li class="item-inactive"><a href="link3.html">third item</a></li>
- <li class="item-1"><a href="link4.html">fourth item</a></li>
- <li class="item-0"><a href="link5.html">fifth item</a>
- </ul>
- </div>
- '''
- html = etree.HTML(text)
- result = etree.tostring(html)
- result1 = html.xpath('//li/@class') # xpath表达式
- print(result1)
- print(result)
- ['item-0', 'item-1', 'item-inactive', 'item-1', 'item-0']
- <html><body>
- <div>
- <ul>
- <li class="item-0"><a href="link1.html">first item</a></li>
- <li class="item-1"><a href="link2.html">second item</a></li>
- <li class="item-inactive"><a href="link3.html">third item</a></li>
- <li class="item-1"><a href="link4.html">fourth item</a></li>
- <li class="item-0"><a href="link5.html">fifth item</a></li>
- </ul>
- </div>
- </body></html>
代码如下:
- # -*- coding: UTF-8 -*-
- """
- @Author :叶庭云
- @公众号 :修炼Python
- @CSDN :https://yetingyun.blog.csdn.net/
- """
- import requests
- from lxml import etree
- import openpyxl
- from fake_useragent import UserAgent
- import logging
-
- # 日志输出的基本配置
- logging.basicConfig(level=logging.INFO, format='%(asctime)s - %(levelname)s: %(message)s')
- # 随机产生请求头
- ua = UserAgent(verify_ssl=False, path='fake_useragent.json')
- wb = openpyxl.Workbook() # 创建工作簿对象
- sheet = wb.active # 获取工作簿的活动表
- sheet.title = "movie" # 工作簿重命名
- sheet.append(["排名", "电影名", "导演和主演", "上映时间", "上映地区", "电影类型", "评分", "评价人数", "引言"])
-
-
- def random_ua():
- headers = {
- "Accept-Encoding": "gzip",
- "Connection": "keep-alive",
- "User-Agent": ua.random
- }
- return headers
-
-
- def scrape_html(url):
- resp = requests.get(url, headers=random_ua())
- # print(resp.status_code, type(resp.status_code))
- if resp.status_code == 200:
- return resp.text
- else:
- logging.info('请求网页失败')
-
-
- def get_data(page):
- global rank
- url = f"https://movie.douban.com/top250?start={25 * page}&filter="
- html = etree.HTML(scrape_html(url))
- lis = html.xpath('//ol[@class="grid_view"]/li')
- # 每个li标签里有每部电影的基本信息
- for li in lis:
- name = li.xpath('.//div[@class="hd"]/a/span[1]/text()')[0]
- director_actor = li.xpath('.//div[@class="bd"]/p/text()')[0].strip()
- info = li.xpath('.//div[@class="bd"]/p/text()')[1].strip()
- # 按"/"切割成列表
- _info = info.split("/")
- # 得到 上映时间 上映地区 电影类型信息 去除两端多余空格
- time_, area, genres = _info[0].strip(), _info[1].strip(), _info[2].strip()
- # print(time, area, genres)
- rating_score = li.xpath('.//div[@class="star"]/span[2]/text()')[0]
- rating_num = li.xpath('.//div[@class="star"]/span[4]/text()')[0]
- quote = li.xpath('.//p[@class="quote"]/span/text()')
- # 有些电影信息没有一句话引言 加条件判断 防止报错
- if len(quote) == 0:
- quote = None
- else:
- quote = quote[0]
- sheet.append([rank, name, director_actor, time_, area, genres, rating_score, rating_num, quote])
- logging.info([rank, name, director_actor, time_, area, genres, rating_score, rating_num, quote])
- rank += 1
-
-
- if __name__ == '__main__':
- rank = 1
- for i in range(10):
- get_data(i)
- wb.save(filename='movie_info1.xlsx')
结果如下:
六、总结
- 爬取网页数据用正则表达式的话,可以直接从网页源代码文本中匹配,但出错率较高,且熟悉正则表达式的使用也比较难,需要经常翻阅文档。
- 实际爬取数据大多基于 HTML 结构的 Web 页面,网页节点较多,各种层级关系。可以考虑使用 Xpath 解析器、BeautifulSoup解析器、PyQuery CSS解析器抽取结构化数据,使用正则表达式抽取非结构化数据。
- Xpath:可在 XML 中查找信息;支持 HTML 的查找 ;通过元素和属性进行导航,查找效率很高。在学习 Selenium 以及 Scrapy 框架中也都会用到。
- BeautifulSoup:依赖于 lxml 的解析库,也可以从 HTML 或 XML 文件中提取数据。
- PyQuery:Python仿照 jQuery 严格实现,可以直接解析 DOM 节点的结构,并通过 DOM 节点的一些属性快速进行内容提取。
对于爬取网页结构简单的 Web 页面,有些代码是可以复用的,如下所示:
- from fake_useragent import UserAgent
-
- # 随机产生请求头
- ua = UserAgent(verify_ssl=False, path='fake_useragent.json')
-
- def random_ua():
- headers = {
- "Accept-Encoding": "gzip",
- "User-Agent": ua.random
- }
- return headers
伪装请求头,并可以随机切换,封装为函数,便于复用。
- def scrape_html(url):
- resp = requests.get(url, headers=random_ua())
- # print(resp.status_code, type(resp.status_code))
- # print(resp.text)
- if resp.status_code == 200:
- return resp.text
- else:
- logging.info('请求网页失败')
请求网页,返回状态码为 200 说明能正常请求,并返回网页源代码文本。
七、最后
如果你对Python技术比较感兴趣,这里给大家分享一份Python全套学习资料,都是我自己学习时整理的,包括Python学习路线、入门视频、实战案例、电子书和海量面试题。整理不易,请多多点赞分享哦~
微信扫描下方CSDN官方认证二维码即可领取
 ## 一、Python所有方向的学习路线 Python所有方向路线就是把Python常用的技术点做整理,形成各个领域的知识点汇总,它的用处就在于,你可以按照上面的知识点去找对应的学习资源,保证自己学得较为全面。 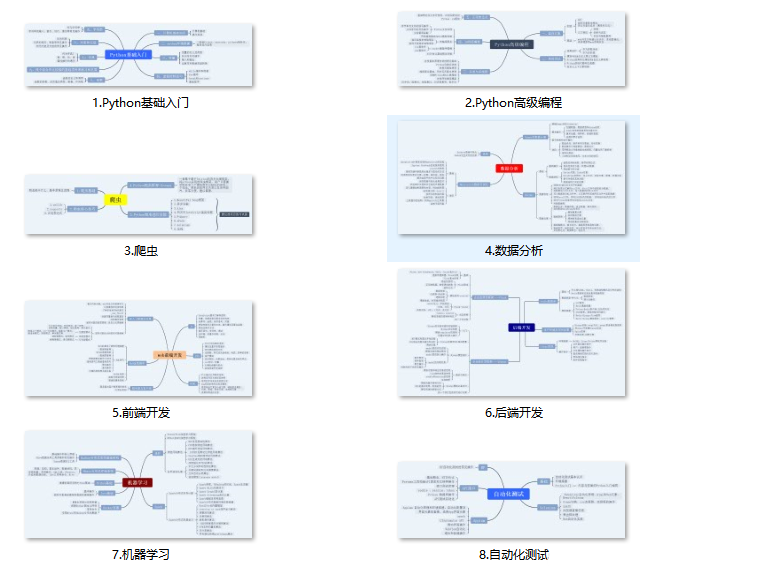 ## 二、Python学习软件 工欲善其事,必先利其器。学习Python常用的开发软件都在这里了!  ## 三、Python入门学习视频 还有很多适合0基础入门的学习视频,有了这些视频,轻轻松松上手Python~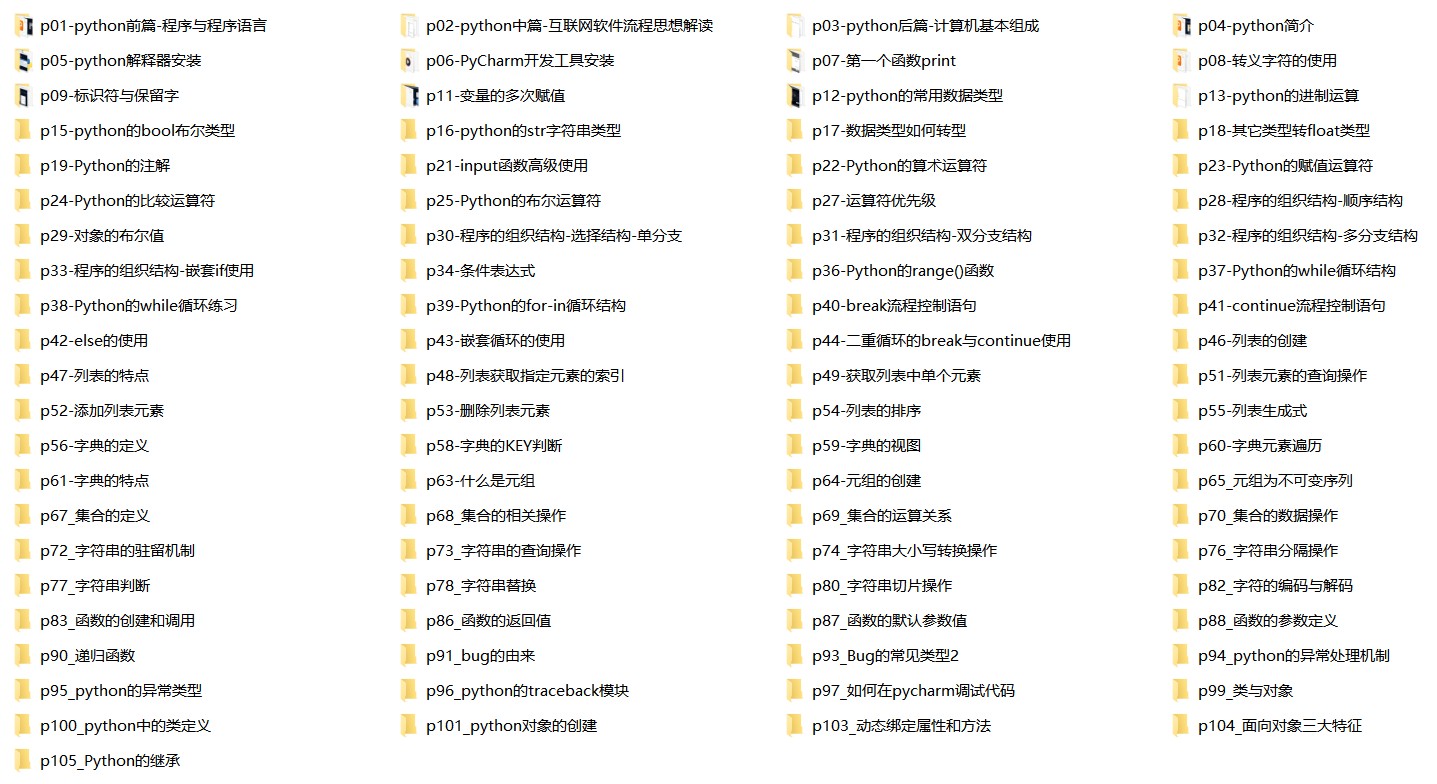
## 一、Python所有方向的学习路线 Python所有方向路线就是把Python常用的技术点做整理,形成各个领域的知识点汇总,它的用处就在于,你可以按照上面的知识点去找对应的学习资源,保证自己学得较为全面。  ## 二、Python学习软件 工欲善其事,必先利其器。学习Python常用的开发软件都在这里了!  ## 三、Python入门学习视频 还有很多适合0基础入门的学习视频,有了这些视频,轻轻松松上手Python~
四、Python练习题
每节视频课后,都有对应的练习题哦,可以检验学习成果哈哈!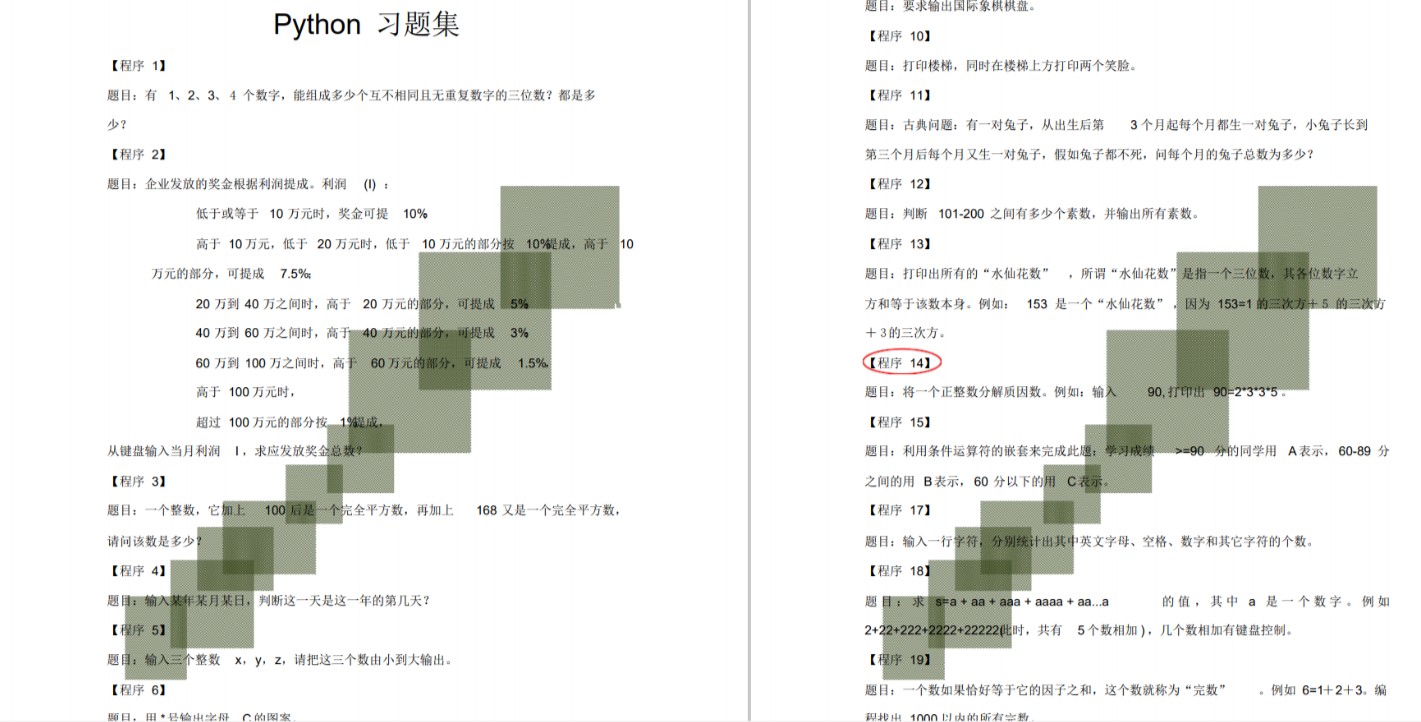
五、Python实战案例
光学理论是没用的,要学会跟着一起敲代码,动手实操,才能将自己的所学运用到实际当中去,这时候可以搞点实战案例来学习。这份资料也包含在内的哈~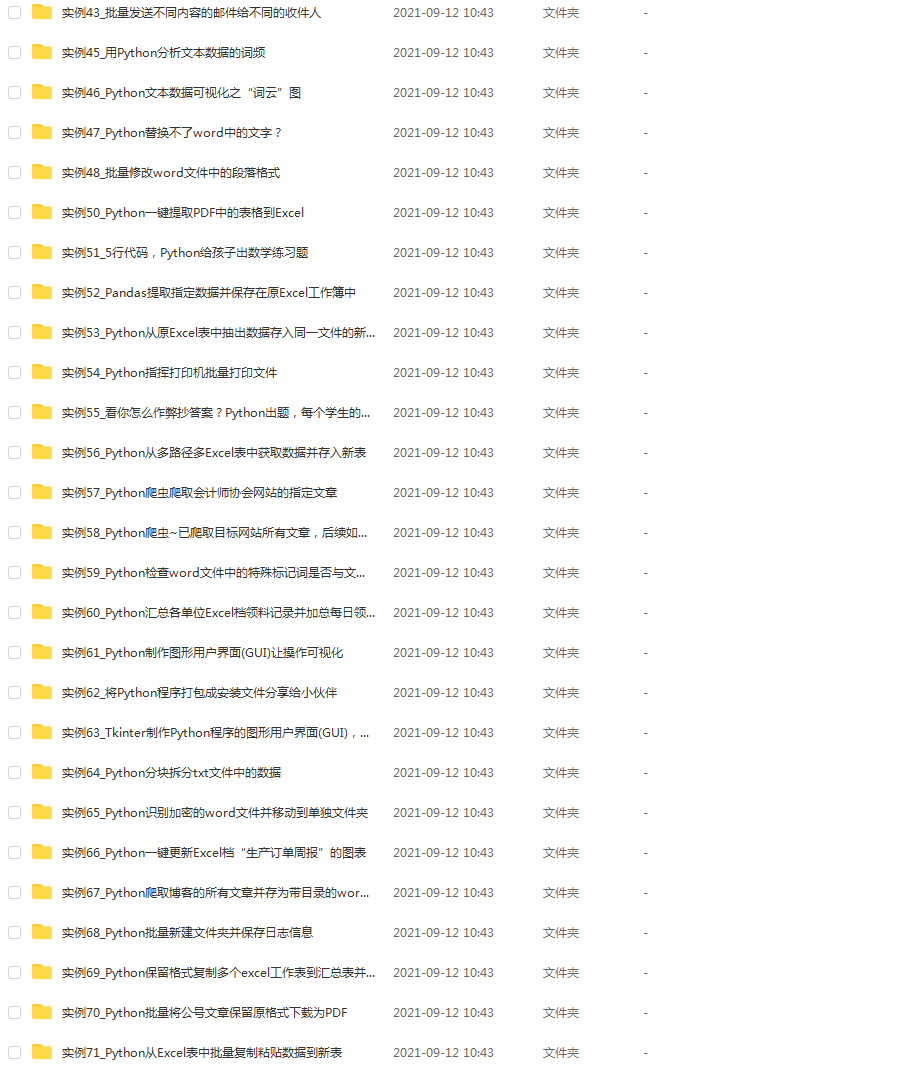
六、Python面试资料
我们学会了Python之后,有了技能就可以出去找工作啦!下面这些面试题是都来自阿里、腾讯、字节等一线互联网大厂,并且有阿里大佬给出了权威的解答,刷完这一套面试资料相信大家都能找到满意的工作。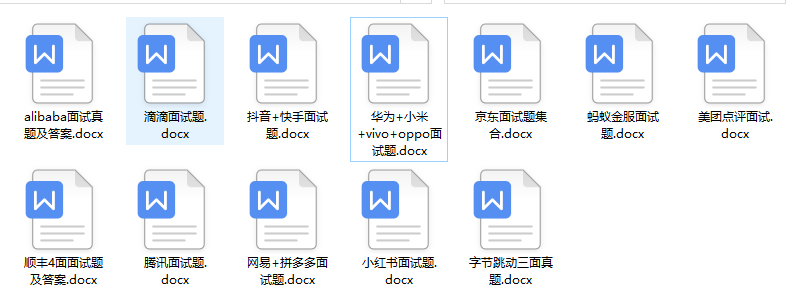

需要的小伙伴可自行微信扫描下方CSDN官方认证二维码免费领取!!

