
热门标签
热门文章
- 1求mysql倒序并且限制查询的条数的查询语句?
- 2ubuntu linux kernel内核操作
- 3基于Python爬虫湖北武汉景点数据可视化系统设计与实现(Django框架) 研究背景与意义、国内外研究现状
- 4深度强化学习——概念及算法总结
- 5ChatOCR:文心一言/千帆API实现关键信息提取
- 6产品研发项目进度管理软件工具有哪些推荐?整理10款最佳进度管理软件_研发管理软件
- 7QT(5.12.9)+Cmake实现串口、网口通讯+后续记录的笔迹_qt cmake 访问网络 csdn
- 8confluence linux 安装教程_confluence linux防火墙配置
- 9以太坊智能合约安全漏洞之整数溢出漏洞的原理与解决方法_solidity的整数溢出漏洞
- 10修改linphone-sdk-android-上篇_android linphone 分辨率问题
当前位置: article > 正文
Uniapp小程序开发-底部tabbar的开发思路
作者:从前慢现在也慢 | 2024-02-25 09:22:37
赞
踩
Uniapp小程序开发-底部tabbar的开发思路
前言
记录uniapp 开发小程序的底部tabbar ,这里讨论的不是自定义tabbar的情况。而是使用wx.setTabBarItem(Object object) 这个api的情况。关于custom 小程序底部tabbar的可以跳过。
一、uniapp 实现 tabbar
实现 tabbar 的简单步骤如下:
- 在 uniapp 项目的
pages.json文件中,配置tabBar字段,来定义 tabbar 的样式和内容,例如:
{
  "tabBar": {
    "color": "#666",
    "selectedColor": "#f00",
    "backgroundColor": "#fff",
    "borderStyle": "black",
    "list": [
      {
        "pagePath": "pages/index/index",
        "text": "首页",
        "iconPath": "static/tabbar/home.png",
        "selectedIconPath": "static/tabbar/home_active.png"
      },
      {
        "pagePath": "pages/cart/cart",
        "text": "购物车",
        "iconPath": "static/tabbar/cart.png",
        "selectedIconPath": "static/tabbar/cart_active.png"
      },
      {
        "pagePath": "pages/user/user",
        "text": "个人中心",
        "iconPath": "static/tabbar/user.png",
        "selectedIconPath": "static/tabbar/user_active.png"
      }
    ]
  }
}

- 1
- 2
- 3
- 4
- 5
- 6
- 7
- 8
- 9
- 10
- 11
- 12
- 13
- 14
- 15
- 16
- 17
- 18
- 19
- 20
- 21
- 22
- 23
- 24
- 25
- 26
- 27
- 28
-
在
pages目录下创建对应的三个页面:index、cart和user。 -
在
pages/index目录下创建index.vue文件,编写首页的内容。 -
在
pages/cart目录下创建cart.vue文件,编写购物车页面的内容。 -
在
pages/user目录下创建user.vue文件,编写个人中心页面的内容。 -
在
App.vue文件中,将tabbar的内容放在<tabbar>标签内,例如:
<template>
  <view>
    <router-view></router-view>
    <tabbar></tabbar>
  </view>
</template>
- 1
- 2
- 3
- 4
- 5
- 6
- 在项目的根目录下,创建
components文件夹,再在该文件夹下创建tabbar.vue文件,编写 tabbar 的样式和逻辑,例如:
<template>
  <view class="tabbar">
    <view v-for="(item, index) in tabBar.list" :key="index" class="tabbar-item" @click="switchTab(index)">
      <image :src="item.selected ? item.selectedIconPath : item.iconPath" class="tabbar-icon"></image>
      <view class="tabbar-text">{{ item.text }}</view>
    </view>
  </view>
</template>

<script>
export default {
  data() {
    return {
      tabBar: getApp().globalData.tabBar  // 从全局数据中获取 tabBar 的配置
    }
  },
  methods: {
    switchTab(index) {
      uni.switchTab({
        url: '/' + this.tabBar.list[index].pagePath
      })
    }
  }
}
</script>

<style scoped>
.tabbar {
  display: flex;
  justify-content: space-between;
  align-items: center;
  height: 50px;
  background-color: #fff;
  border-top: 1px solid #000;
}

.tabbar-item {
  flex: 1;
  display: flex;
  flex-direction: column;
  align-items: center;
  justify-content: center;
  font-size: 12px;
  color: #666;
}

.tabbar-icon {
  width: 24px;
  height: 24px;
}

.tabbar-text {
  margin-top: 2px;
}
</style>
- 1
- 2
- 3
- 4
- 5
- 6
- 7
- 8
- 9
- 10
- 11
- 12
- 13
- 14
- 15
- 16
- 17
- 18
- 19
- 20
- 21
- 22
- 23
- 24
- 25
- 26
- 27
- 28
- 29
- 30
- 31
- 32
- 33
- 34
- 35
- 36
- 37
- 38
- 39
- 40
- 41
- 42
- 43
- 44
- 45
- 46
- 47
- 48
- 49
- 50
- 51
- 52
- 53
- 54
- 55
- 在
main.js文件中全局配置 tabBar 的配置,例如:
App({
  globalData: {
    tabBar: require('./pages.json').tabBar
  }
})
- 1
- 2
- 3
- 4
- 5
这样,就完成了 tabbar 的简单实现过程。tabbar 的样式和逻辑可以根据项目的需求进行自定义修改,tabbar第一个path与pages的path 保持一致。也就是首页路径。
二、图标使用网络图片
那么如果是icon是后端返回网络图片,url的形式。
{
  "iconPath": "https://files/static/tabbar/home.png",
  "selectedIconPath": "https://files/static/tabbar/home_active.png"
}
- 1
- 2
- 3
- 4
- 5
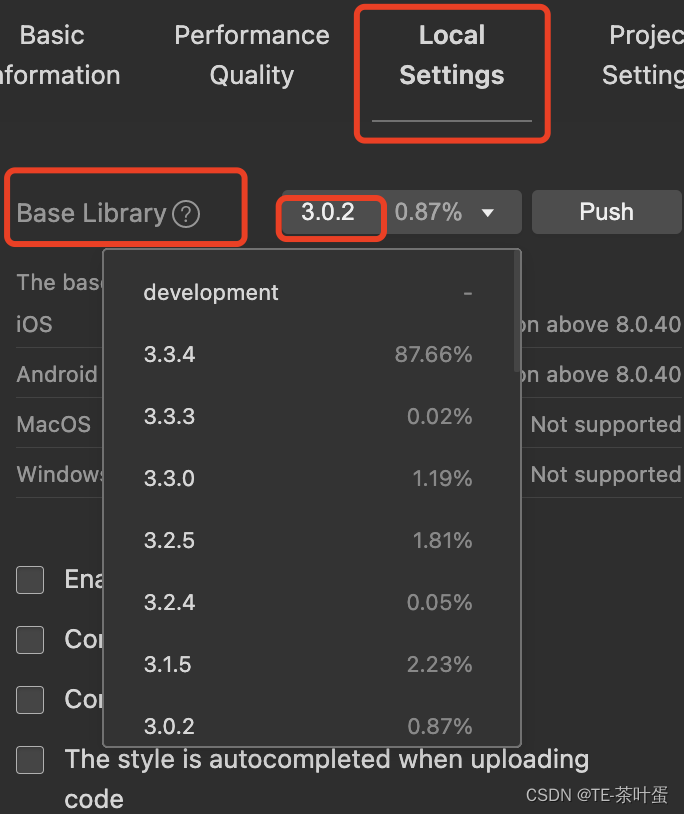
注意这个功能要小程序版本的基础库版本在 2.7.0以上。
后端返回tabbar信息
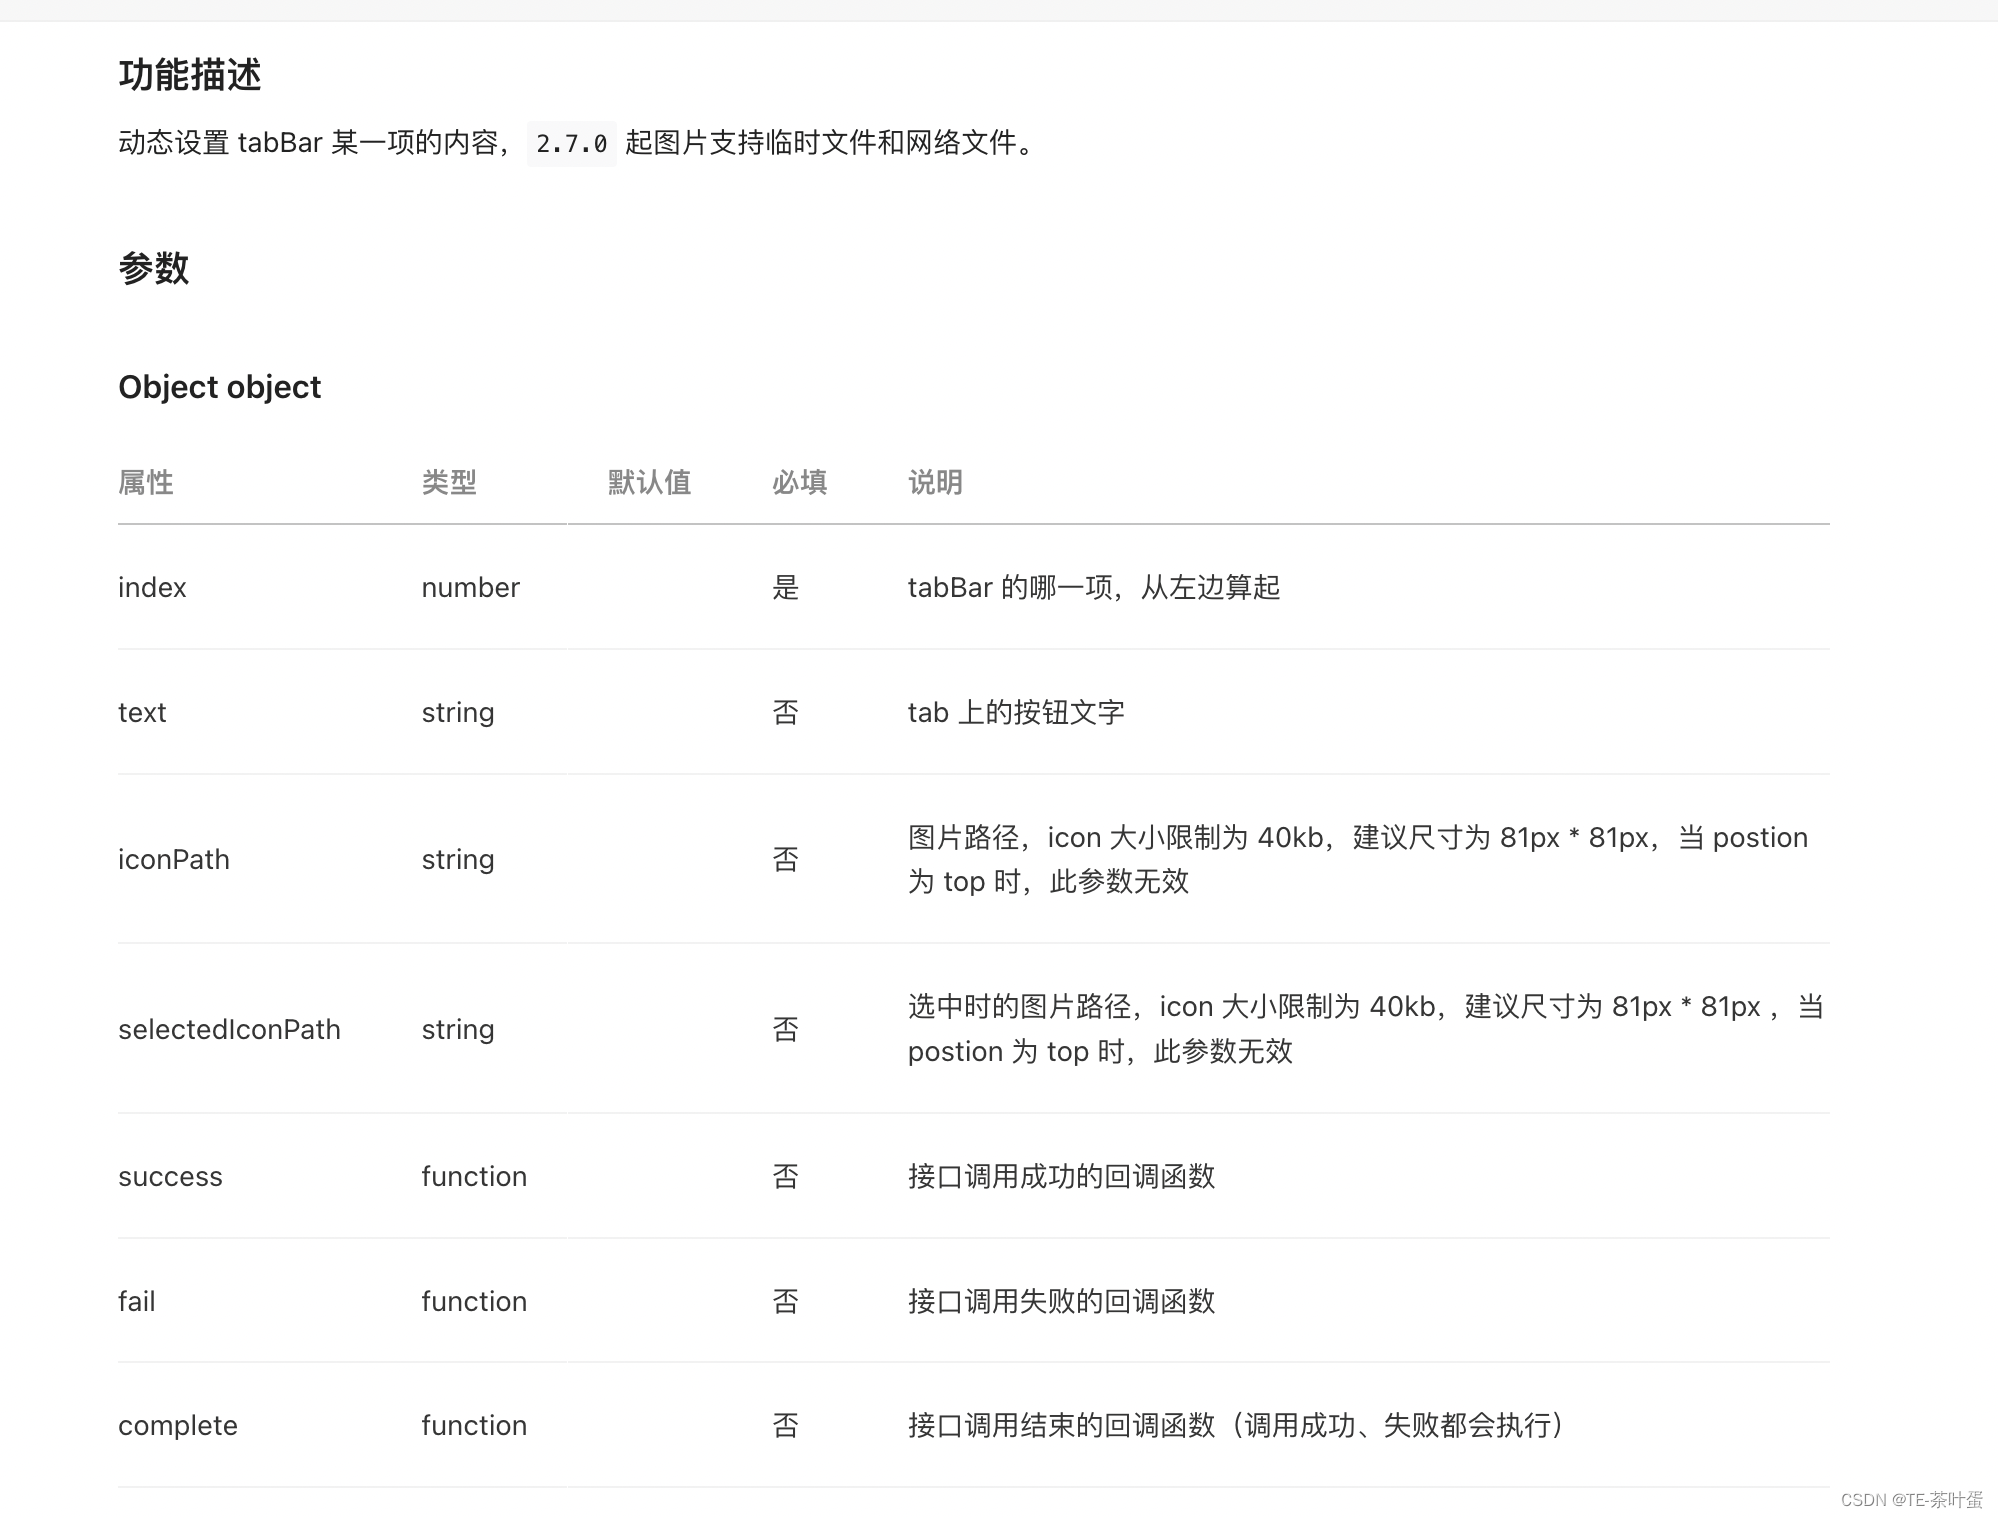
后端返回tabbar信息,已达到可以在后端管理tabbar的图标。即是iconPath,selectedIconPath 这些是支持重置。官方提供了这个apiwx.setTabBarItem(Object object)
uniapp方式中的setTabBarItem
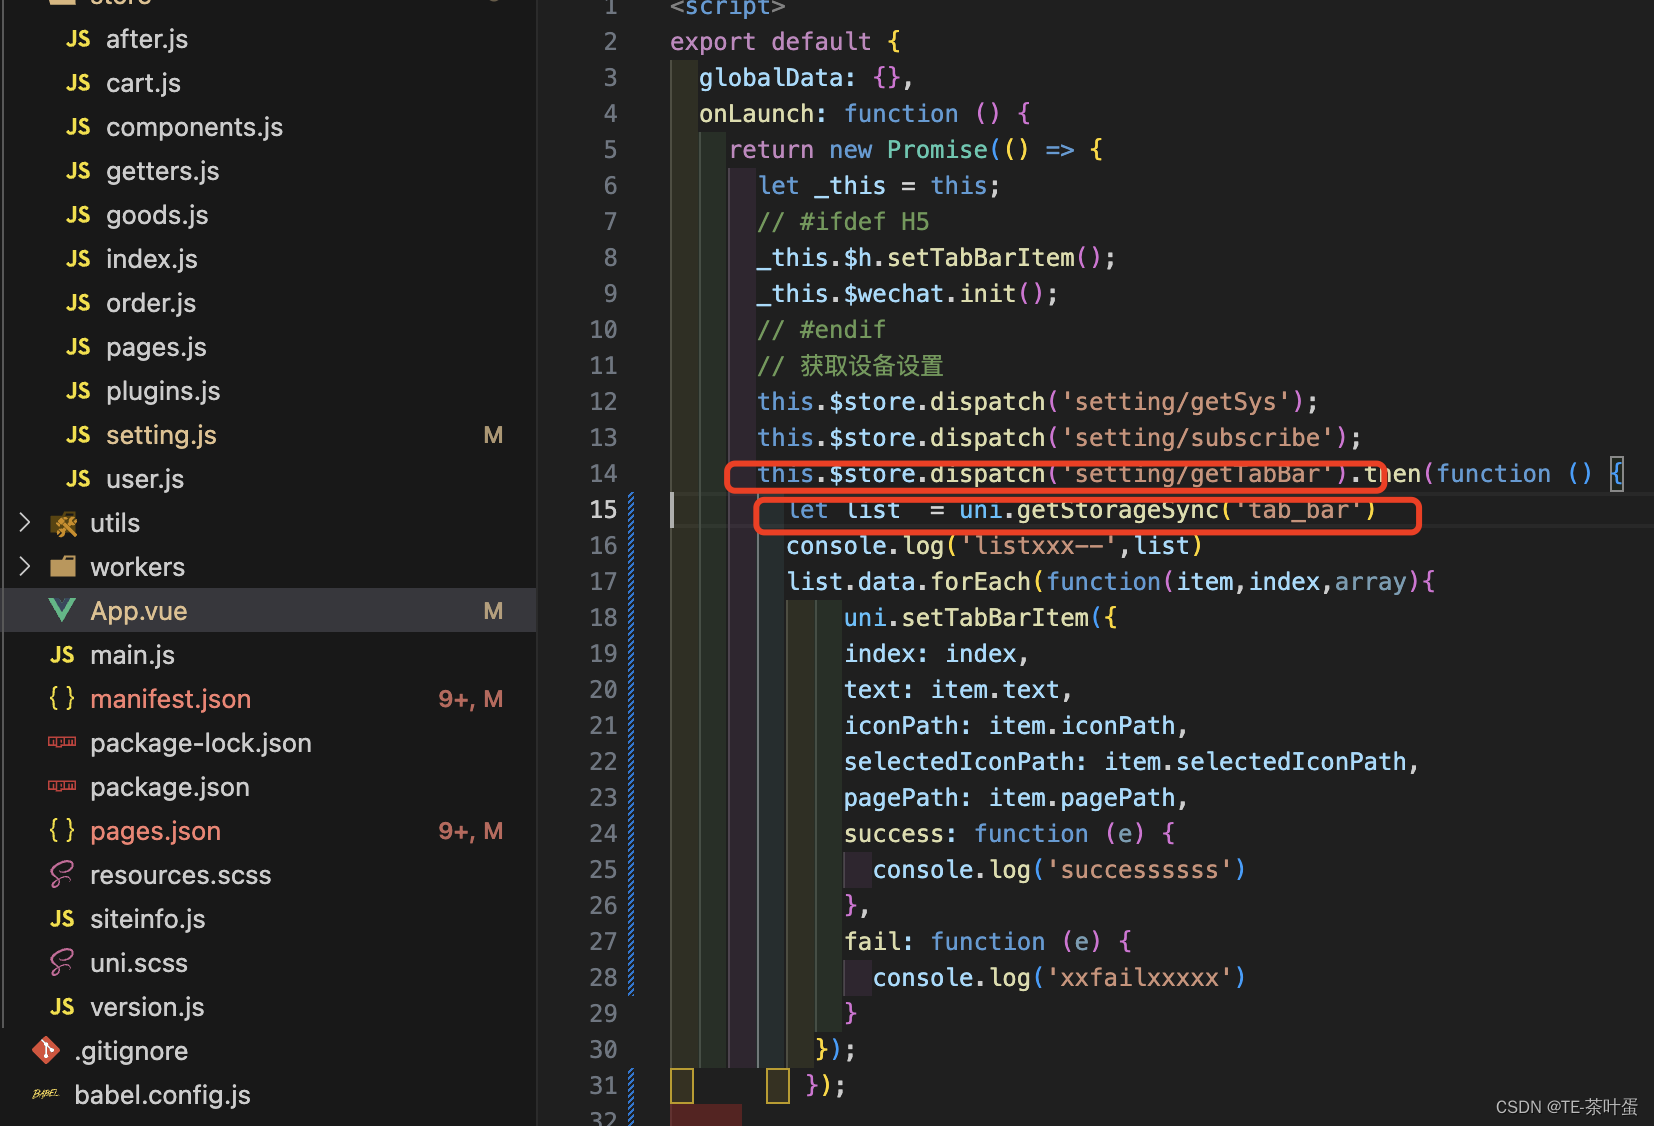
如图在onLauch中加入相关逻辑。获取tabbar信息后,uni.setTabBarItem。
总结
今天的内容就在这里了,本文讨论如何使用uniapp实现基本tabbar功能,接着给出动态设置icon的思路。依赖的api是uni.setTabBarItem。
声明:本文内容由网友自发贡献,不代表【wpsshop博客】立场,版权归原作者所有,本站不承担相应法律责任。如您发现有侵权的内容,请联系我们。转载请注明出处:https://www.wpsshop.cn/w/从前慢现在也慢/article/detail/140053
推荐阅读
相关标签

