
热门标签
热门文章
- 1《OpenHarmony开源鸿蒙学习入门》-- 系统相机应用源码解析(一)_abilitystage 相当于android application
- 2【浙政钉】埋点_浙政钉稳定性监控埋点
- 3Kali linux 2016.2(Rolling) 的详细安装(图文教程)附安装VMare Tools 增强工具
- 4【2022 MS MARCO】【阿里】HLATR:基于混合列表感知Transformer重排的多阶段文本检索增强 ( .feat PRM:个性化的推荐重排)_prm 重排
- 5防止表单重复提交的几种方法_防重复提交浏览器唯一标识
- 6基于YOLOv8深度学习的野外火焰烟雾检测系统【python源码+Pyqt5界面+数据集+训练代码】深度学习实战、目标检测_火焰数据集
- 7EMW3080+STC15轻松实现设备上云1(阿里云物联网平台、智能生活开放平台)_emw3080连接温度传感器上传阿里智能云平台
- 8Git管理工具对比(GitBash、EGit、SourceTree)_除了sourcetree
- 9将Android手机无线连接到Ubuntu实现唱跳Rap
- 10STM32/51单片机实训day4——RFID数据读取|RC522|串口数据收发、可模拟RFID (三) 仿真_51单片机rc522接线原理图
当前位置: article > 正文
1.2 vue3项目问题记录_vue3 appcontext
作者:小小林熬夜学编程 | 2024-03-13 15:05:28
赞
踩
vue3 appcontext
1、axios全局配置
vue2中使用的是
Vue.prototype.$axios = axios然后在组件中使用this调用
this.$axiosvue3中没有this,可以有两种方式绑定全局
app.config.globalProperties.$axios = axios在组件中使用getCurrentInstance()方法获取实例后调用
- const internalInstance = getCurrentInstance().appContext.config.globalProperties
-
- internalInstance.$axios
-
官方不推荐上述方式
注:当使用getCurrentInstance().appContext.config.globalProperties.$axios
getCurrentInstance().appContext.config.globalProperties!.$axios时,ts编译器会报错,可以加个!符号来处理报错问题。
第二种是使用vue-axios,安装依赖
npm install vue-axios在main.ts中使用,并注入axios实例
- app.use(VueAxios, axios);
-
- app.provide('axios', app.config.globalProperties.axios)
在组件中使用
- import {reactive,inject} from 'vue'
- const axios:any = inject('axios')
2、vite.config.ts
使用自动导入,需要安装两个包
npm install -D unplugin-vue-components unplugin-auto-import
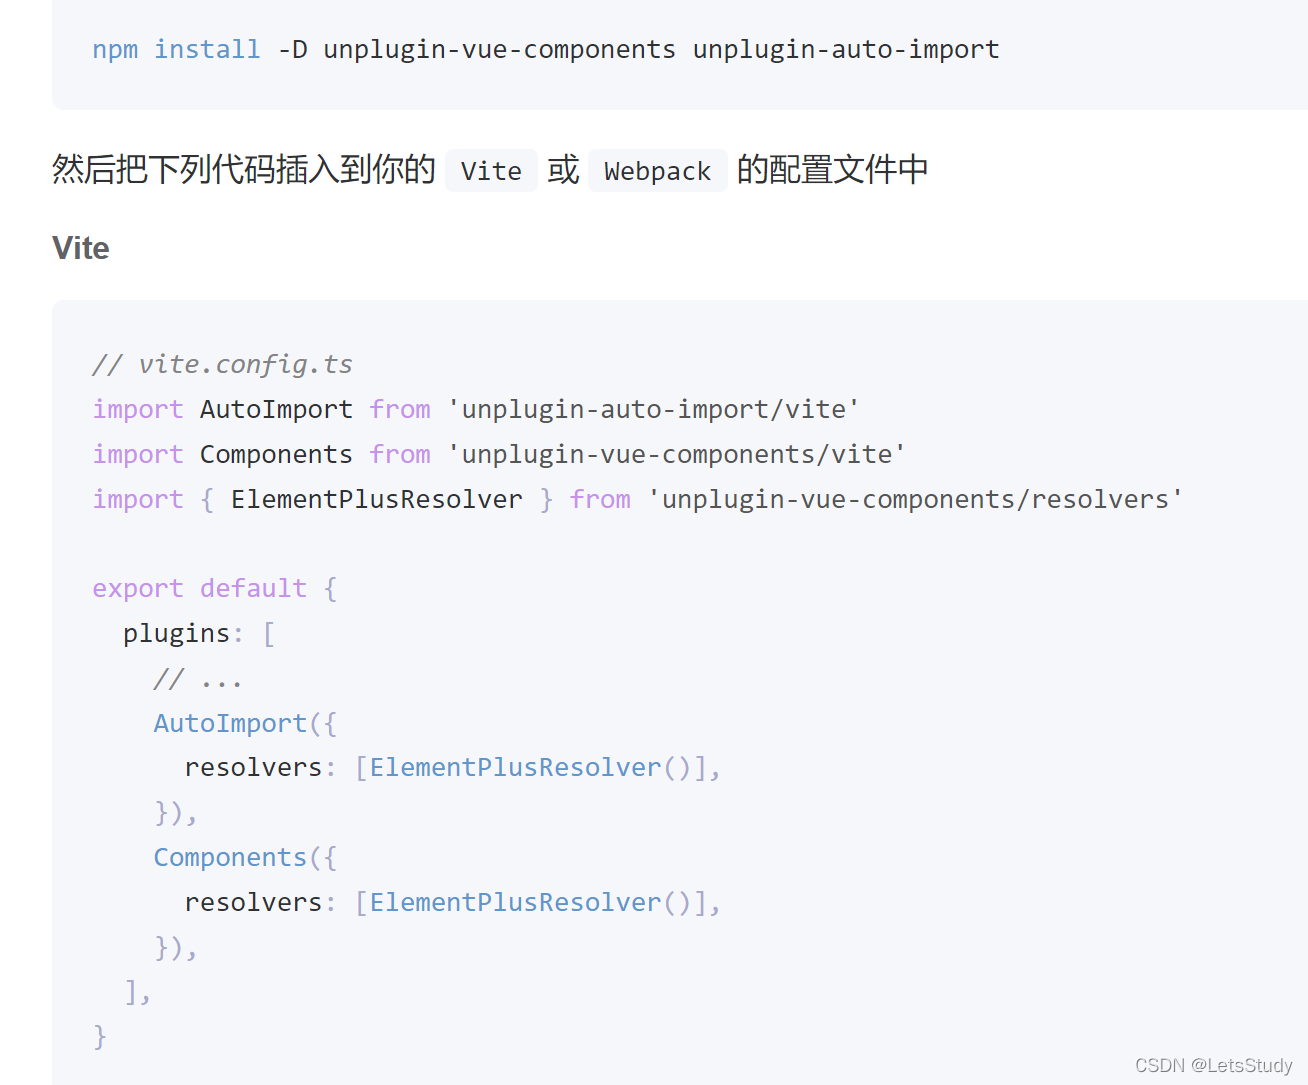
添加import参数
- AutoImport({
- resolvers: [ElementPlusResolver()],
- imports:['vue','vue-router']
- }),
则会自动在auto-imports.d.ts中导入

在组件中使用时,无需在import就能直接使用了
- <script setup lang="ts">
- // import {useRouter} from "vue-router";
- // import {reactive,inject} from 'vue'
-
- const router = useRouter();
- const input = reactive({
- username: "",
- password: ""
- })
- const axios:any = inject('axios')
- const login = function () {
- axios.post('/login', input).then((res: any) => {
- if (res.data.code === 200) {
- router.push('/index')
- } else {
- }
- }).catch((err: any) => {
- console.log(err)
- })
- }

3、vite.config.ts跨域设置
- server: {
- port:3000,
- proxy: {
- '/api': {
- target: 'http://localhost:8443',
- changeOrigin: true,
- // rewrite: (path) => path.replace(/^\/api/, '')
- },
- }
- },
4、vite.config.ts设置@
- resolve: {
- // 配置路径别名
- alias: {
- '@': path.resolve(__dirname, './src'),
- },
- },
5、vite.config.ts require方式导入path,报错问题
需要安装@types/node
npm i --save-dev @types/node
声明:本文内容由网友自发贡献,不代表【wpsshop博客】立场,版权归原作者所有,本站不承担相应法律责任。如您发现有侵权的内容,请联系我们。转载请注明出处:https://www.wpsshop.cn/w/小小林熬夜学编程/article/detail/229185
推荐阅读
相关标签

