
- 1【服务器数据恢复】服务器硬盘指示灯显示黄色的数据恢复案例_服务器硬盘灯亮黄灯
- 2K8S问题记录_failed to create pod sandbox: rpc error: code = un
- 3uboot启动流程详细分析(基于i.m6ull)
- 4用docker-compose快速部署ChirpStack_使用docker compose快速部署chirpstack
- 5使用篇=SpringCloud异常处理统一封装我来做、建议收藏_enableglobaldispose
- 6LAYA 3D编辑器(unity3D)使用教程(基础课)_laya跑酷3a
- 7六星经典CSAPP-笔记(7)加载与链接(上)
- 8蓝牙连接的sco问题_startbluetoothsco
- 9livego介绍以及最全使用方法介绍_livego还是go2rtc
- 10Autodesk官方最新的.NET教程(五)(C#版) _c# autocad allowsubselections 什么意思
YOLOv5苹果香蕉检测_yolov5模型对水果数据集
赞
踩
YOLOv5水果新鲜程度检测
YOLOv5水果新鲜程度检测模型
数据集和训练模型下载:
水果检测数据集: https://download.csdn.net/download/zhiqingAI/84861657
YOLOv3水果检测模型: https://download.csdn.net/download/zhiqingAI/85446749
yolov5水果检测模型+pyqt界面:
https://download.csdn.net/download/zhiqingAI/85446671
水果新鲜程度检测数据集:
https://download.csdn.net/download/zhiqingAI/85448544
YOLOv3水果新鲜程度检测模型:
https://download.csdn.net/download/zhiqingAI/85448506
YOLOv5水果新鲜程度检测模型:
https://download.csdn.net/download/zhiqingAI/85455714
YOLOv5水果新鲜程度检测模型+qt界面:
https://download.csdn.net/download/zhiqingAI/85448391
其他cv领域数据集和模型下载:
https://blog.csdn.net/zhiqingAI/article/details/124230743
1、配置环境
安装anaconda3
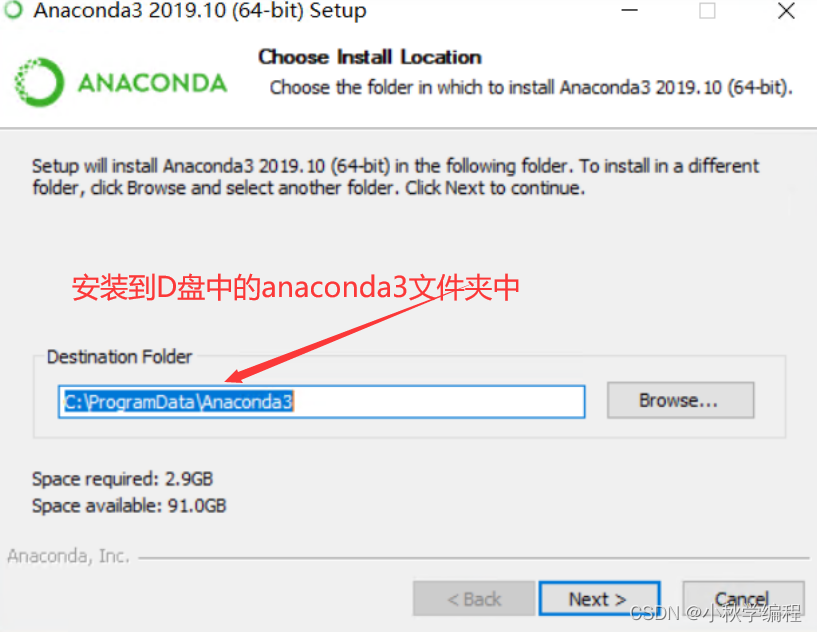
在D盘新建一个文件夹anaconda3,不建议安装在C盘,然后Anacona官网下载安装包,下载完后右键以管理员运行,按照默认选项安装即可

安装到D盘中的anaconda3文件夹中
勾上,添加环境变量
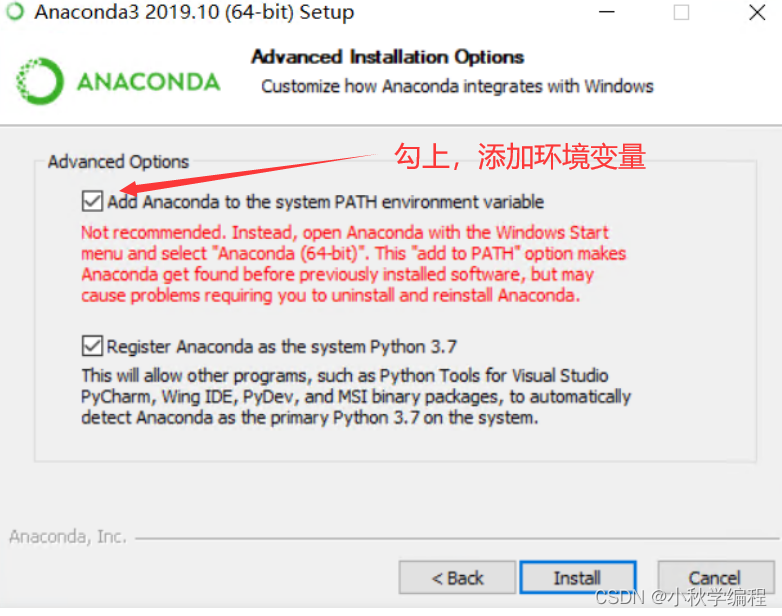

最后就等着安装好就可以了,大概10分钟左右
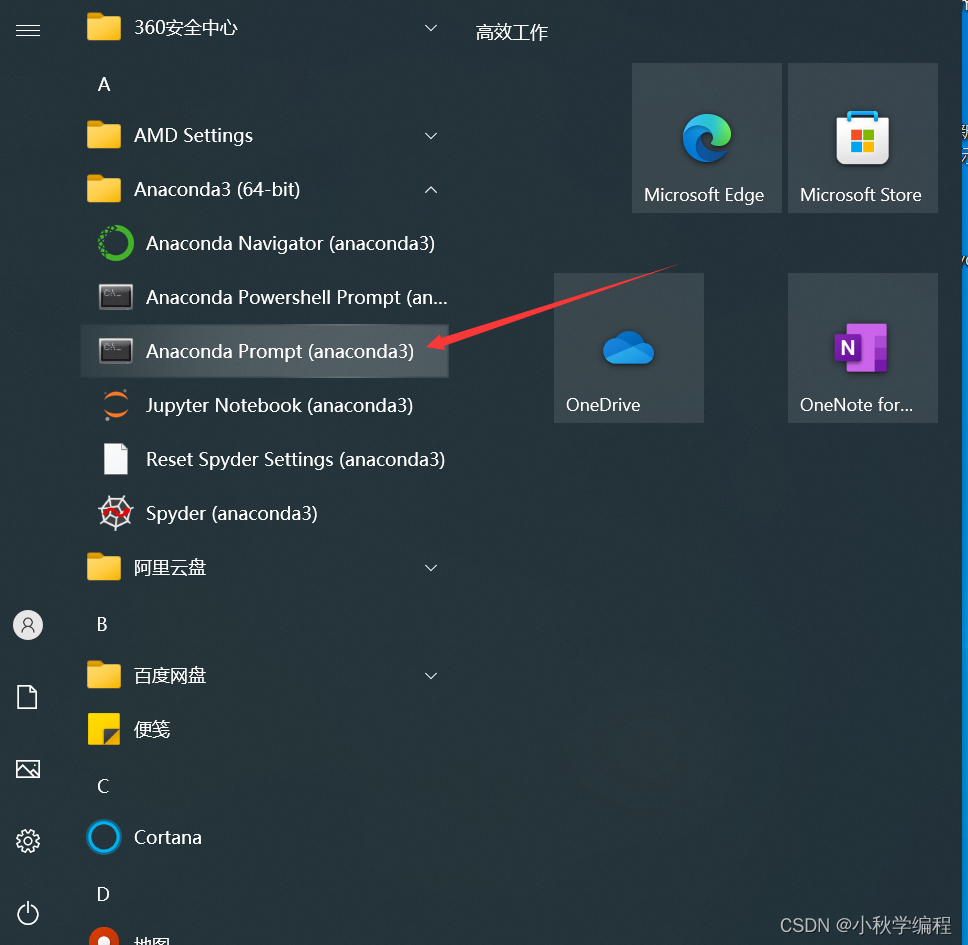
在anaconda中创建python虚拟环境
打开anacona终端
打开后是这样的:
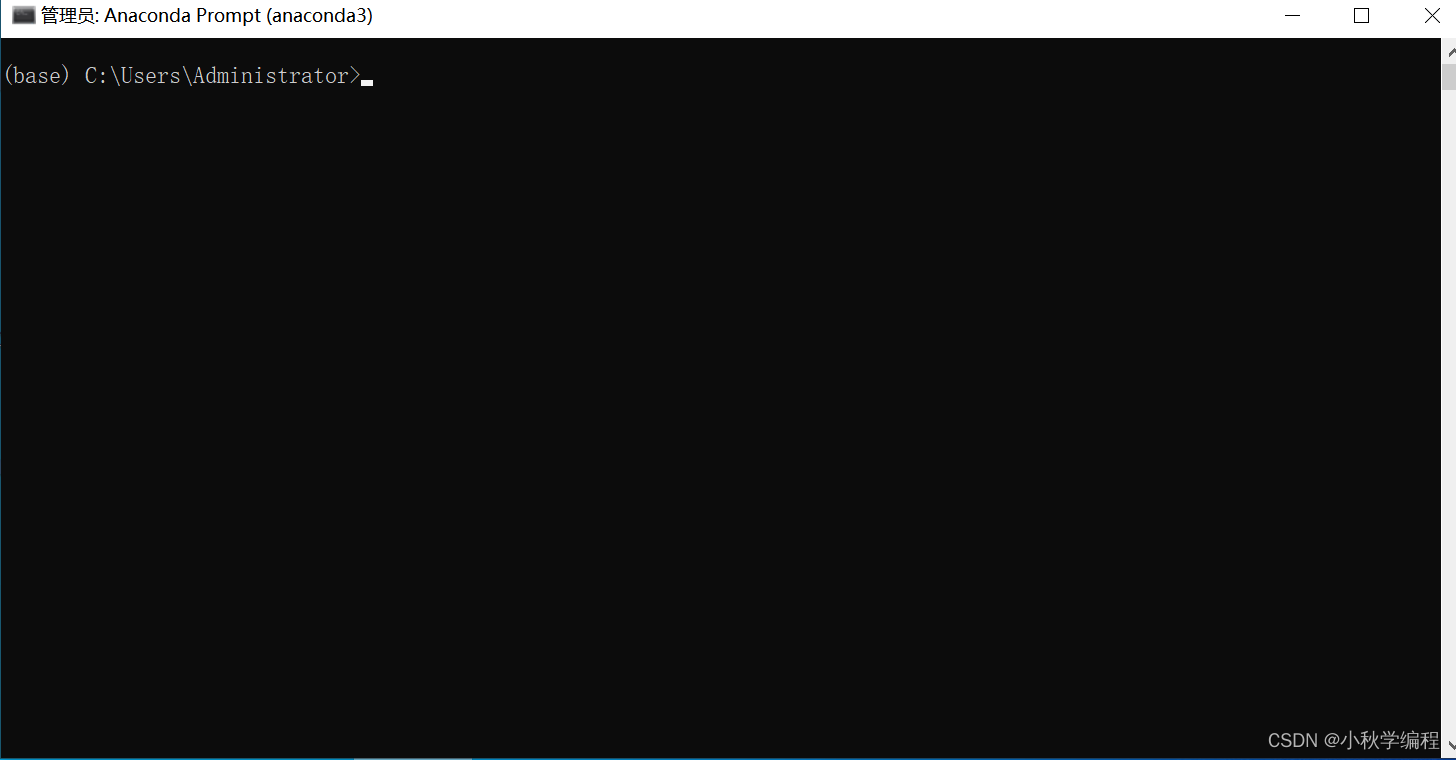
然后输出命令:
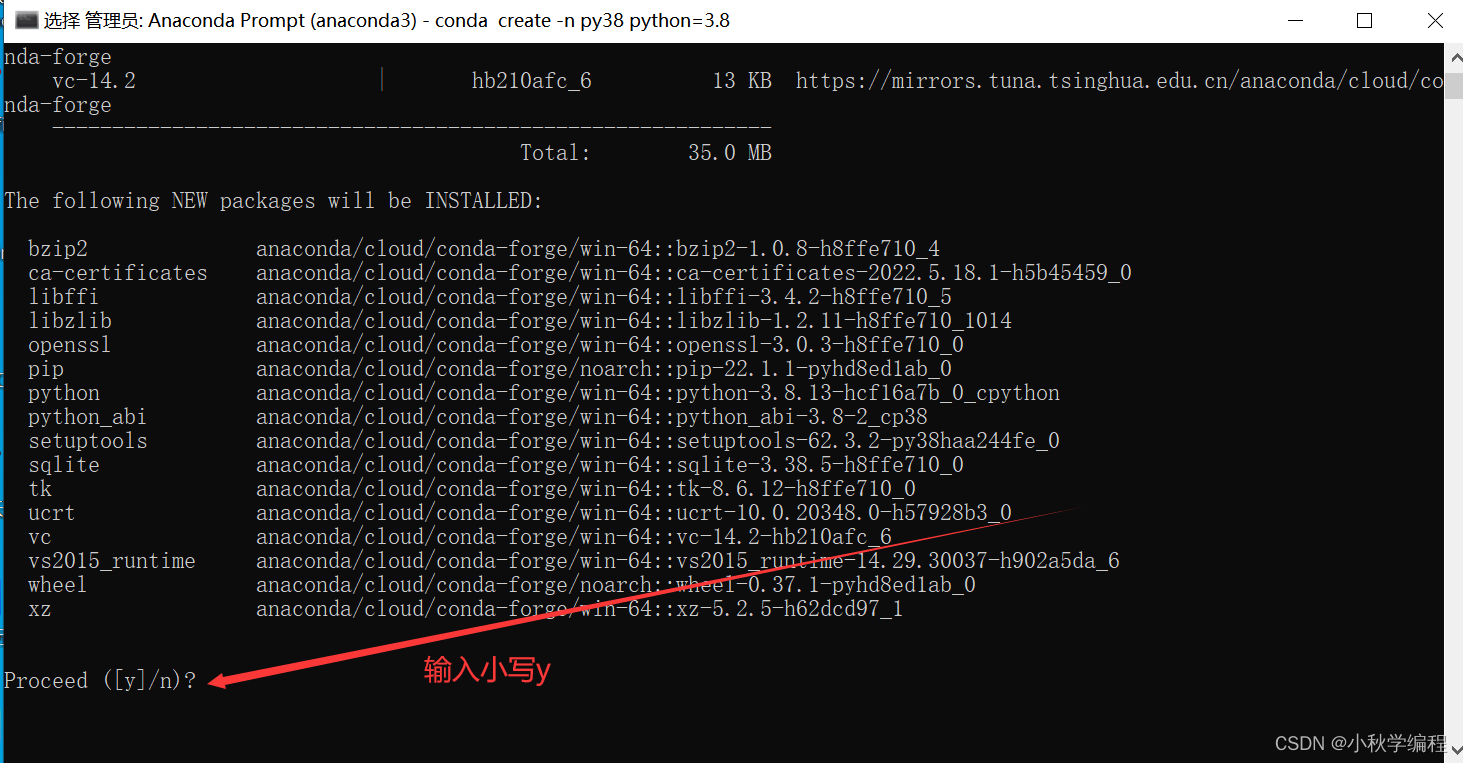
conda create -n py38 python=3.8,回车
其中py38是创建的虚拟环境的名称,可以随意改;python=3.8是python版本,这里我们安准个python3.8版本

输入小写y,回车:
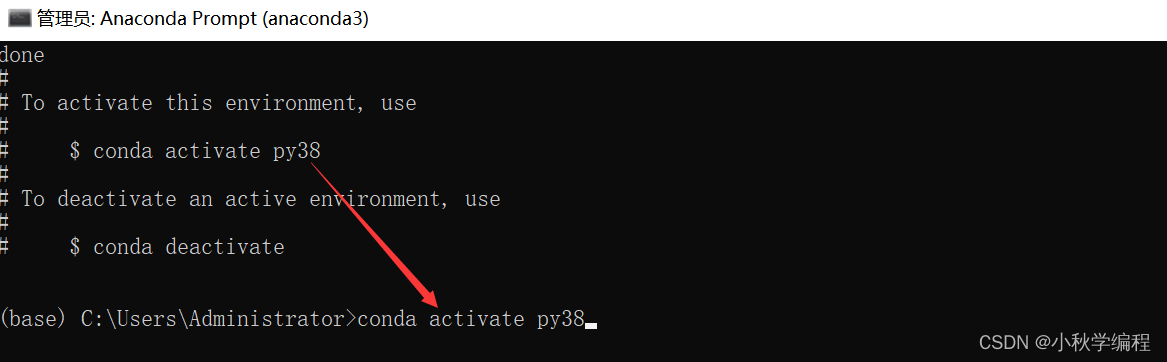
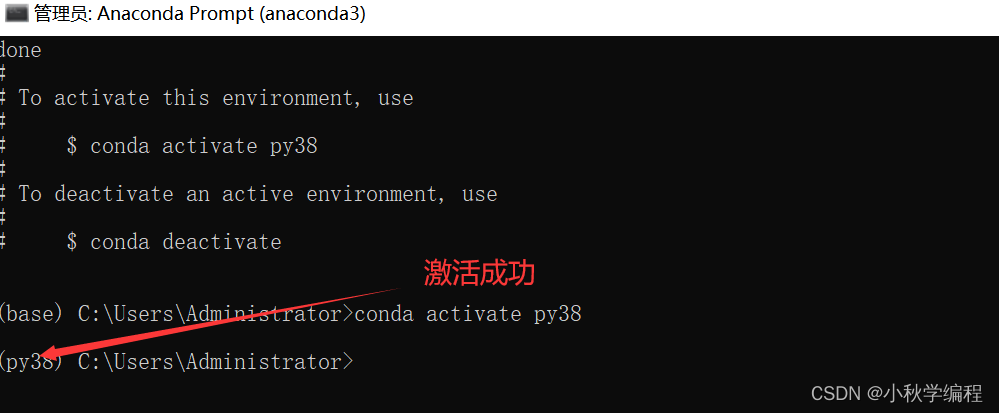
然后激活环境:输入
conda activate py38,回车
安装pytorch

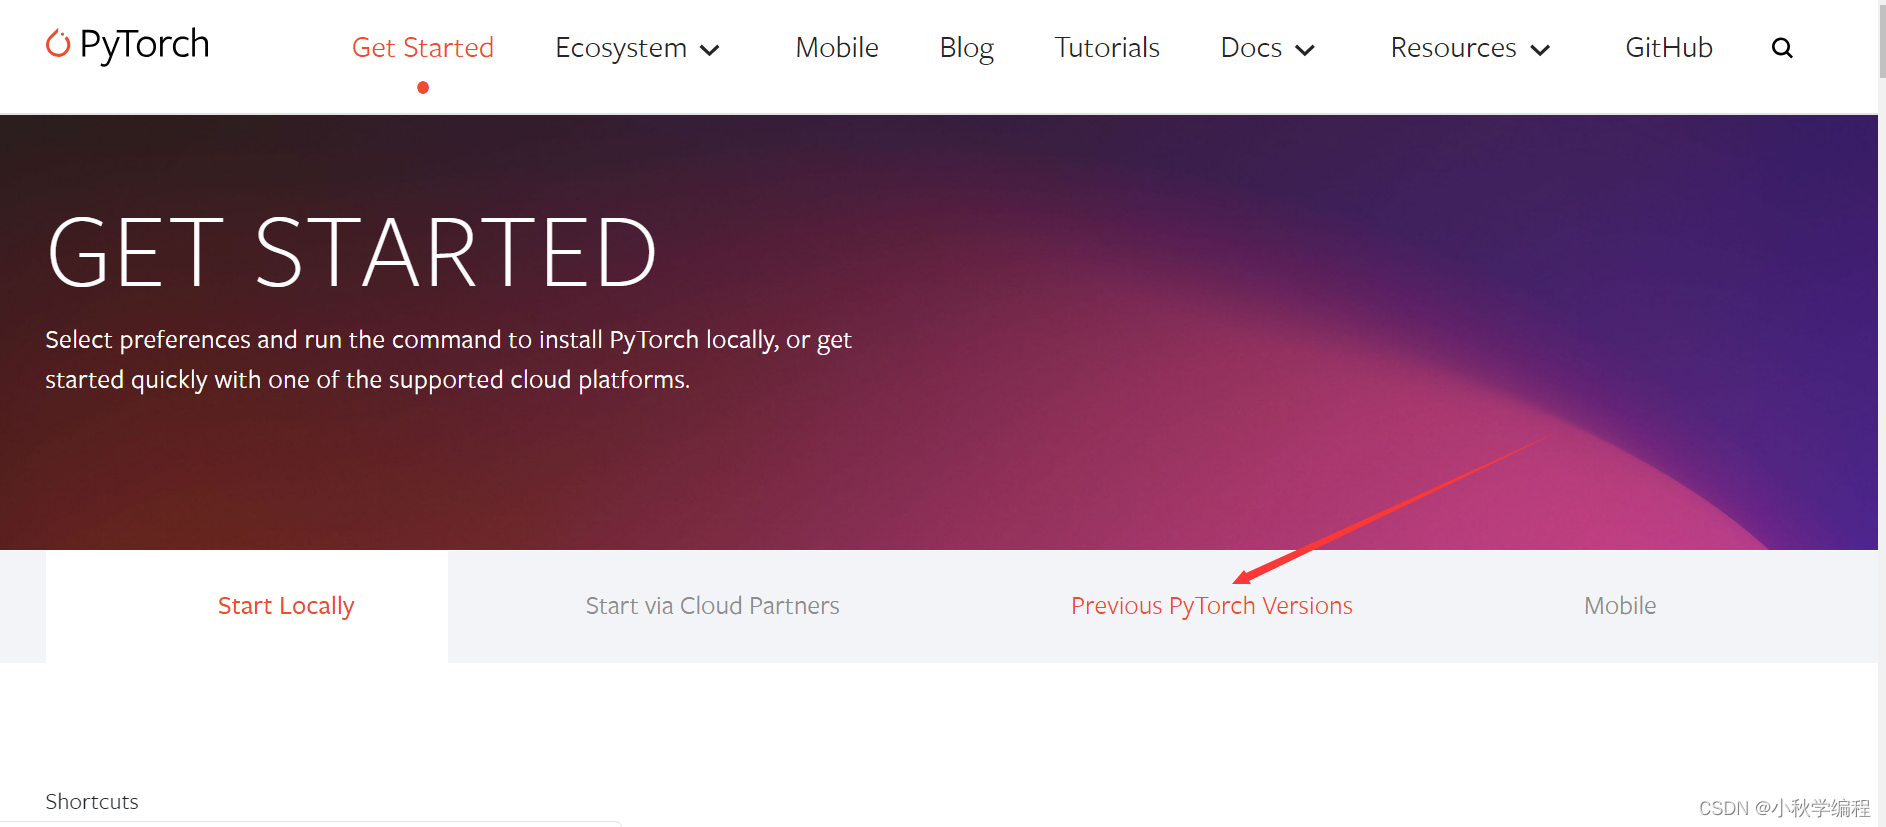
确定自己显卡型号以及对应可安装的CUDA版本,比如RTX1050Ti等英伟达显卡通常可以安装cuda11,不是因为英伟达的显卡一般不能安装CUDA,只能安装CPU版本。
这里我们安装pytorch 1.8.1
若有英伟达的显卡(一般都能安装CUDA11.1,不可以具体查看自己显卡支持的CUDA版本),怎在py38环境中输入命令:
pip install torch==1.8.1+cu111 torchvision==0.9.1+cu111 torchaudio==0.8.1 -f https://download.pytorch.org/whl/torch_stable.html
- 1
等待安装完成即可,安装时间看网速

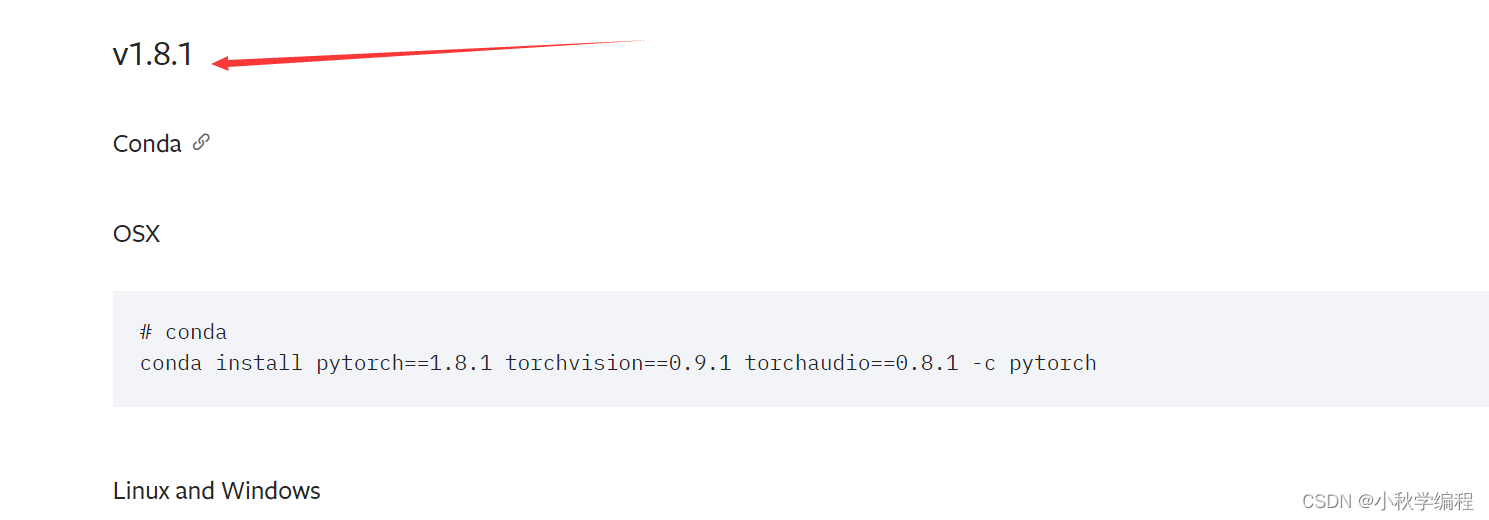
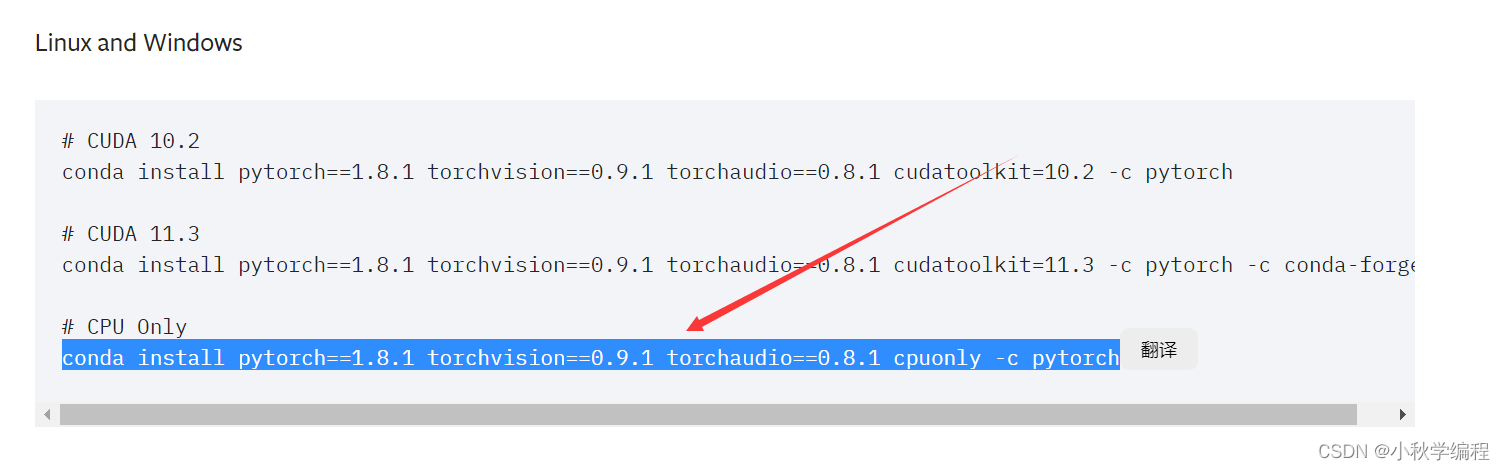
若没有英伟达的显卡,则安装CPU版本。在py38环境中输入命令:
conda install pytorch==1.8.1 torchvision==0.9.1 torchaudio==0.8.1 cpuonly -c pytorch
- 1
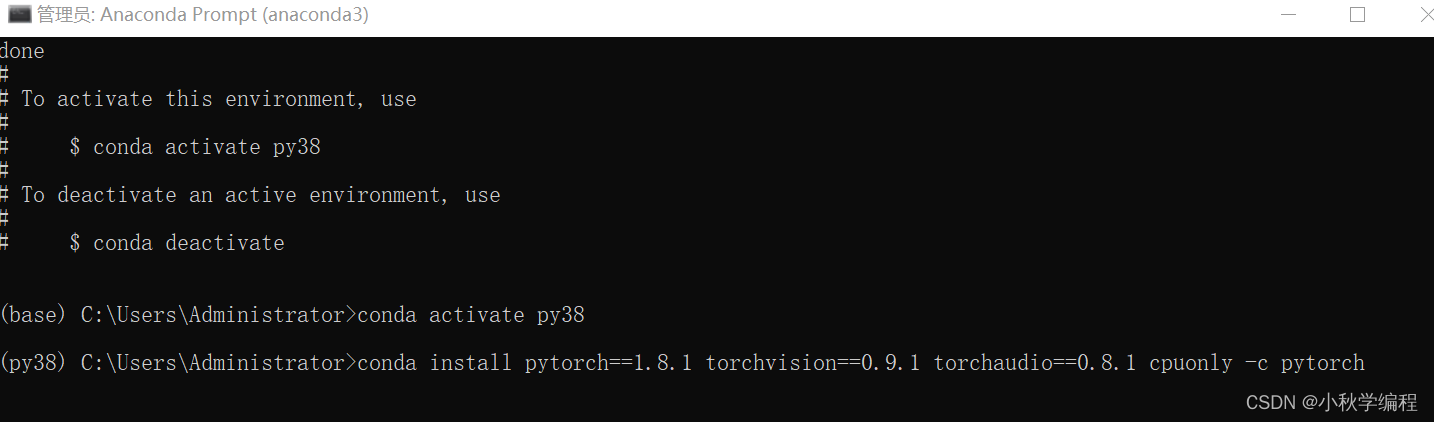
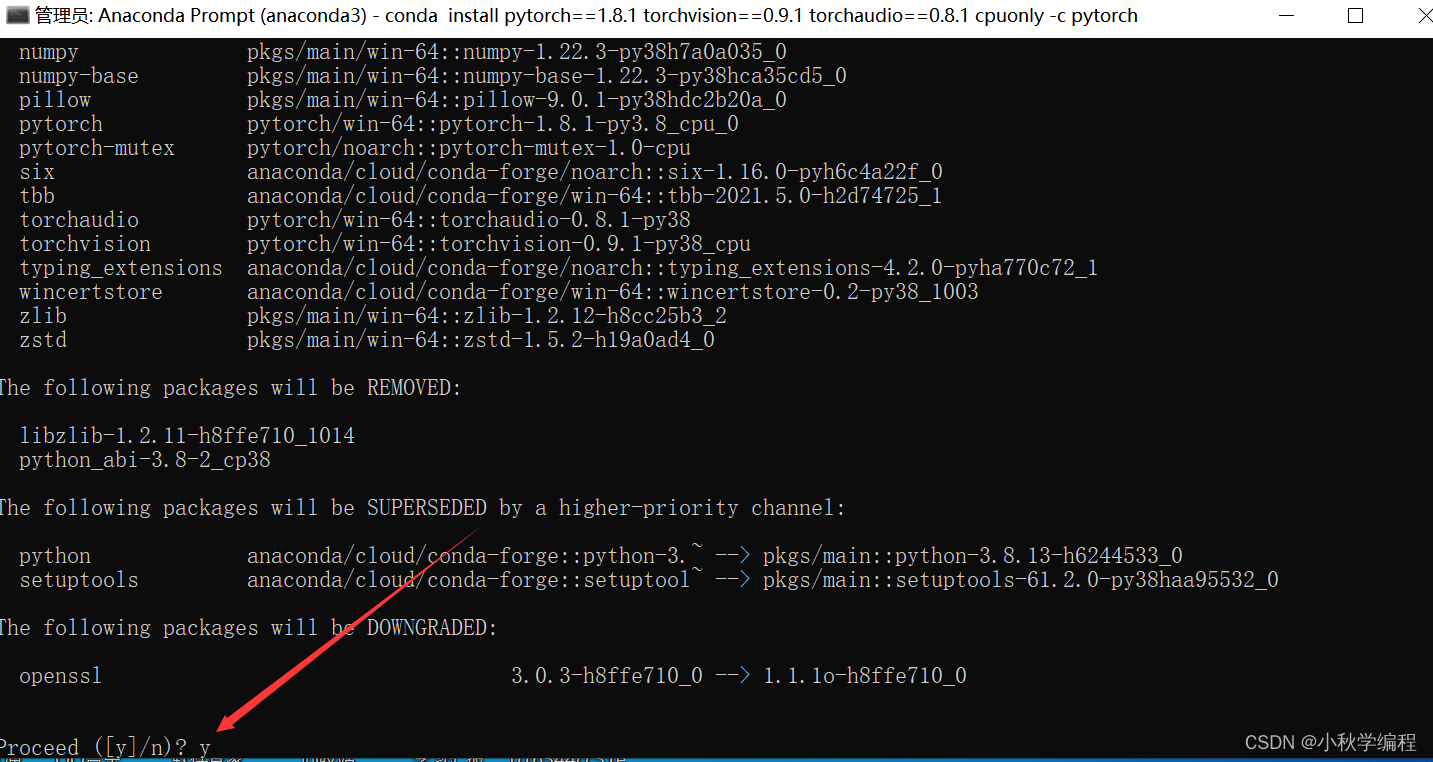
然后回车安装即可,由于我笔记本没有英伟达显卡,这里安装CPU版本的pytorch1.8.1。如下图所示这种情况直接输入小写y后回车即可。安装时间一般会比较久。
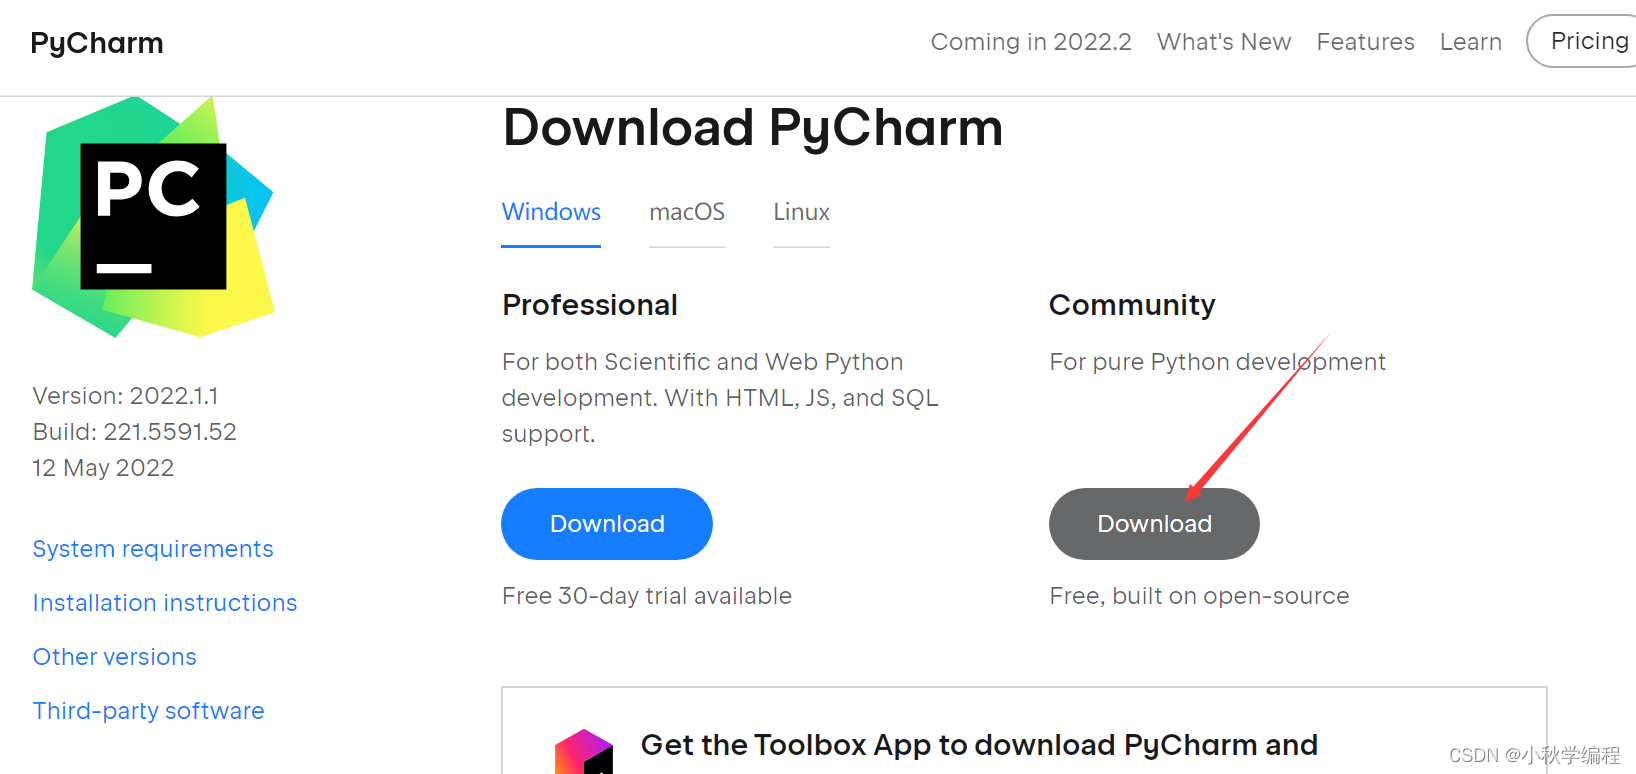
安装pycharm(可以安装其他编辑器如vscode,我个人习惯使用pycharm)
进入pycharm官网,下载社区版安装包:
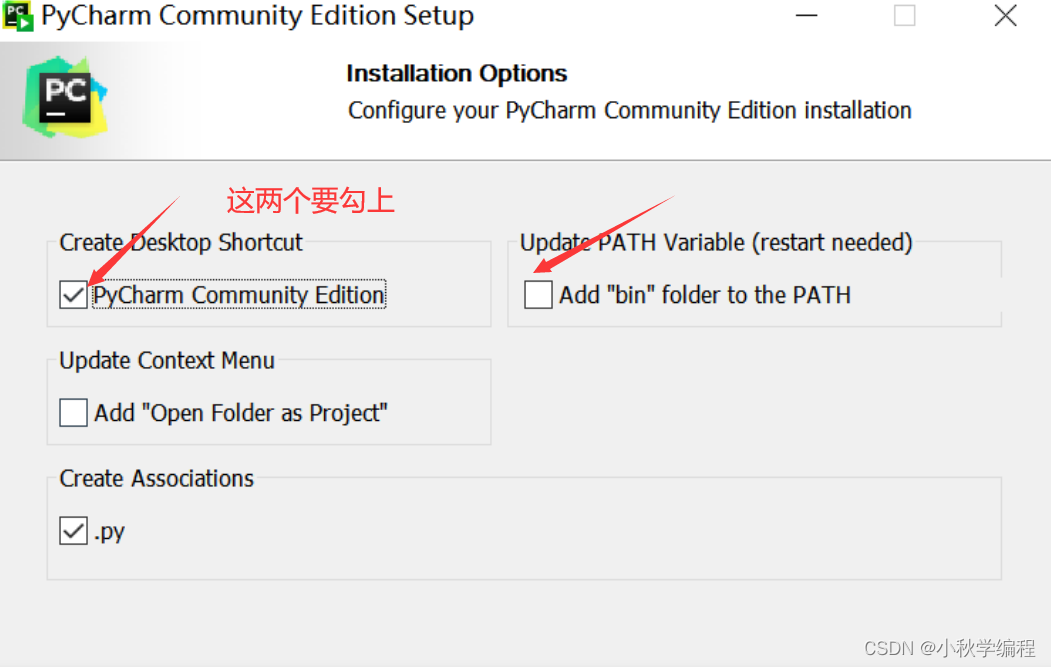
安装包下载完后,右键以管理员身份运行,按默认方式安装即可,需要注意的地方如下:
2、使用训练好的模型进行测试
在pycharm中打开YOLOv5-6.0-bad_fruits项目代码:
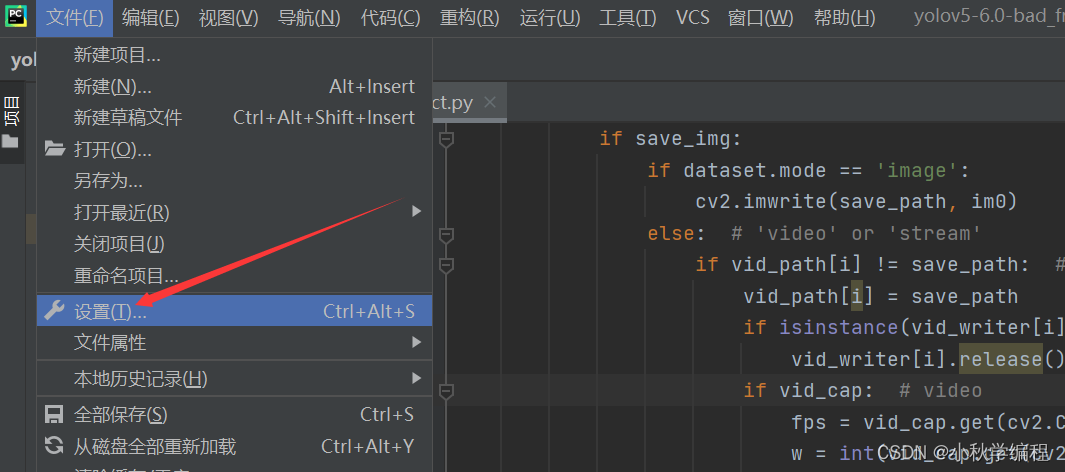
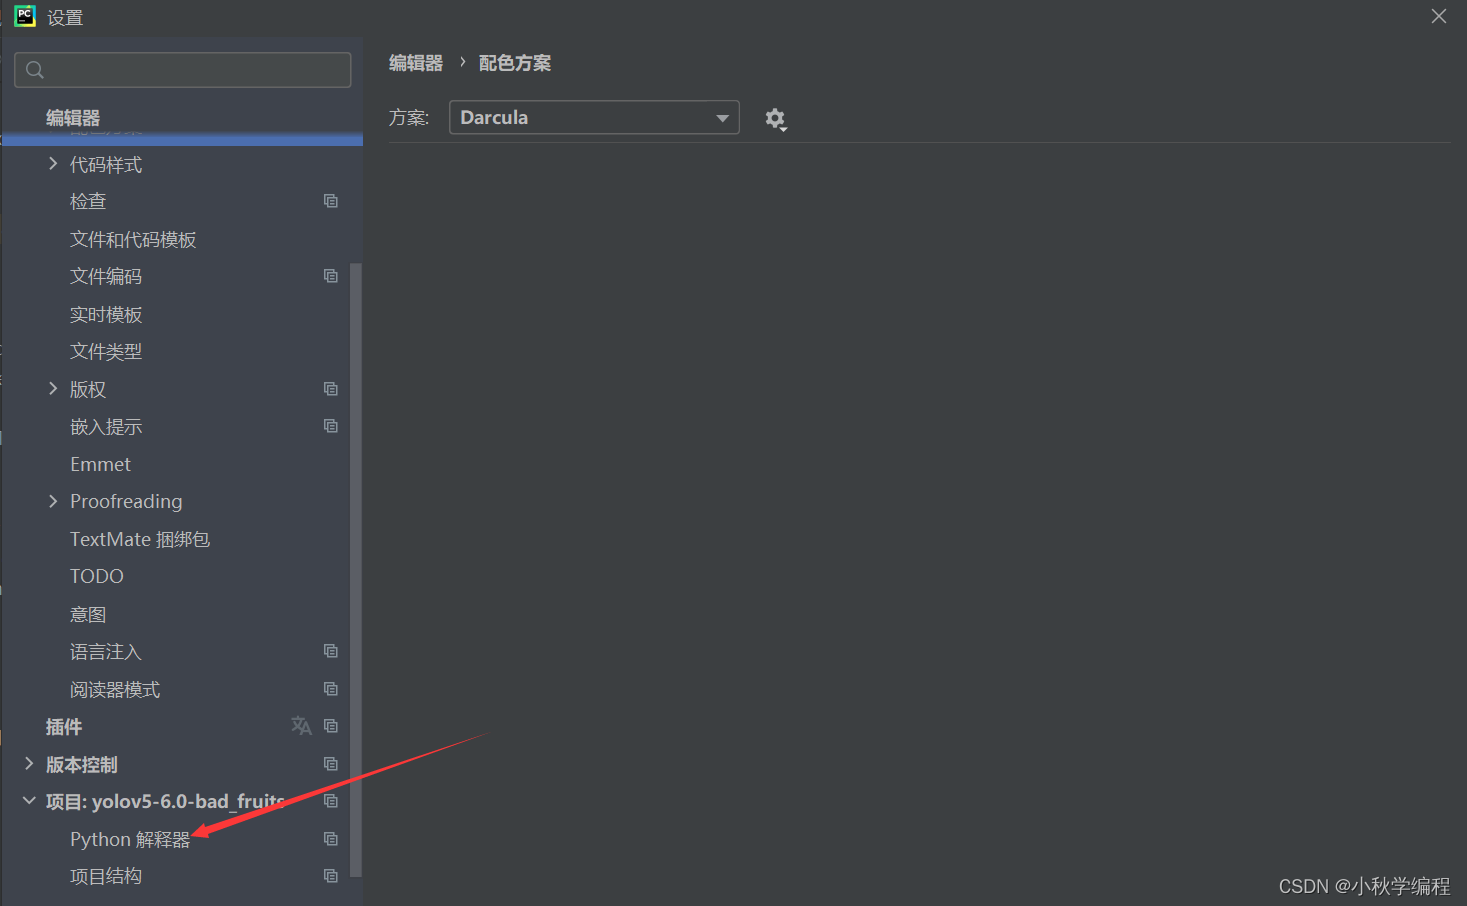
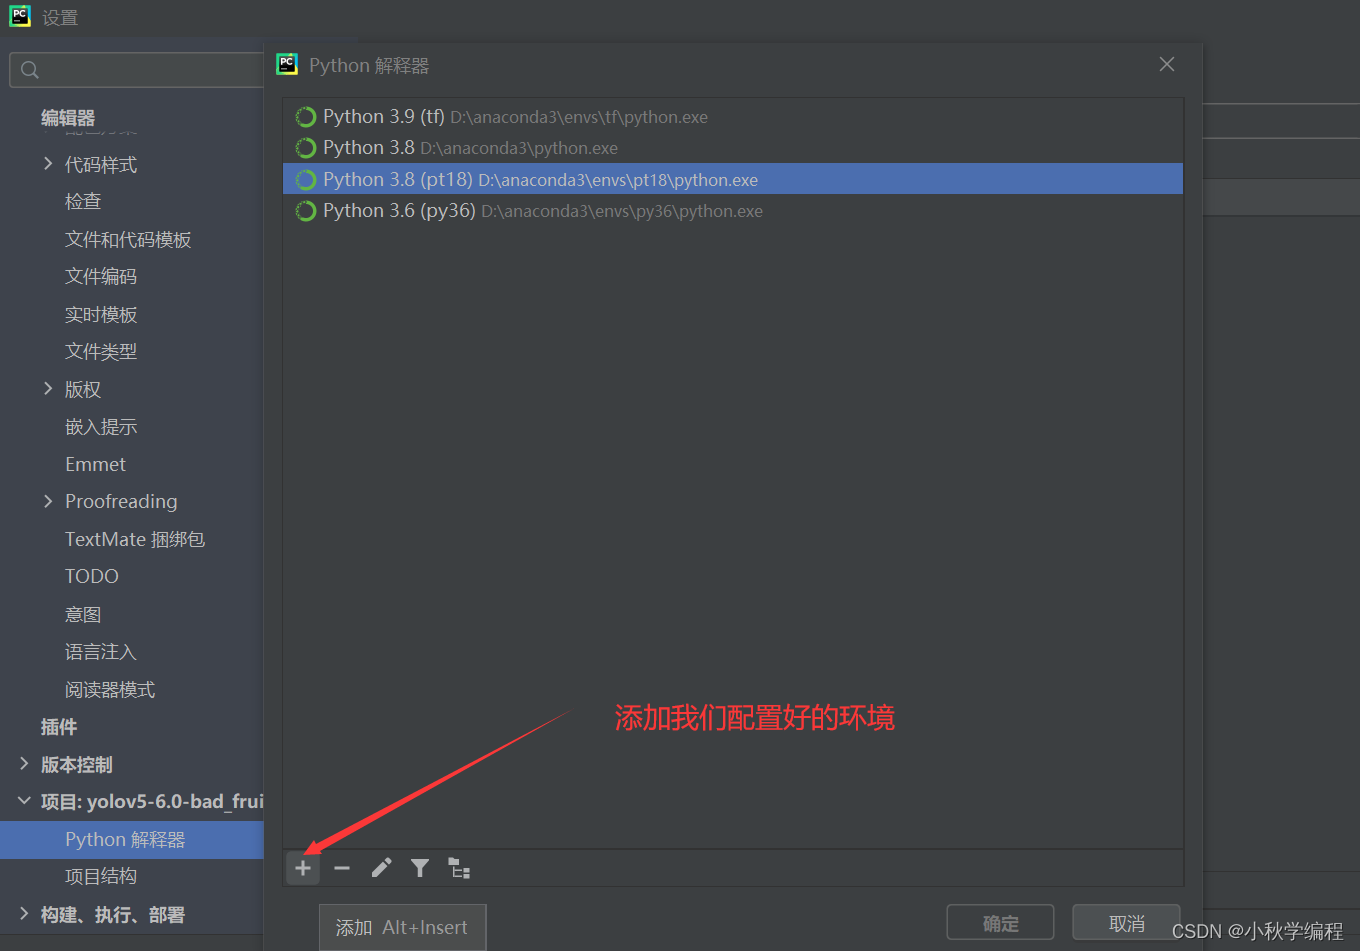
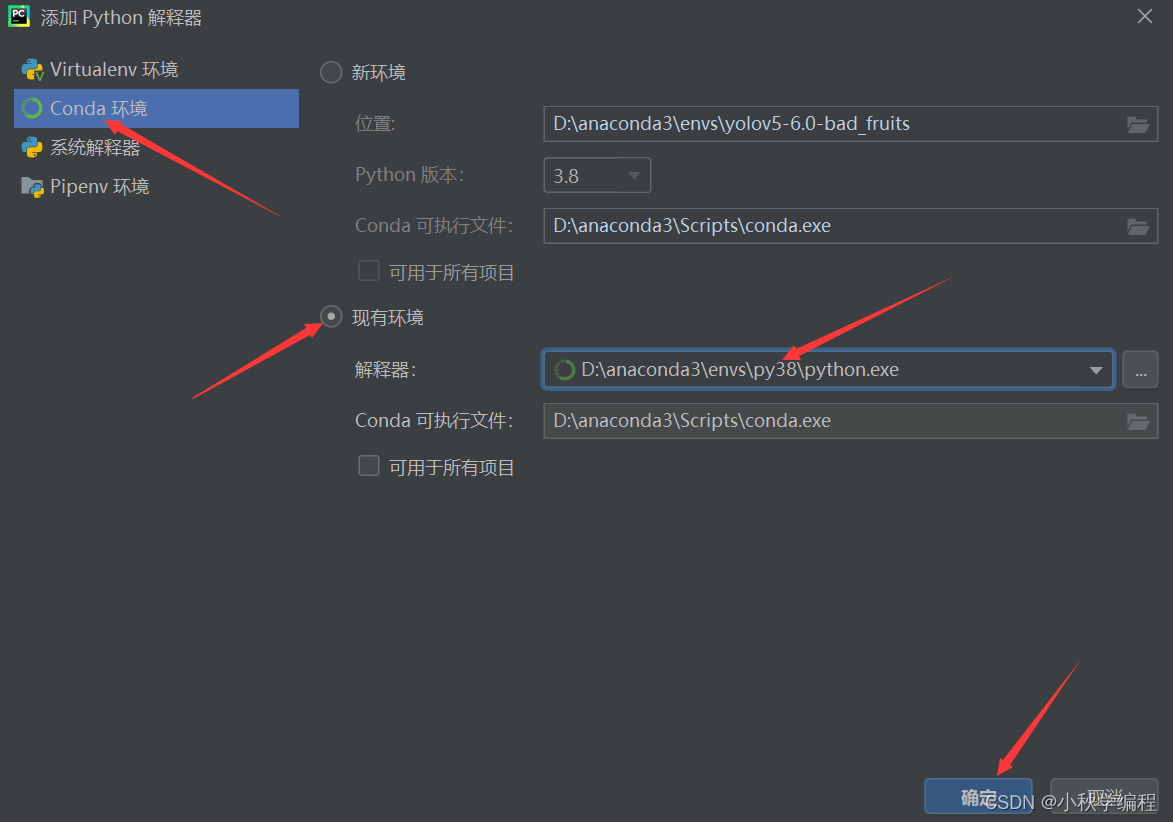
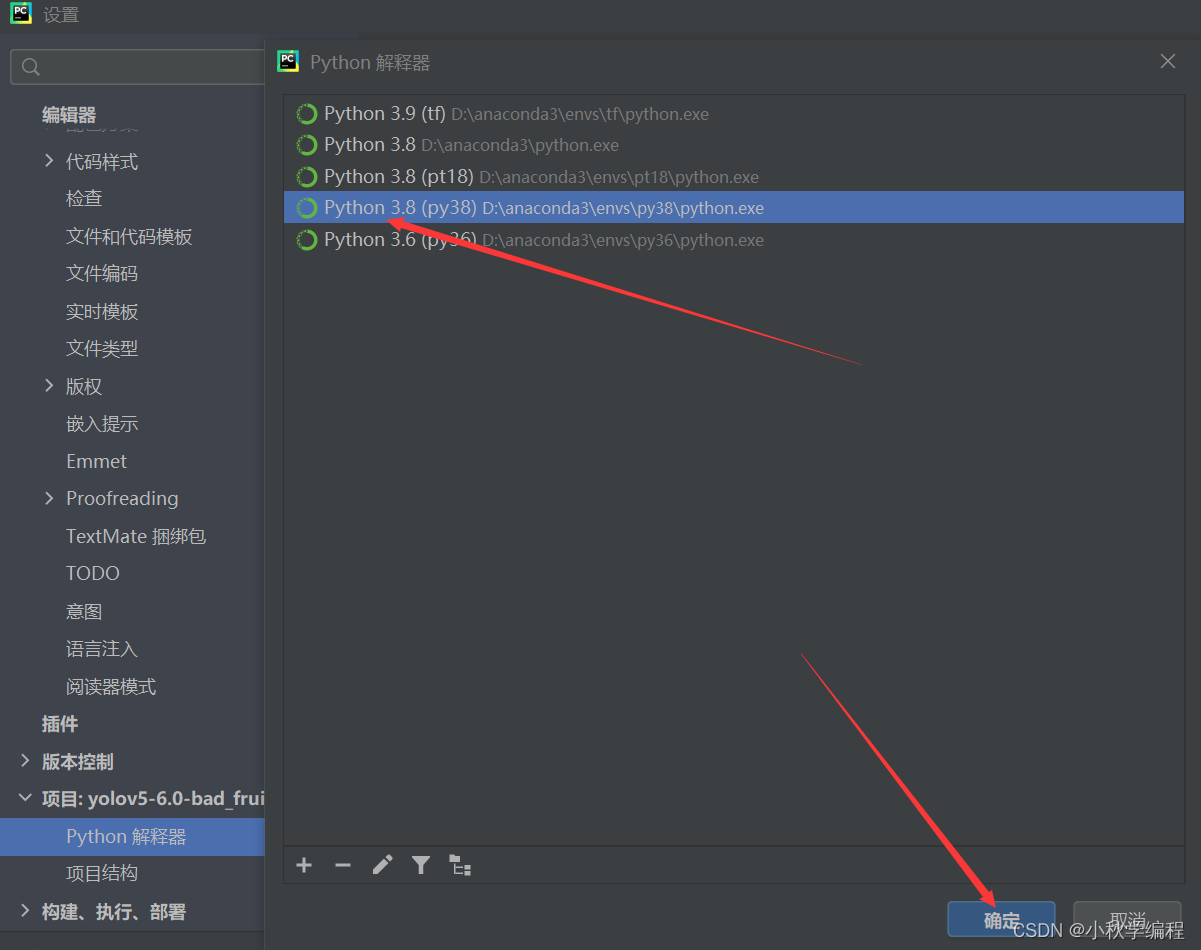
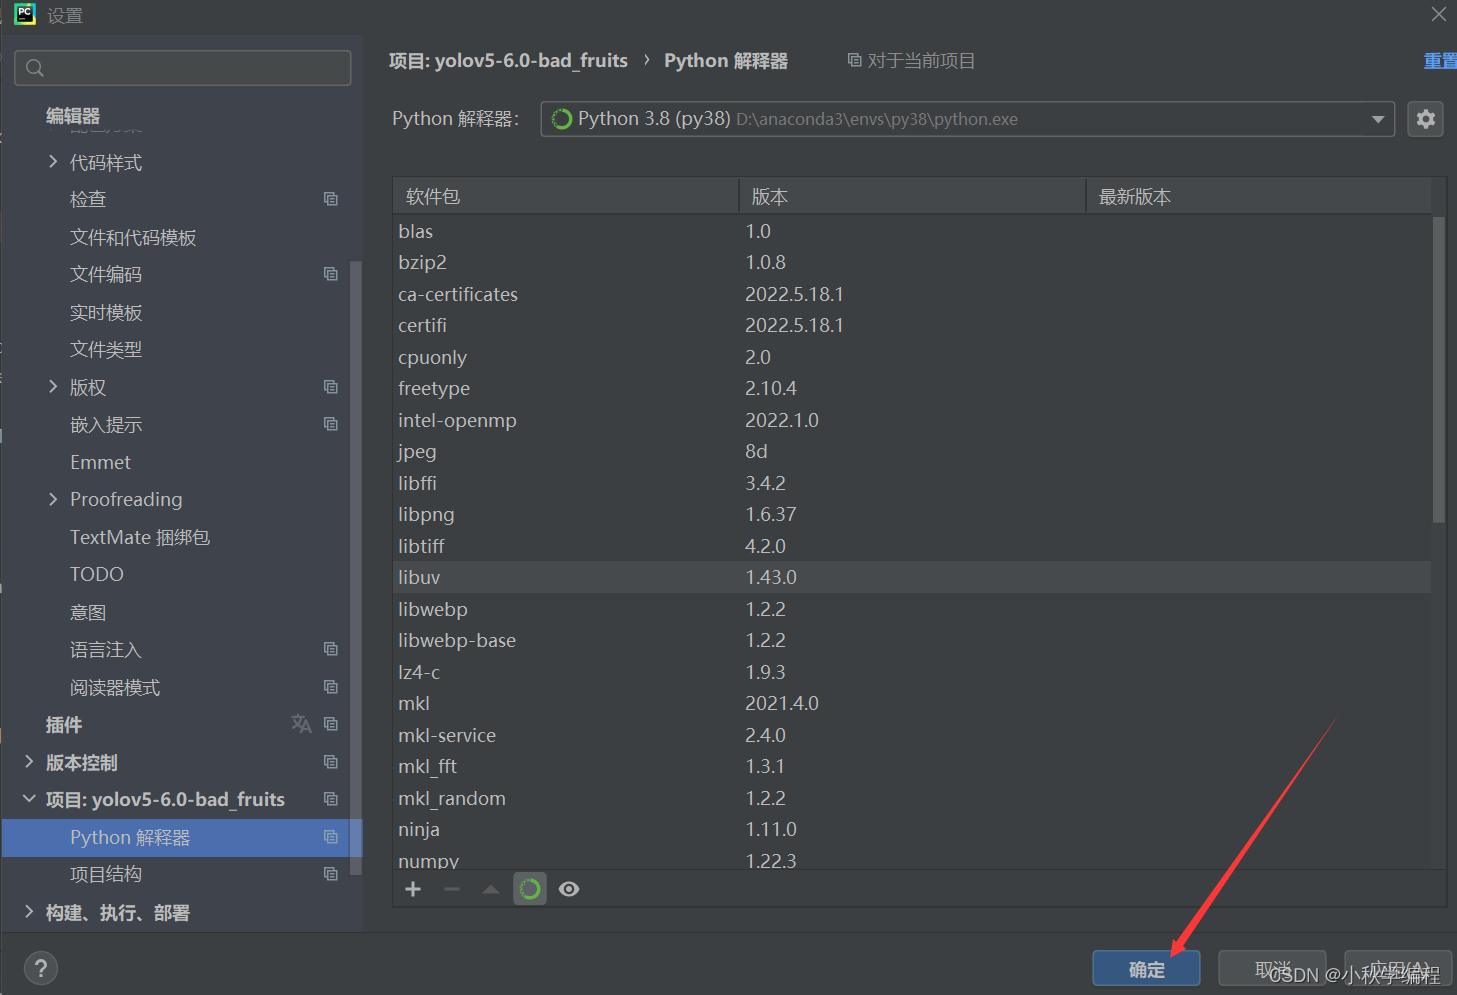
打开后为改项目配置解释器,也就是我们安装好的conda中的py38虚拟环境: 依次选择 文件、设置,


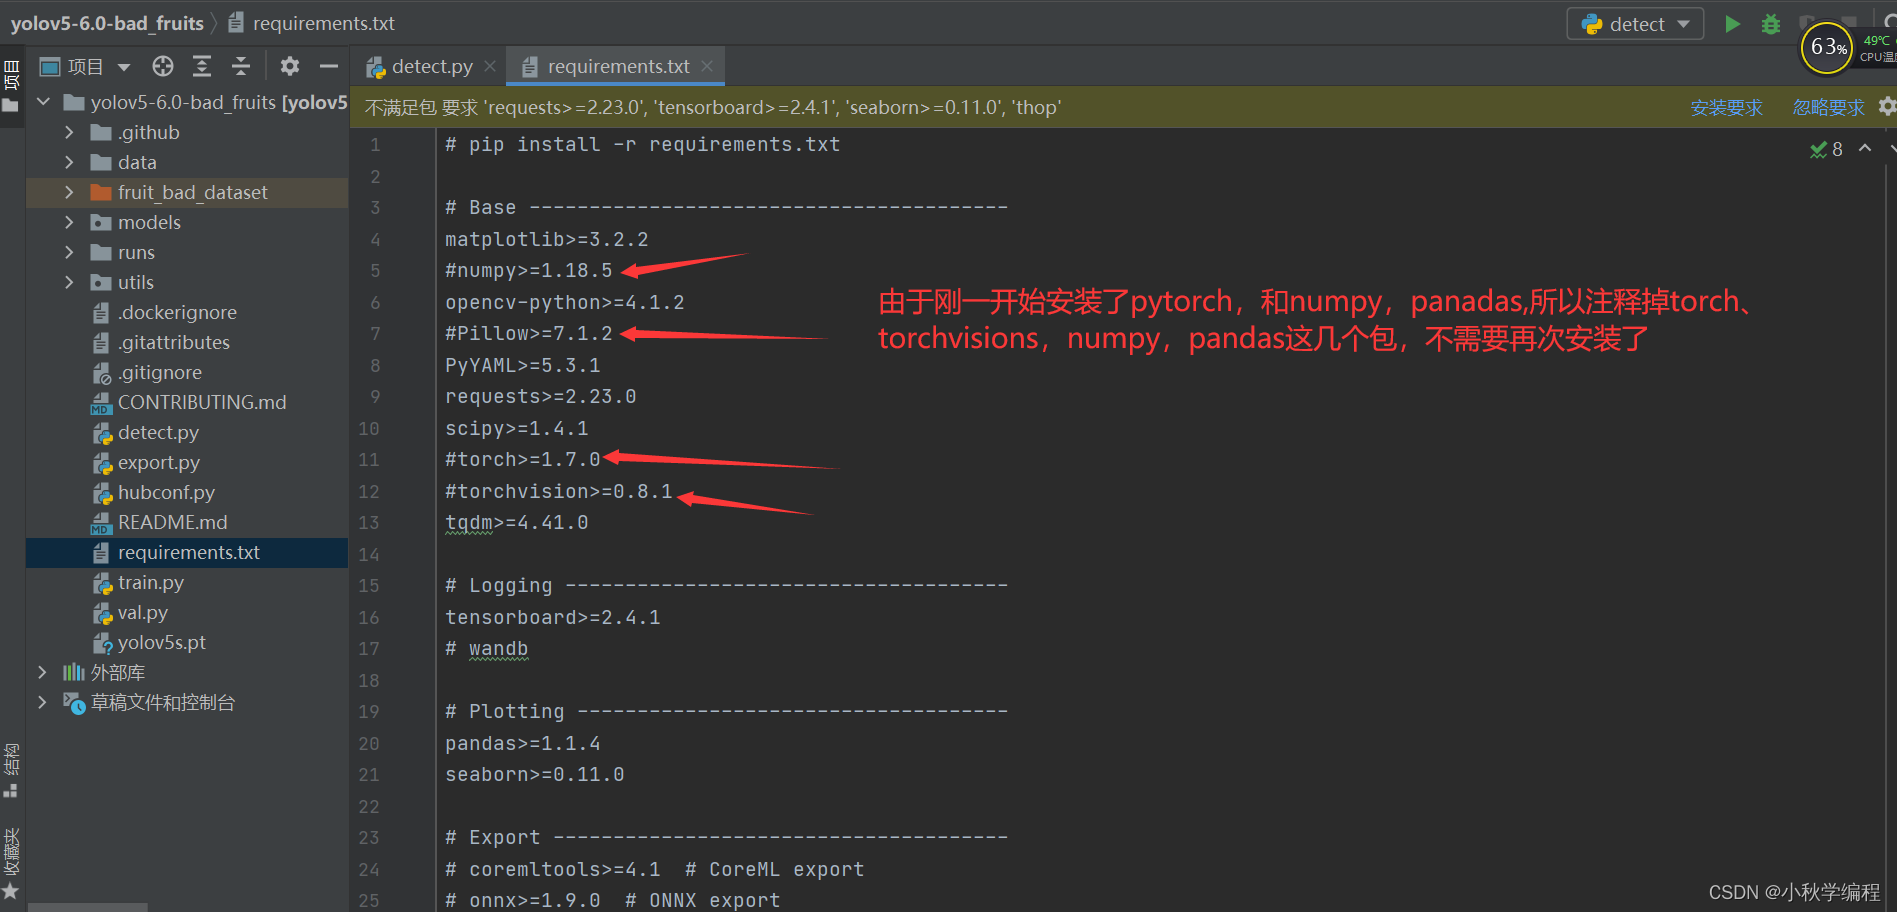
接下来就是在安装YOLOv5所需要的包,打开项目文件夹下的requiremes.txt:
接下来打来pycharm自带终端:

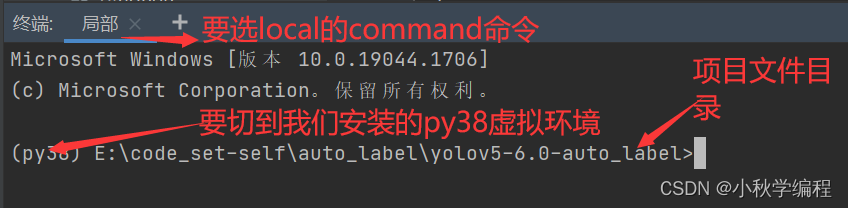
输入命令:
pip install -r requirements.txt安装即可,也可以添加清华源安装加速,则输入:
pip install -r requirements.txt -i https://pypi.tuna.tsinghua.edu.cn/simple
- 1
回车安装即可


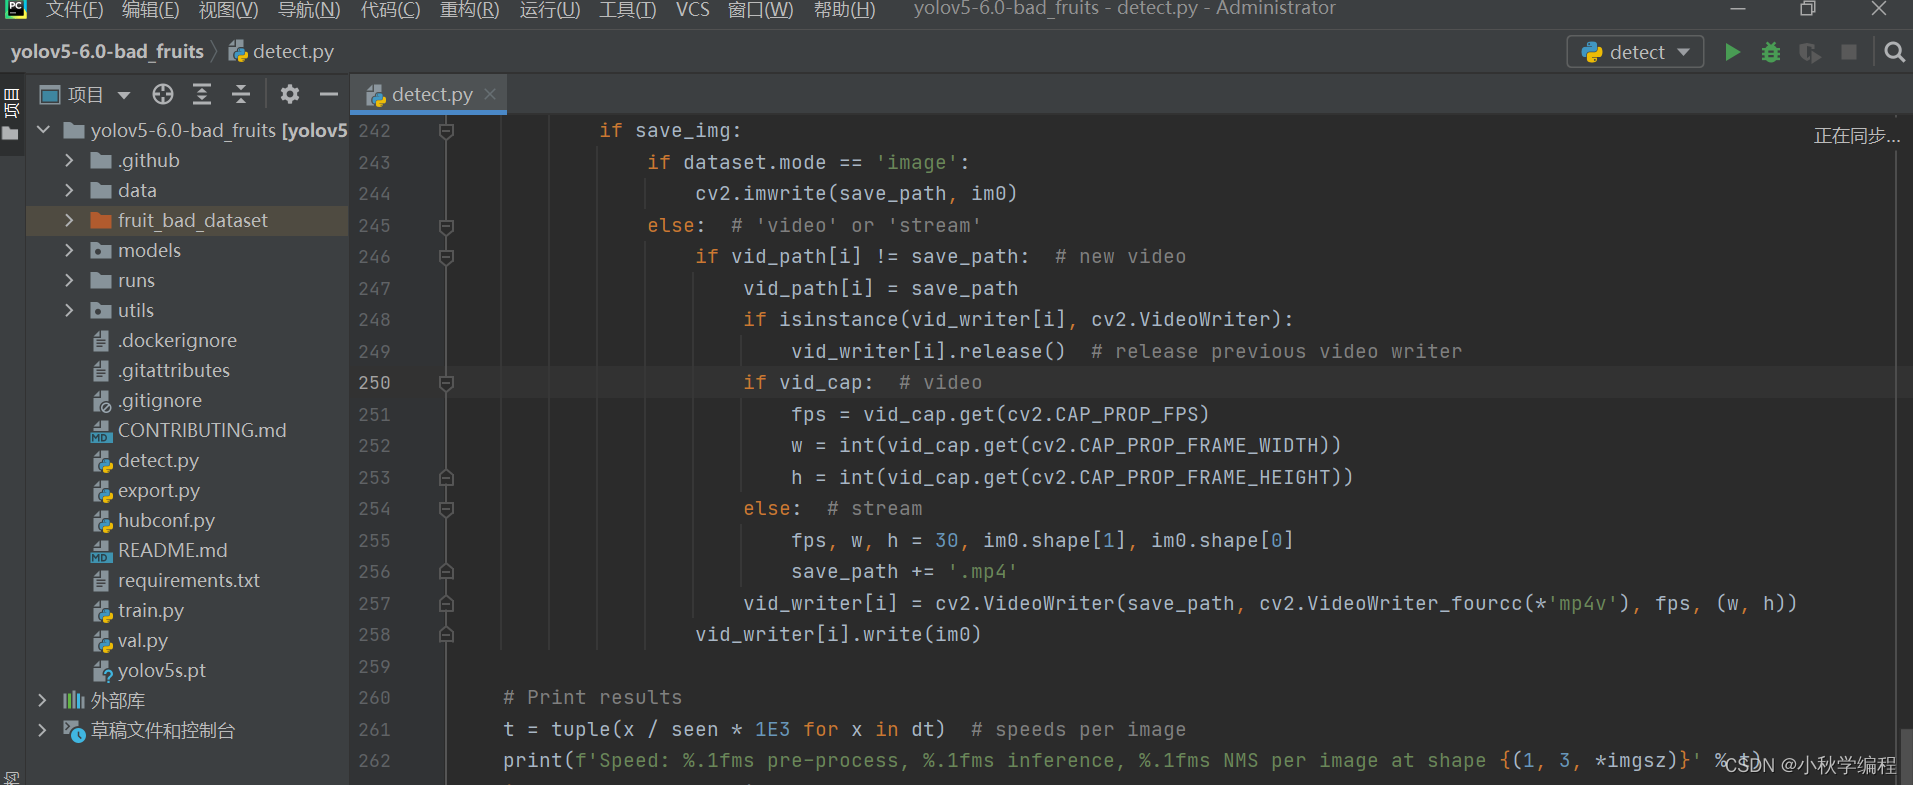
然后使用训练好的权重进行测试,打开
detect.py,首先需要修改参数:
def parse_opt():
    parser = argparse.ArgumentParser()
    parser.add_argument('--weights', nargs='+', type=str, default=ROOT / 'runs/train/bad_fruits-v5s/weights/best.pt', help='model path(s)')
    parser.add_argument('--source', type=str, default=ROOT / './fruit_bad_dataset/images/train', help='file/dir/URL/glob, 0 for webcam')
    parser.add_argument('--imgsz', '--img', '--img-size', nargs='+', type=int, default=[416], help='inference size h,w')
    parser.add_argument('--conf-thres', type=float, default=0.25, help='confidence threshold')
    parser.add_argument('--iou-thres', type=float, default=0.45, help='NMS IoU threshold')
    parser.add_argument('--max-det', type=int, default=1000, help='maximum detections per image')
    parser.add_argument('--device', default='', help='cuda device, i.e. 0 or 0,1,2,3 or cpu')
    parser.add_argument('--view-img', action='store_true', help='show results')
    parser.add_argument('--save-txt', action='store_true', help='save results to *.txt')
    parser.add_argument('--save-conf', action='store_true', help='save confidences in --save-txt labels')
    parser.add_argument('--save-crop', action='store_true', help='save cropped prediction boxes')
    parser.add_argument('--nosave', action='store_true', help='do not save images/videos')
    parser.add_argument('--classes', nargs='+', type=int, help='filter by class: --classes 0, or --classes 0 2 3')
    parser.add_argument('--agnostic-nms', action='store_true', help='class-agnostic NMS')
    parser.add_argument('--augment', action='store_true', help='augmented inference')
    parser.add_argument('--visualize', action='store_true', help='visualize features')
    parser.add_argument('--update', action='store_true', help='update all models')
    parser.add_argument('--project', default=ROOT / 'runs/detect', help='save results to project/name')
    parser.add_argument('--name', default='exp', help='save results to project/name')
    parser.add_argument('--exist-ok', action='store_true', help='existing project/name ok, do not increment')
    parser.add_argument('--line-thickness', default=3, type=int, help='bounding box thickness (pixels)')
    parser.add_argument('--hide-labels', default=False, action='store_true', help='hide labels')
    parser.add_argument('--hide-conf', default=False, action='store_true', help='hide confidences')
    parser.add_argument('--half', action='store_true', help='use FP16 half-precision inference')
    parser.add_argument('--dnn', action='store_true', help='use OpenCV DNN for ONNX inference')
    opt = parser.parse_args()
    opt.imgsz *= 2 if len(opt.imgsz) == 1 else 1  # expand
    print_args(FILE.stem, opt)
    return opt

- 1
- 2
- 3
- 4
- 5
- 6
- 7
- 8
- 9
- 10
- 11
- 12
- 13
- 14
- 15
- 16
- 17
- 18
- 19
- 20
- 21
- 22
- 23
- 24
- 25
- 26
- 27
- 28
- 29
- 30
- 31
如检测单张图片或者视频,可以在运行过程展示结果:
步骤如下:
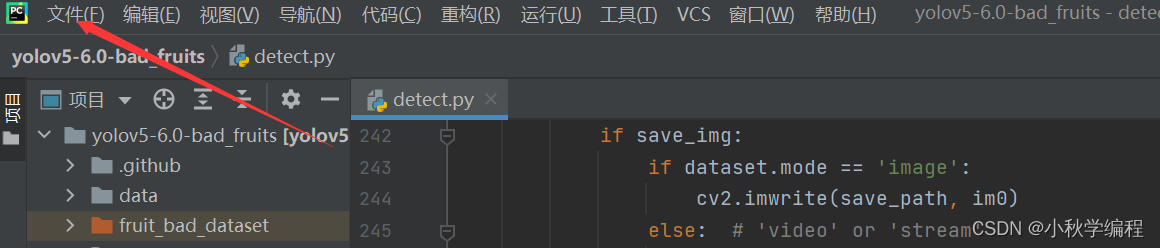
然后右键运行detect.py即可:
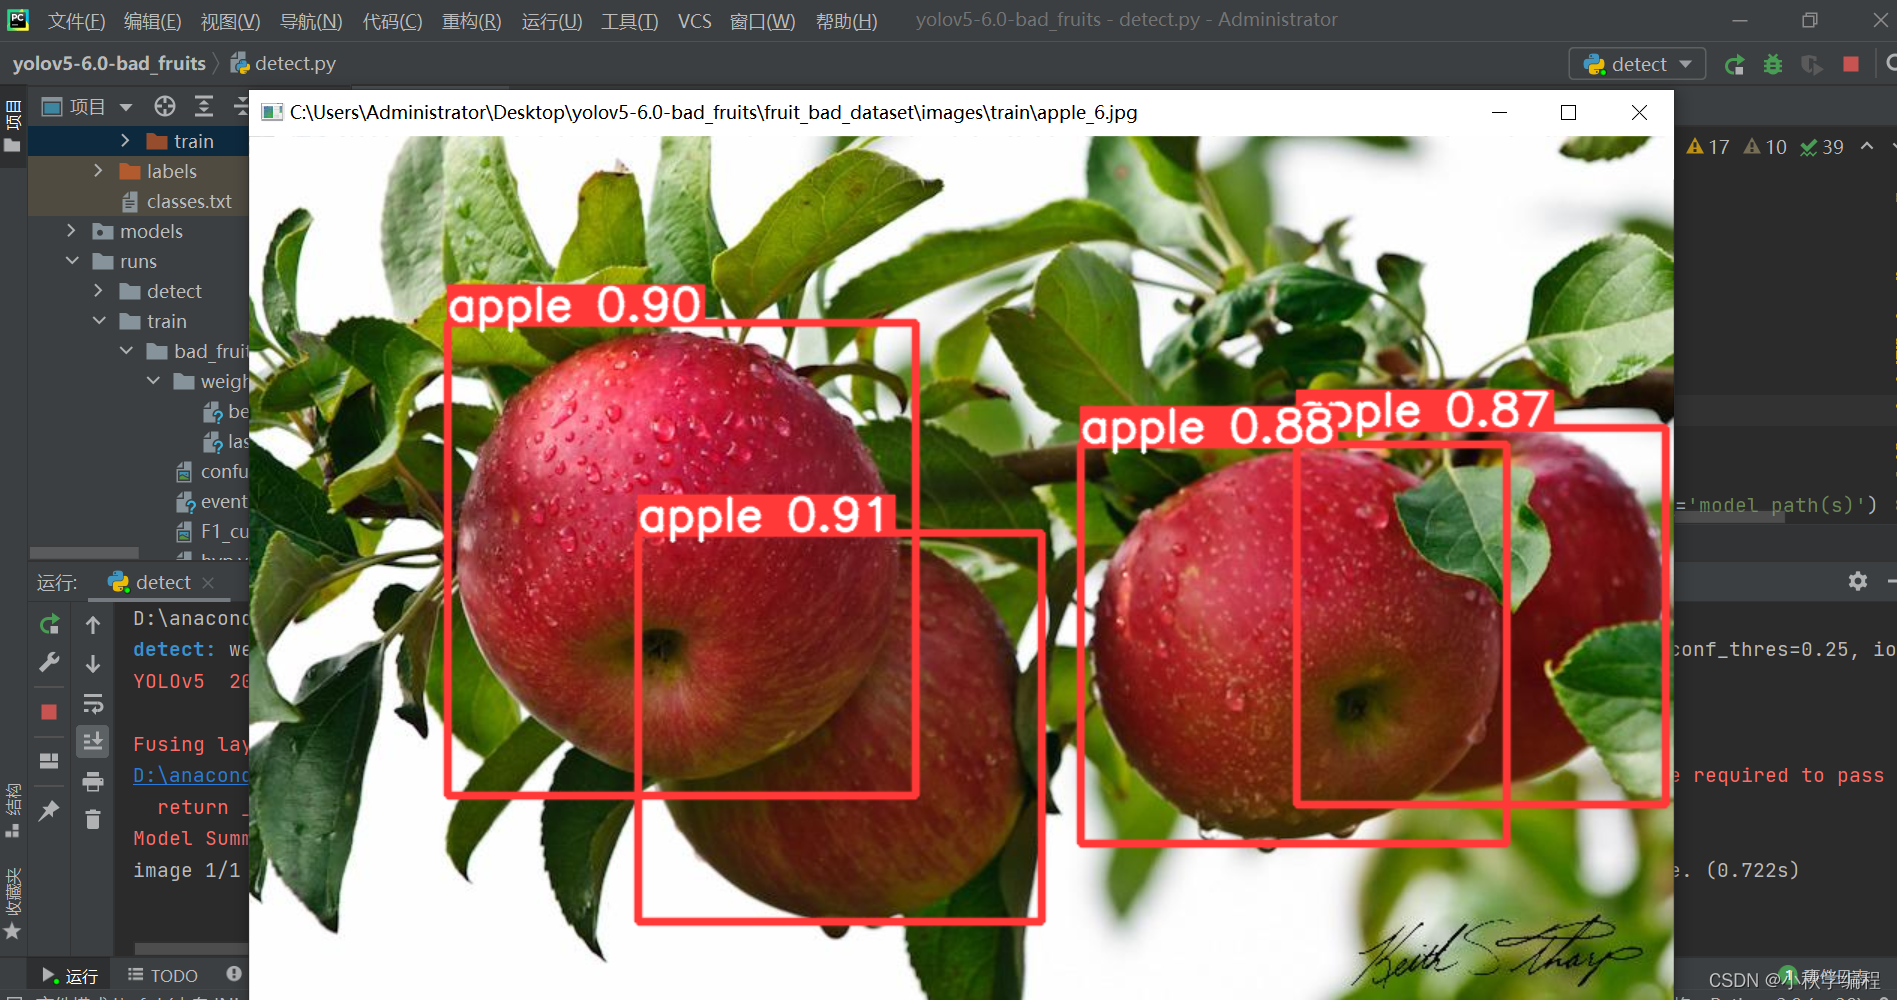
大功告成,结果保存在runs/detect文件夹下

