热门标签
热门文章
- 1GAMES101作业4-贝塞尔曲线&OpenCV图像处理_图像rgb的曲线是贝塞尔曲线么
- 2LeetCode专题:滑动窗口(持续更新,已更17题)_滑动窗口 leetcode
- 3RAD-NeRF: Real-time Neural Talking Portrait Synthesis
- 4开源离线语音识别输入工具CapsWriter v1.0——支持无限时长语音、音视频文件转录字幕。
- 5使用adb命令打开MTKlog方法_adb打开mrklog
- 6SAP MAC GUI750安装过程_sap750安装步骤
- 7websocket python3 poll实现_Python实现websocket
- 8{txt-to-video}——文本转视频思路_txt_to_video
- 9linux网络服务学习(1):nfs
- 10目标检测——PP-YOLOE-R算法解读
当前位置: article > 正文
手摸手,教你封装一个快捷的Axios_手写axios封装
作者:笔触狂放9 | 2024-03-15 03:08:25
赞
踩
手写axios封装
手摸手,教你封装一个快捷的Axios
一、Axios 基本用法
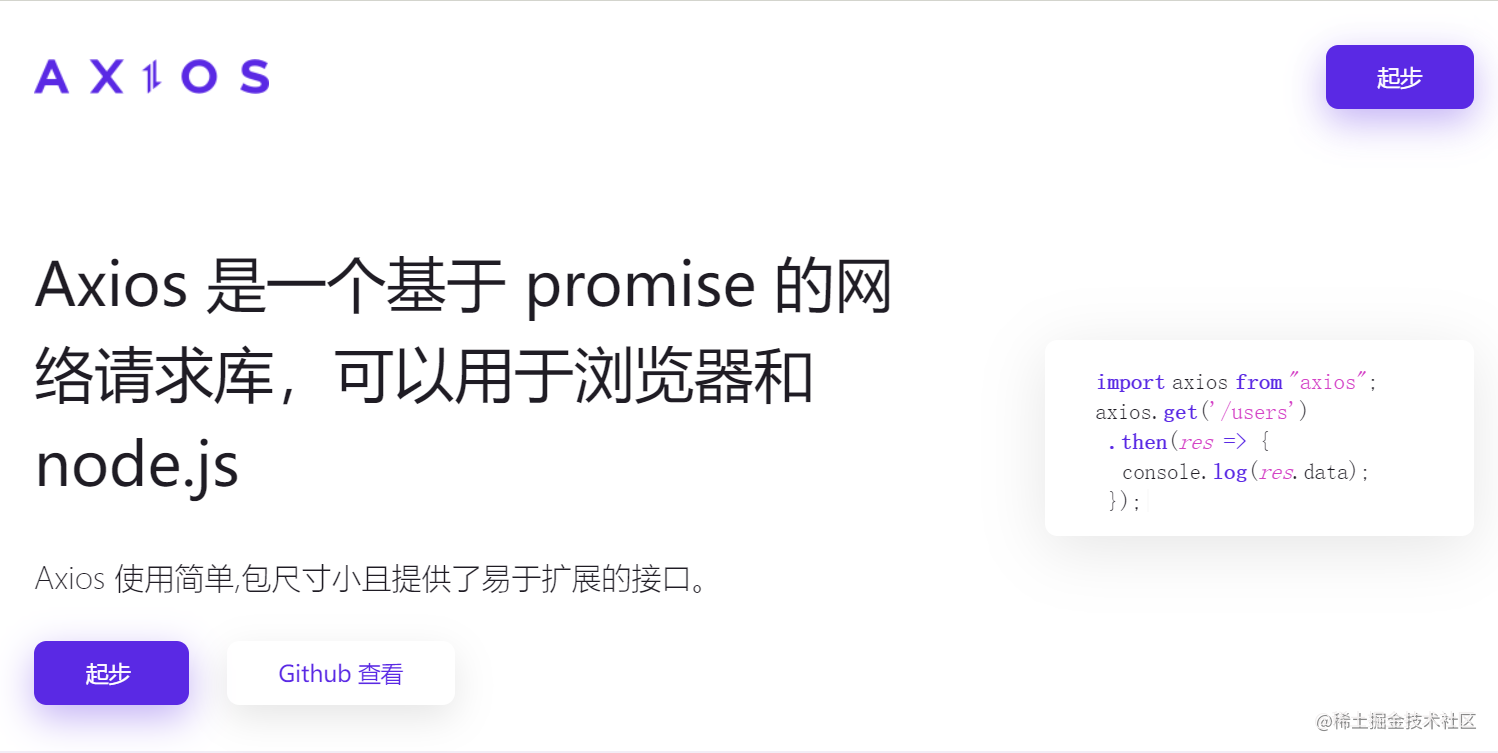
相信大家对于Aixos都非常熟悉,一个基于promise的网络请求库。

1.可以使用以下命令将Axios下载到项目中:
npm:
$ npm install axios
- 1
yarn:
$ yarn add axios
- 1
- 在项目的
main.js中引入Axios
import axios from 'axios'
- 1
- 发起一个请求
axios.post('/user', { firstName: 'Fred', lastName: 'Flintstone' })
    .then(function (response) {
        console.log(response);
        })
        // 错误捕捉
    .catch(function (error) {
        console.log(error);
    });
- 1
- 2
- 3
- 4
- 5
- 6
- 7
- 8
这样发一次请求需要写一次请求过于费时,那么我们来封装一个公用的 Axios 工具函数
二、封装 Axios
- 首先在公用方法的的js(ts)文件中导入
Axios
import axios, { type Method } from 'axios'
- 1
2.封装 (注意看代码注释)
// 导出一个 request 方法供使用
// 传入三个参数 1. 请求地址 2.请求方法  3. 请求参数(可空)
export const request  = (url:string,method:Method = 'GET',submitData?:object) => {

// 返回 request 方法,参数传入的参数
  return instance.request({
    url,
    method,
    // [] 代表参数可空 判断是否为 Get 请求
    [method.toUpperCase() === 'GET' ? 'params' :'data']:submitData
  })
}
- 1
- 2
- 3
- 4
- 5
- 6
- 7
- 8
- 9
- 10
- 11
- 12
3.使用
request('user/userList', 'get', { pageTotal:10 } )
    .then((res)=> {
        console.log('请求成功',res)
    })
    .catch((err)=> {
        console.log('请求失败',err)
    })
- 1
- 2
- 3
- 4
- 5
- 6
- 7
- 8
声明:本文内容由网友自发贡献,不代表【wpsshop博客】立场,版权归原作者所有,本站不承担相应法律责任。如您发现有侵权的内容,请联系我们。转载请注明出处:https://www.wpsshop.cn/w/笔触狂放9/article/detail/238638
推荐阅读
相关标签


