- 1SPSS软件实操——ARIMA时间序列预测模型_spss时间序列分析arima预测
- 2机器学习笔记(吴恩达)_吴恩达机器学习笔记
- 3聚集十二罗汉,探索宇宙本质,马斯克神秘的xAI
- 4Ubuntu下全命令行部署Android模拟器_ubuntu android模拟器
- 5java 捕获kill_java捕获kill信号来处理程序信息例子
- 6置信区间与显著性水平_置信 区间下执行项目分析,发现所有题项的均值差异显著
- 7ArkTS-DevEco Studio打开预览器报错_failed to start the service process. make sure the
- 8【SQL语句】创建数据库 建表操作_sql语句创建数据库表
- 9【Python】进阶学习:计算一个人BMI(身体质量指数)指数
- 10Windows电脑安装Linux(Ubuntu 22.04)系统(图文并茂)_ubuntu系统安装教程图解
【Kaggle】Kaggle数据集如何使用命令语句下载?_kaggle数据集下载
赞
踩
一、Kaggle数据集如何下载
1.1 问题的起因
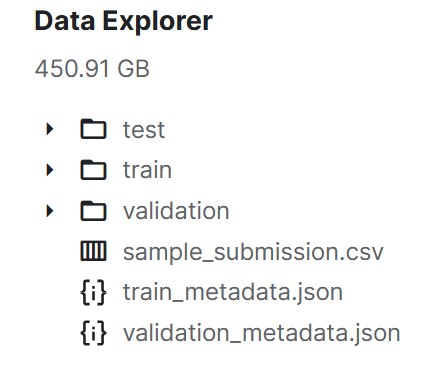
最近看到了 Google 组织的 Kaggle 比赛,想自己试一下,但是数据集太大了,将近有370G的数据。直接下载的话,网速太慢,可能要下载3-4天,所以萌生了用命令语句下载的想法。

1.2 解决方法
一开始的想法简单粗暴,直接 wget 浏览器获取到的链接,然后在服务器上直接 wget,结果一试,果然不行。
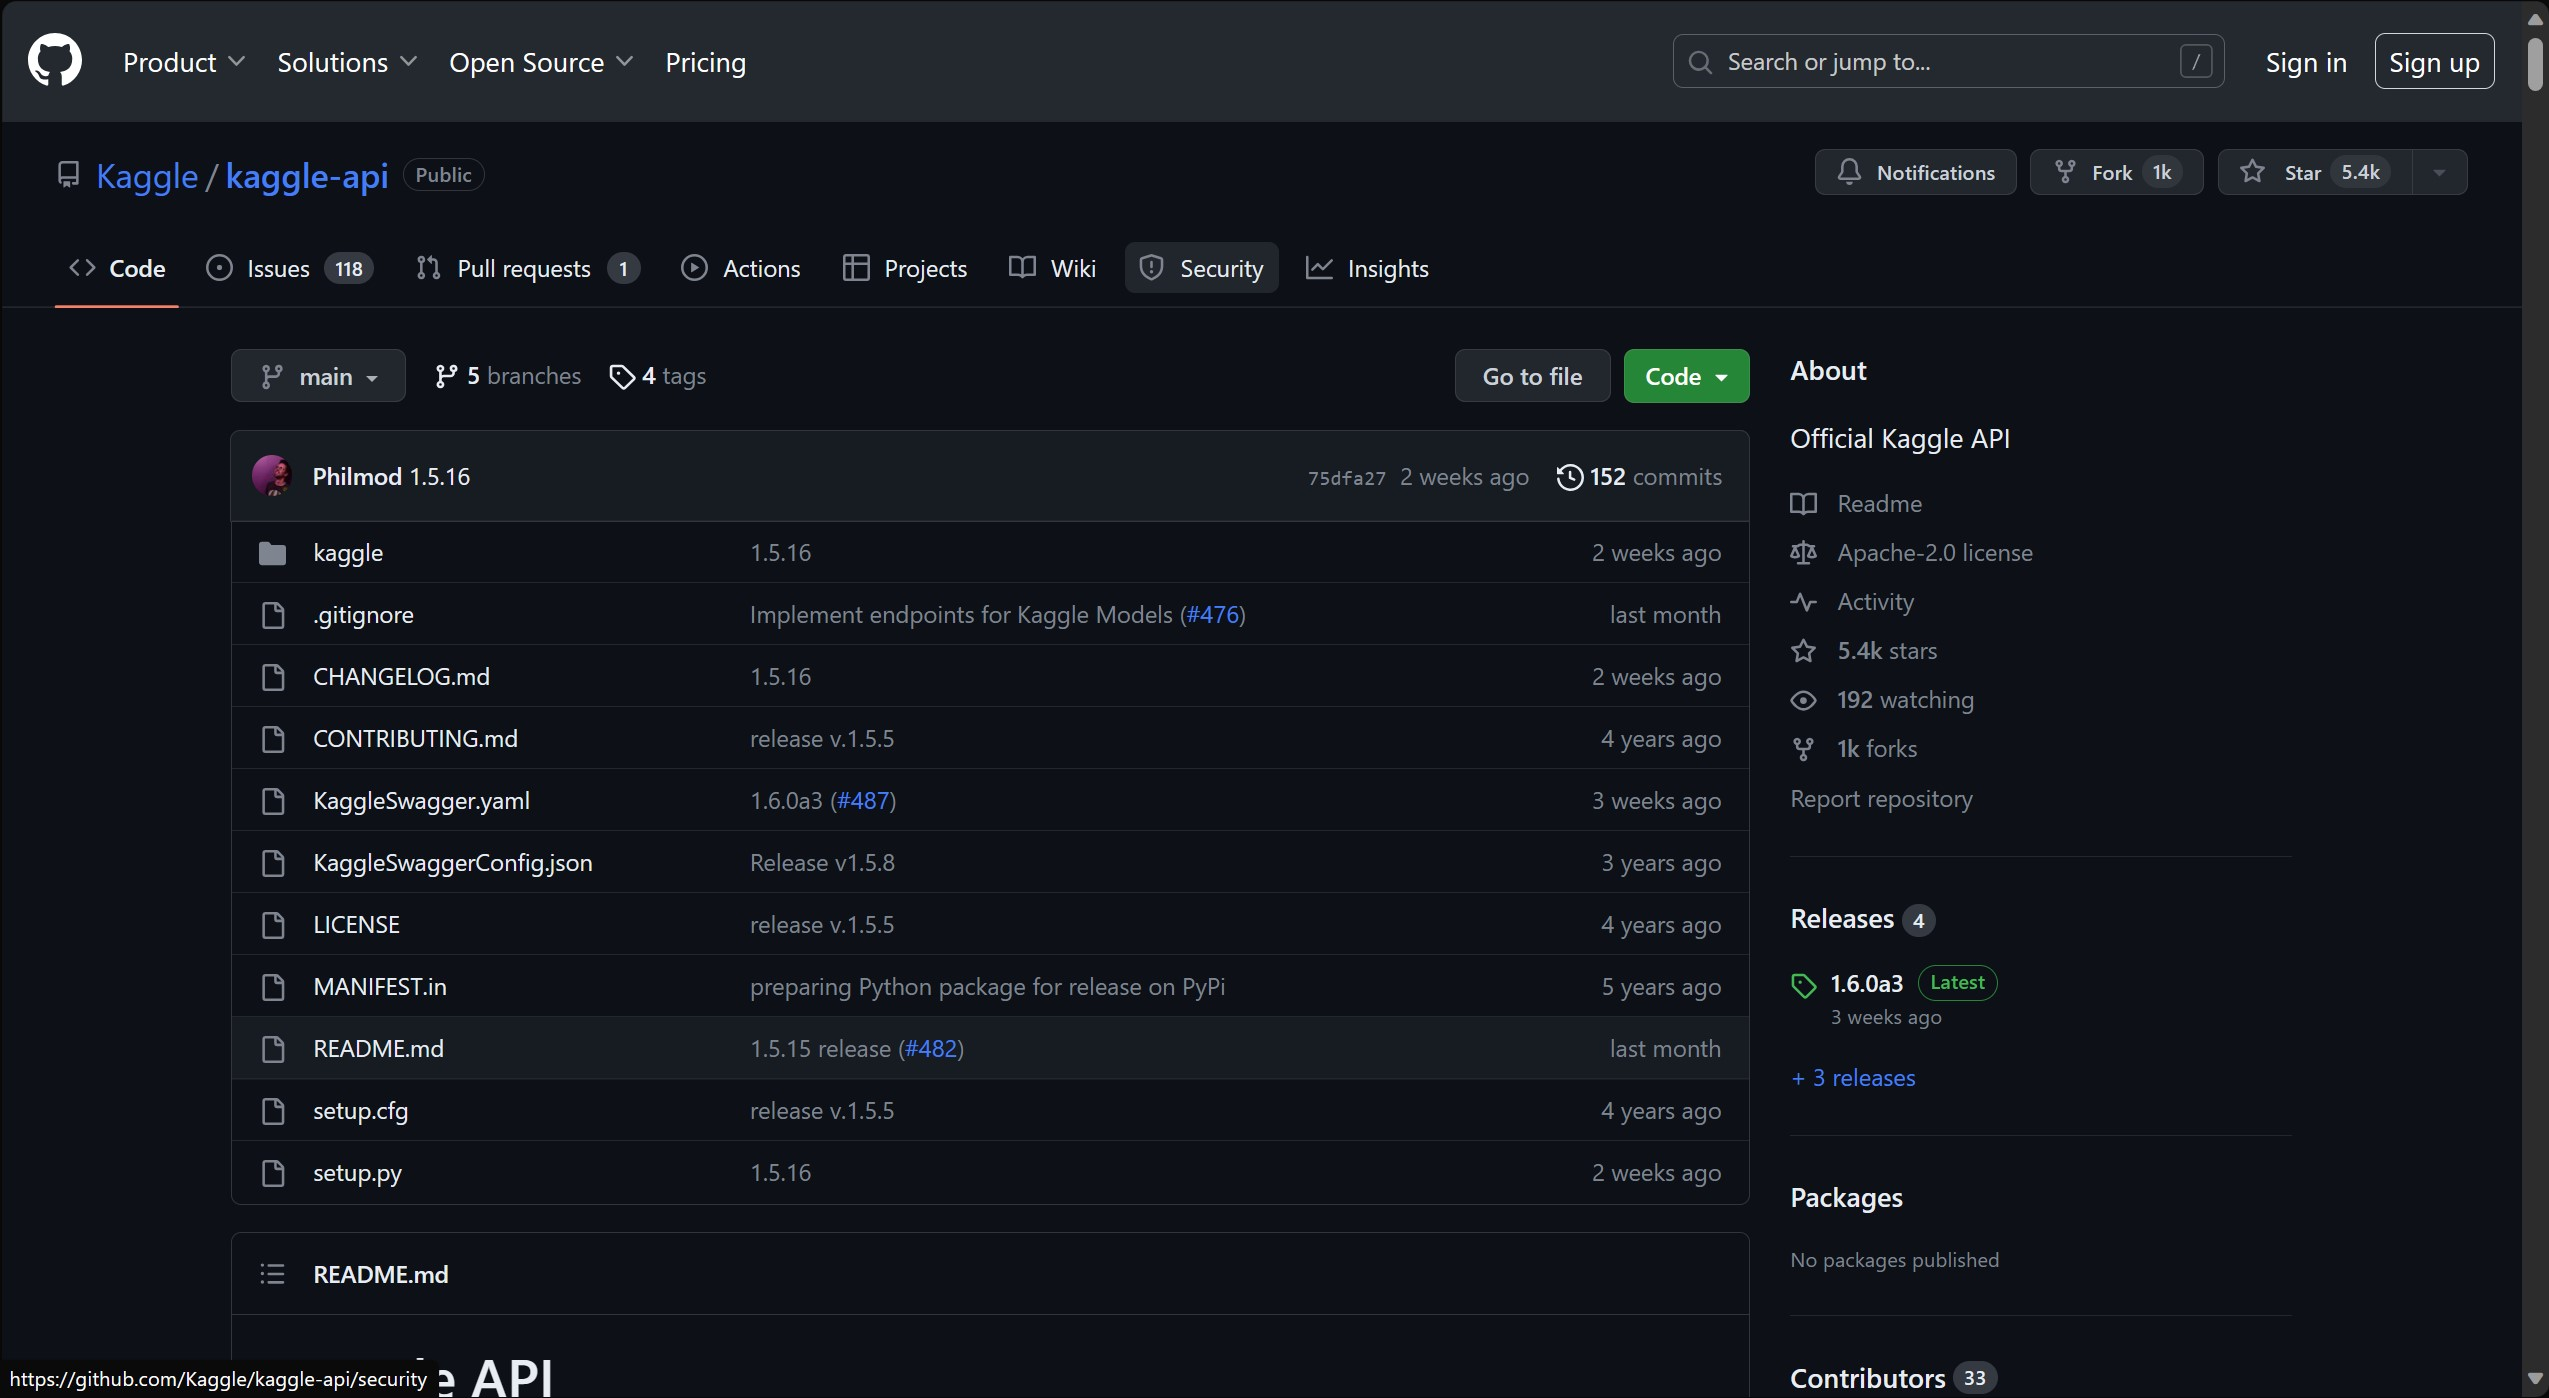
然后就搜索了下,发现官方提供了下载的命令行工具,直接pip安装之后就可用。
https://github.com/Kaggle/kaggle-api
- 1

下面就写一下自己总结的关键步骤。
1.2.1 安装 Kaggle API
确保您已安装 Python 和包管理器 pip。 运行以下命令以使用命令行访问 Kaggle API:
pip install kaggle
- 1
可能需要在 Mac/Linux 上执行:
pip install --user kaggle
- 1
如果在安装过程中出现问题,建议执行此操作。
通过 root 用户完成的安装(即 sudo pip install kaggle)将无法正常工作除非你明白你在做什么。 即使这样,它们仍然可能无法工作。
如果出现权限错误,强烈建议用户安装。
如果您遇到 kaggle: command not found 错误,请确保您的 Python 二进制文件位于您的路径上。
您可以通过执行 pip uninstall kaggle 并查看二进制文件的位置来查看 kaggle 的安装位置。
-
对于 Linux 上的本地用户安装,默认位置是 ~/.local/bin;
-
在 Windows 上,默认位置是 $PYTHON_HOME/Scripts。
我是在 Windows 上运行的:
pip install kaggle
- 1
我们的输出为:
(PyTorch) F:\kaggle>pip install kaggle
Collecting kaggle
  Downloading kaggle-1.5.16.tar.gz (83 kB)
     ━━━━━━━━━━━━━━━━━━━━━━━━━━━━━━━━━━━━━━━━ 83.6/83.6 kB 130.5 kB/s eta 0:00:00
  Preparing metadata (setup.py) ... done
Requirement already satisfied: six>=1.10 in d:\anaconda\envs\pytorch\lib\site-packages (from kaggle) (1.16.0)
Requirement already satisfied: certifi in d:\anaconda\envs\pytorch\lib\site-packages (from kaggle) (2022.12.7)
Requirement already satisfied: python-dateutil in d:\anaconda\envs\pytorch\lib\site-packages (from kaggle) (2.8.2)
Requirement already satisfied: requests in d:\anaconda\envs\pytorch\lib\site-packages (from kaggle) (2.31.0)
Requirement already satisfied: tqdm in d:\anaconda\envs\pytorch\lib\site-packages (from kaggle) (4.65.0)
Collecting python-slugify
  Downloading python_slugify-8.0.1-py2.py3-none-any.whl (9.7 kB)
Requirement already satisfied: urllib3 in d:\anaconda\envs\pytorch\lib\site-packages (from kaggle) (1.26.12)
Requirement already satisfied: bleach in d:\anaconda\envs\pytorch\lib\site-packages (from kaggle) (5.0.1)
Requirement already satisfied: webencodings in d:\anaconda\envs\pytorch\lib\site-packages (from bleach->kaggle) (0.5.1)
Collecting text-unidecode>=1.3
  Downloading text_unidecode-1.3-py2.py3-none-any.whl (78 kB)
     ━━━━━━━━━━━━━━━━━━━━━━━━━━━━━━━━━━━━━━━━ 78.2/78.2 kB 543.3 kB/s eta 0:00:00
Requirement already satisfied: charset-normalizer<4,>=2 in d:\anaconda\envs\pytorch\lib\site-packages (from requests->kaggle) (3.1.0)
Requirement already satisfied: idna<4,>=2.5 in d:\anaconda\envs\pytorch\lib\site-packages (from requests->kaggle) (3.4)
Requirement already satisfied: colorama in d:\anaconda\envs\pytorch\lib\site-packages (from tqdm->kaggle) (0.4.6)
Building wheels for collected packages: kaggle
  Building wheel for kaggle (setup.py) ... done
  Created wheel for kaggle: filename=kaggle-1.5.16-py3-none-any.whl size=110697 sha256=b988a133c1466dda33402c76755602048d45d3e79d6600b04c67842c464b53ec
  Stored in directory: c:\users\xiaowang\appdata\local\pip\cache\wheels\43\4b\fb\736478af5e8004810081a06259f9aa2f7c3329fc5d03c2c412
Successfully built kaggle
Installing collected packages: text-unidecode, python-slugify, kaggle
Successfully installed kaggle-1.5.16 python-slugify-8.0.1 text-unidecode-1.3
- 1
- 2
- 3
- 4
- 5
- 6
- 7
- 8
- 9
- 10
- 11
- 12
- 13
- 14
- 15
- 16
- 17
- 18
- 19
- 20
- 21
- 22
- 23
- 24
- 25
- 26
- 27
- 28
1.2.2 创建token
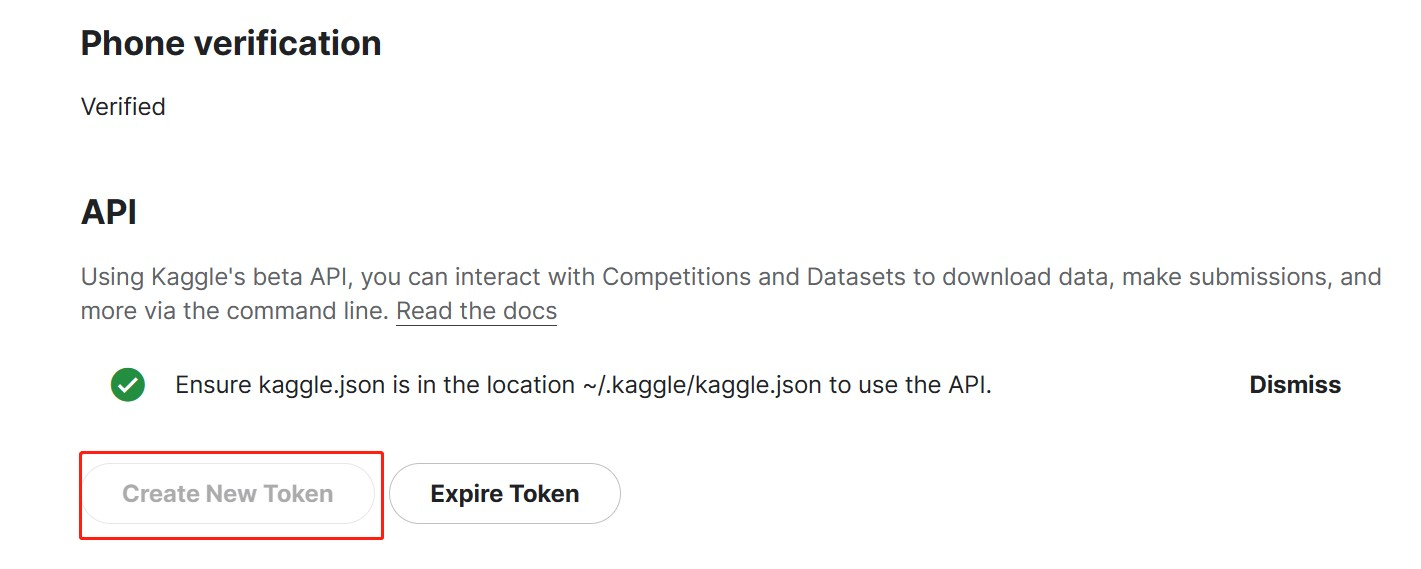
登录 kaggle 自己的主页(https://www.kaggle.com/<USER_NAME>/account),找到 API,点击 create api token 按钮,生成 kaggle.json 配置文件,文件中便包含了用户名和 token 串。


将该文件移动至 kaggle 默认的路径下(~/.kaggle/kaggle.json),我的放置路径为:
C:\Users\XiaoWang\.kaggle
- 1
如果在用户路径下没有找到 .kaggle 的文件夹,自己新建一个!
这里需要注意,kaggle.json 文件除了可以配置用户名和 token 外,还可以配置 proxy 等内容,具体参考如下:
usage: kaggle config set [-h] -n NAME -v VALUE

required arguments:
  -n NAME, --name NAME  Name of the configuration parameter
                        (one of competition, path, proxy)
  -v VALUE, --value VALUE
                        Value of the configuration parameter, valid values depending on name
                        - competition: Competition URL suffix (use "kaggle competitions list" to show options)
                        - path: Folder where file(s) will be downloaded, defaults to current working directory
                        - proxy: Proxy for HTTP requests
- 1
- 2
- 3
- 4
- 5
- 6
- 7
- 8
- 9
- 10
当然,也可以直接编辑 kaggle.json 文件。编辑好后,执行 kaggle config view,查看当前配置。
(PyTorch) F:\kaggle>kaggle config view
Configuration values from C:\Users\XiaoWang\.kaggle
- username: *****
- path: F:/kaggle
- proxy: None
- competition: None
- 1
- 2
- 3
- 4
- 5
- 6
1.2.3 下载数据
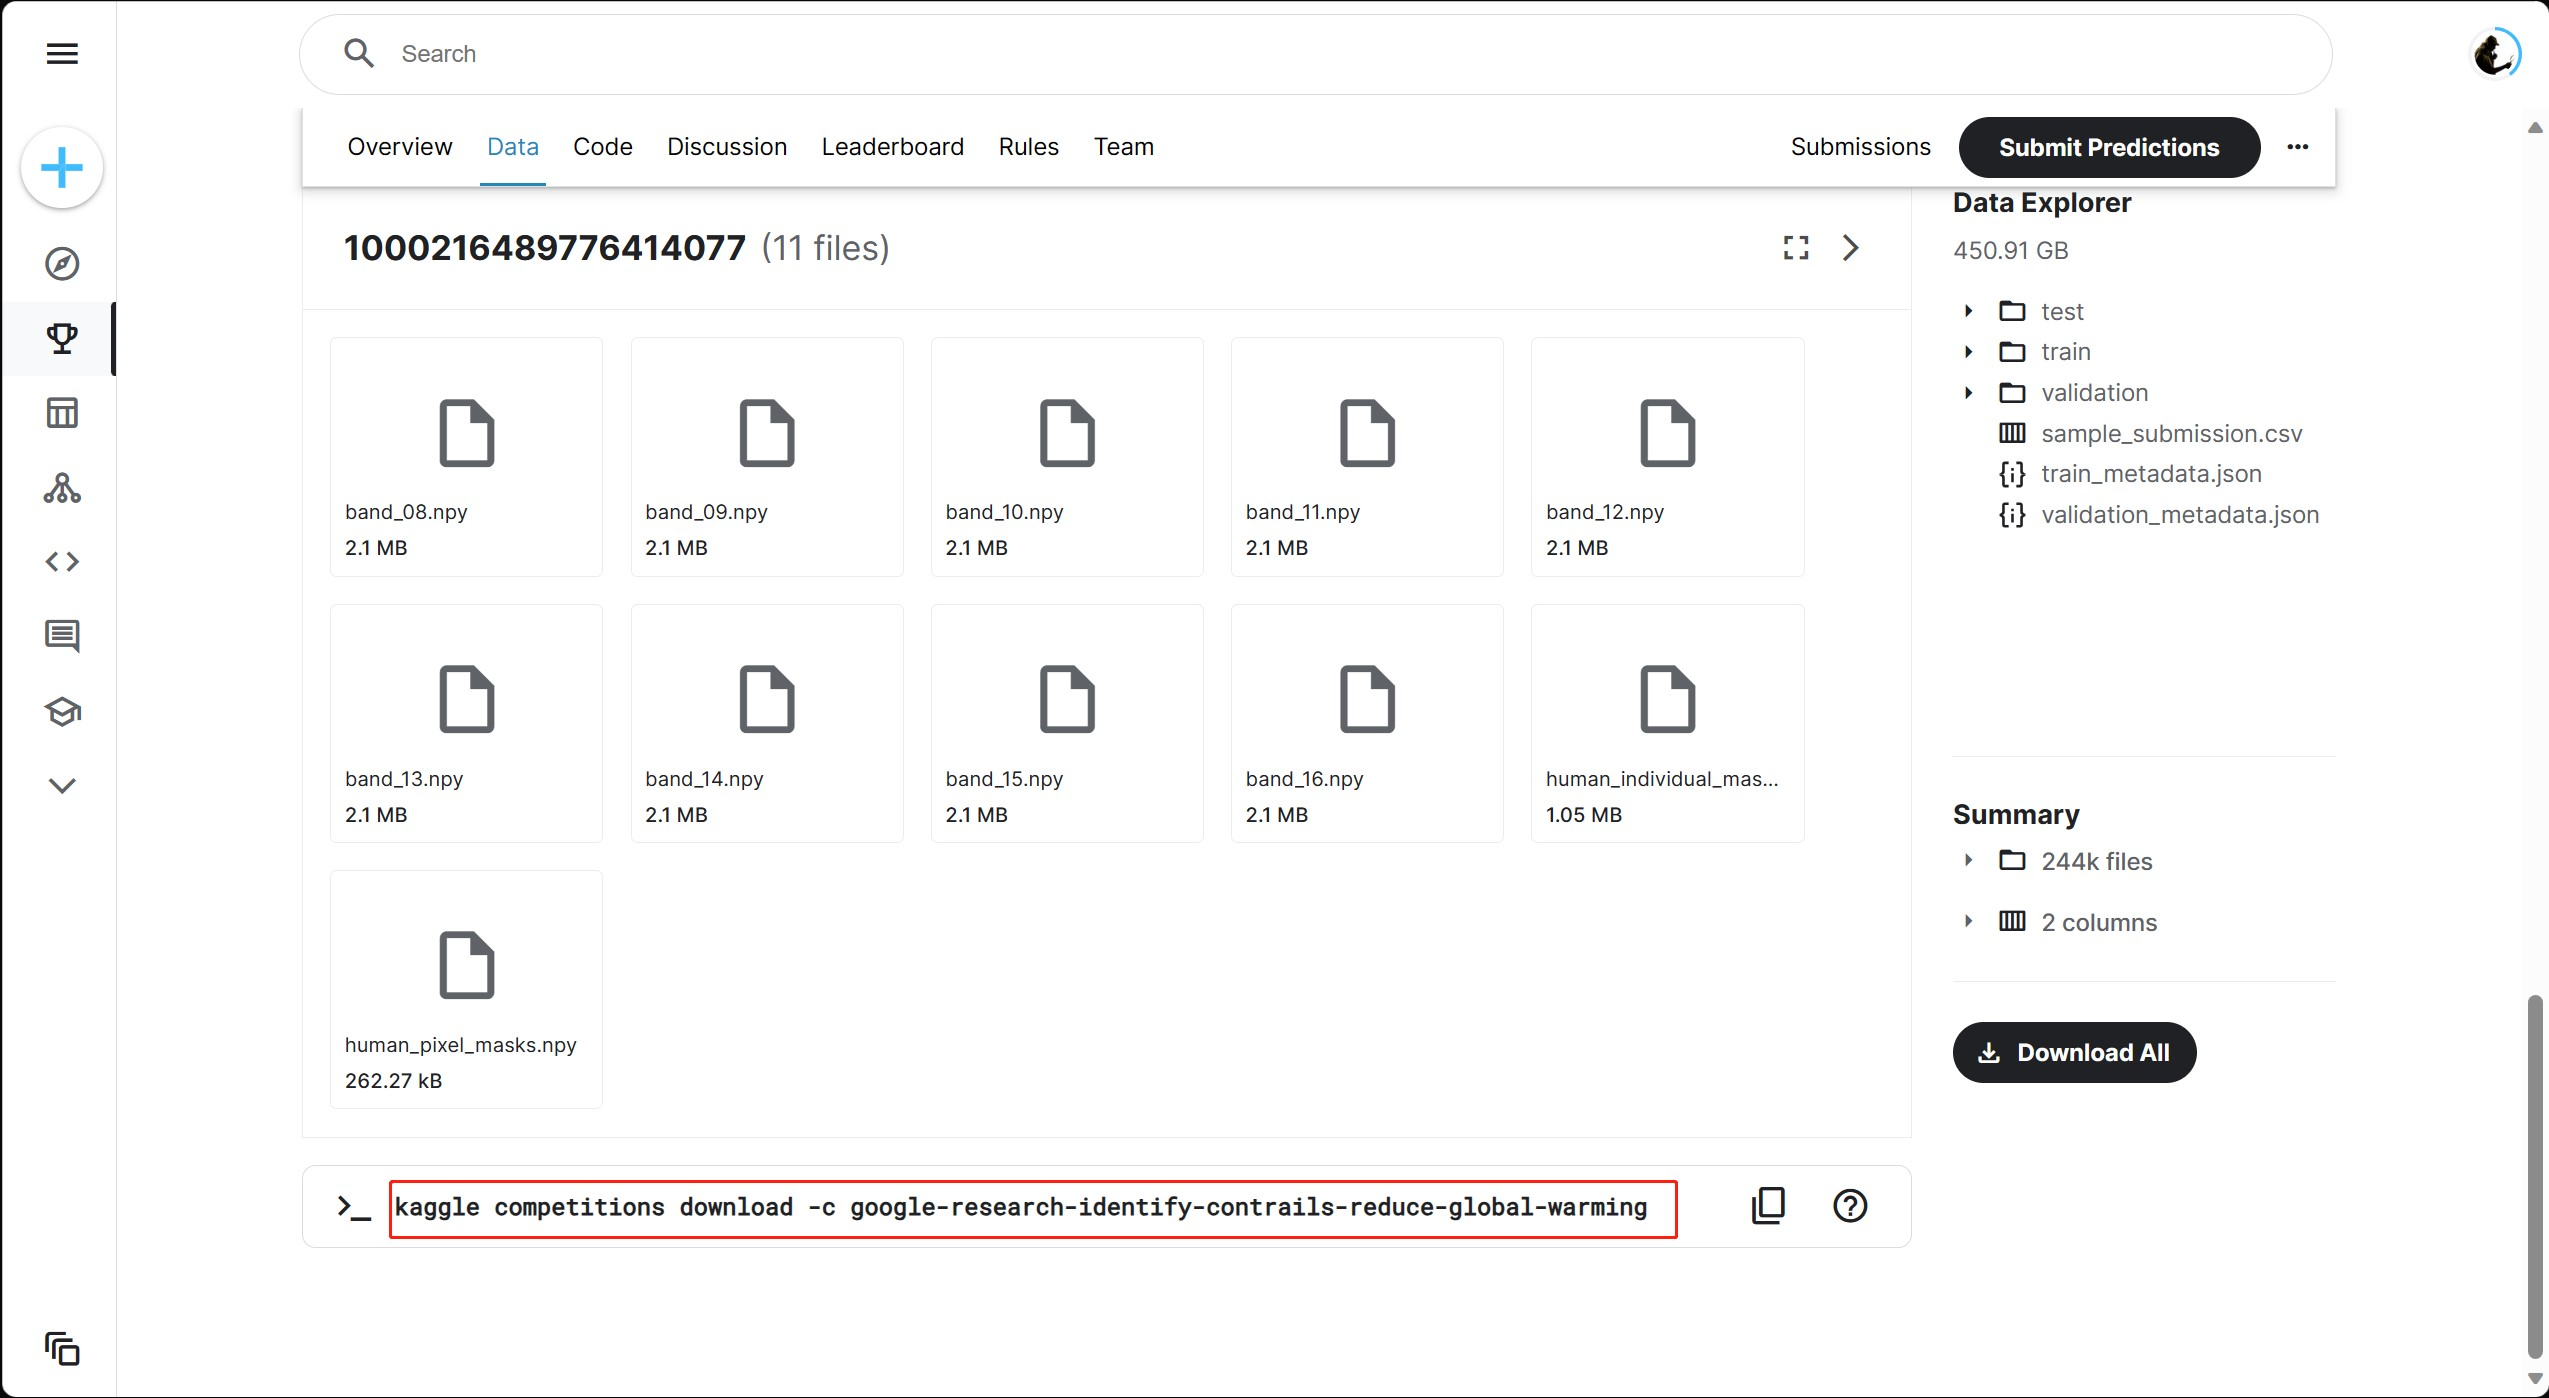
上面都准备好之后,找到要下载数据的页面,就可以进行数据下载了。这里以我要下载数据的地址为例:
https://www.kaggle.com/competitions/google-research-identify-contrails-reduce-global-warming
- 1
我们找到下面的数据集下载的 API 命令!

kaggle competitions download -c google-research-identify-contrails-reduce-global-warming
- 1
即可看到如下命令提示:
(PyTorch) F:\kaggle>kaggle competitions download -c google-research-identify-contrails-reduce-global-warming
Downloading google-research-identify-contrails-reduce-global-warming.zip to F:/kaggle\competitions\google-research-identify-contrails-reduce-global-warming
 16%|███████████████▋                                                                                    | 47.4G/302G [1:21:35<6:24:02, 11.9MB/s]
- 1
- 2
- 3
更多的数据下载方式如下:
usage: kaggle datasets download [-h] [-f FILE_NAME] [-p PATH] [-w] [--unzip]
                                [-o] [-q]
                                [dataset]

optional arguments:
  -h, --help            show this help message and exit
  dataset               Dataset URL suffix in format <owner>/<dataset-name> (use "kaggle datasets list" to show options)
  -f FILE_NAME, --file FILE_NAME
                        File name, all files downloaded if not provided
                        (use "kaggle datasets files -d <dataset>" to show options)
  -p PATH, --path PATH  Folder where file(s) will be downloaded, defaults to current working directory
  -w, --wp              Download files to current working path
  --unzip               Unzip the downloaded file. Will delete the zip file when completed.
  -o, --force           Skip check whether local version of file is up to date, force file download
  -q, --quiet           Suppress printing information about the upload/download progress
- 1
- 2
- 3
- 4
- 5
- 6
- 7
- 8
- 9
- 10
- 11
- 12
- 13
- 14
- 15


