- 1Python实现简单的自然语言处理项目_python自然语言处理项目
- 2java.lang.UnsupportedClassVersionError 错误解决办法_java.lang.unsupportedclassversionerror: com/androi
- 302pycharm 如何添加代码上传到gitlab_pycharm提交代码到gitlab
- 42024 年 9 月美团 Android 面试总结,安卓面试八股文_android2024八股文
- 5VirtualBox无法正常退出分析_virtualbox异常退出怎么解决
- 6神经网络基础—逻辑回归(Logistic Regression)+案例实现_logistic逻辑回归例子
- 7低代码!小白用10分钟也能利用flowise构建AIGC| 业务问答 | 文本识别 | 网络爬虫_flowiseai
- 8Unity的移动端AR生态系统:AR Foundation,ARCore和ARKit_unity ar foundation和arcore的关系
- 9数据库:根据学校的业务规则画出E-R图以及数据库模型图,并构建一个简单的数据库_e-r图数据库
- 10使用 Conv1D-LSTM 进行时间序列预测:预测多个未来时间步【优化】_lstm预测未来多天数据
基于Python手把手教你实现flappy bird游戏_飞行的小鸟 游戏py代码
赞
踩
目录
- 前言
- 开始前的准备工作
- 进入正题
- 结束语
前言
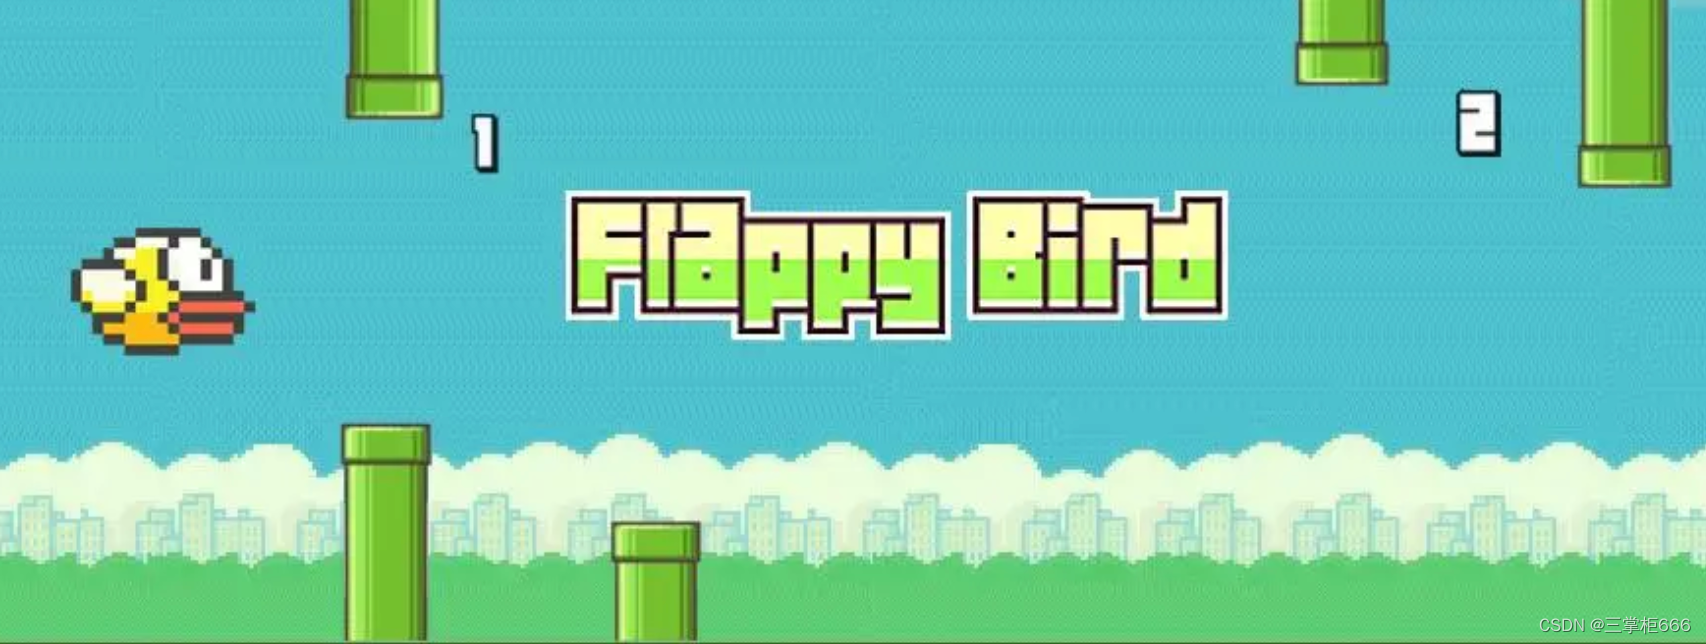
想必玩过游戏的都知道,Flappy Bird是一款简单却富有挑战性的经典的小鸟飞行游戏,让许多玩家为之痴迷,而作为开发者,那肯定要通过技术手段来再做一遍这款经典游戏。那么本文就来通过万能python来跳转一下现象级游戏的开发过程,在本教程中,通过一步步使用Python编程语言来实现这个经典游戏,通过这个项目,可以学习到如何运用Python的游戏开发库和基本编程概念,以及如何处理游戏逻辑和用户输入,仅供参考和学习,如有不妥之处还请个位看官多多包涵。

开始前的准备工作
首先在开始动手之前,需要在电脑上安装Python和Pygame库,其中Pygame是一个开源的游戏开发库,提供了丰富的功能和工具,非常适合制作2D游戏。可以直接通过以下命令安装Pygame库:
pip install pygame
注意:使用python进行编码的编辑器这里使用的是vs code,其他的不再过多赘述。
进入正题
在进行完上面的准备工作之后,就开始进入本文的正题,开始从零到一实现Flappy Bird游戏。具体的实现步骤如下所示。
1、创建游戏窗口
首先,我们需要创建一个游戏窗口来显示游戏画面。使用Pygame库提供的函数,我们可以轻松地创建一个窗口,并设置其大小和标题。
- import pygame
-
- # 初始化Pygame
- pygame.init()
-
- # 设置窗口大小和标题
- width, height = 288, 512
- window = pygame.display.set_mode((width, height))
- pygame.display.set_caption("Flappy Bird")
2、加载游戏资源
Flappy Bird游戏需要一些图像和音效资源,可以直接在互联网上找到适合的资源,将它们保存在项目文件夹中,然后通过使用Pygame库提供的函数,可以加载这些资源到游戏中。
- # 加载背景图像
- background = pygame.image.load("background.png")
-
- # 加载鸟的图像
- bird = pygame.image.load("bird.png")
-
- # 加载管道图像
- pipe = pygame.image.load("pipe.png")
-
- # 加载音效
- flap_sound = pygame.mixer.Sound("flap.wav")
3、游戏循环
接下来,需要创建一个游戏循环来更新游戏状态和处理用户输入,游戏循环将一直运行,直到玩家退出游戏为止。
- # 游戏循环
- running = True
- while running:
- # 处理事件
- for event in pygame.event.get():
- if event.type == pygame.QUIT:
- running = False
-
- # 更新游戏状态
-
- # 绘制游戏画面
- window.blit(background, (0, 0))
- window.blit(bird, (100, 200))
- window.blit(pipe, (200, 300))
-
- # 刷新屏幕
- pygame.display.flip()
-
- # 退出游戏
- pygame.quit()
4、添加游戏逻辑
为了让游戏变得有趣,需要添加一些游戏逻辑,比如让小鸟能够上下飞行,并且在与管道碰撞时游戏结束,可以使用变量来跟踪小鸟的位置和速度,并使用条件语句来检测碰撞。
- # 小鸟的位置和速度
- bird_x = 100
- bird_y = 200
- bird_speed = 0
-
- # 游戏循环
- running = True
- while running:
- # 处理事件
- for event in pygame.event.get():
- if event.type == pygame.QUIT:
- running = False
- elif event.type == pygame.KEYDOWN:
- if event.key == pygame.K_SPACE:
- bird_speed = -5
- flap_sound.play()
-
- # 更新游戏状态
- bird_y += bird_speed
- bird_speed += 0.2
-
- # 检测碰撞
- if bird_y < 0 or bird_y > height:
- running = False
-
- # 绘制游戏画面
- window.blit(background, (0, 0))
- window.blit(bird, (bird_x, bird_y))
- window.blit(pipe, (200, 300))
-
- # 刷新屏幕
- pygame.display.flip()
-
- # 退出游戏
- pygame.quit()
5、完善游戏逻辑
为了让这款游戏更加完善,还可以添加管道的移动和生成,通过使用列表来存储多个管道可以实现管道的连续移动。当一个管道离开屏幕时,可以将其移出列表,并在屏幕的右侧生成一个新的管道。
- # 管道列表
- pipes = []
-
- # 游戏循环
- running = True
- while running:
- # 处理事件
- for event in pygame.event.get():
- if event.type == pygame.QUIT:
- running = False
- elif event.type == pygame.KEYDOWN:
- if event.key == pygame.K_SPACE:
- bird_speed = -5
- flap_sound.play()
-
- # 更新游戏状态
- bird_y += bird_speed
- bird_speed += 0.2
-
- # 生成管道
- if len(pipes) == 0 or pipes[-1][0] < width - 200:
- pipe_x = width
- pipe_y = random.randint(100, height - 200)
- pipes.append((pipe_x, pipe_y))
-
- # 移动管道
- for i in range(len(pipes)):
- pipes[i] = (pipes[i][0] - 2, pipes[i][1])
-
- # 移除离开屏幕的管道
- if pipes[0][0] < -pipe.get_width():
- pipes.pop(0)
-
- # 检测碰撞
- for pipe in pipes:
- if bird_x + bird.get_width() > pipe[0] and bird_x < pipe[0] + pipe.get_width() and
- (bird_y < pipe[1] or bird_y + bird.get_height() > pipe[1] + pipe_gap):
- running = False
-
- # 绘制游戏画面
- window.blit(background, (0, 0))
- window.blit(bird, (bird_x, bird_y))
- for pipe in pipes:
- window.blit(pipe, pipe)
-
- # 刷新屏幕
- pygame.display.flip()
-
- # 退出游戏
- pygame.quit()
通过上面五步的介绍和实现,基本上就实现Flappy Bird游戏的制作,是不是觉得很简单?复杂点在于碰撞处理,以及一些细节问题。具体效果如下所示:

结束语
通过这个实战项目操作,可以学习到如何使用Python和Pygame库来实现Flappy Bird游戏,也可以了解游戏开发的基本流程,包括创建游戏窗口、加载资源、处理用户输入和更新游戏逻辑,以及如何使用变量和条件语句来控制游戏的行为,并使用列表来存储和管理多个游戏对象。那么现在,可以运行这个游戏并根据自己的需求进行修改和扩展,赶紧操练起来吧!


