热门标签
热门文章
- 1AndroidStudio升级Gradle之坑_android studio grade报错
- 2AI大模型应用入门实战与进阶:构建你的第一个大模型:实战指南_ai大模型 实战
- 3adb 命令行安装软件_adb 从u盘安装应用
- 4[4.1截止]OPPO 24校招25实习-150岗欢迎投递_oppo后端开发实习生
- 5【上手AI】爆好用的AI工具Coze 告别头疼的英文文档_coze ai
- 6单元平均恒定虚警率CFAR的matlab仿真
- 7HTML新春烟花盛宴
- 8【Activiti研究】百度富文本编辑器扩展(为自定义表单扩展做铺垫)_富文本编辑器 扩展功能
- 9Python基础代码爬取超链接文字及链接_如何爬取文件名里的超链接
- 10操作系统作业_使用tsl指令实现进程互斥的伪代码
当前位置: article > 正文
Llama3-Tutorial之Llama3本地Web Demo部署_hbuilderx 使用 llama3
作者:笔触狂放9 | 2024-06-09 03:16:47
赞
踩
hbuilderx 使用 llama3
Llama3-Tutorial之Llama3本地 Web Demo部署
Llama3-Tutorial之Llama3本地Web Demo部署章节。
参考: https://github.com/SmartFlowAI/Llama3-Tutorial
1. 环境配置
conda create -n llama3 python=3.10
conda activate llama3
conda install pytorch==2.1.2 torchvision==0.16.2 torchaudio==2.1.2 pytorch-cuda=12.1 -c pytorch -c nvidia
- 1
2. 下载模型
mkdir -p ~/model
cd ~/model
- 1
方法一:从OpenXLab中获取权重:
-
安装 git-lfs 依赖:
# 如果下面命令报错则使用 apt install git git-lfs -y
conda install git-lfs
git-lfs install
- 1
-
下载模型
git clone https://code.openxlab.org.cn/MrCat/Llama-3-8B-Instruct.git Meta-Llama-3-8B-Instruct
- 1
方法二:使用下载好的模型
软链接 InternStudio 中的模型
ln -s /root/share/new_models/meta-llama/Meta-Llama-3-8B-Instruct ~/model/Meta-Llama-3-8B-Instruct
- 1
本文使用InternStudio进行实验,使用方法二。
3. Web Demo 部署
cd ~
git clone https://github.com/SmartFlowAI/Llama3-Tutorial
- 1
安装 XTuner 时会自动安装其他依赖:
cd ~
git clone -b v0.1.18 https://github.com/InternLM/XTuner
cd XTuner
pip install -e .
- 1
运行 web_demo.py
(llama3) root@intern-studio-50014188:~# streamlit run ~/Llama3-Tutorial/tools/internstudio_web_demo.py ~/model/Meta-Llama-3-8B-Instruct

Collecting usage statistics. To deactivate, set browser.gatherUsageStats to false.


  You can now view your Streamlit app in your browser.

  Network URL: http://192.168.230.228:8501
  External URL: http://192.168.230.228:8501

load model begin.
Loading checkpoint shards: 100%|████████████████████████████████████████████████████████████████████| 4/4 [00:36<00:00,  9.17s/it]
Special tokens have been added in the vocabulary, make sure the associated word embeddings are fine-tuned or trained.
load model end.
- 1
vscode配置端口转发:

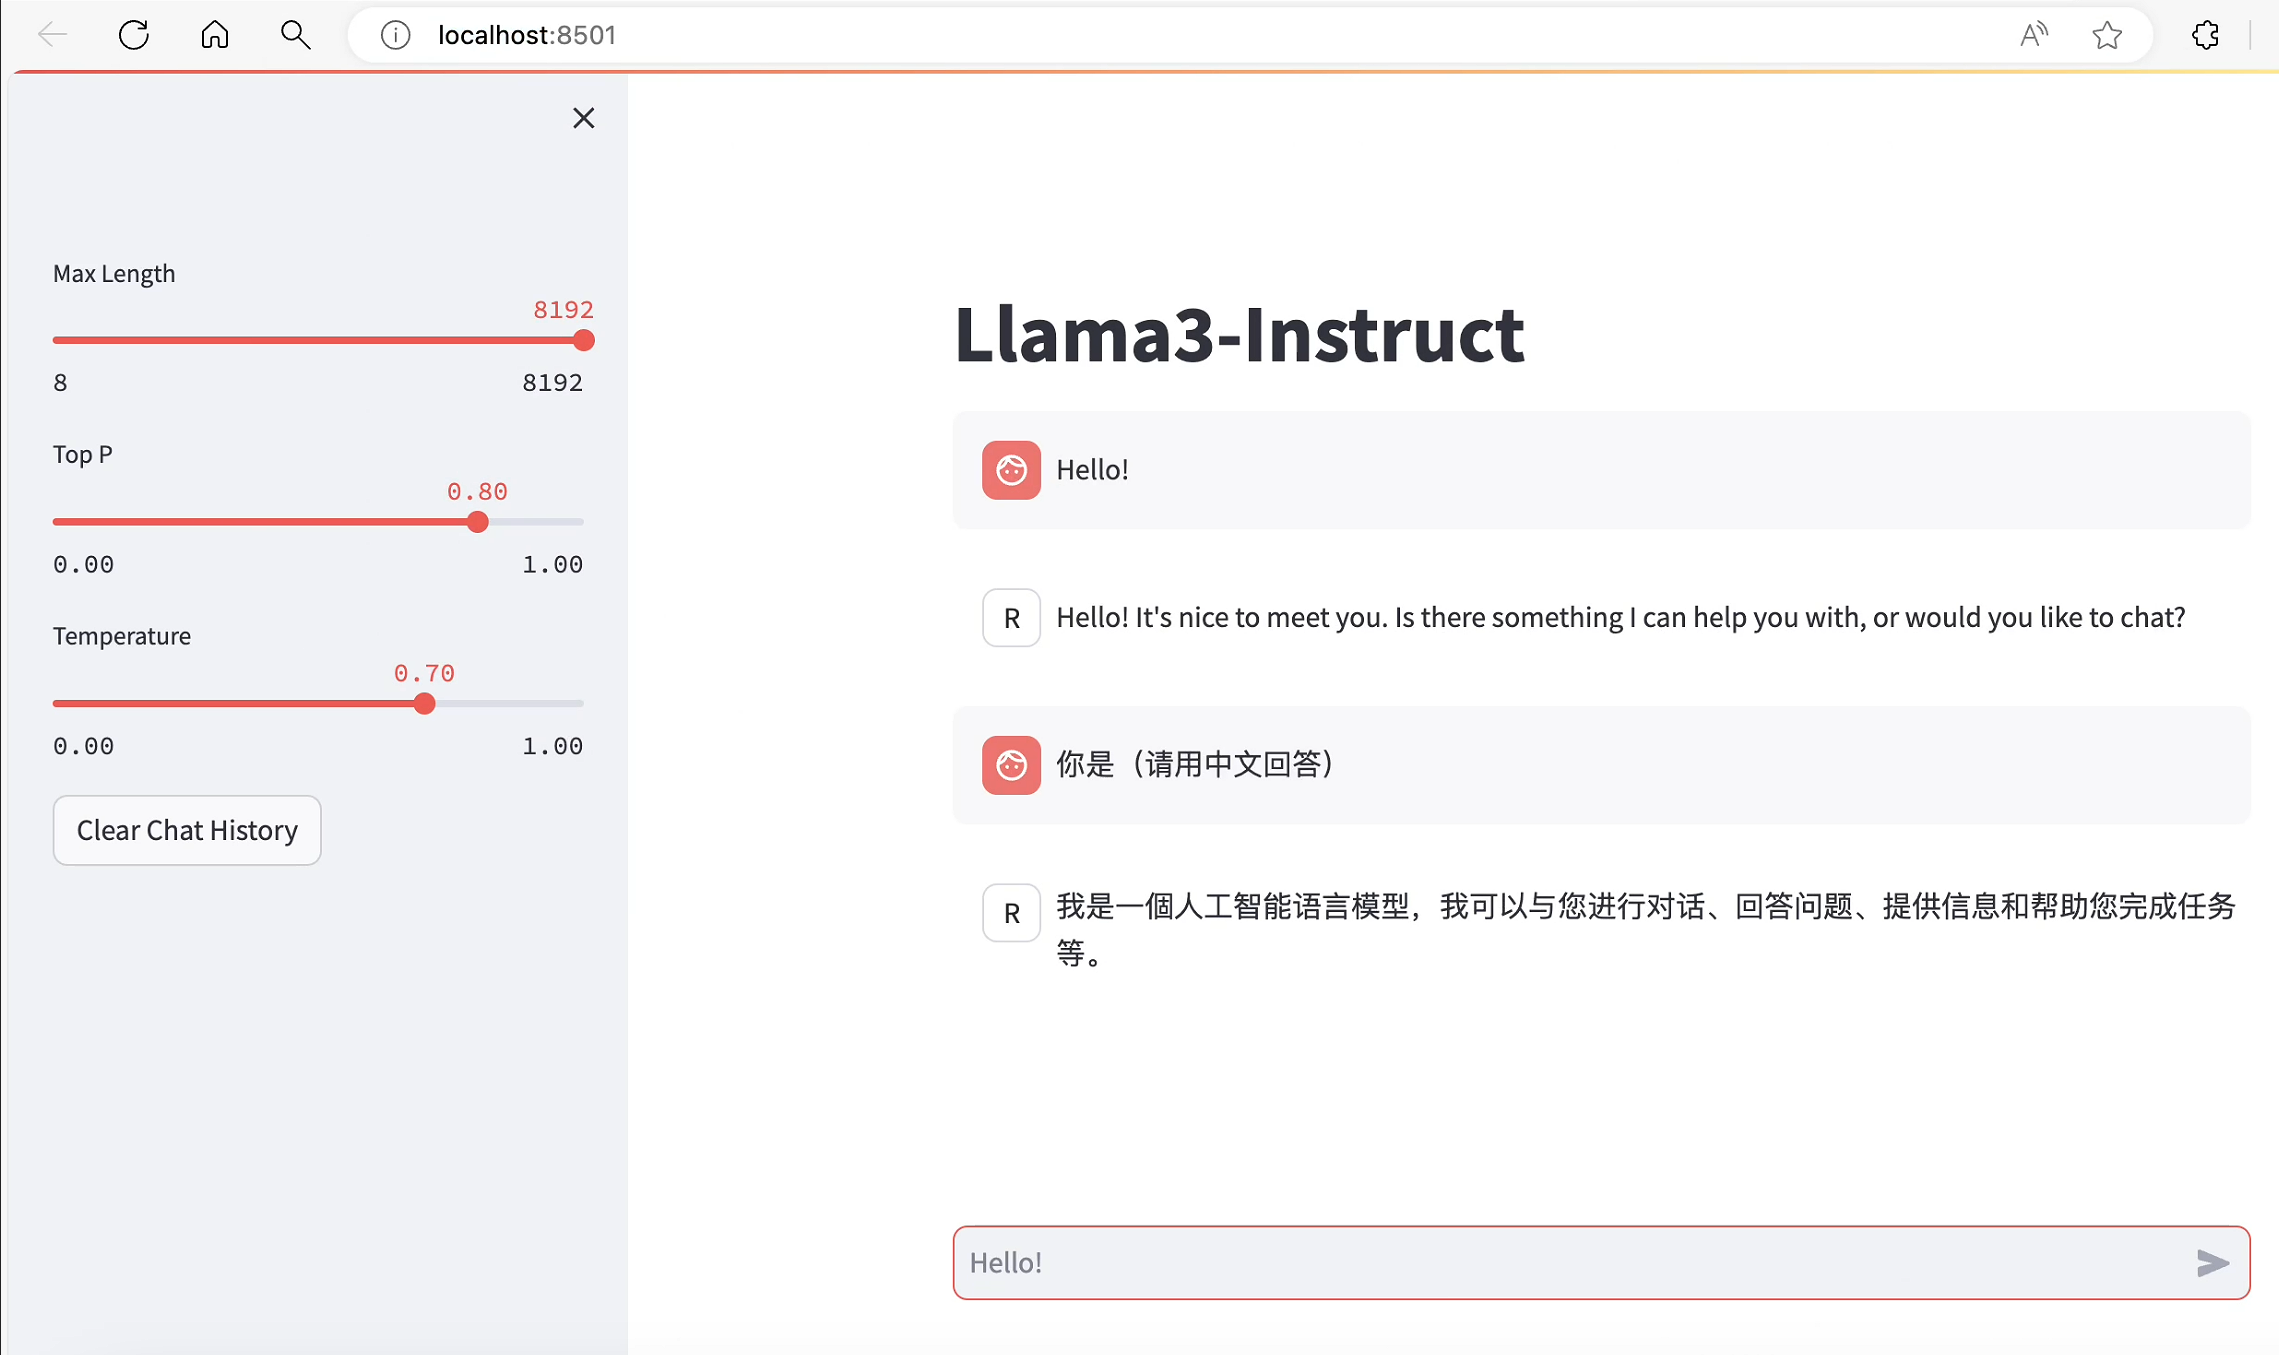
操作终端通过http://localhost:8501/打开web对话界面:

参考 vscode端口转发指南
本文由 mdnice 多平台发布
声明:本文内容由网友自发贡献,不代表【wpsshop博客】立场,版权归原作者所有,本站不承担相应法律责任。如您发现有侵权的内容,请联系我们。转载请注明出处:https://www.wpsshop.cn/w/笔触狂放9/article/detail/692368
推荐阅读
相关标签


