热门标签
热门文章
- 1maven替换中央仓库- 阿里云_maven central aliyun
- 2C++:模版初阶 | STL简介
- 3职业中专学计算机可以考大学吗,浙江2021年读计算机学校能考大学吗
- 4人工智能:python 实现 第十章,NLP 第一天 入门介绍及使用stemming还原词汇_tokenization and stemming
- 5【已解决】远程计算机或设备将不接受连接(该设备或资源(Web 代理)未设置为接受端口“7890”上的连接)_该设备或资源未设置为接受端口7980上的连接
- 6云计算:从基础架构原理到最佳实践之:虚拟化技术与容器化_云计算的演进经历了虚拟机,容器化的过程
- 7Boot Camp 安装失败: 拷贝 Windows 文件时出错_boot camp安装失败
- 8iOS 17.4报错: libopencore-amrnb.a[arm64]
- 9CreateProcess_createprocess returned 2
- 10浅谈前端开发转型鸿蒙移动端开源系统开发:HarmonyOS开发者成长之路_鸿蒙前端开发用什么
当前位置: article > 正文
基于SpringBoot2开发WebApi(二)使用MyBatis连接MySQL数据库
作者:花生_TL007 | 2024-03-06 20:07:14
赞
踩
基于SpringBoot2开发WebApi(二)使用MyBatis连接MySQL数据库
1.依赖
在pom.xml中引入依赖
- <dependency>
- <groupId>org.mybatis.spring.boot</groupId>
- <artifactId>mybatis-spring-boot-starter</artifactId>
- <version>2.1.4</version>
- </dependency>
-
- <dependency>
- <groupId>mysql</groupId>
- <artifactId>mysql-connector-java</artifactId>
- <scope>runtime</scope>
- </dependency>
2.druid使用
在项目中我们引入了druid用来管理连接数据库的线程池,在pom.xml中引入druid依赖
- <dependency>
- <groupId>com.alibaba</groupId>
- <artifactId>druid-spring-boot-starter</artifactId>
- <version>1.1.9</version>
- </dependency>
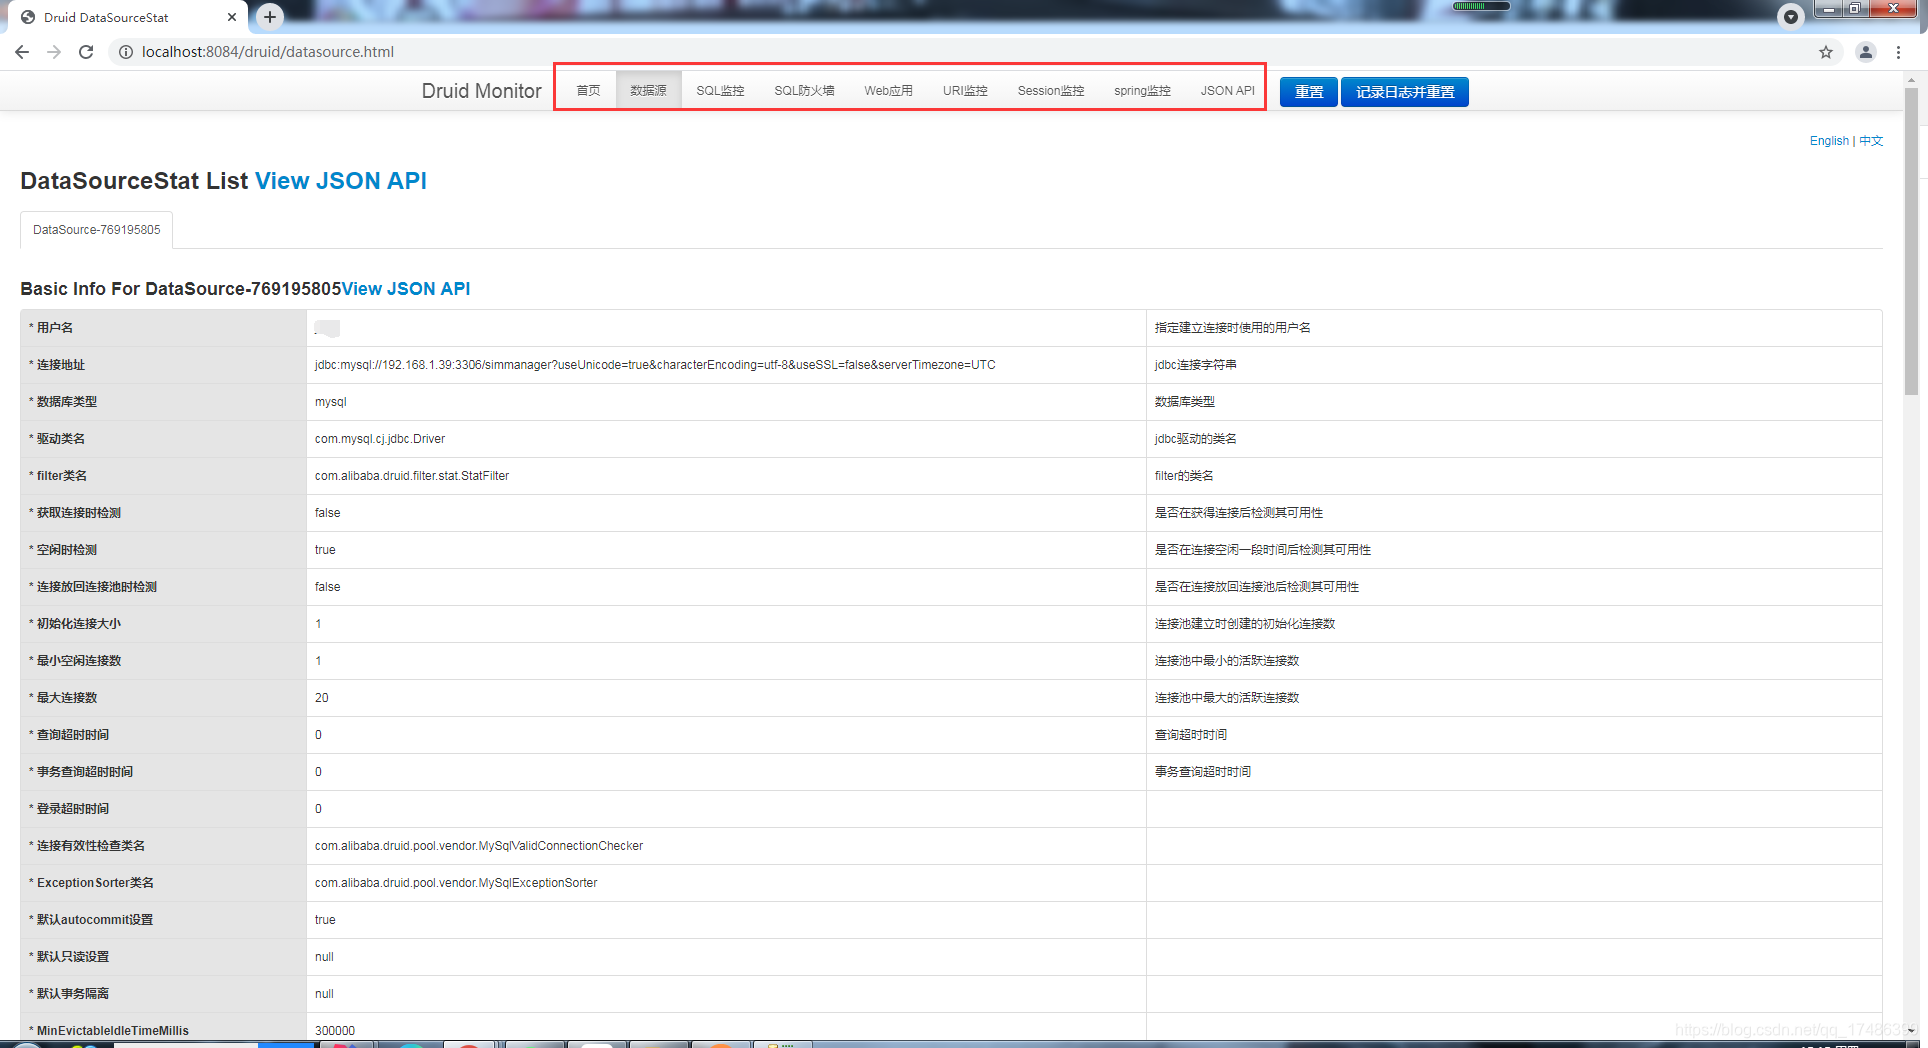
关于druid还可以进行程序对数据库监控的目的,输入服务地址:http://localhost:8084/druid/datasource.html

3.配置文件
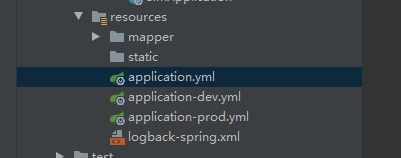
因为我这边为了方便的区分开发环境与测试环境,所以在创建了线上与线下的两个不同的配置文件
分别为:
application-dev.yml(开发环境配置)
application-prod.yml(生产环境配置)

然后在application.yml中方便的进行开发环境与生产环境的切换

开发环境配置
以上准备工作完成后,后续我们开始编码实施
4.编码实施
首先在启动类里面增加注解@MapperScan("com.iot.simmanager.dao")
作用:指定要变成实现类的接口所在的包,然后包下面的所有接口在编译之后都会生成相应的实现类

写个获取公司信息的实现示例
model包下增加AdminAgent类
- package com.iot.simmanager.model;
-
- import lombok.Data;
-
- import java.io.Serializable;
- import java.math.BigInteger;
-
- /**
- * @author lenny
- */
- @Data
- public class AdminAgent implements Serializable {
- private BigInteger Id;
- private String AgentName;
- private String AgentCode;
- private String Address;
- private String Bank;
- private String BankNo;
- private String Contacts;
- private String Phone;
- private String Email;
- private String Fax;
- private String PostCode;
- private String AgentGUID;
- private String Describe;
- private String CreateTime;
- private BigInteger Creator;
- }

这里用到了@Data注解,需要在pom.xml下进行依赖引入
- <dependency>
- <groupId>org.projectlombok</groupId>
- <artifactId>lombok</artifactId>
- <version>1.18.12</version>
- </dependency>
dao包下增加AdminAgentDao接口
- package com.iot.simmanager.dao;
-
- import com.iot.simmanager.model.AdminAgent;
-
- import java.util.List;
-
- /**
- * @author lenny
- */
- public interface AdminAgentDao {
- /**
- * 查询公司列表
- * @return
- */
- List<AdminAgent> queryAdminAgentList();
- }

service包下增加AdminAgentService
- package com.iot.simmanager.service;
-
- import com.iot.simmanager.dao.AdminAgentDao;
- import com.iot.simmanager.model.AdminAgent;
- import org.springframework.beans.factory.annotation.Autowired;
- import org.springframework.stereotype.Service;
-
- import java.util.List;
-
- /**
- * @author lenny
- */
- @Service
- public class AdminAgentService {
- @Autowired
- private AdminAgentDao adminAgentDao;
-
- /**
- * 查询公司列表
- * @return
- */
- public List<AdminAgent> queryAdminAgentList()
- {
- List<AdminAgent> adminAgentList=adminAgentDao.queryAdminAgentList();
- return adminAgentList;
- }
- }

最后再controller包增加AdminAgentController
- package com.iot.simmanager.controller;
-
- import com.iot.simmanager.model.AdminAgent;
- import com.iot.simmanager.service.AdminAgentService;
- import org.springframework.beans.factory.annotation.Autowired;
- import org.springframework.web.bind.annotation.PostMapping;
- import org.springframework.web.bind.annotation.RequestMapping;
- import org.springframework.web.bind.annotation.RestController;
-
- import java.util.List;
-
- /**
- * @author lenny
- */
- @RestController
- @RequestMapping("/agent")
- public class AdminAgentController {
- @Autowired
- private AdminAgentService adminAgentService;
-
- @PostMapping(value = "queryAdminAgentList")
- public List<AdminAgent> queryAdminAgentList(){
- try {
- List<AdminAgent> adminAgentList = adminAgentService.queryAdminAgentList();
- return adminAgentList;
- } catch (Exception e) {
- e.printStackTrace();
- return null;
- }
- }
- }

使用Postman进行接口测试

声明:本文内容由网友自发贡献,版权归原作者所有,本站不承担相应法律责任。如您发现有侵权的内容,请联系我们。转载请注明出处:【wpsshop博客】
推荐阅读
相关标签


