热门标签
热门文章
- 1数据集缺失值预处理_print(df.isnull().sum())
- 2Python判断变量是否存在_python判断except不存在
- 3三种创建Neo4j知识图谱方法详解_neo4j知识图谱构建
- 4不要再用where 1=1了,有更好的写法_sql条件拼接除了使用where1=1还有什么方法
- 5【程序语言】并行编程——openMP初探_#pragma omp parallel for num_threads(8) schedule(d
- 6python写ios脚本_python怎么写脚本ios
- 7python中open()方法总结_open方法
- 8QDialogButtonBox 类(多按钮控件)的使用
- 9解决npm一直停在"checking installable status"的问题
- 10Android进行代码混淆_android 代码混淆
当前位置: article > 正文
【本地化部署Stable Diffusion WebUI(MACOS安装)】_stable diffusion 如何将openai/clip-vit-large-patch14
作者:菜鸟追梦旅行 | 2024-03-23 15:24:12
赞
踩
stable diffusion 如何将openai/clip-vit-large-patch14 改为本地导入
提示:文章写完后,目录可以自动生成,如何生成可参考右边的帮助文档
文章目录
前言
随着人工智能的不断发展,AI绘图热兴起,我也想加入到AI绘图大潮中。
一、Stable Diffusion WebUI适配三类芯片
此模型支持三类GPU芯片
- NVidia (recommended)
- AMD GPUs.
- Intel CPUs, Intel GPUs (bothintegrated and discrete) (我的mac属于此情况)
二、安装
说明:期间需要访问外网,自行实现巧妙上网
1.安装git、conda等
brew install cmake protobuf rust python@3.10 git wget miniconda
- 1
2.选定目录及下载Github远程仓库文件
mkdir SDW
cd SDW
git clone git@github.com:openvinotoolkit/stable-diffusion-webui.git
- 1
- 2
- 3
3.创建conda虚拟环境
创建虚拟环境
conda env create -p /Users/zhaoyao/Downloads/SDW/stable-diffusion-webui/automatic -f /Users/zhaoyao/Downloads/SDW/stable-diffusion-webui/environment-wsl2.yaml
- 1
最后创建完成后显示如下:
# To activate this environment, use
#
#     $ conda activate /Users/zhaoyao/Downloads/SDW/stable-diffusion-webui/automatic
#
# To deactivate an active environment, use
#
#     $ conda deactivate
- 1
- 2
- 3
- 4
- 5
- 6
- 7
激活环境
conda activate /Users/zhaoyao/Downloads/SDW/stable-diffusion-webui/automatic
- 1
4.安装依赖
cd stable-diffusion-webui
pip install -r requirements.txt
- 1
- 2
pip速度慢需添加国内pip源
cd ~
mkdir .pip

cd .pip
touch pip.conf

在pip.conf文件中,添加以下内容:

[global]
index-url = https://pypi.doubanio.com/simple/
trusted-host = pypi.doubanio.com
- 1
- 2
- 3
- 4
- 5
- 6
- 7
- 8
- 9
- 10
- 11
5.运行
还有未安装的依赖在此步骤执行中会一次安装,当然有报错需要一次解决。
英特尔CPU+GPU的场景执行前环境要生效如下内容:
export PYTORCH_TRACING_MODE=TORCHFX
export COMMANDLINE_ARGS="--skip-torch-cuda-test --precision full --no-half"
./webui.sh
- 1
- 2
- 3
6.问题处理
运行./webui.sh会有很多报错
缺openai模块等
OSError: Can't load tokenizer for 'openai/clip-vit-large-patch14'. If you were trying to load it from 'https://huggingface.co/models', make sure you don't have a local directory with the same name. Otherwise, make sure 'openai/clip-vit-large-patch14' is the correct path to a directory containing all relevant files for a CLIPTokenizer tokenizer.
- 1
手动git clone
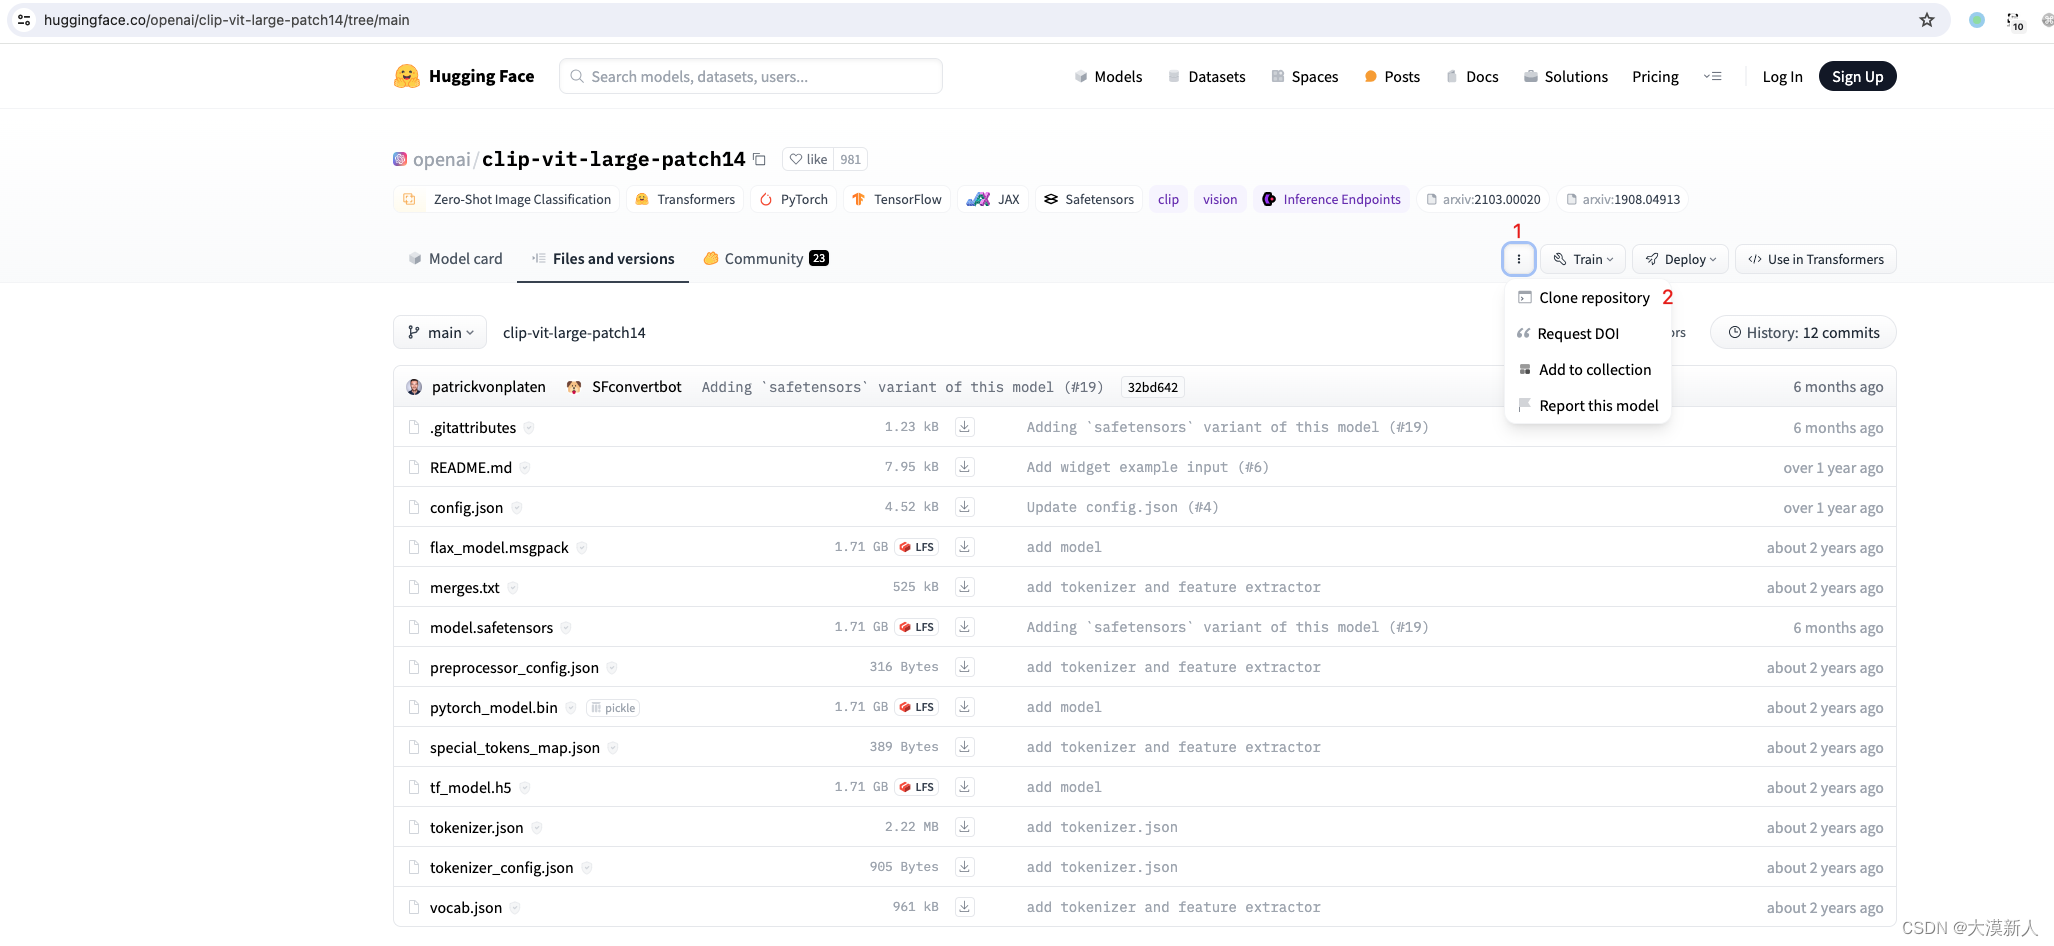
可直接git clone
可以指定git代理实现
#指定git代理
git config --global https.proxy socks5://127.0.0.1:1088
或
git config --global https.proxy https://127.0.0.1:1088
#取消git代理
git config --global --unset https.proxy
- 1
- 2
- 3
- 4
- 5
- 6
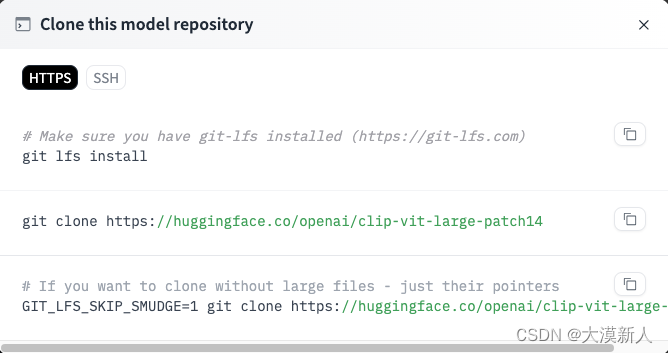
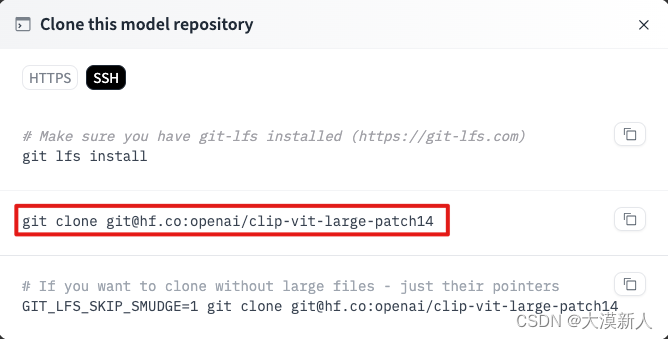
例如:
git clone https://huggingface.co/openai/clip-vit-large-patch14
或
git clone git@hf.co:openai/clip-vit-large-patch14
- 1
- 2
- 3
- 4
类似的v1-5-pruned-emaonly.safetensors模型获取失败

https://huggingface.co/runwayml/stable-diffusion-v1-5/resolve/main/v1-5-pruned-emaonly.safetensors
- 1
此文件较大有4G多,建议通过从源网站下载到云盘,再从云盘下载到本地,然后让入目标文件夹如:stable-diffusion-uebul/models/Stable-diffusion/
RuntimeError: “LayerNormKernelImpl” not implemented for 'Half’等
RuntimeError: "LayerNormKernelImpl" not implemented for 'Half'
/Users/zhaoyao/Downloads/SDW/stable-diffusion-webui/venv/lib/python3.10/site-packages/torch/nn/functional.py", line 2515, in layer_norm

RuntimeError: "addmm_impl_cpu_" not implemented for 'Half'
/Users/zhaoyao/Downloads/SDW/stable-diffusion-webui/venv/lib/python3.10/site-packages/torch/nn/modules/linear.py", line 114, in forward
- 1
- 2
- 3
- 4
- 5
那么执行时添加如下参数:
./webui.sh --precision full --no-half
- 1
正常运行sdw的的话会自动访问http://127.0.0.1:7860/
命令行显示类似如下:
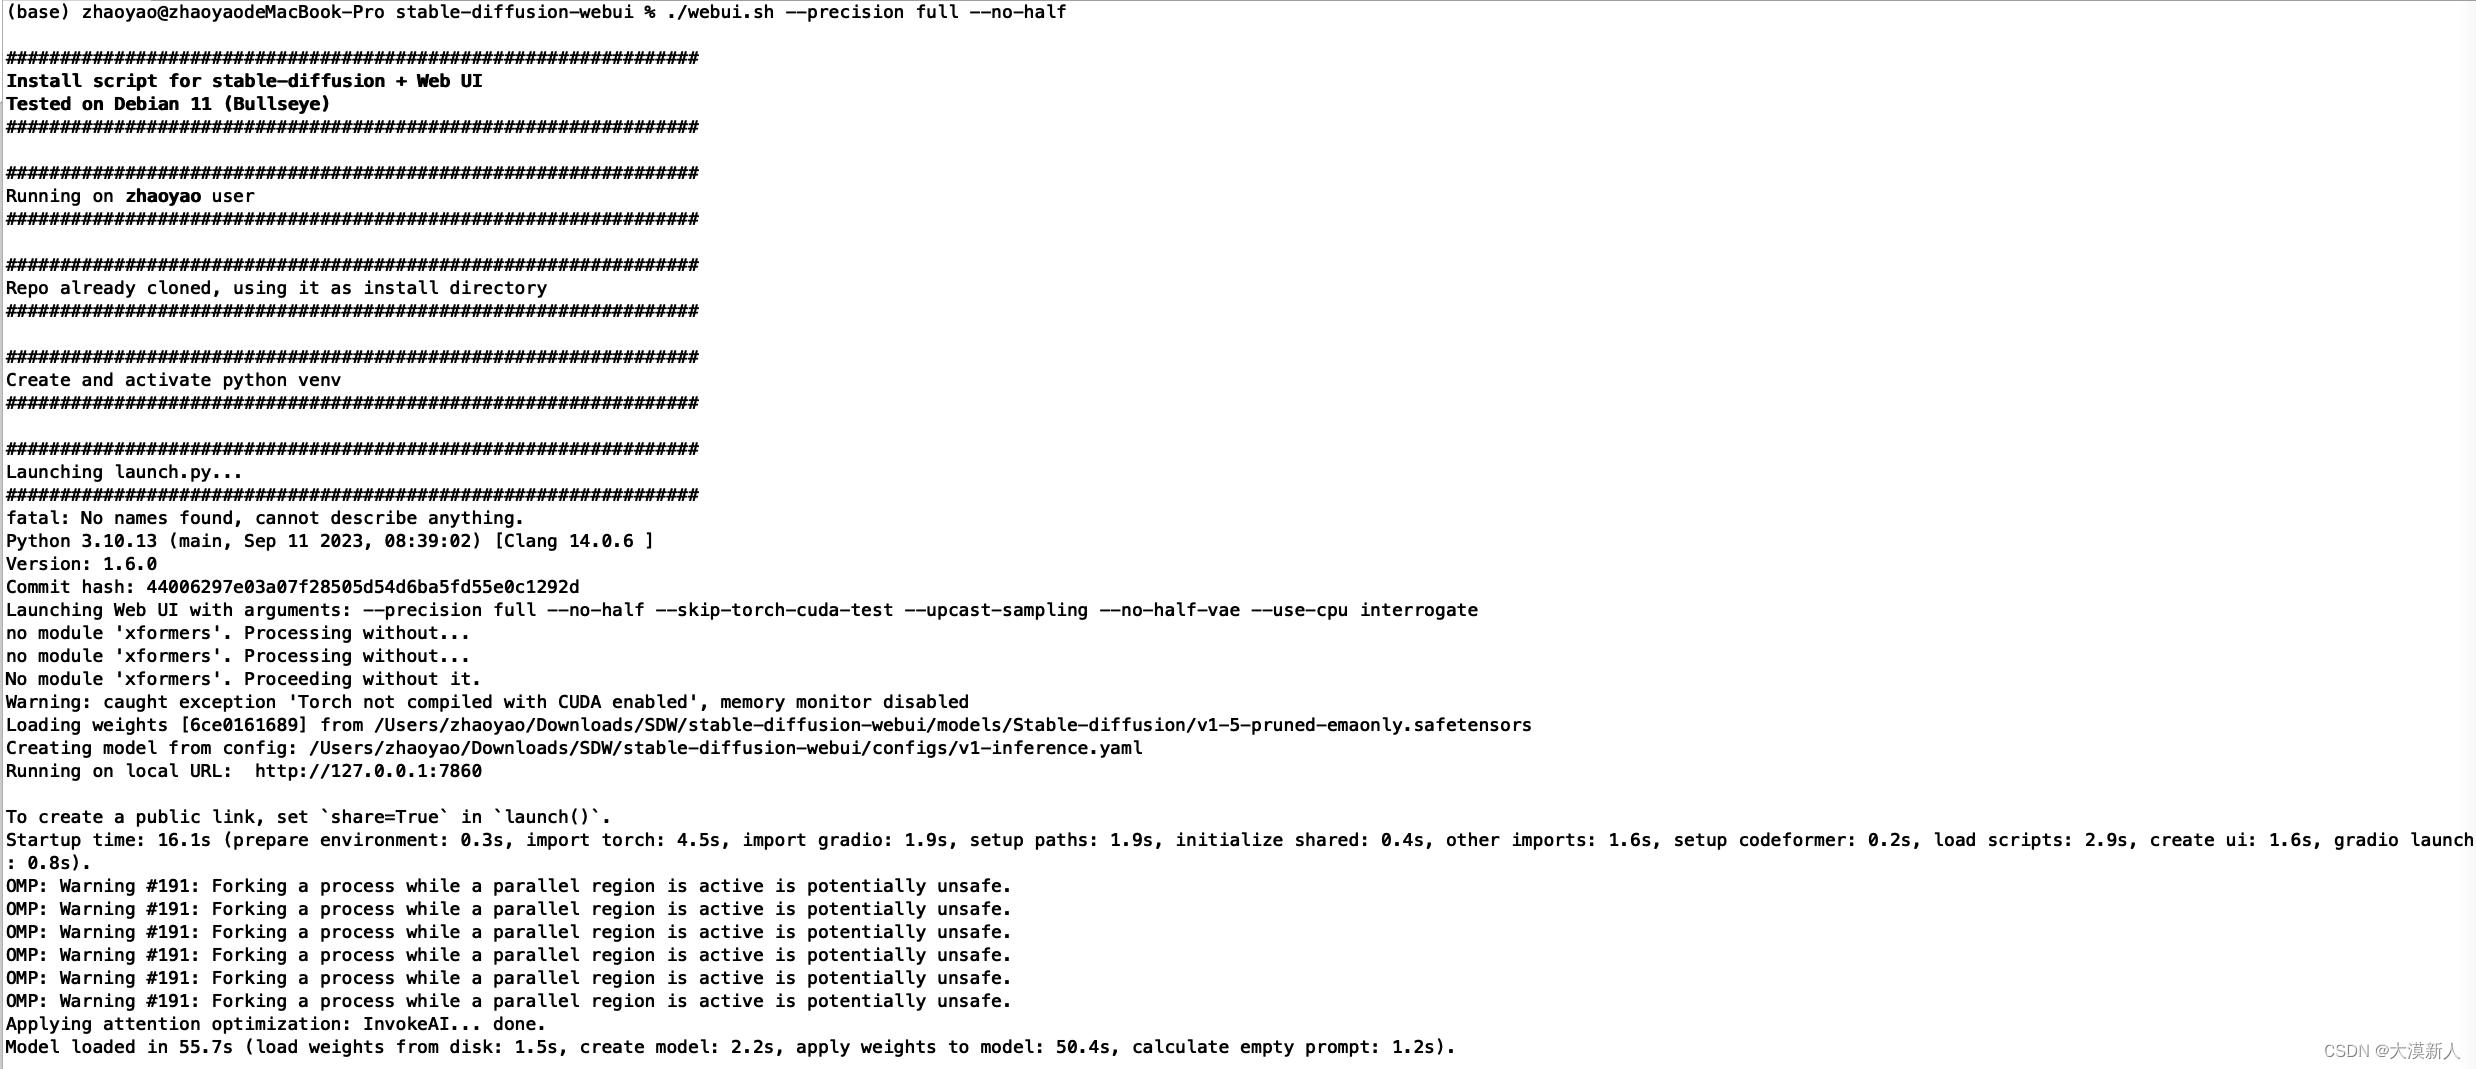
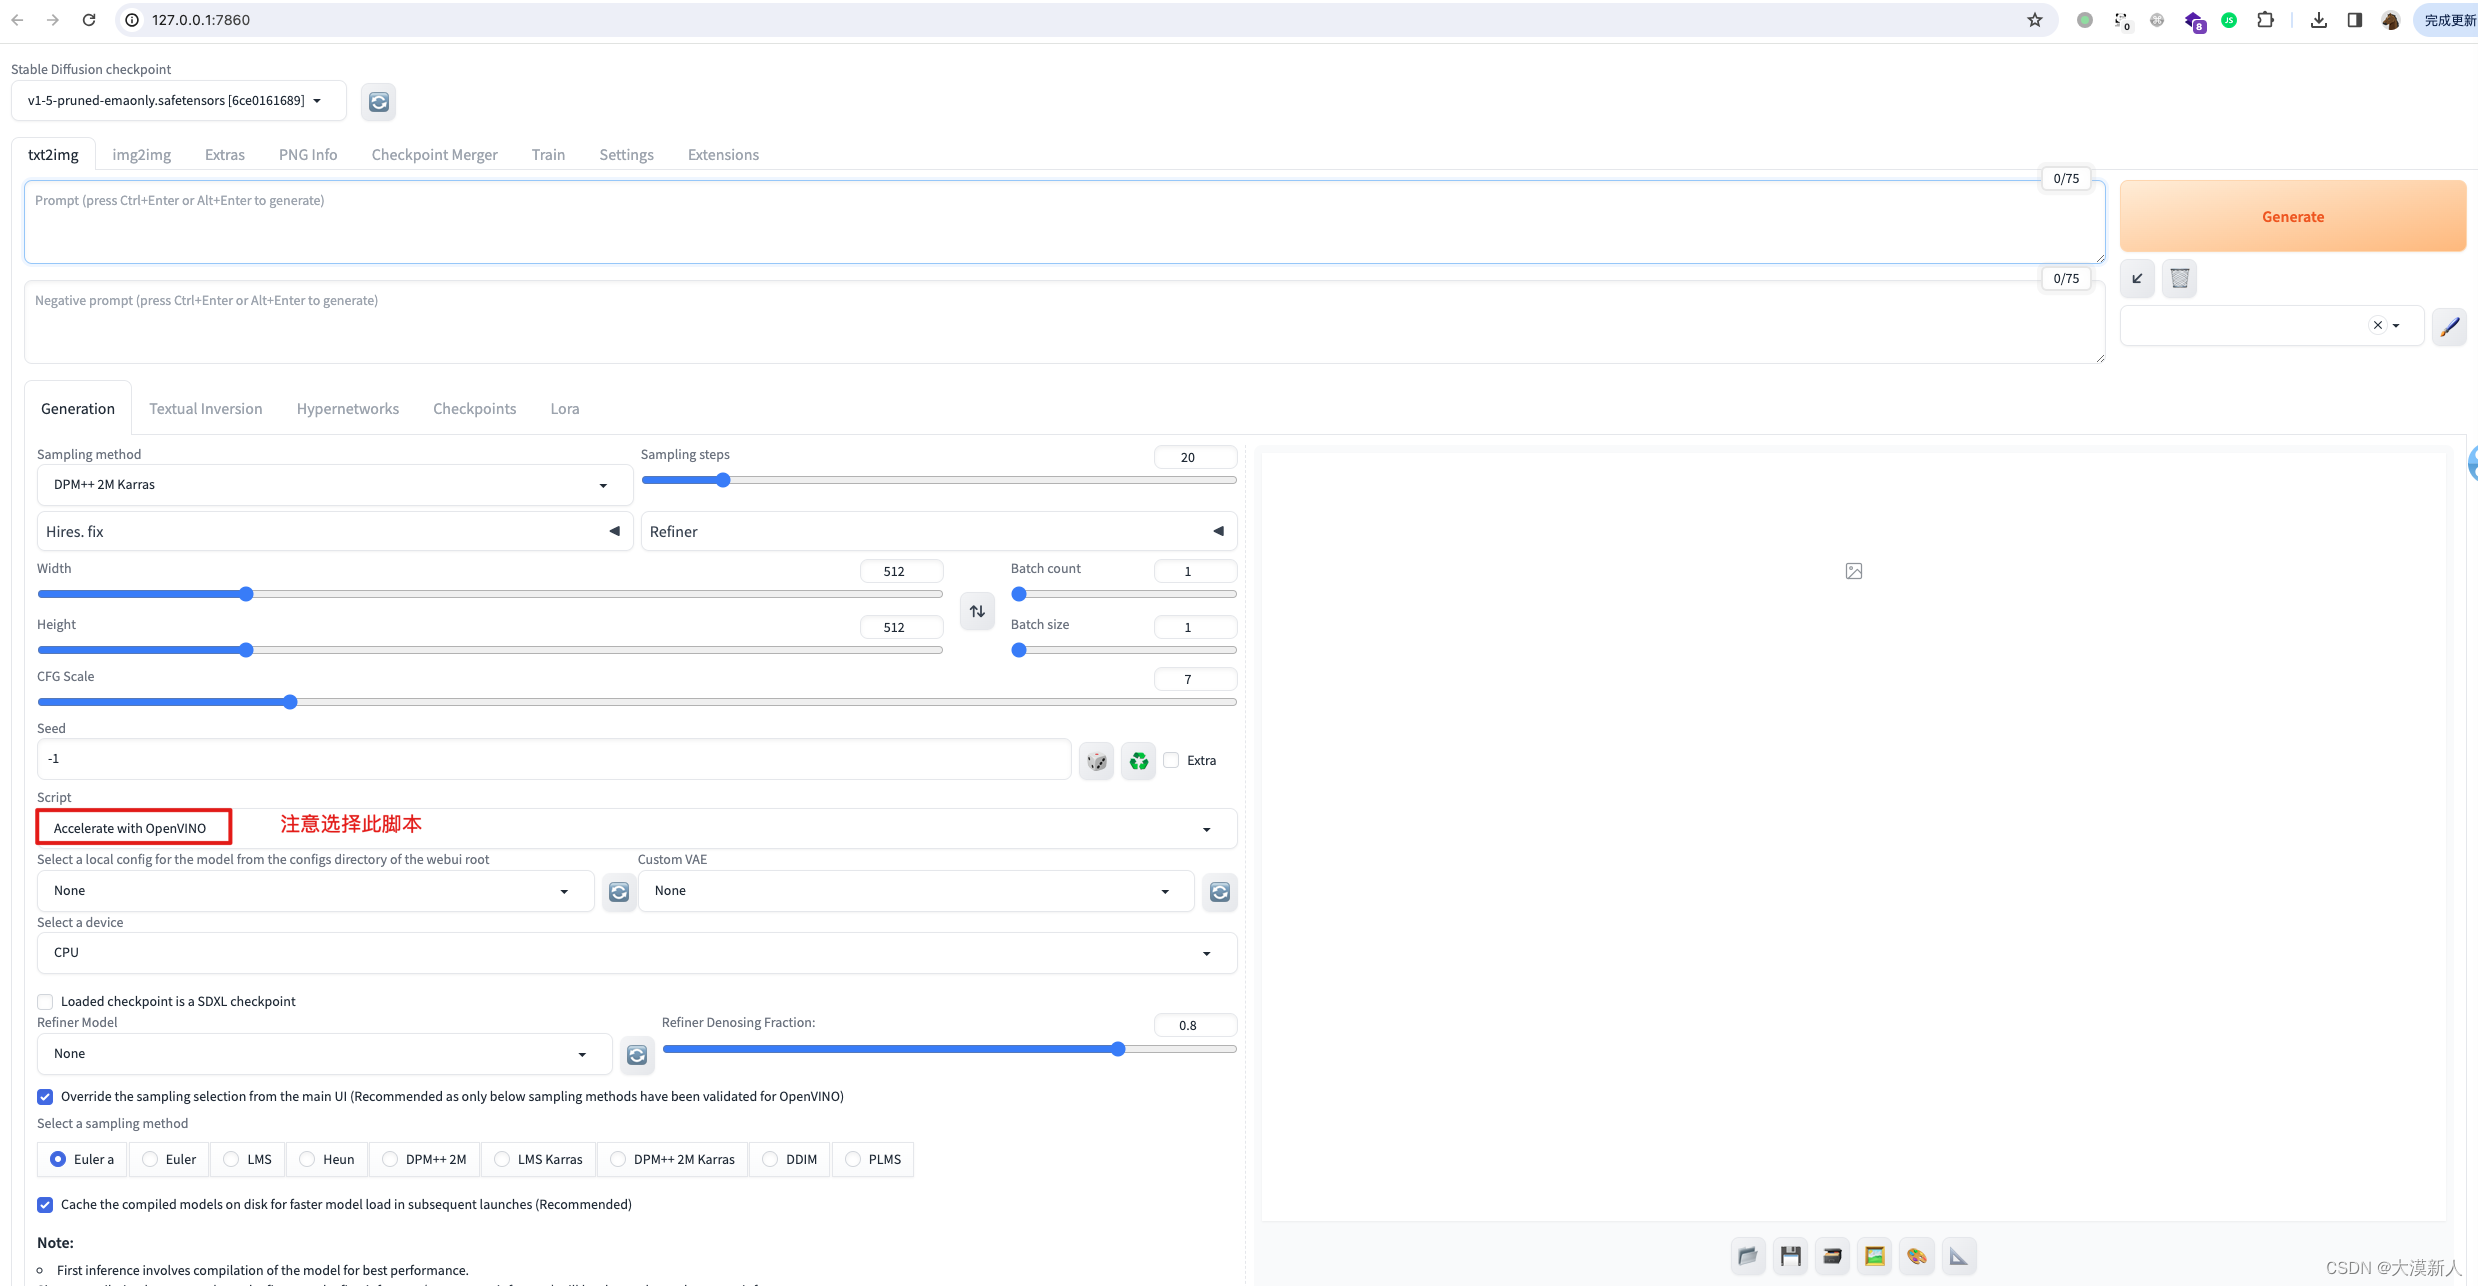
浏览器显示如下:
注意选择支持intel GPU的script,OpenVINO™ Acceleration Script
绘图时报错
类似如下报错
报错显示如下:
OSError: We couldn't connect to 'https://huggingface.co' to load this file, couldn't find it in the cached files and it looks like CompVis/stable-diffusion-safety-checker is not the path to a directory containing a file named config.json. Checkout your internet connection or see how to run the library in offline mode at 'https://huggingface.co/docs/transformers/installation#offline-mode'.
- 1
以及
   Traceback (most recent call last):
      File "/Users/zhaoyao/Downloads/SDW/stable-diffusion-webui/venv/lib/python3.10/site-packages/urllib3/connection.py", line 198, in _new_conn
        sock = connection.create_connection(
      File "/Users/zhaoyao/Downloads/SDW/stable-diffusion-webui/venv/lib/python3.10/site-packages/urllib3/util/connection.py", line 85, in create_connection
        raise err
      File "/Users/zhaoyao/Downloads/SDW/stable-diffusion-webui/venv/lib/python3.10/site-packages/urllib3/util/connection.py", line 73, in create_connection
        sock.connect(sa)
    TimeoutError: timed out

    The above exception was the direct cause of the following exception:

    Traceback (most recent call last):
      File "/Users/zhaoyao/Downloads/SDW/stable-diffusion-webui/venv/lib/python3.10/site-packages/urllib3/connectionpool.py", line 793, in urlopen
        response = self._make_request(
      File "/Users/zhaoyao/Downloads/SDW/stable-diffusion-webui/venv/lib/python3.10/site-packages/urllib3/connectionpool.py", line 491, in _make_request
        raise new_e
      File "/Users/zhaoyao/Downloads/SDW/stable-diffusion-webui/venv/lib/python3.10/site-packages/urllib3/connectionpool.py", line 467, in _make_request
        self._validate_conn(conn)
      File "/Users/zhaoyao/Downloads/SDW/stable-diffusion-webui/venv/lib/python3.10/site-packages/urllib3/connectionpool.py", line 1099, in _validate_conn
        conn.connect()
      File "/Users/zhaoyao/Downloads/SDW/stable-diffusion-webui/venv/lib/python3.10/site-packages/urllib3/connection.py", line 616, in connect
        self.sock = sock = self._new_conn()
      File "/Users/zhaoyao/Downloads/SDW/stable-diffusion-webui/venv/lib/python3.10/site-packages/urllib3/connection.py", line 207, in _new_conn
        raise ConnectTimeoutError(
    urllib3.exceptions.ConnectTimeoutError: (<urllib3.connection.HTTPSConnection object at 0x7ff2fbebe290>, 'Connection to huggingface.co timed out. (connect timeout=10)')

    The above exception was the direct cause of the following exception:

    Traceback (most recent call last):
      File "/Users/zhaoyao/Downloads/SDW/stable-diffusion-webui/venv/lib/python3.10/site-packages/requests/adapters.py", line 486, in send
        resp = conn.urlopen(
      File "/Users/zhaoyao/Downloads/SDW/stable-diffusion-webui/venv/lib/python3.10/site-packages/urllib3/connectionpool.py", line 847, in urlopen
        retries = retries.increment(
      File "/Users/zhaoyao/Downloads/SDW/stable-diffusion-webui/venv/lib/python3.10/site-packages/urllib3/util/retry.py", line 515, in increment
        raise MaxRetryError(_pool, url, reason) from reason  # type: ignore[arg-type]
    urllib3.exceptions.MaxRetryError: HTTPSConnectionPool(host='huggingface.co', port=443): Max retries exceeded with url: /CompVis/stable-diffusion-safety-checker/resolve/main/config.json (Caused by ConnectTimeoutError(<urllib3.connection.HTTPSConnection object at 0x7ff2fbebe290>, 'Connection to huggingface.co timed out. (connect timeout=10)'))
- 1
- 2
- 3
- 4
- 5
- 6
- 7
- 8
- 9
- 10
- 11
- 12
- 13
- 14
- 15
- 16
- 17
- 18
- 19
- 20
- 21
- 22
- 23
- 24
- 25
- 26
- 27
- 28
- 29
- 30
- 31
- 32
- 33
- 34
- 35
- 36
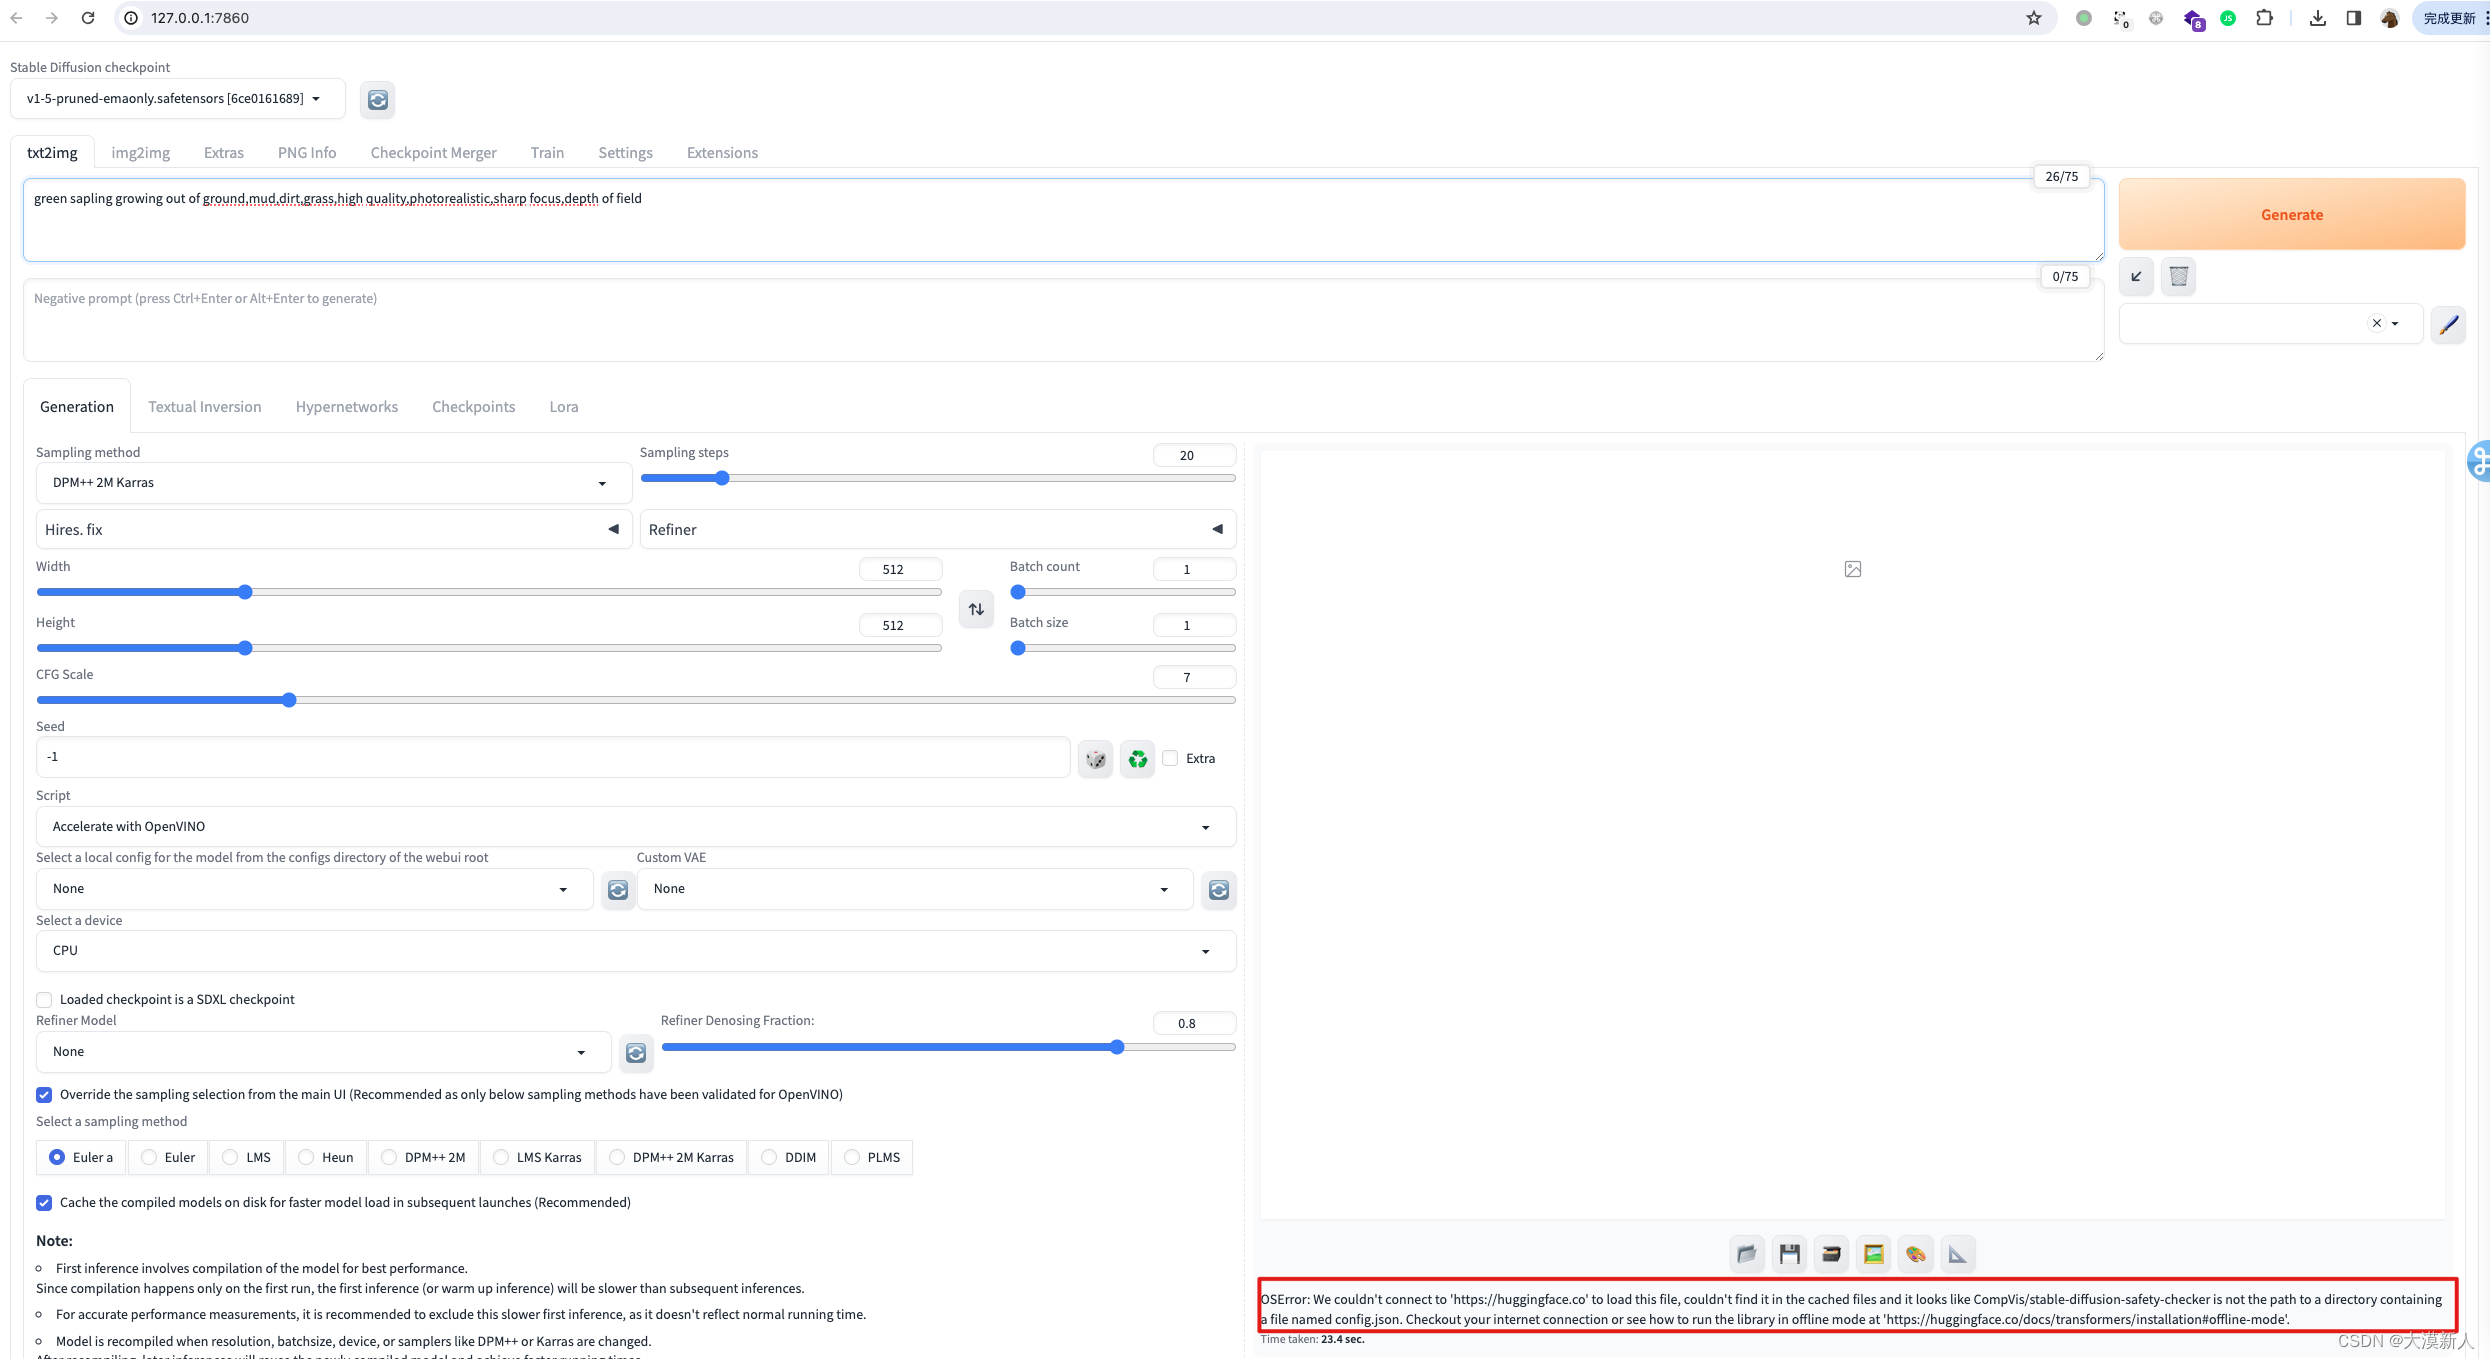
很显然是绘图时需要访问huggingface.co下载模块
考虑直接添加代理的方式,因为不可能每次画图每次需要下载模块的时候每次手动下载
修改webu.sh
在此文件后追加代理
proxy='socks5://127.0.0.1:1088'
export http_proxy=$proxy
export https_proxy=$proxy
export no_proxy="localhost, *.local, 127.0.0.1, ::1, 192.168.*.*, 10.*.*.*, 172.16-31.*.*, *.baidu.com*, *.bilibili.com*, *.cn*, *.com.cn*, *.csdn.net*, *.51cto*, *tencent*, *qq.com*, *weixin*, *ali*, *dingding*, *huawei*, *xunlei*, *tonghuashun*, *dongfangcaifu*, *i4tool*, *163.com*, *doubanio.com*, *douban*, *youku*"
- 1
- 2
- 3
- 4

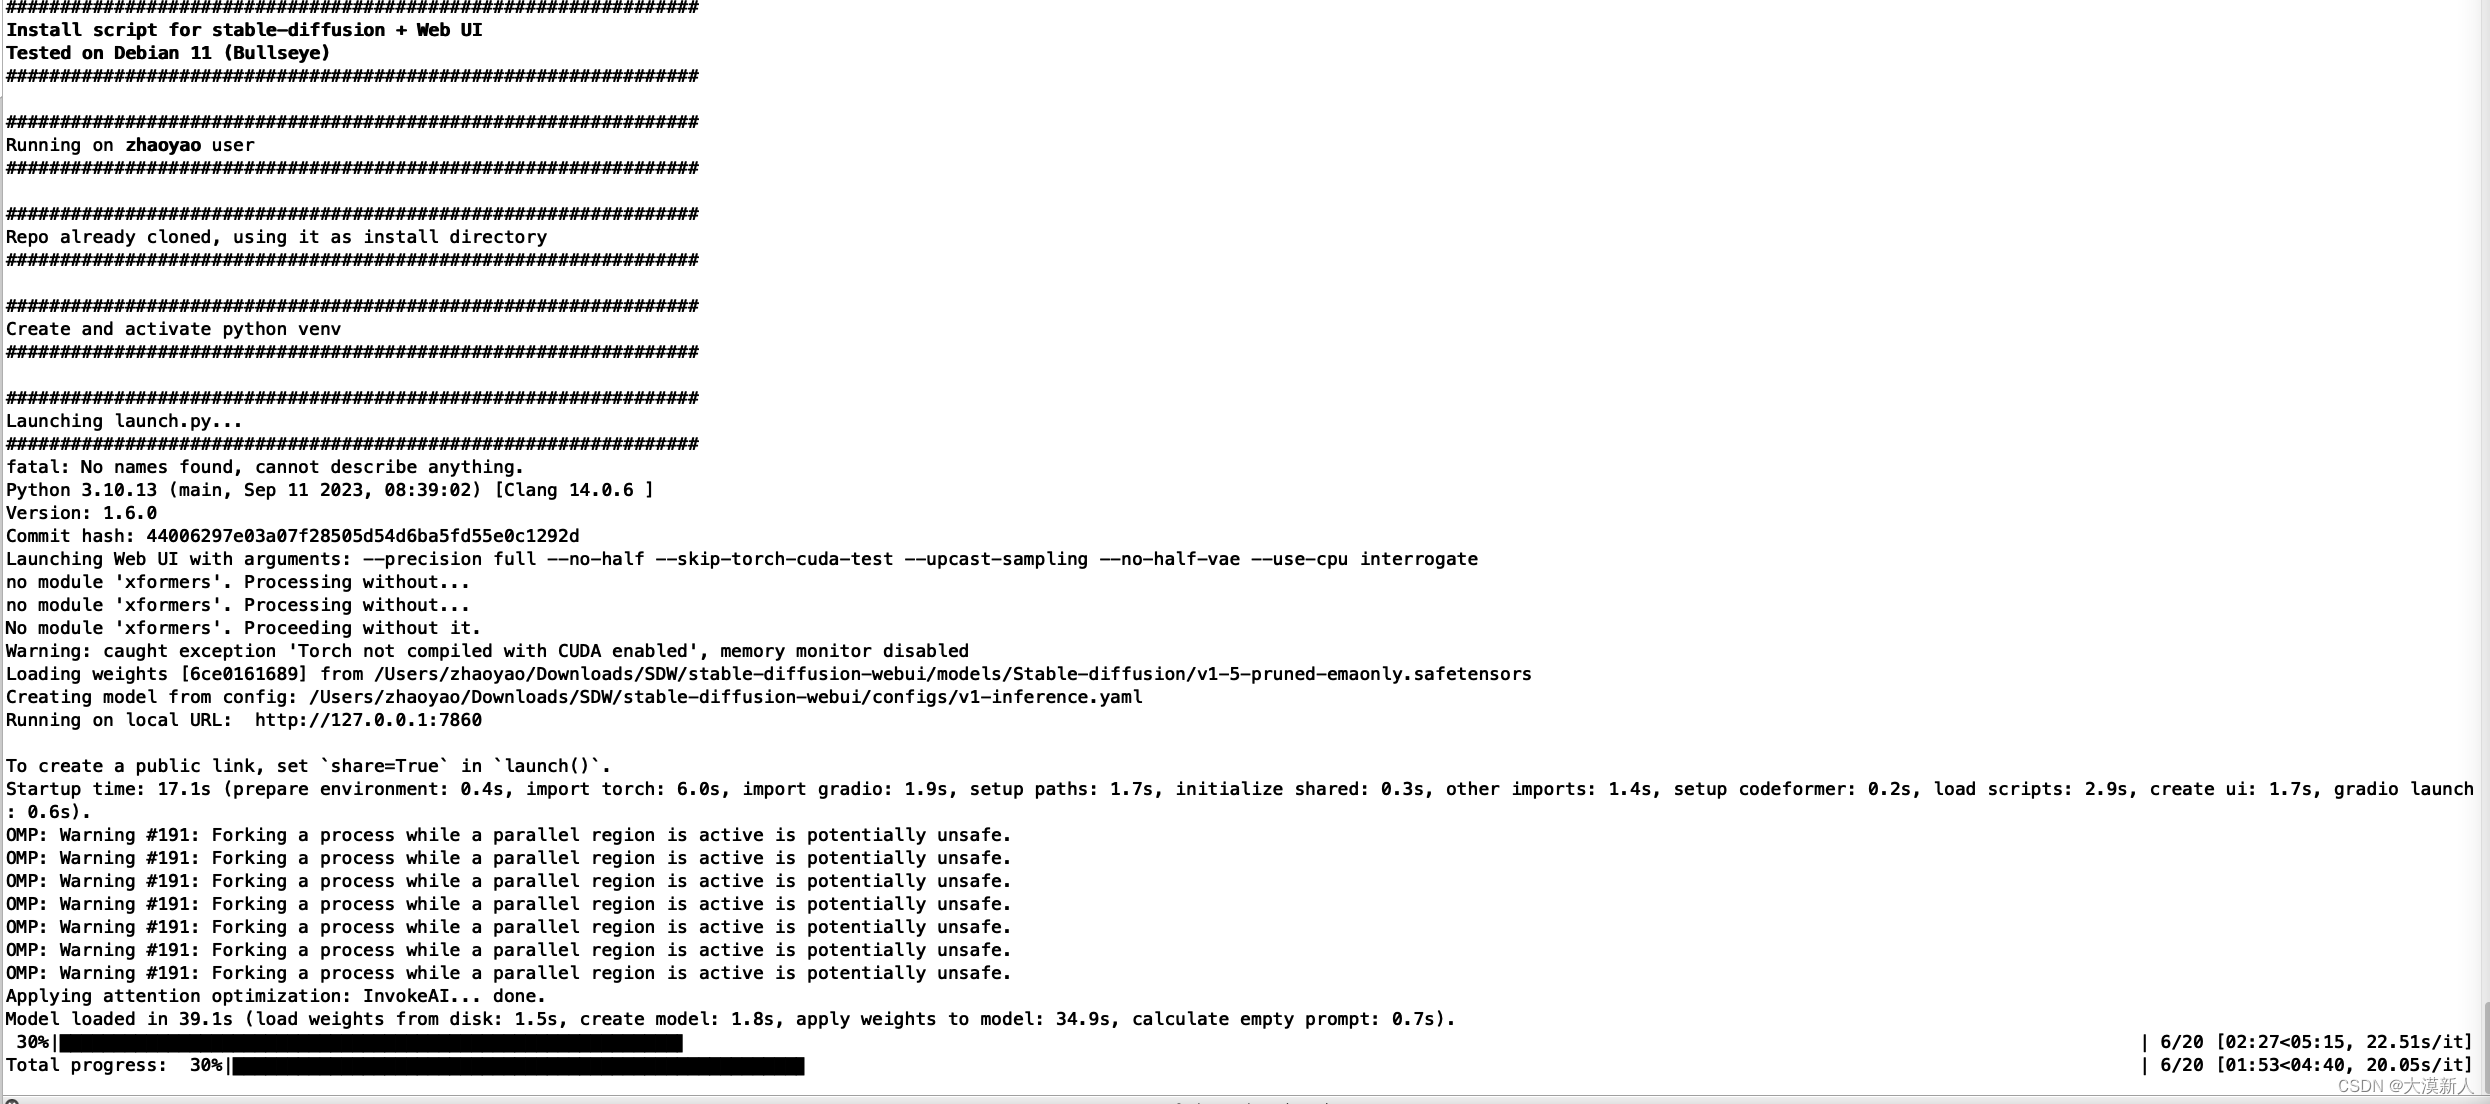
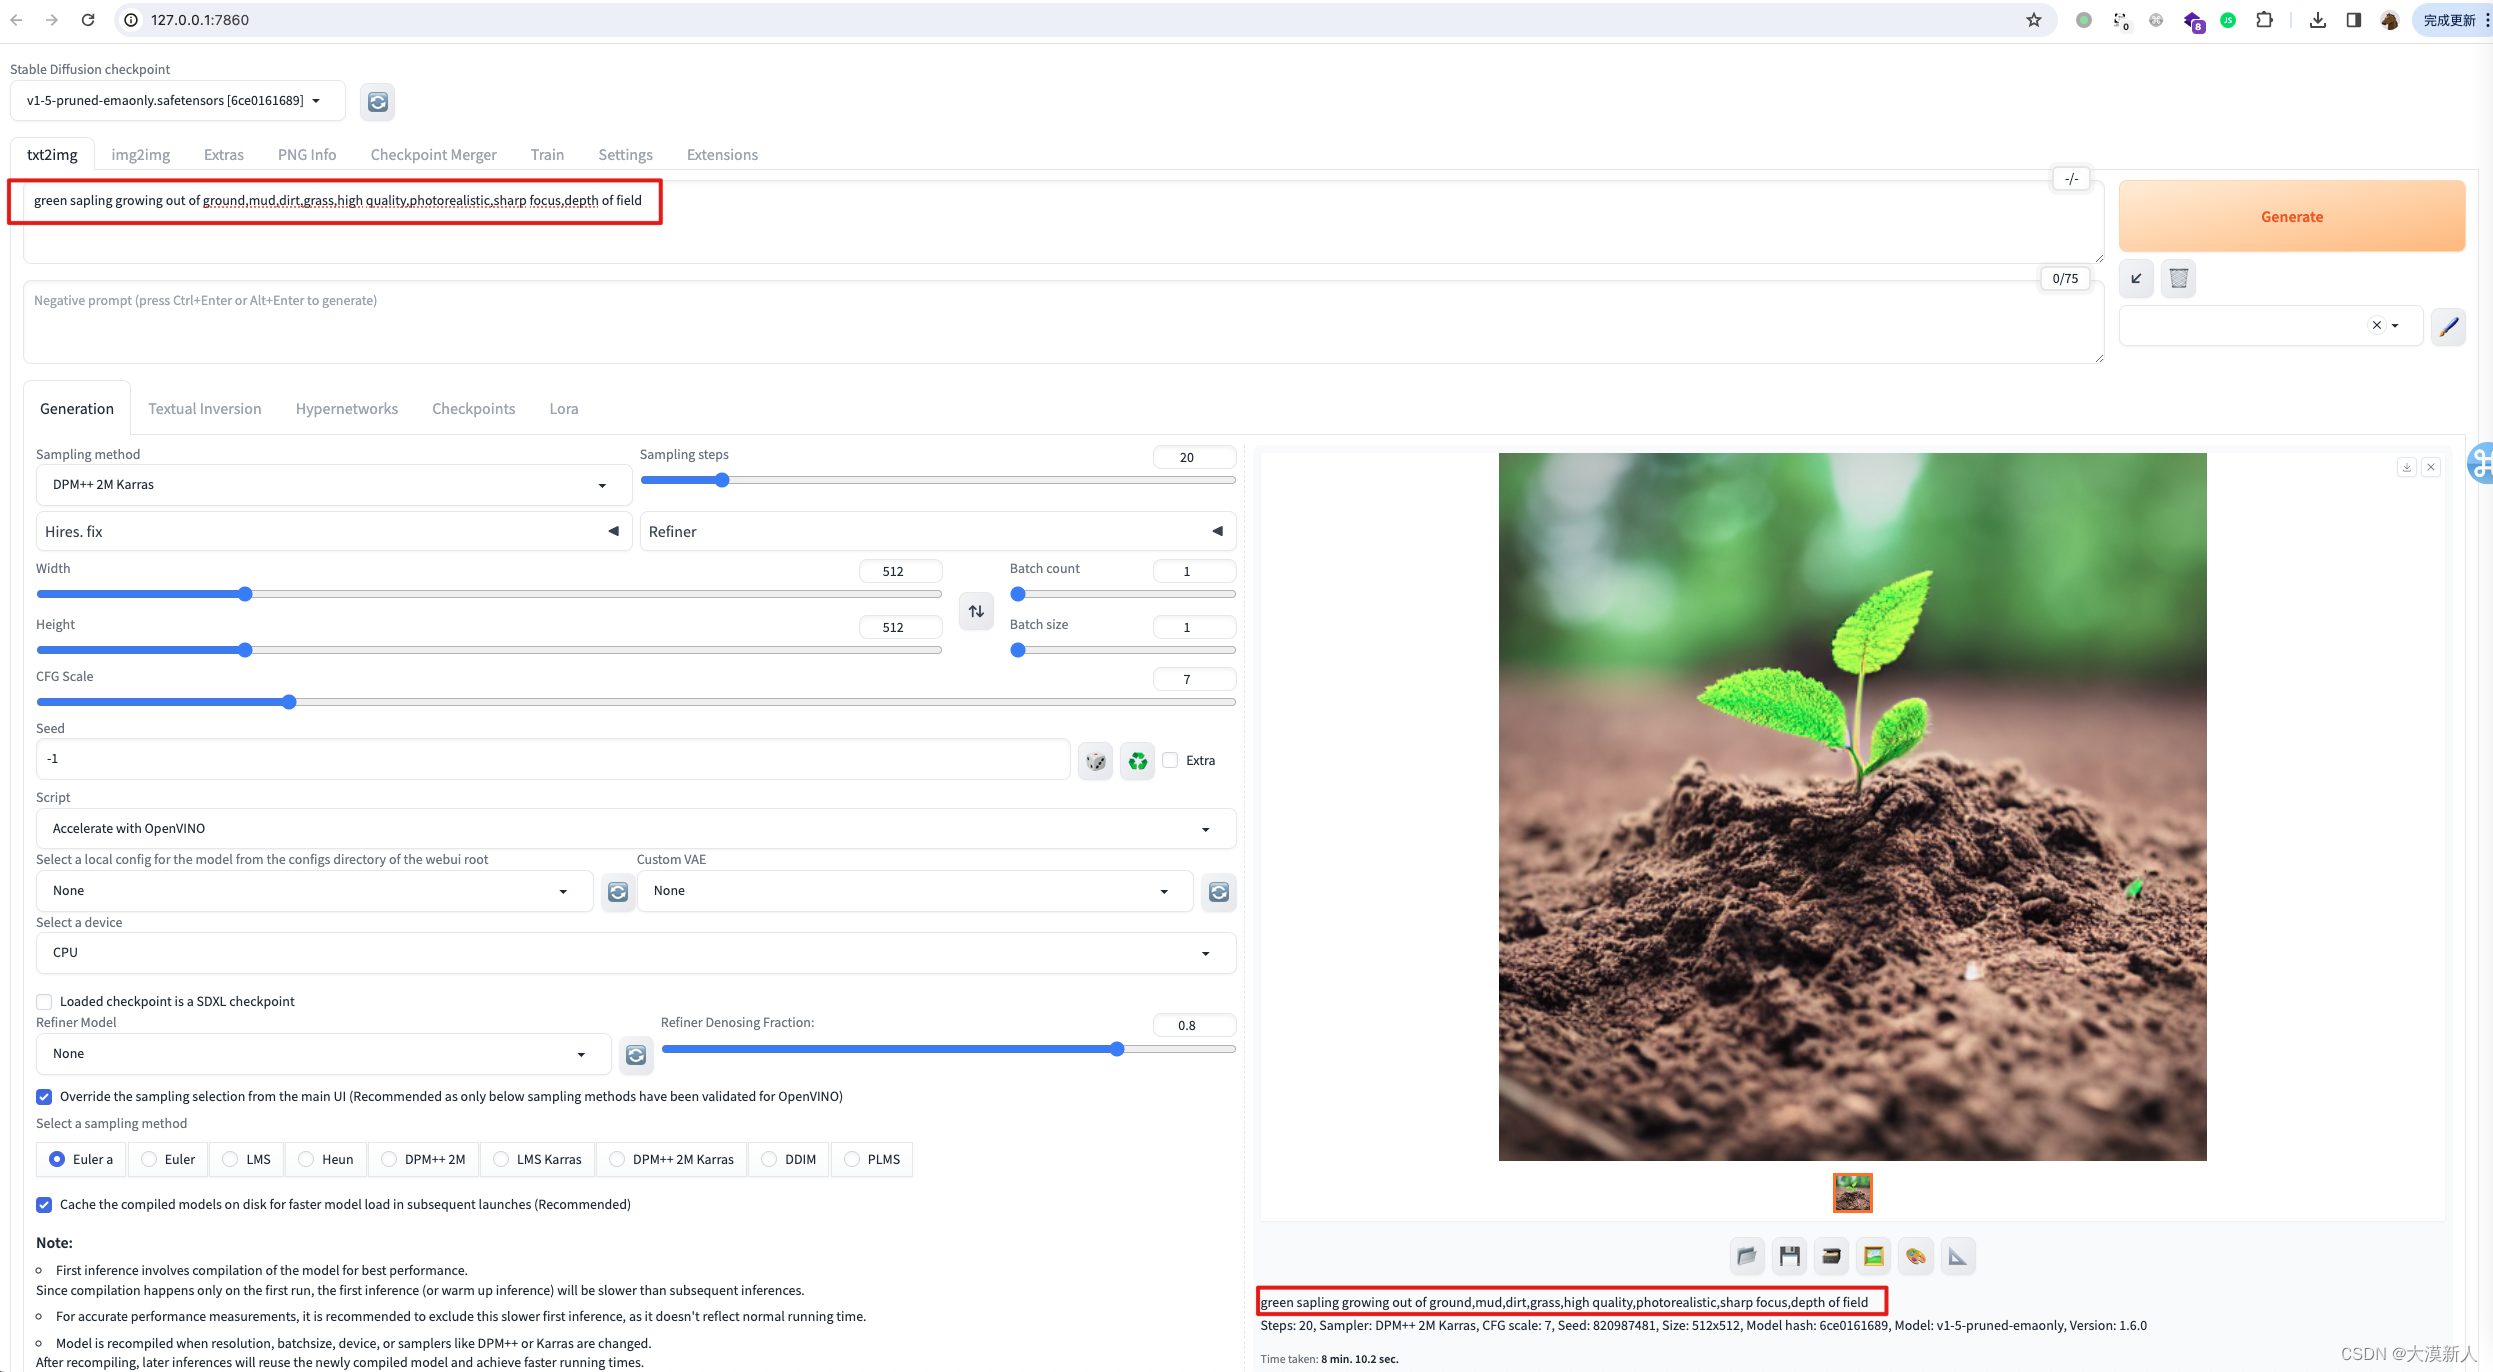
绘图时会有如下显示:
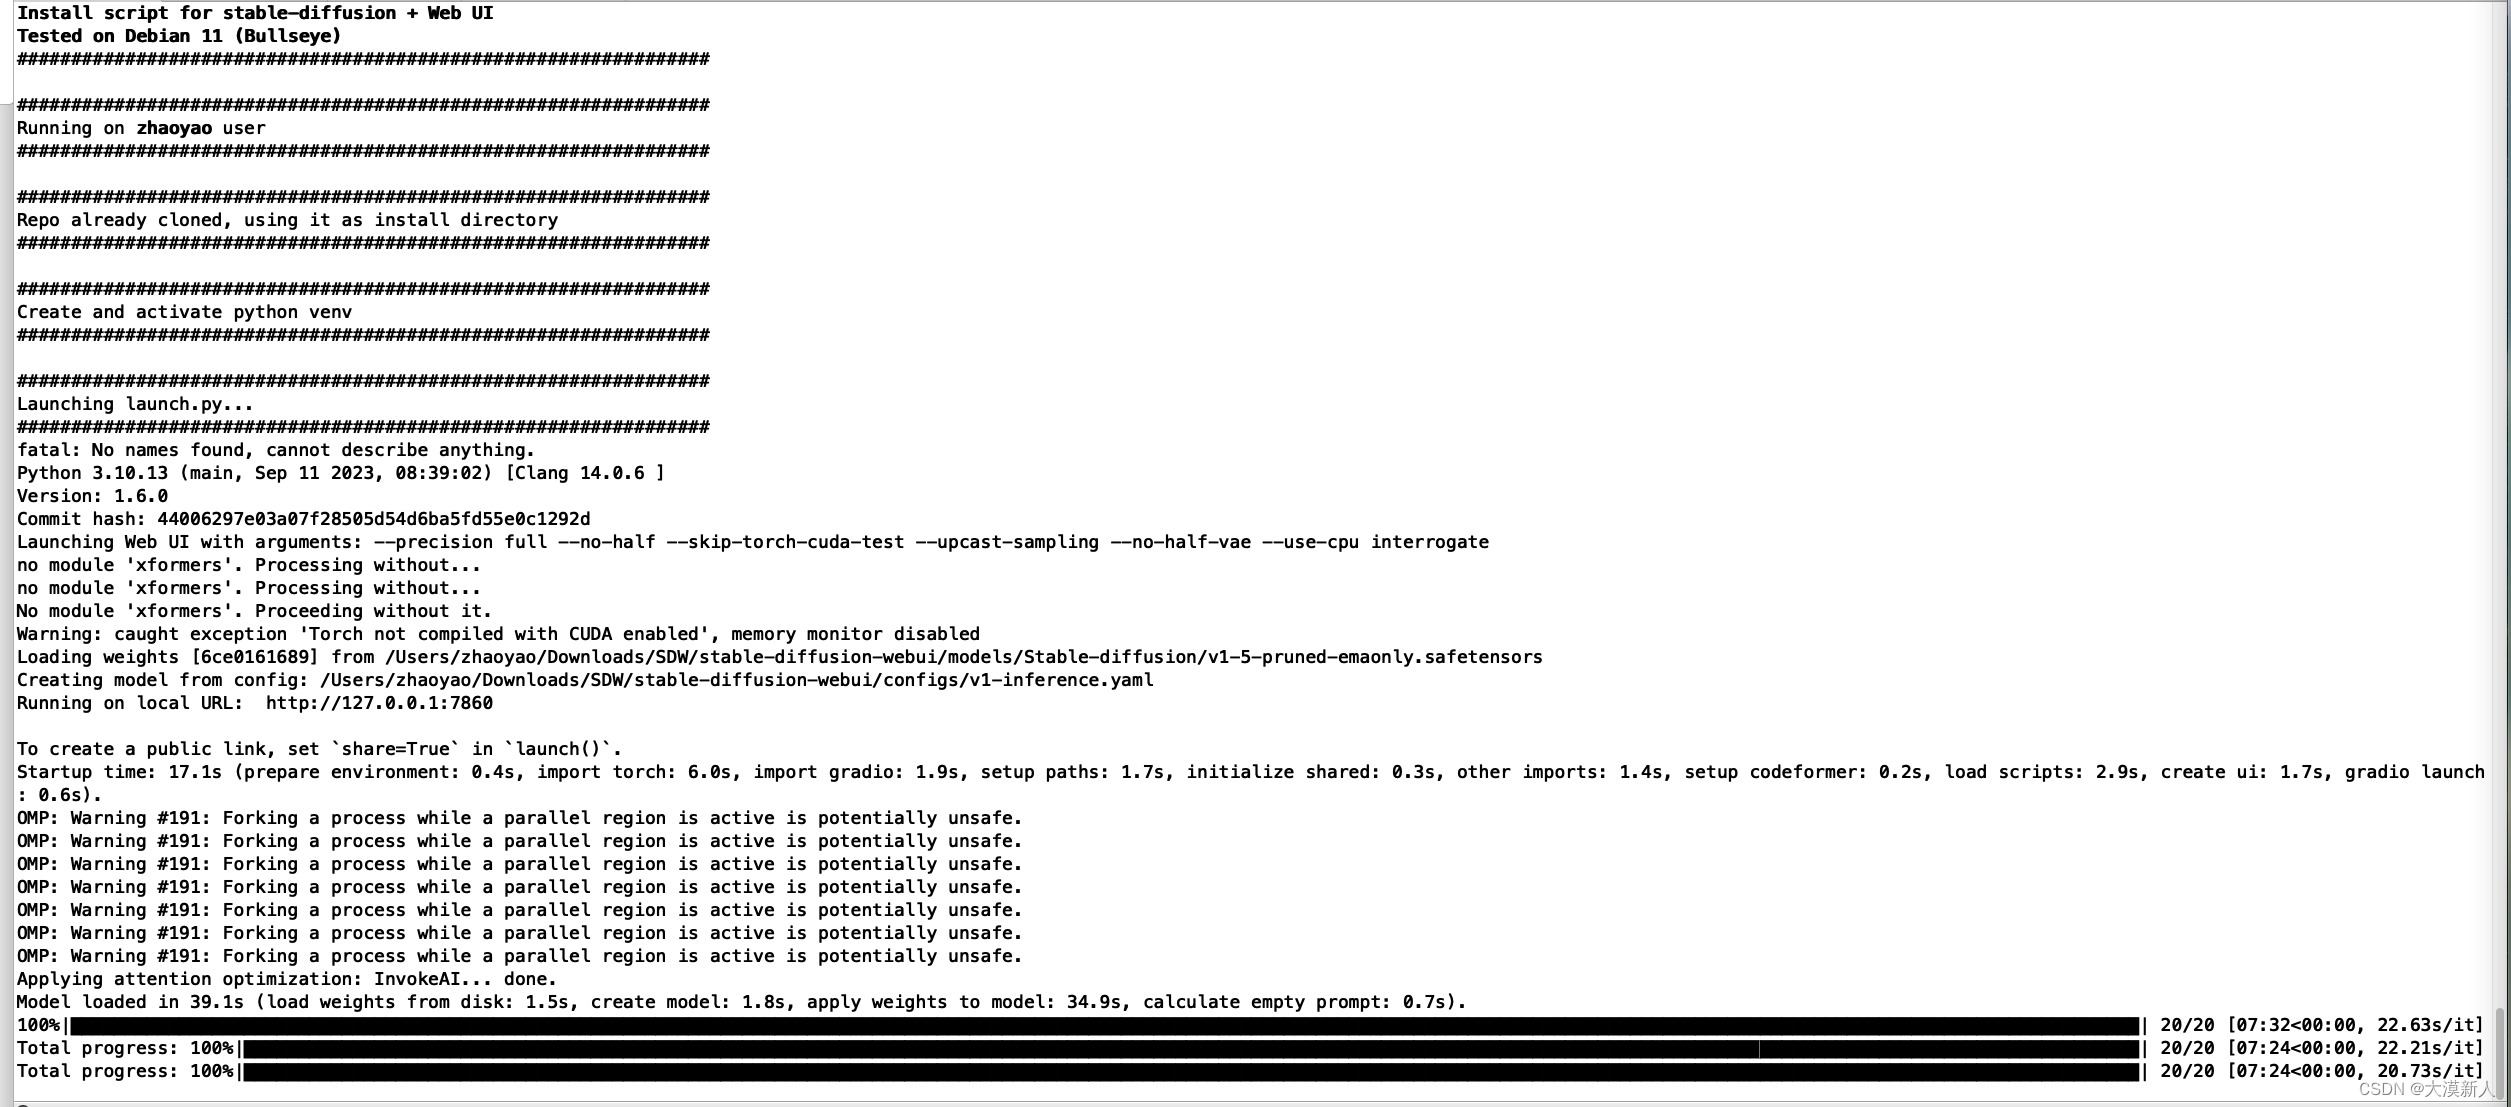
绘图结束显示
总结
参考于https://github.com/openvinotoolkit/stable-diffusion-webui
https://openai.wiki/stable-diffusion-webui-localization.html。
声明:本文内容由网友自发贡献,不代表【wpsshop博客】立场,版权归原作者所有,本站不承担相应法律责任。如您发现有侵权的内容,请联系我们。转载请注明出处:https://www.wpsshop.cn/w/菜鸟追梦旅行/article/detail/296045
推荐阅读
相关标签


