- 1MPI子通信域Broadcast通信_mpi_broadcast api
- 2盘点52个全球人工智能和机器学习重要会议_intelligent systems conference
- 3WPF内嵌CEFSharp控件与JS交互_wpf cefsharp 网页 交互
- 4技校学计算机当兵,技校毕业证可以当兵吗 有用吗
- 5快应用安卓机进行真机调试(详细流程)_海外版手机快应用调试
- 6python 排序与自定义排序:列表、字典、dataframe_python列表自定义排序
- 7CSS3动画-transition、animation、transform(translate/scale/rotate)_css动画
- 8手把手教你搭建自己本地的ChatGLM
- 9Linux 系统文件权限管理(参考菜鸟教程)_linux 查看属主权限文件
- 10三、python基础语法进阶篇(黑马程序猿-python学习记录)_python进阶
单机模拟分布式MINIO(阿里云)
赞
踩
拉取的最新MINIO:
minio version RELEASE.2024-03-15T01-07-19Z
Runtime: go1.21.8 linux/amd64
分布式 MinIO 至少需要4个节点,也就意味着至少4个硬盘,对于囊中羞涩仅用来开发测试的人来说,这笔花销还是比较高昂。有没有更好的办法,当然是有的。下面就是在单台阿里云安装miniio的过程:
我们需要建立4个硬盘,每个硬盘3G大小,测试应该完全够用了,操作命令:
- mkdir /vdisk
-
- dd if=/dev/zero of=/vdisk/disk1.img bs=1G count=3
-
- dd if=/dev/zero of=/vdisk/disk2.img bs=1G count=3
-
- dd if=/dev/zero of=/vdisk/disk3.img bs=1G count=3
-
- dd if=/dev/zero of=/vdisk/disk4.img bs=1G count=3
-
- mkfs.ext4 /vdisk/disk1.img
-
- mkfs.ext4 /vdisk/disk2.img
-
- mkfs.ext4 /vdisk/disk3.img
-
- mkfs.ext4 /vdisk/disk4.img
-
- mkdir /disk1
-
- mkdir /disk2
-
- mkdir /disk3
-
- mkdir /disk4
-
- echo "/vdisk/disk1.img /disk1 ext4 defaults 0 0" | sudo tee -a /etc/fstab
-
- echo "/vdisk/disk2.img /disk2 ext4 defaults 0 0" | sudo tee -a /etc/fstab
-
- echo "/vdisk/disk3.img /disk3 ext4 defaults 0 0" | sudo tee -a /etc/fstab
-
- echo "/vdisk/disk4.img /disk4 ext4 defaults 0 0" | sudo tee -a /etc/fstab
-
- mount -a

看看mount后的结果是否成功。
df查看系统的硬盘:

这样我们就有了4块3GB的硬盘
下一步使用DOCKER安装4个节点,每个节点分别使用disk1~disk4。
按照官方指引安装好minio,然后开始配置
执行命令导出环境:
export MINIO_ROOT_USER=<你的用户>
export MINIO_ROOT_PASSWORD=<你的密码>
注意这两个将会是你WEB UI管理器登录的用户名和密码
下一步使用命令把这4个节点都启起来:
nohup minio server --address localhost:9001 --console-address :9101 http://localhost:9001/disk1 http://localhost:9002/disk2 http://localhost:9003/disk3 http://localhost:9004/disk4 &
nohup minio server --address localhost:9002 --console-address :9102 http://localhost:9001/disk1 http://localhost:9002/disk2 http://localhost:9003/disk3 http://localhost:9004/disk4 &
nohup minio server --address localhost:9003 --console-address :9103 http://localhost:9001/disk1 http://localhost:9002/disk2 http://localhost:9003/disk3 http://localhost:9004/disk4 &
nohup minio server --address localhost:9004 --console-address :9104 http://localhost:9001/disk1 http://localhost:9002/disk2 http://localhost:9003/disk3 http://localhost:9004/disk4 &
这里--console-address :9101可以指定监听IP,例如--console-address localhost:9101,那么就只能内部进行访问管理页面(采用SSH端口转发)。目前我使用外网测试,那么就监听的所有了
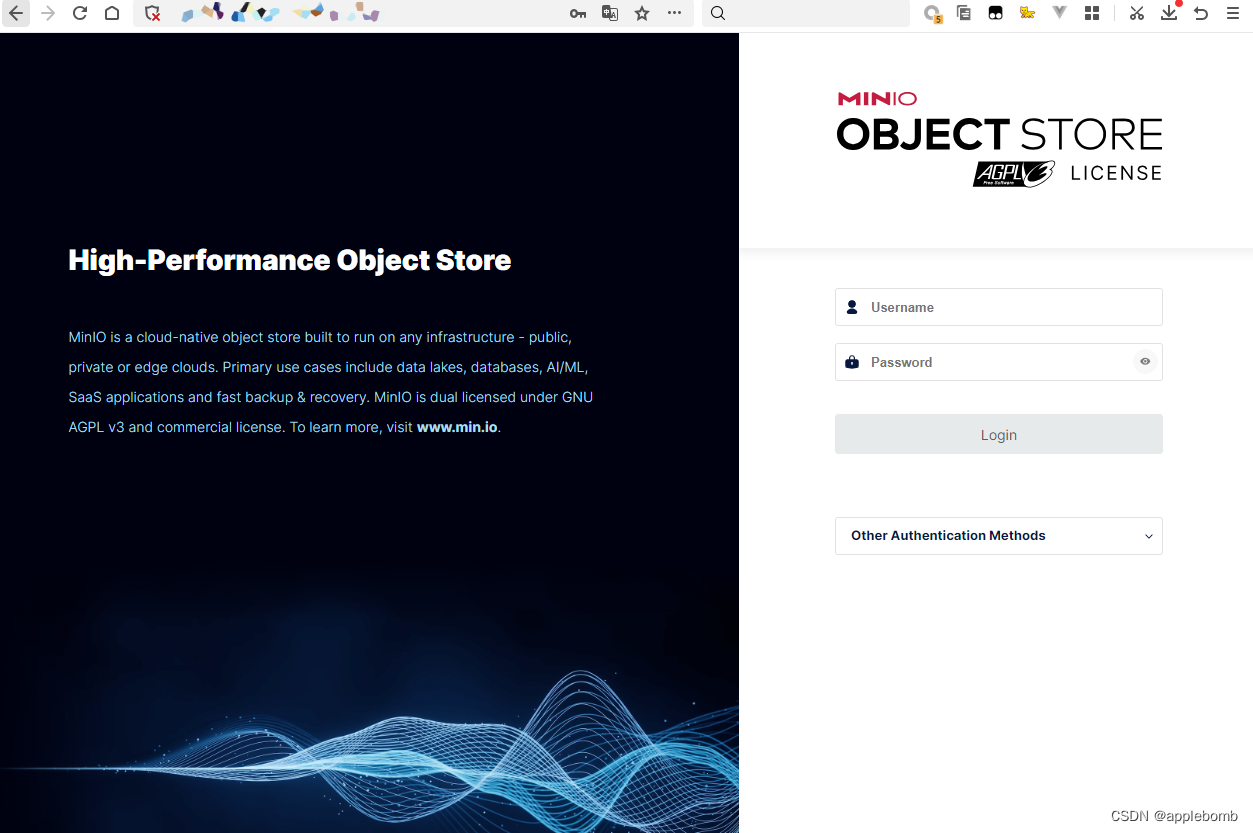
打开浏览器访问管理页:
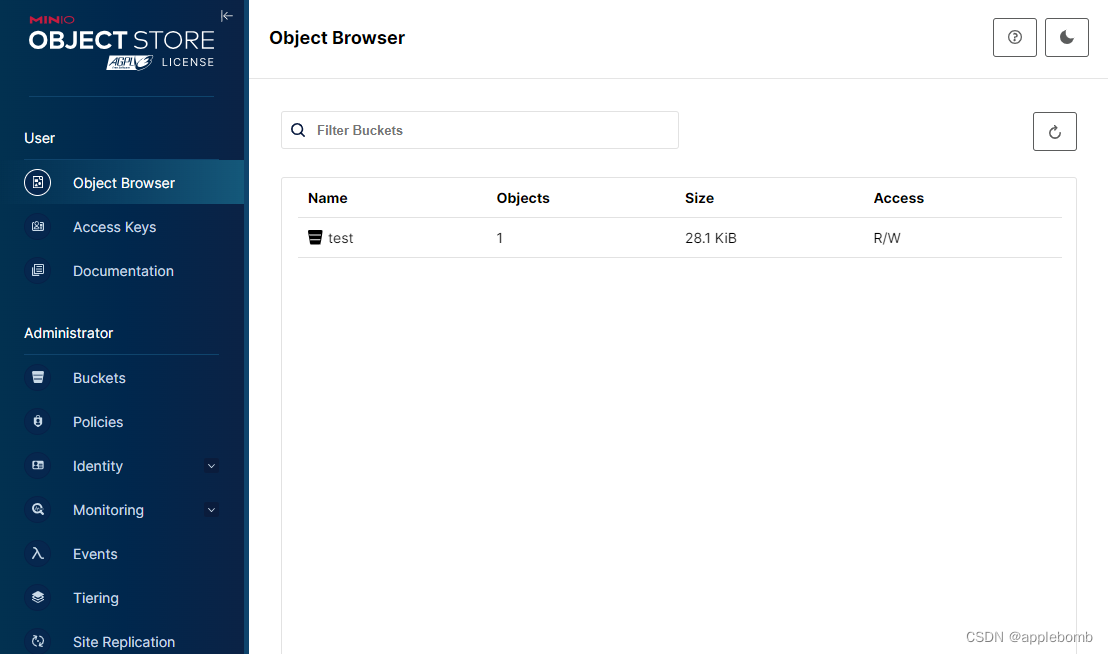
登录进去,两年不见界面又帅气了不少

建立一个bucket随便上传个文件,然后看到disk1~disk4下都有该文件了。测试正常了


