热门标签
热门文章
- 1搭建属于自己的数字IC EDA环境(番外):S家EDA工具 license失效,TCP端口占用问题_scl_keygen运行不生成license
- 2react项目引入electron进行mac、windows桌面应用打包,通过浏览器下载安装包
- 3Python抓取腾视频所有电影,不用钱就可以看会员电影_爬取腾讯视频vip视频
- 4k8s学习笔记(四):命名空间(namespace)详解_k8s namespace
- 5微信小程序开题报告ssm的物流快递管理平台的设计与实现+后台管理系统|前后分离VUE[包运行成功]Java毕业设计源代码_基于ssm快递管理系统报告
- 6如何制作知识付费课程?_知乎如何设置付费视频
- 7微信小程序-云开发模式pk传统开发模式【详细】_pk学习小程序开发
- 8Linux命令之 systemctl 指令_liunx systemctl 命令
- 9win10pro不够pro,win10专业工作站版本才是真的牛
- 102020年前端Vue面试题(04-04)_腾讯前端vue面试2020
当前位置: article > 正文
OpenGL简单模糊效果_opengl纹理边缘模糊化
作者:Gausst松鼠会 | 2024-02-18 11:27:51
赞
踩
opengl纹理边缘模糊化
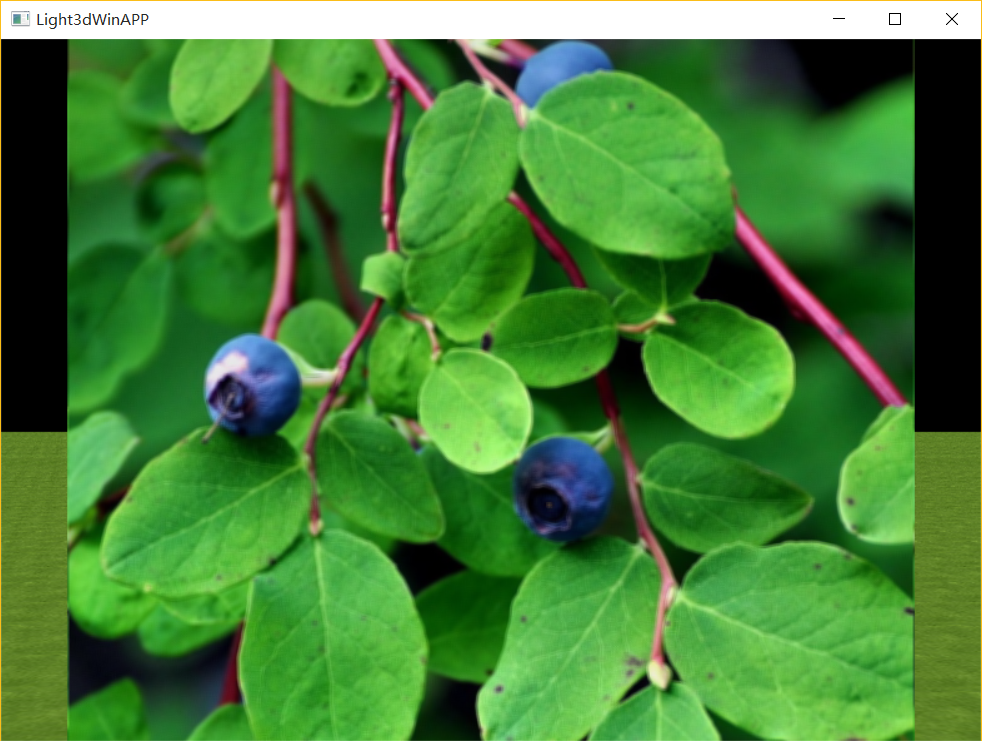
这里实现简单的模糊效果,具体做法是在片段着色器中,从图像中读取样本时对纹理坐标进行偏移,从图像中抽出左上右下四个样本,然后在着色器中取平均值。
原图效果:
模糊系数 0.001
模糊系数0.0015
看起来就和眼睛花了一样……
片段着色器代码:
const char* fragmentShader =
		{
			"precision lowp float;"
			"uniform sampler2D m_texture;"
			"varying vec4 m_outColor;"
			"varying vec2 m_outUV;"

			"void main()"
			"{"
			"	vec4 sample0,sample1,sample2,sample3;"
			"	float fstep=0.0015;"
			"	sample0=texture2D(m_texture,vec2(m_outUV.x-fstep,m_outUV.y-fstep));"
			"	sample1=texture2D(m_texture,vec2(m_outUV.x+fstep,m_outUV.y-fstep));"
			"	sample2=texture2D(m_texture,vec2(m_outUV.x+fstep,m_outUV.y+fstep));"
			"	sample3=texture2D(m_texture,vec2(m_outUV.x-fstep,m_outUV.y+fstep));"
			"	vec4 color=(sample0+sample1+sample2+sample3) / 4.0;"
			"	gl_FragColor=color*m_outColor;"
			"}"
		};
示例工程:
http://pan.baidu.com/s/1gd743Vt
声明:本文内容由网友自发贡献,版权归原作者所有,本站不承担相应法律责任。如您发现有侵权的内容,请联系我们。转载请注明出处:【wpsshop博客】
推荐阅读
相关标签


