- 1AWS Global Accelerator(GA) 加速EC2服务器_aws ga加速
- 2【视频讲解】神经网络、Lasso回归、线性回归、随机森林、ARIMA股票价格时间序列预测|附代码数据
- 3Django入门指南:从环境搭建到模型管理系统的完整教程_django系统步骤
- 41. LeetCode-数组和字符串
- 5神经网络——关于卷积_卷积通道数
- 66. 成功解决:Driver class ‘com.microsoft.sqlserver.jdbc.SQLServerDriver‘ could not be found_driver class 'com.microsoft.sqlserver.jdbc.sqlserv
- 7【jupyter notebook】安装配置及使用_jupyter notebook配置文件
- 8SpringBoot+Vue实现学生宿舍管理系统_学生宿舍管理系统springboot,vue
- 9【Datawhale Al夏令营】基于术语词典干预的机器翻译挑战赛-baseline
- 10git checkout
记录一次开源 MaxKey 安装部署_maxkey 本地部署
赞
踩
官方文档:https://www.maxkey.top/doc/docs/intro/
开源代码:https://toscode.mulanos.cn/dromara/MaxKey
发行版:https://toscode.mulanos.cn/dromara/MaxKey/releases
一、准备工作
yum install -y yum-utils
yum-config-manager --add-repo http://mirrors.aliyun.com/docker-ce/linux/centos/docker-ce.repo
安装docker
yum install -y docker-ce
yum install -y bash-completion
安装git
yum install -y git
重启docker
systemctl status docker
systemctl start docker
systemctl restart docker
systemctl enable docker
二、安装部署
根目录下拉取代码
拉取脚本
git clone -b 4.0.x https://toscode.mulanos.cn/dromara/MaxKey.git
cd MaxKey/docker
拉取docker 镜像
bash ./maxkey_docker_install.sh(如需指定版本需手动改改脚本)
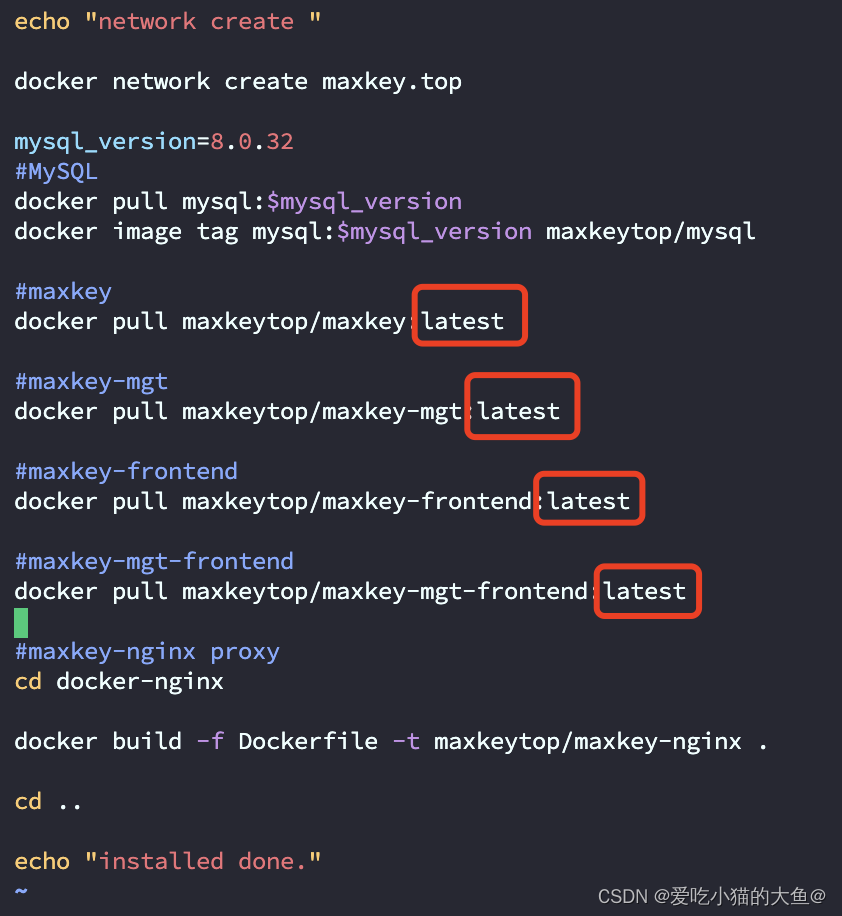

启动容器
bash ./maxkey_docker_start.sh(如需指定版本需手动改改脚本)
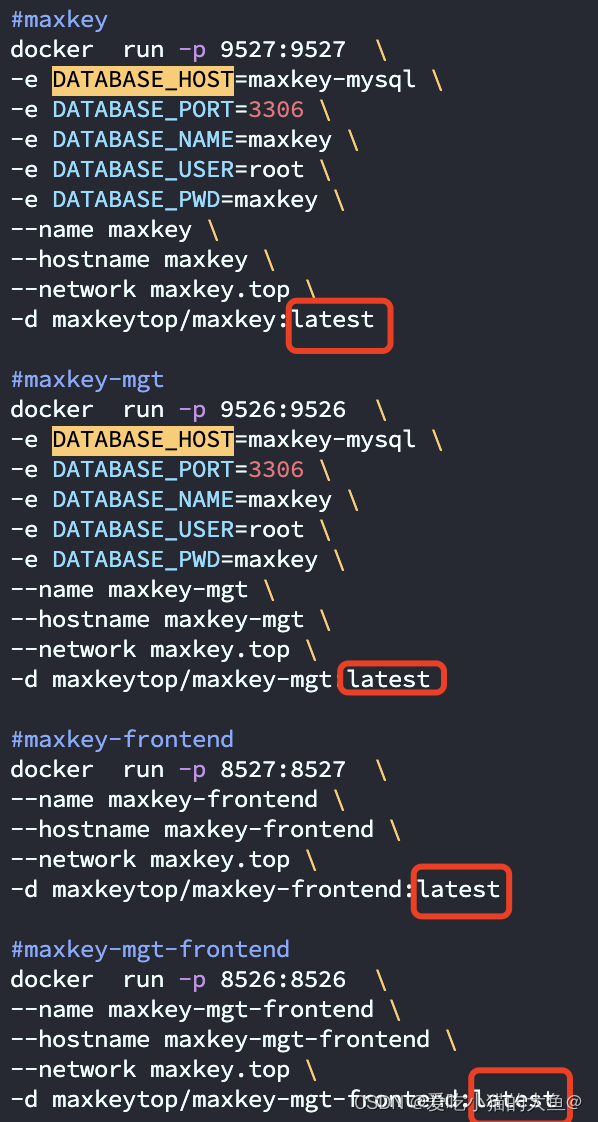

注意3.5版本以后做了前后端分离,nginx转发
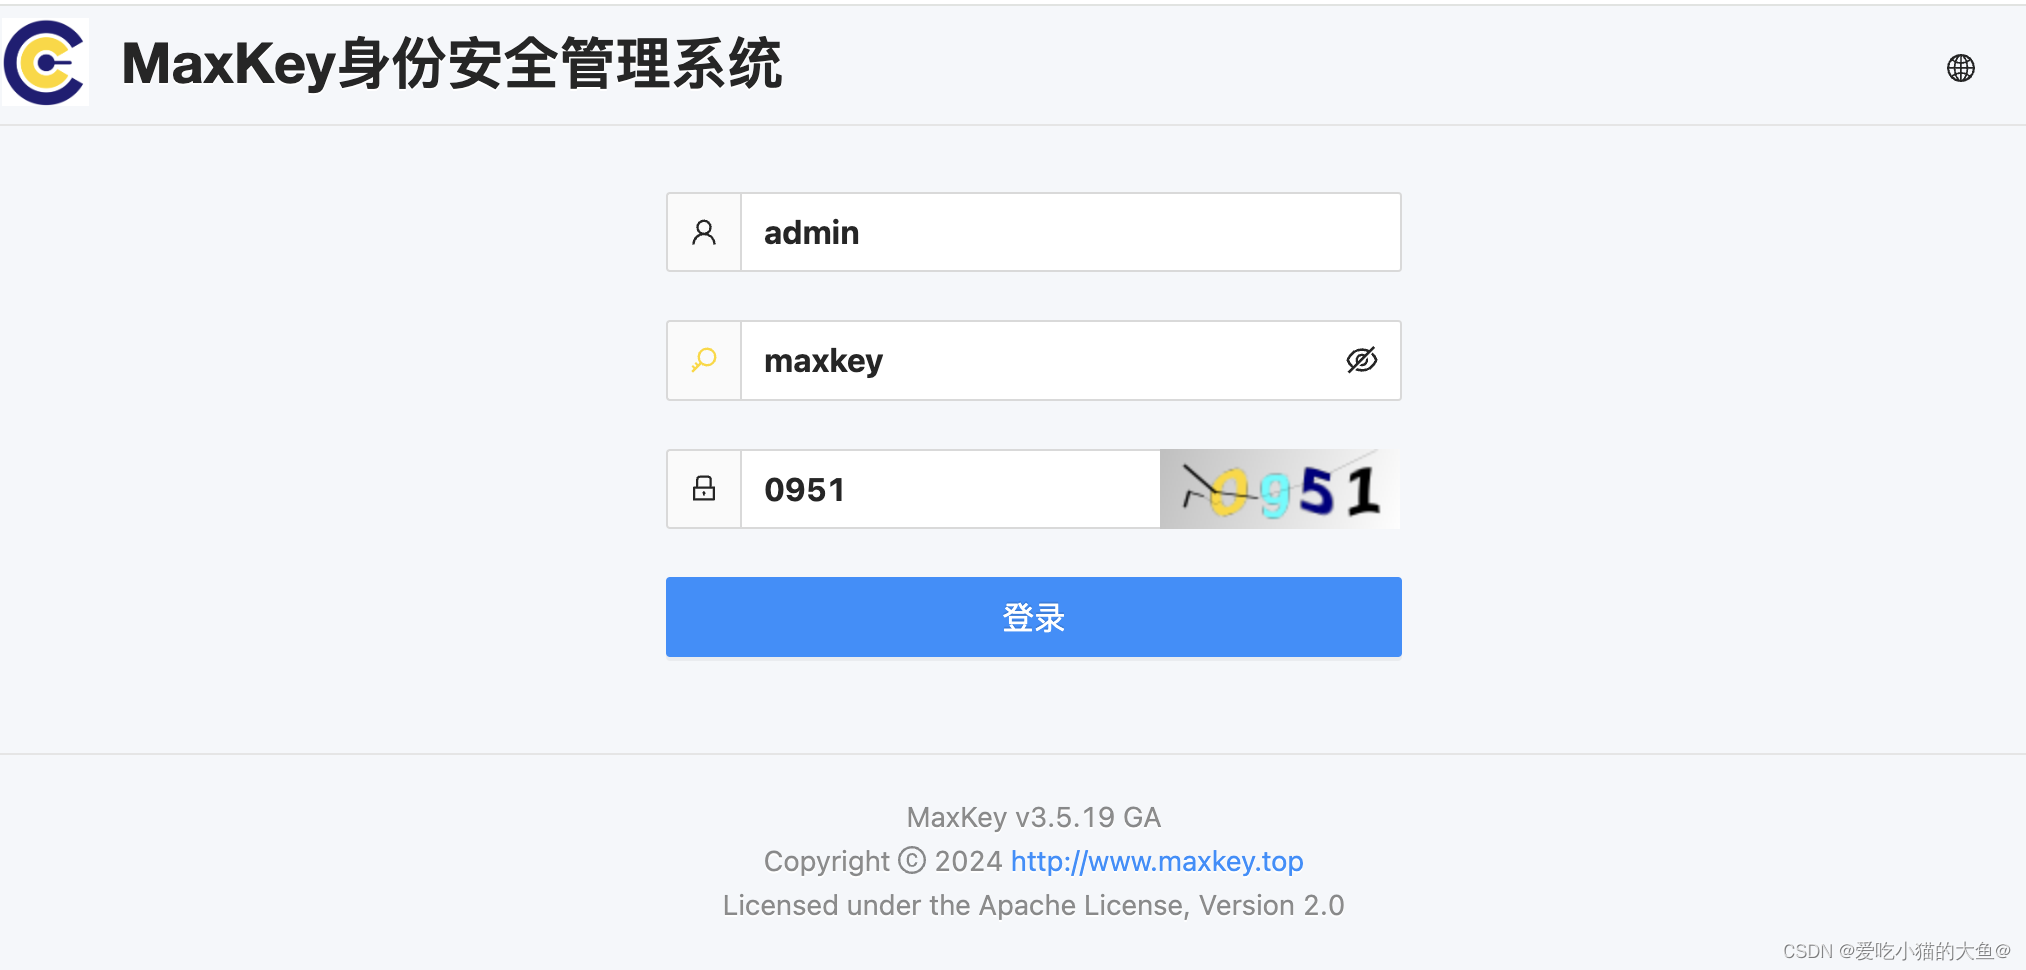
访问,默认账号密码admin/maxkey
认证系统 http://{ip}/maxkey
三、使用
登录管理系统
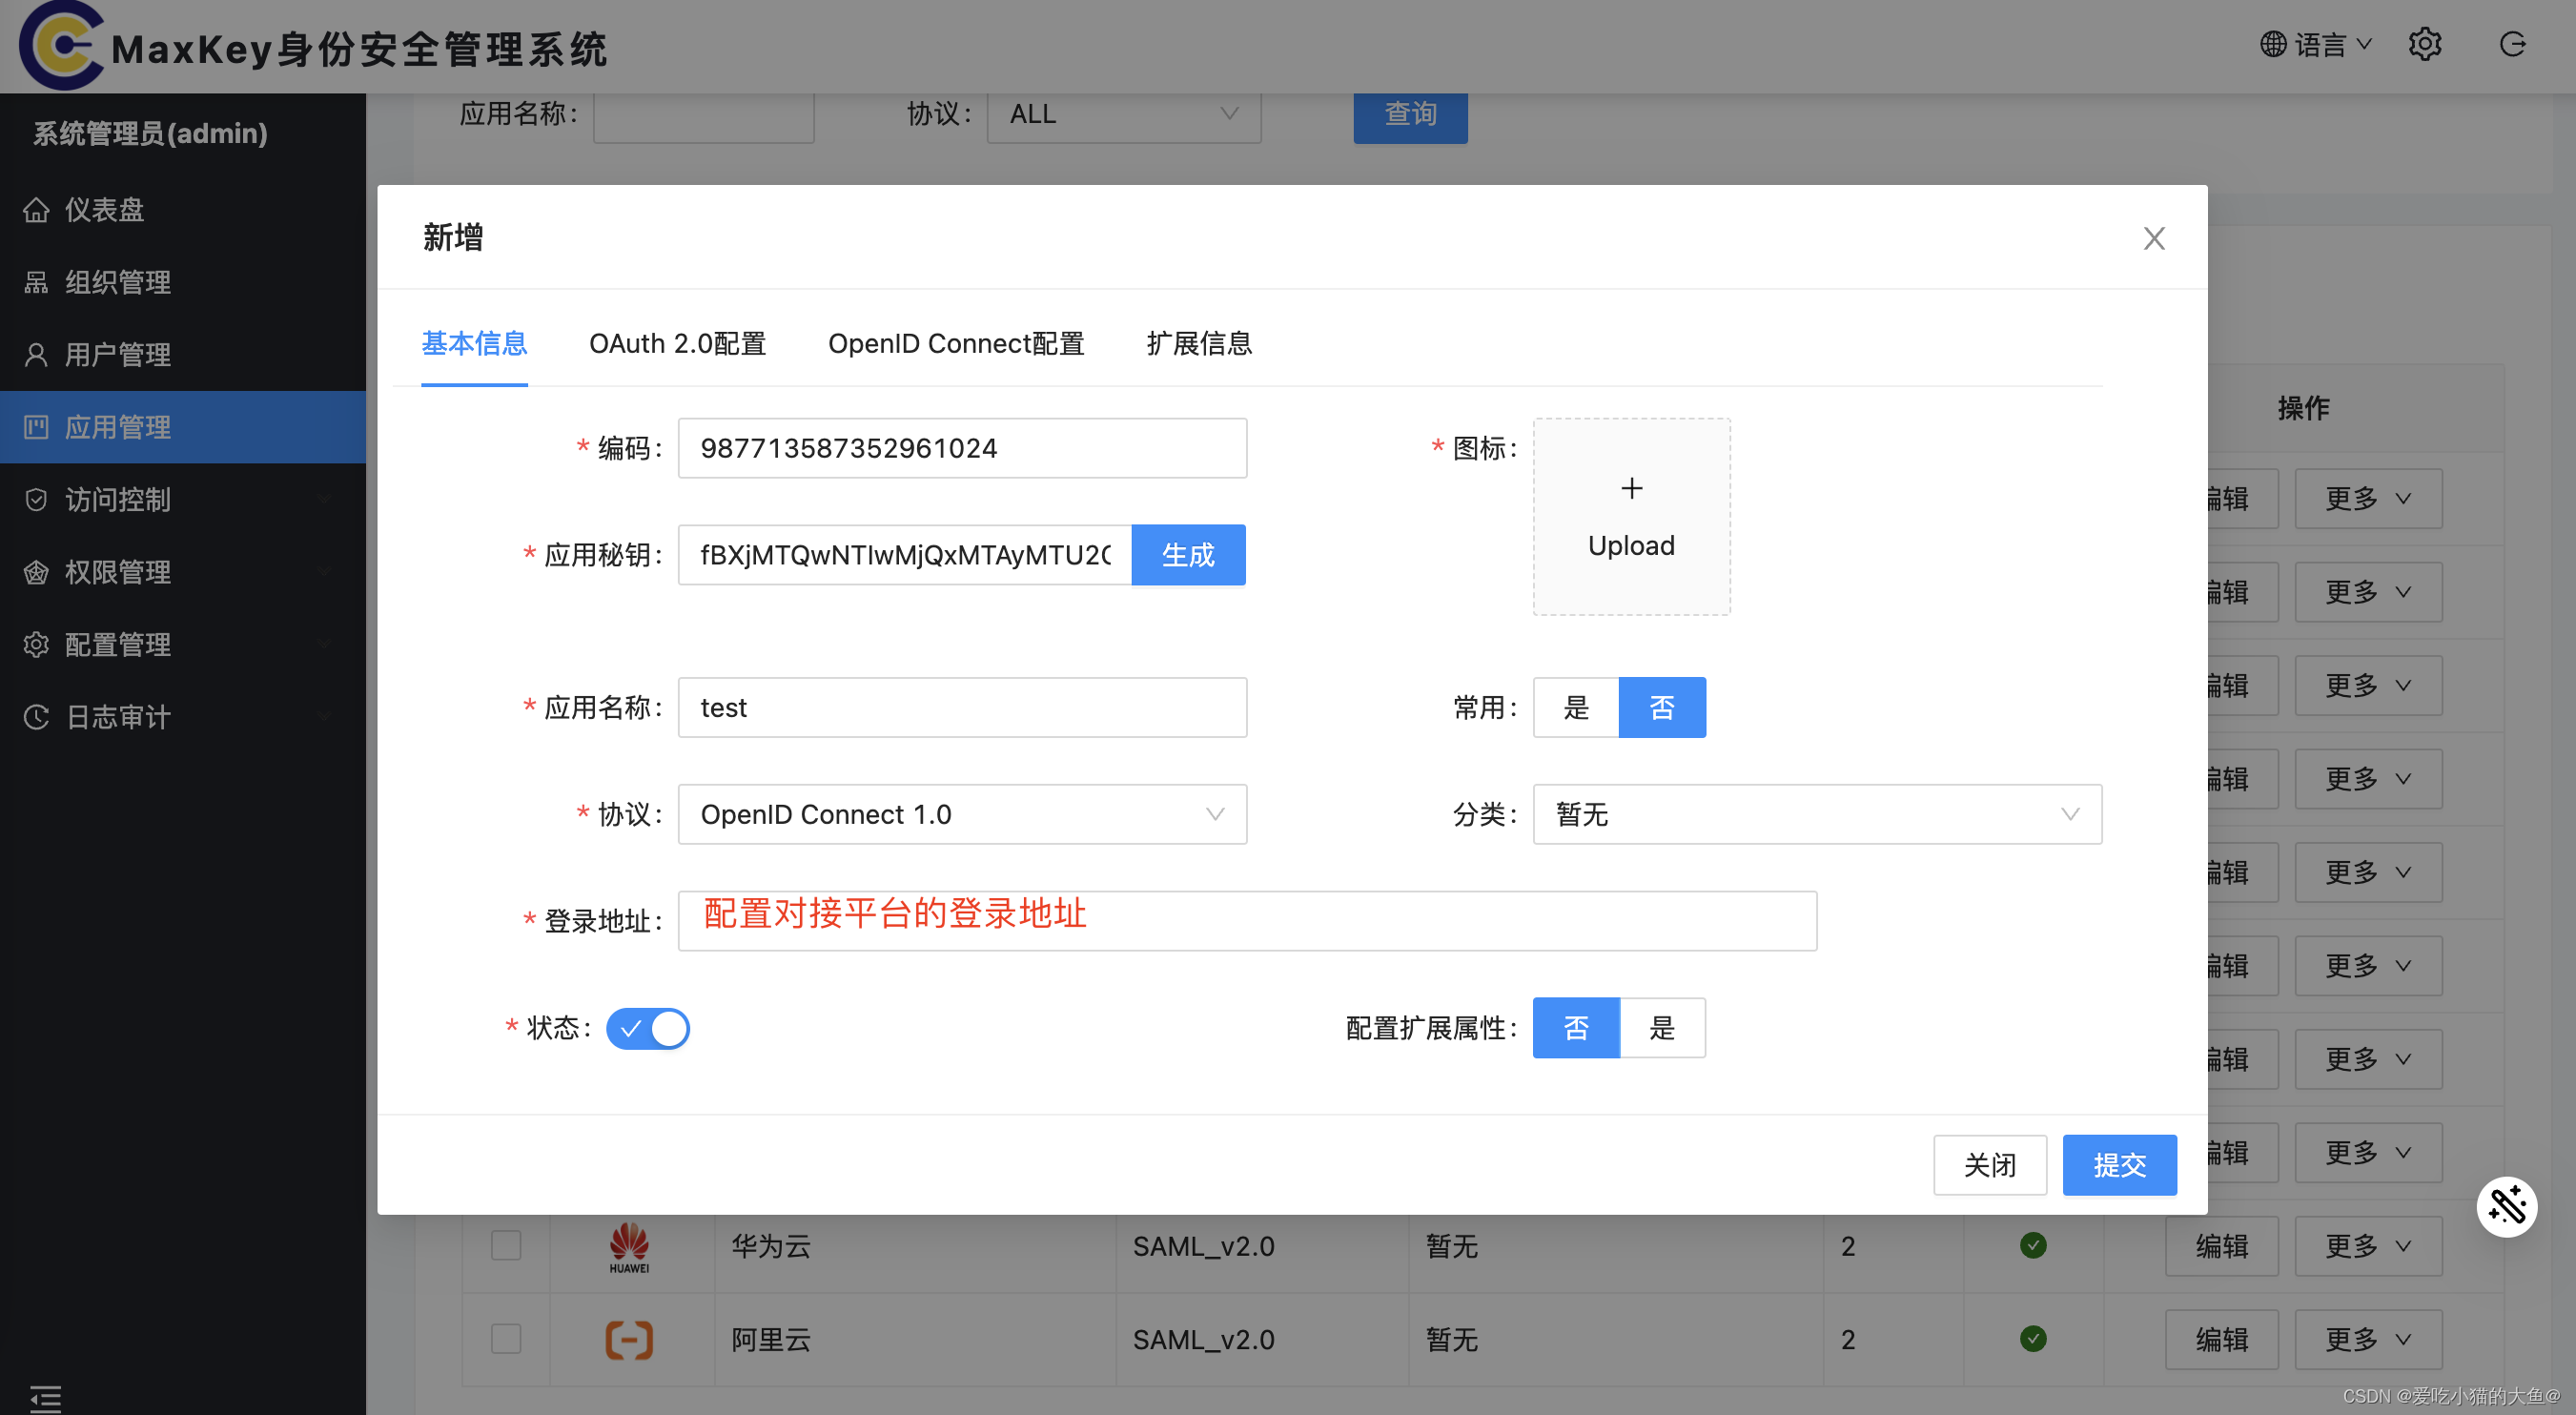
应用管理/新建应用
基本信息
Oauth 2.0配置
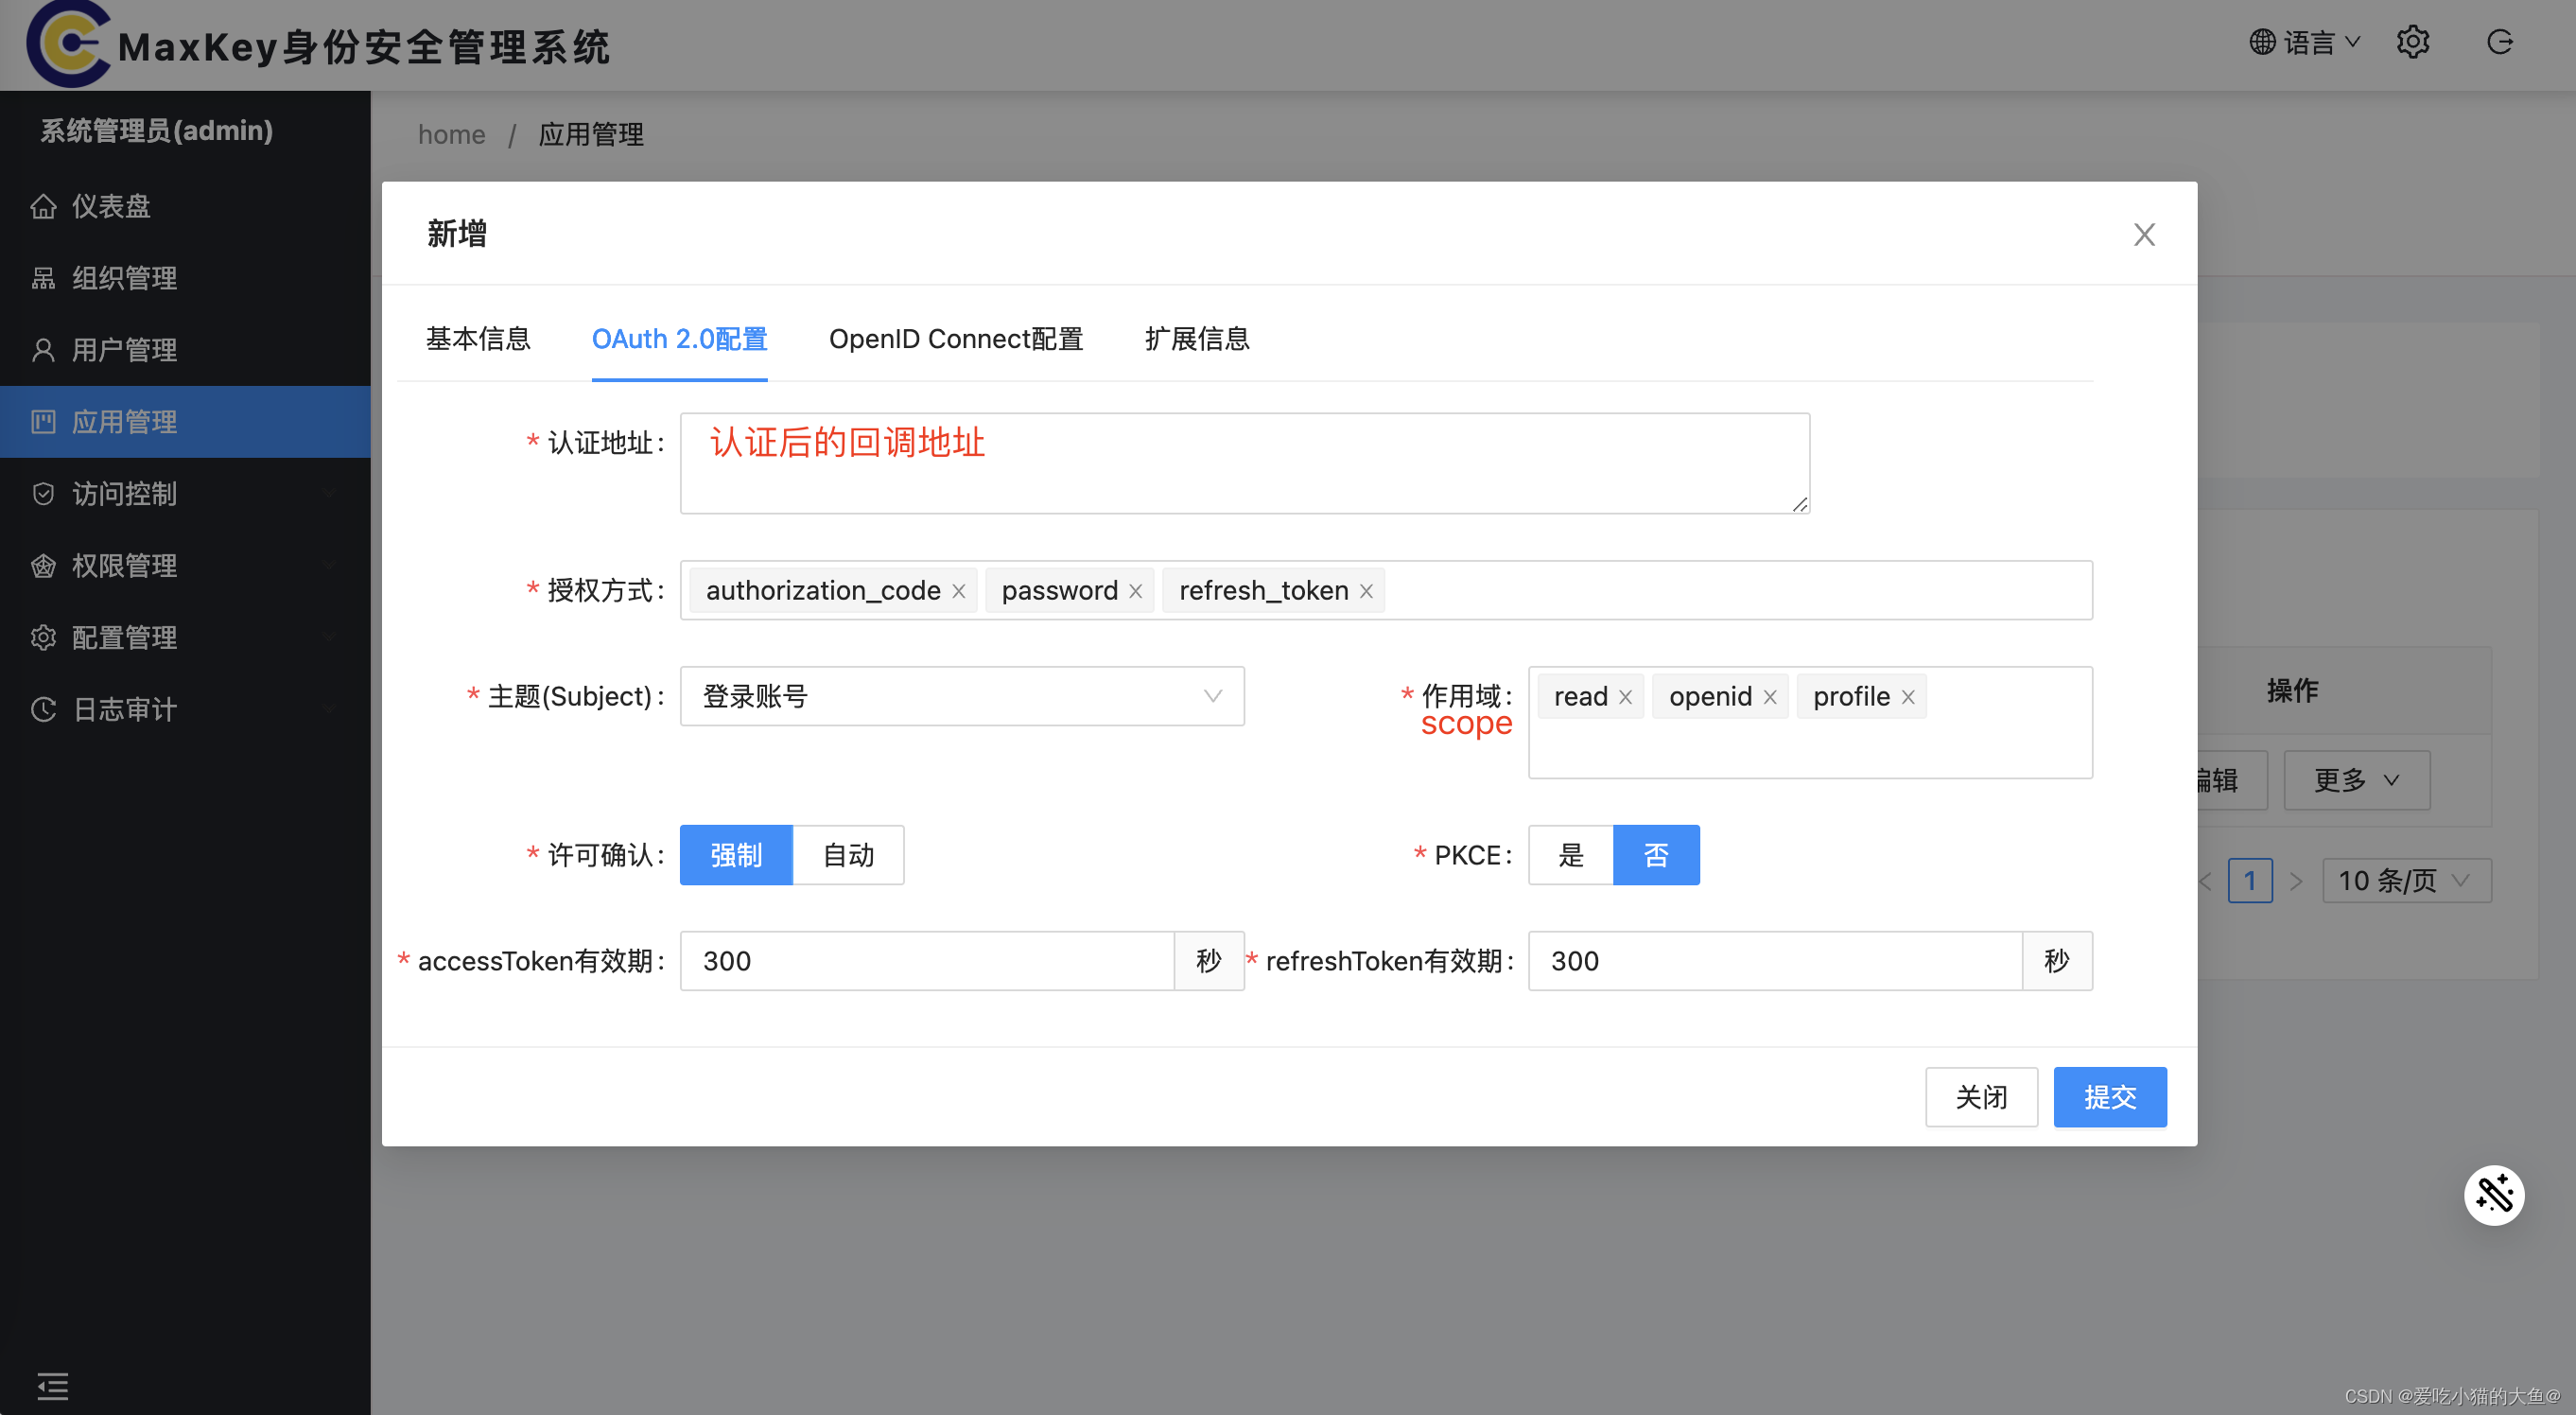
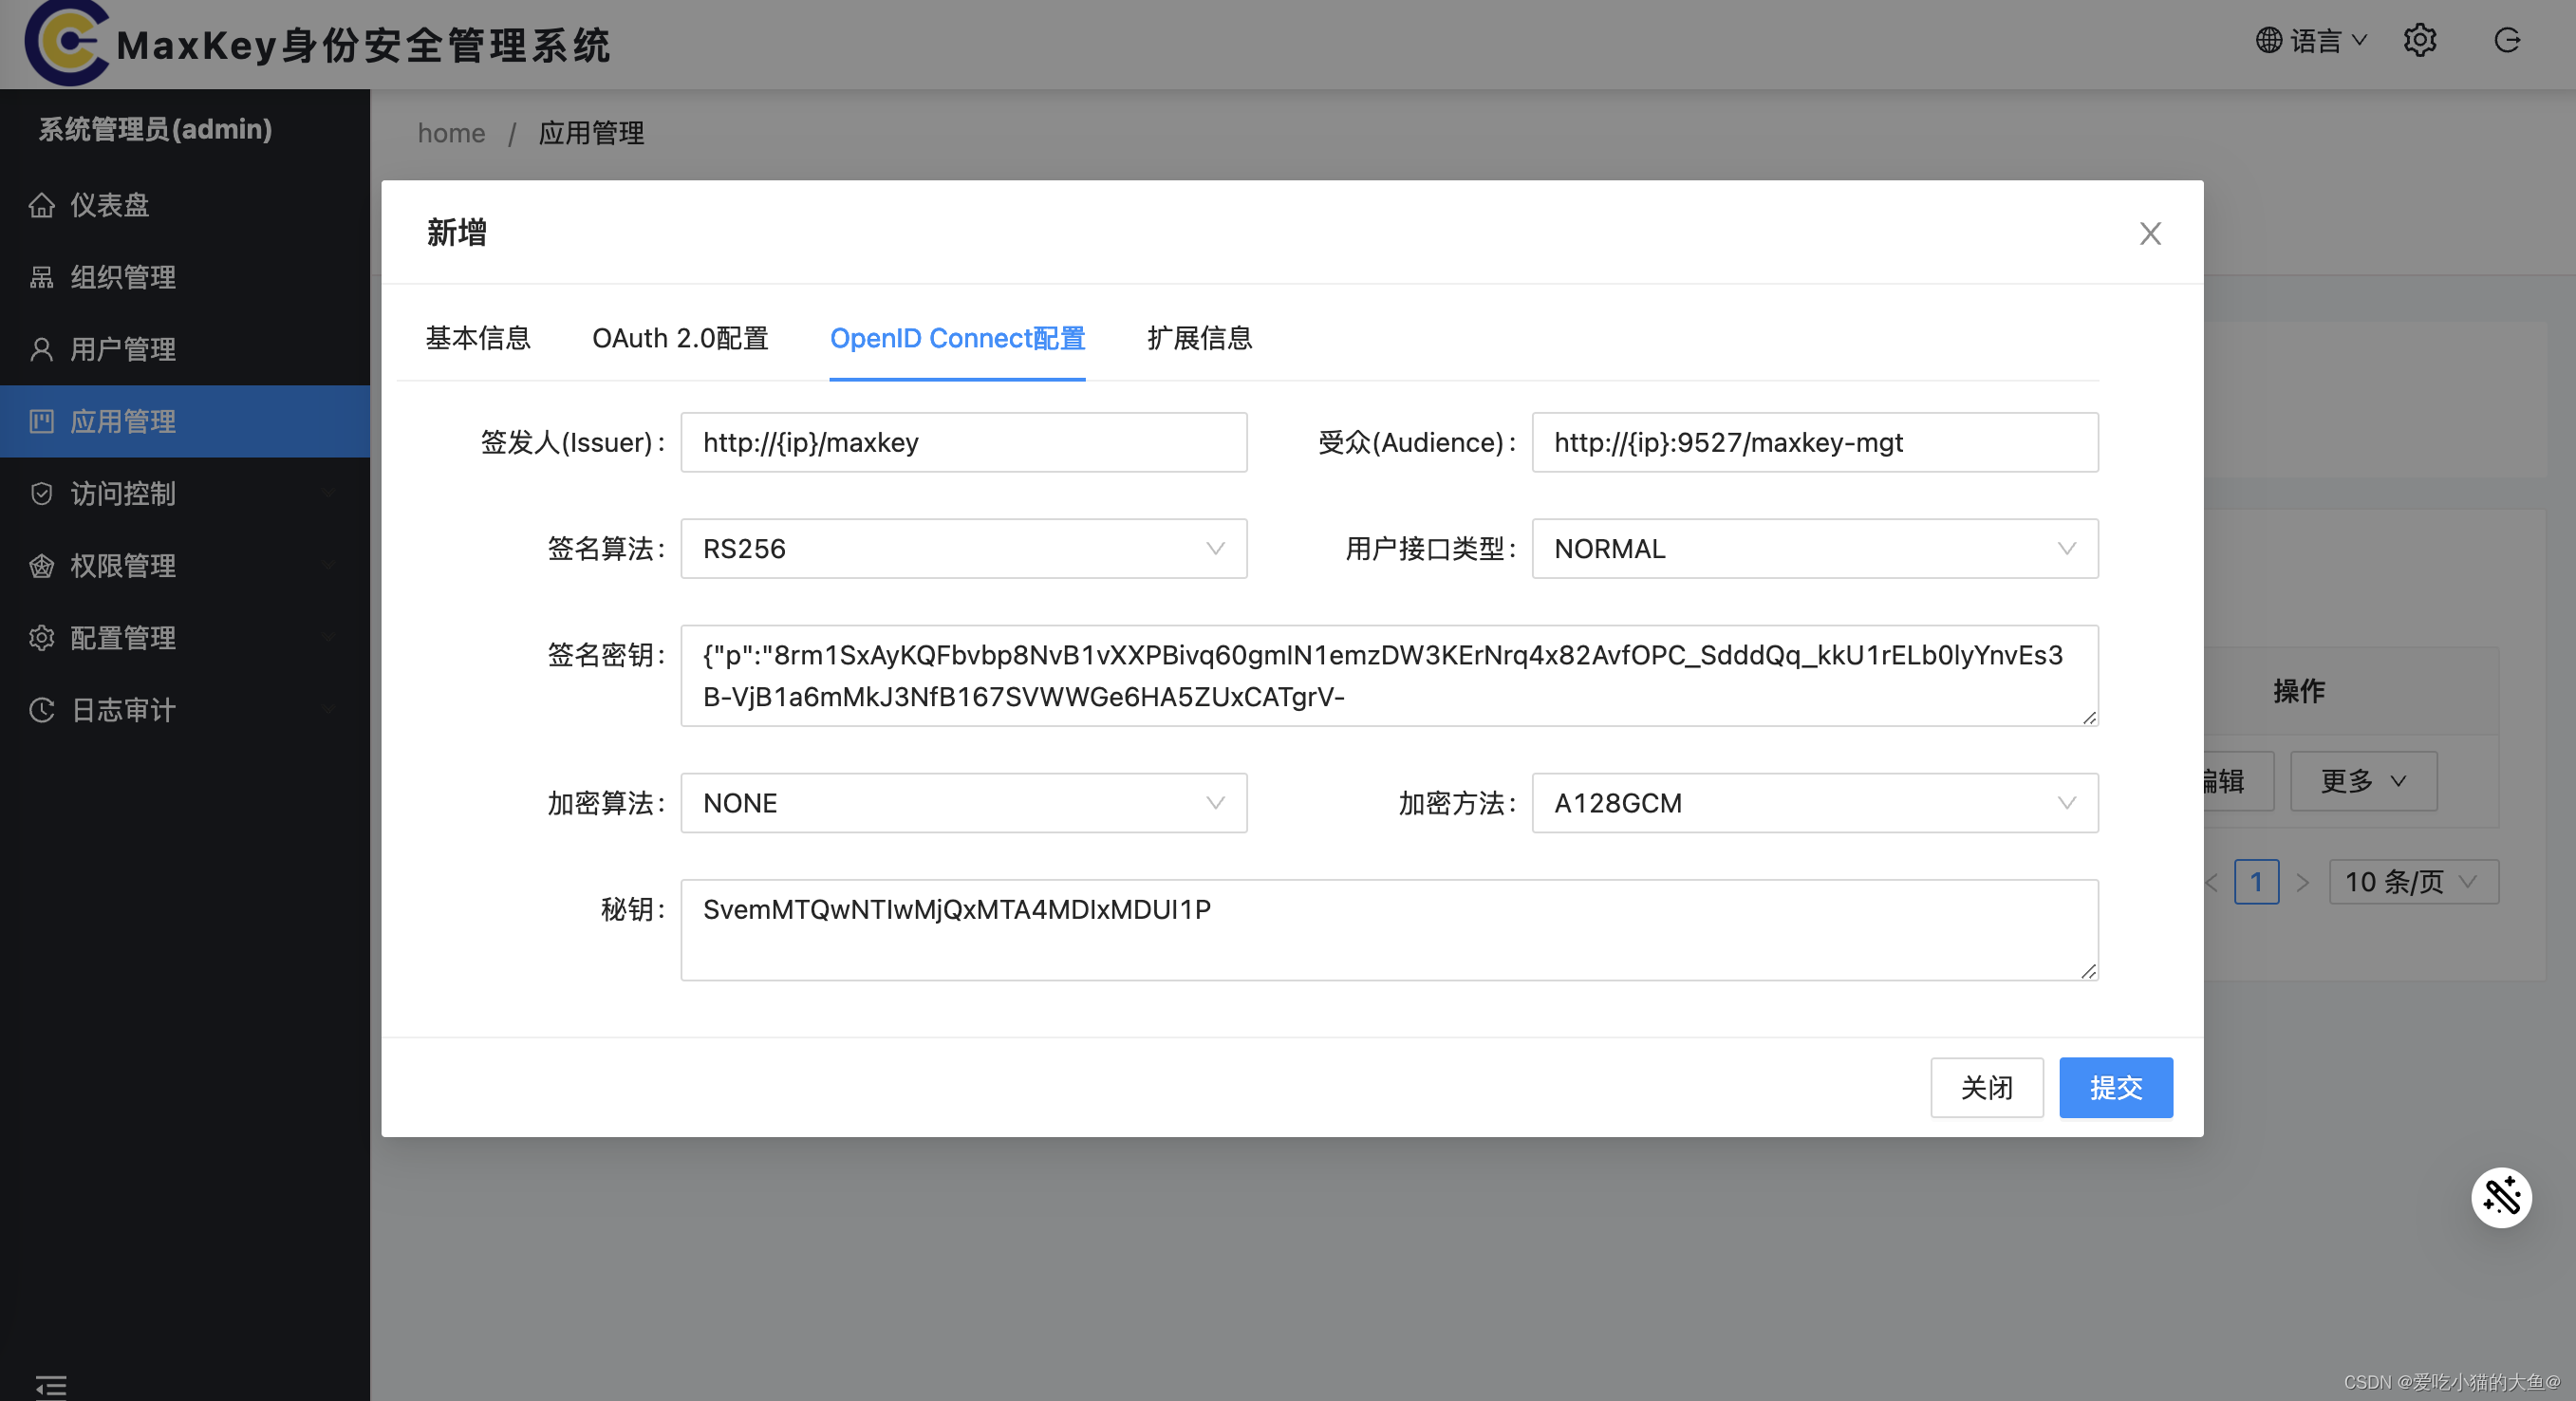
OIDC配置
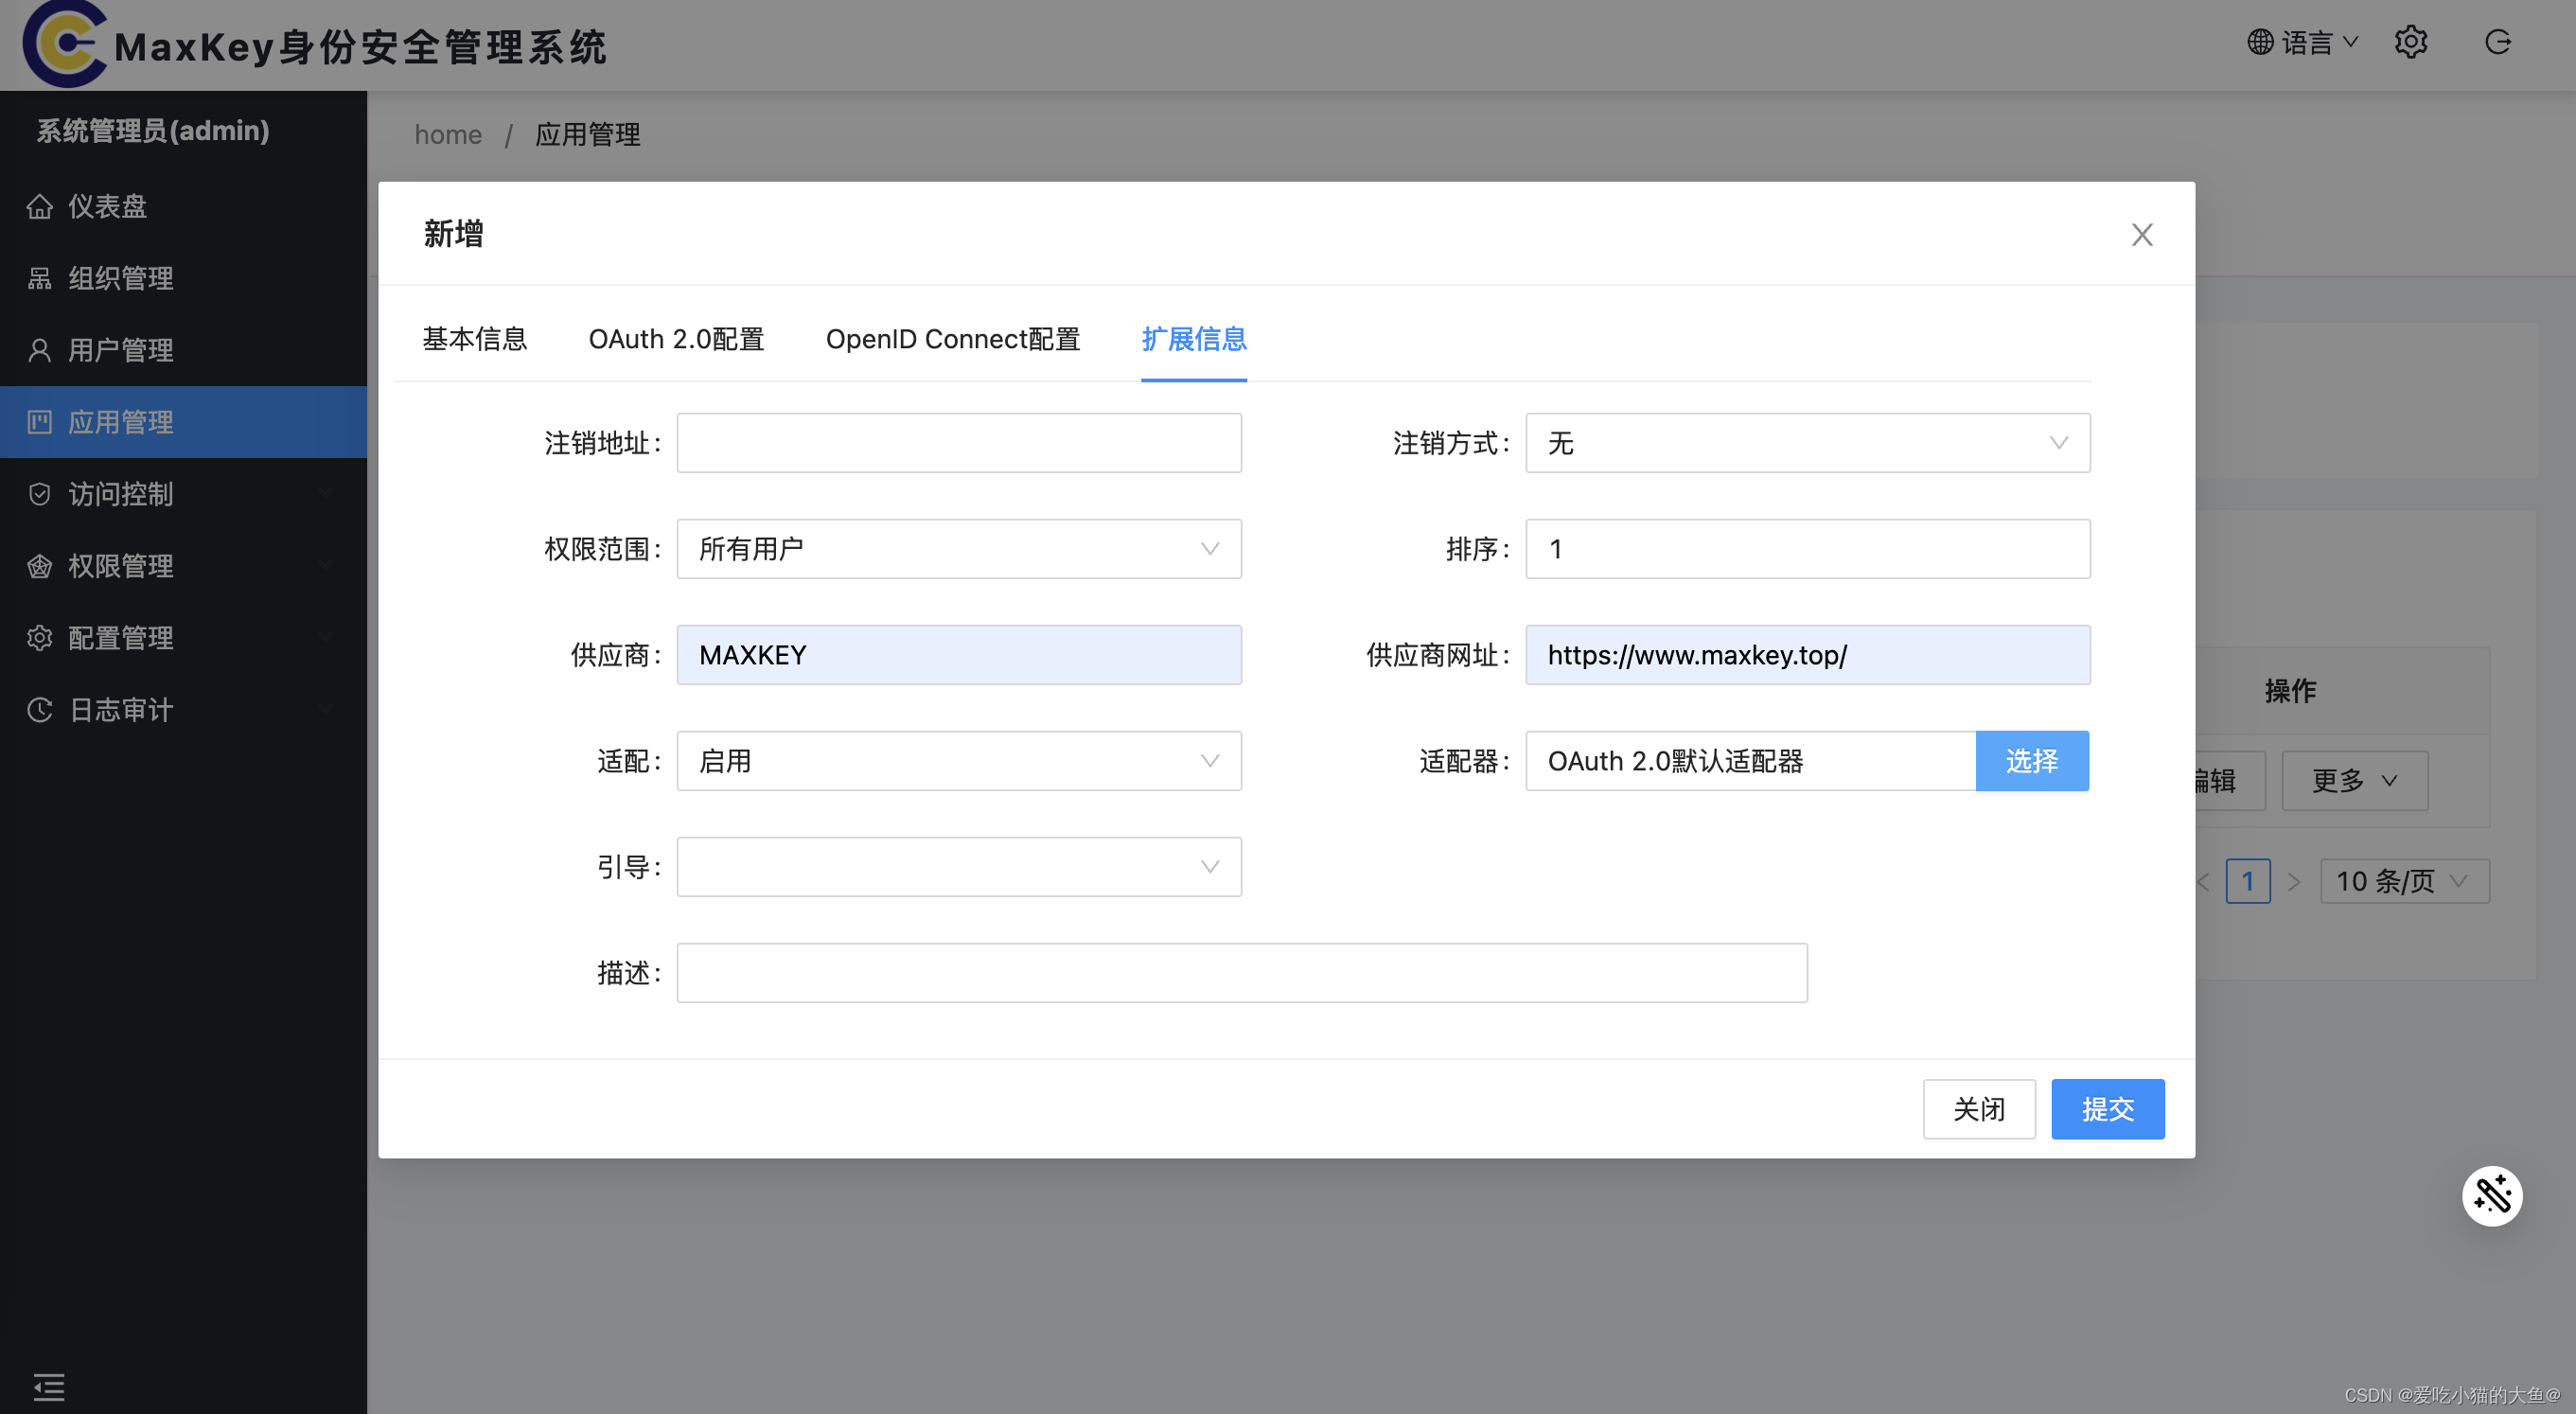
扩展信息
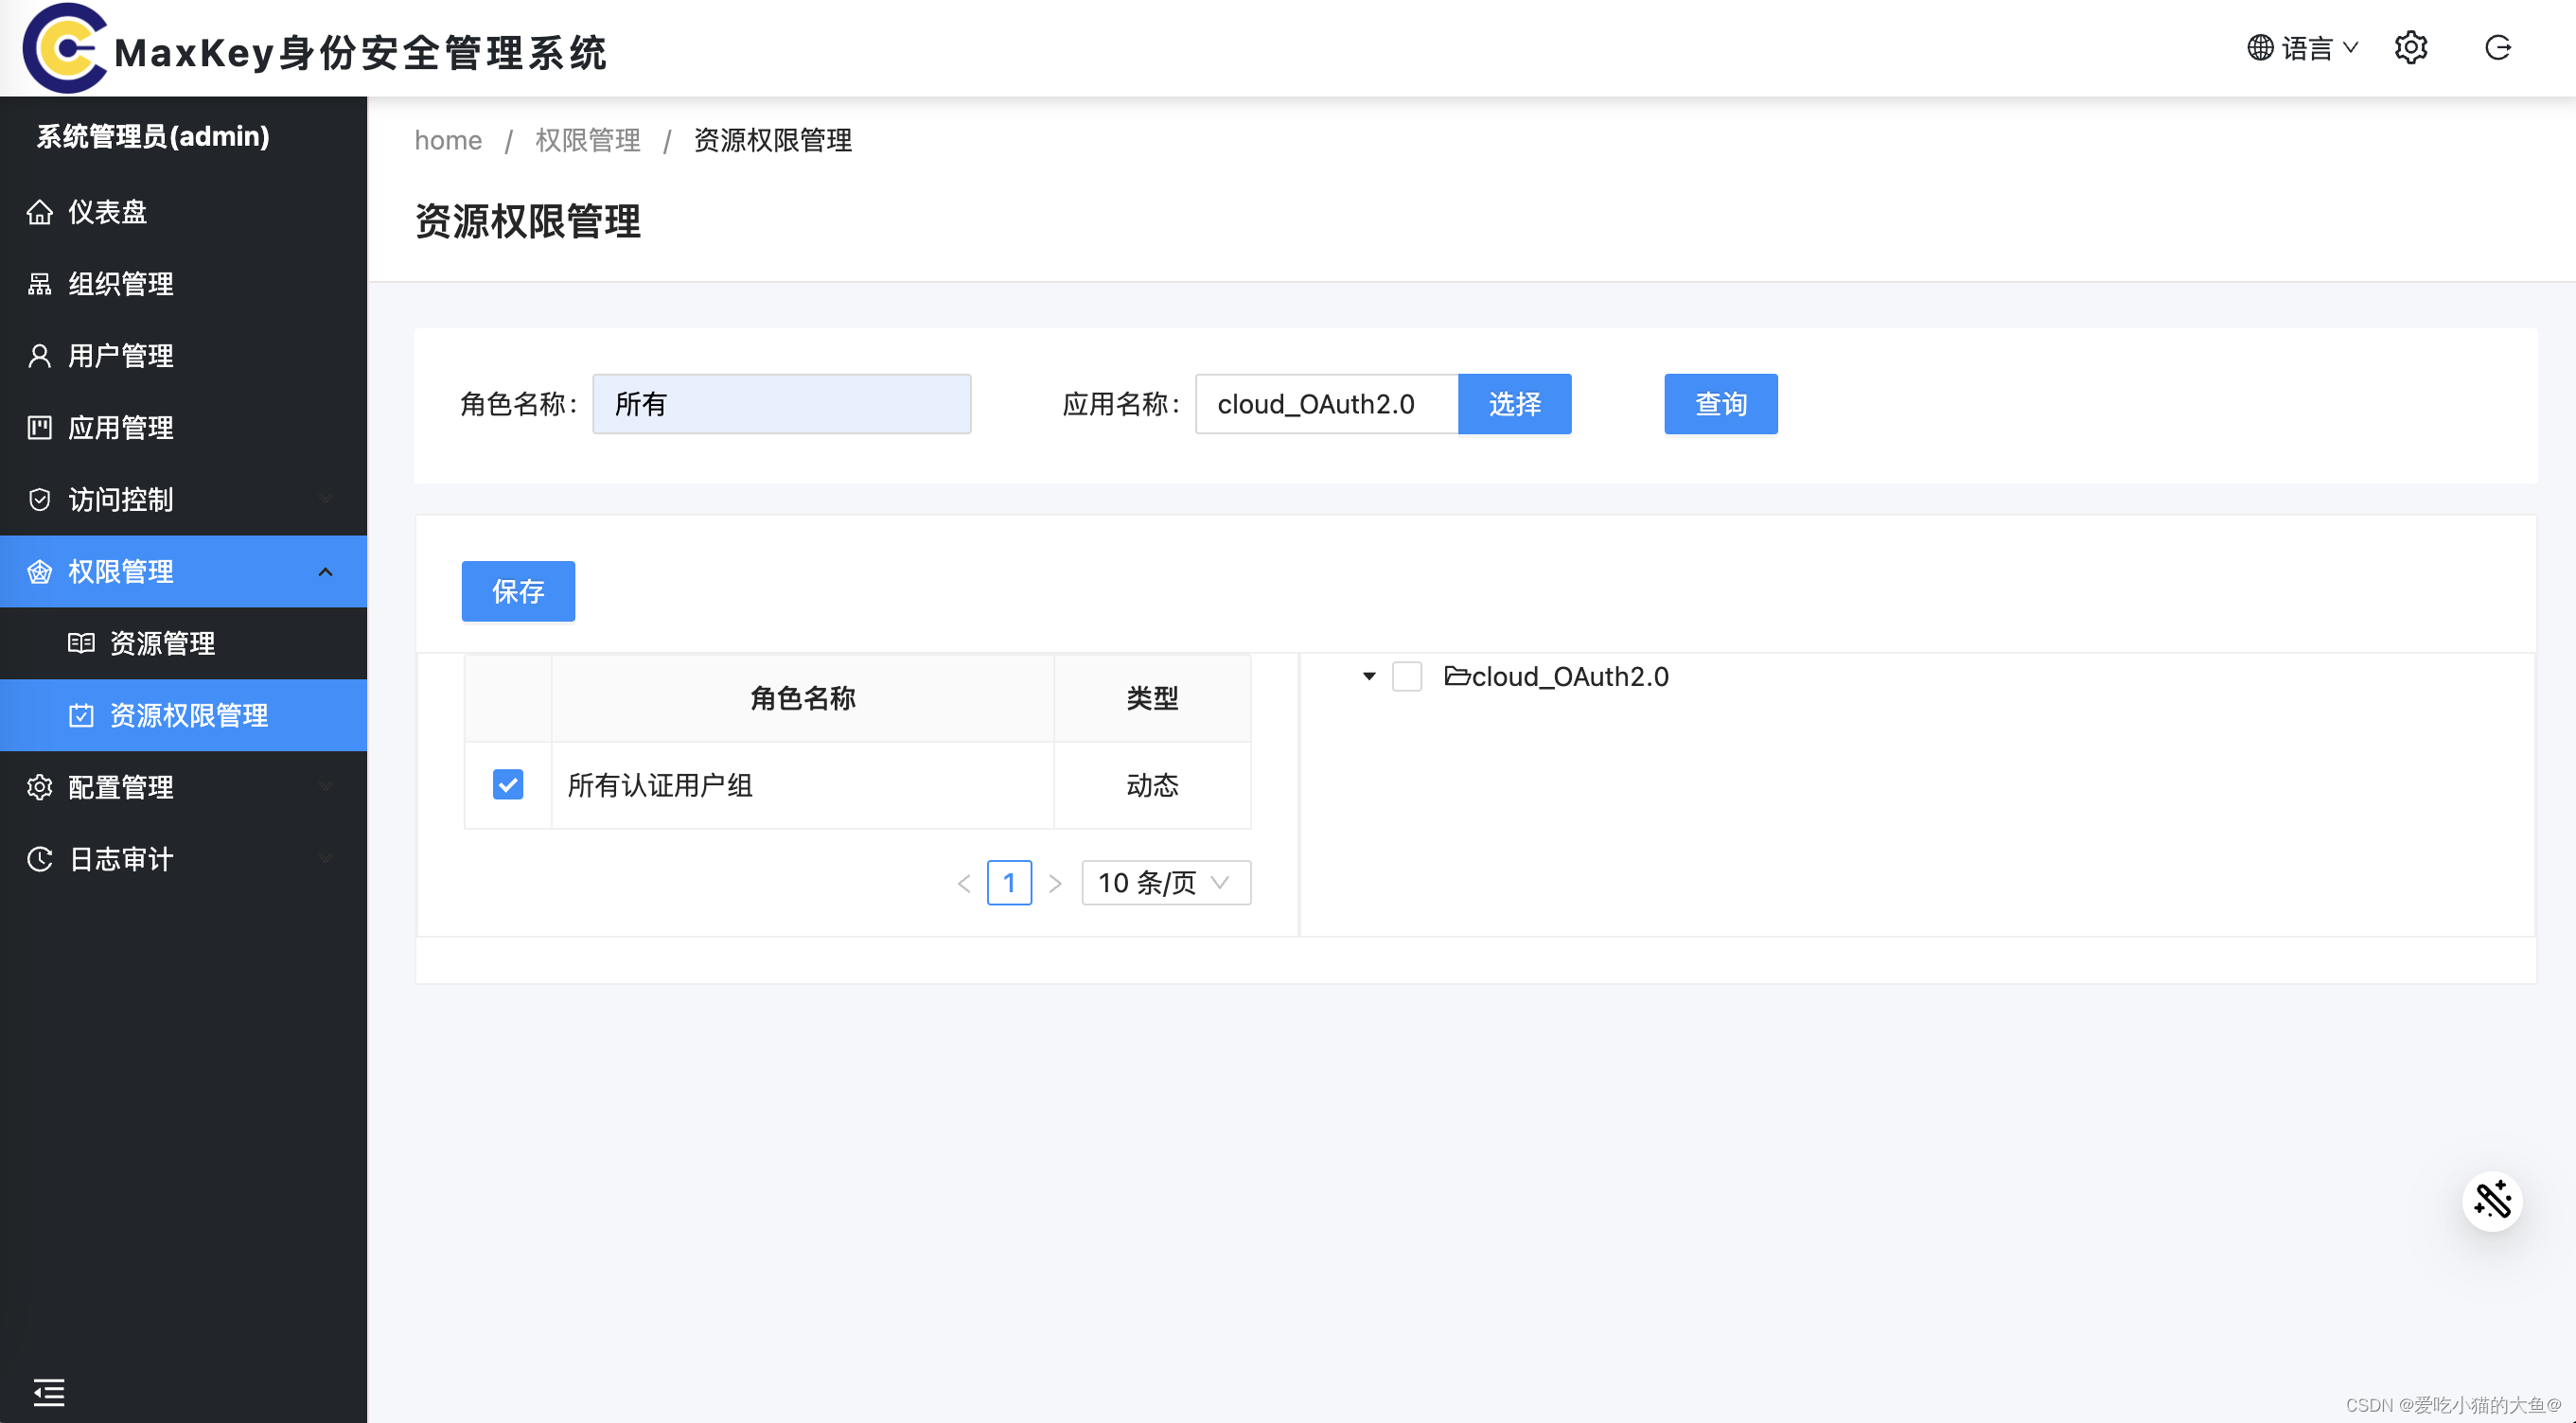
资源权限管理(为应用配置认证用户,这里选的所有)
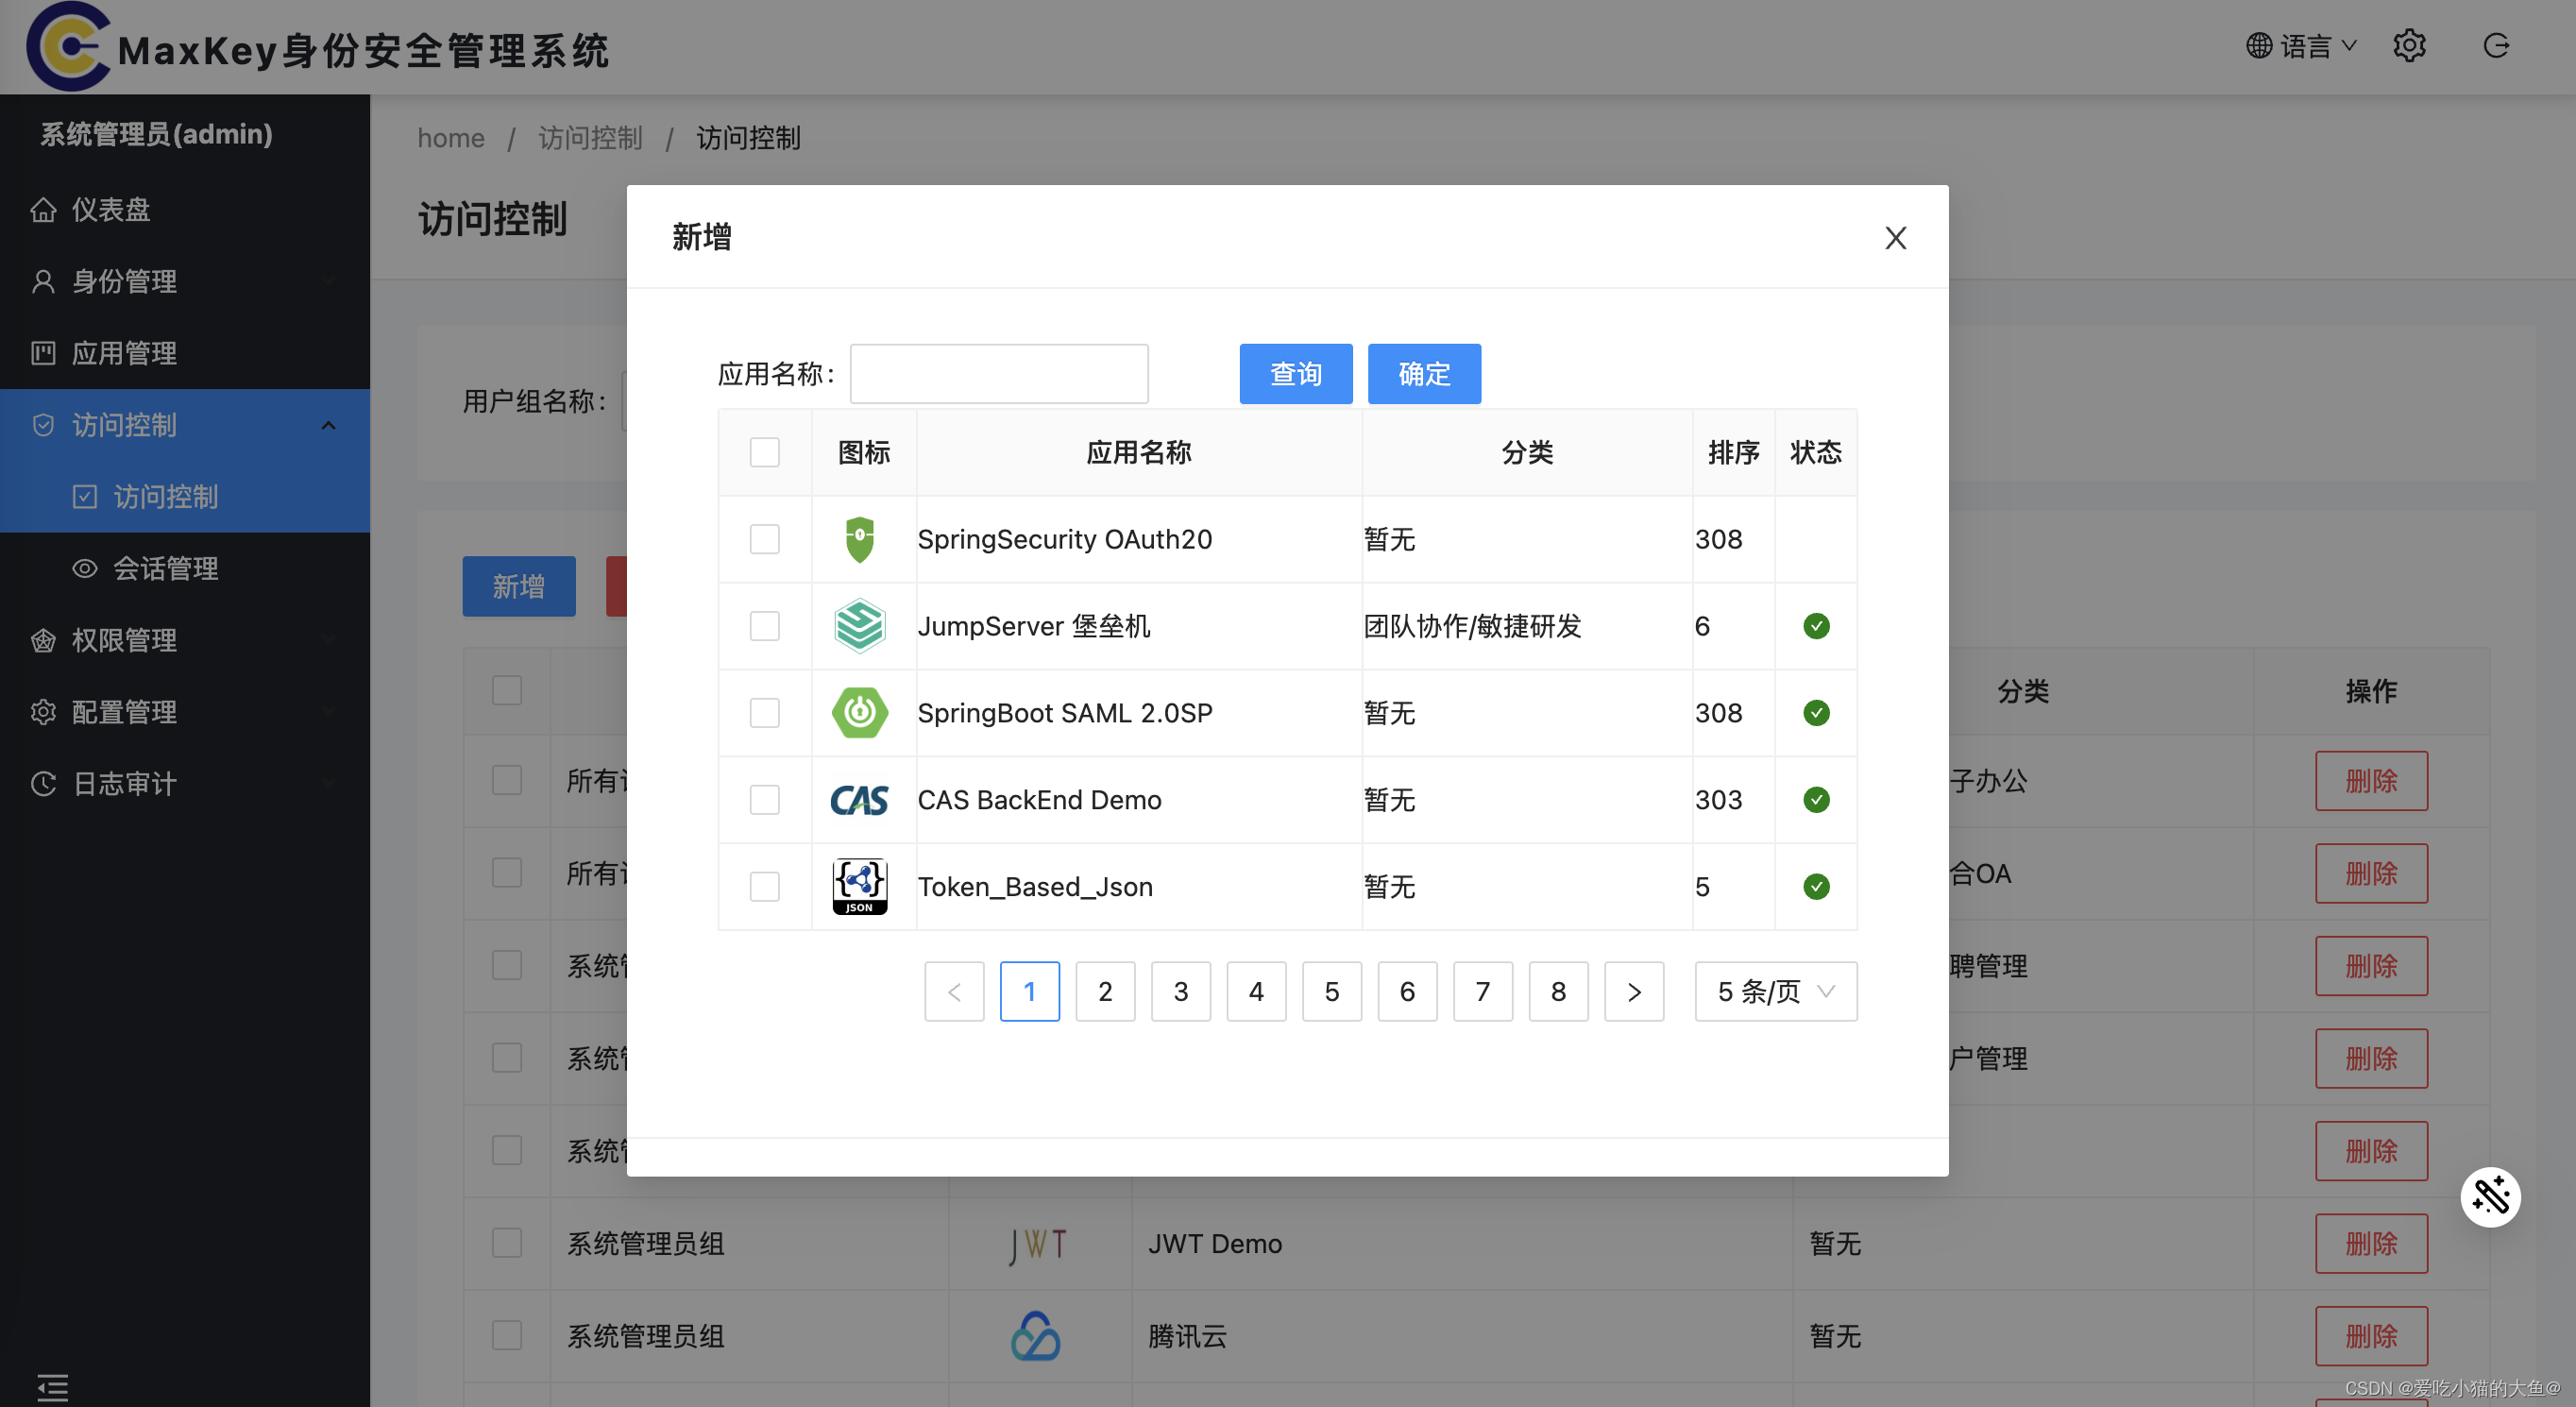
访问控制新增该应用(必须给应用配置完资源权限才能做该步骤,否则会报错)
认证地址:http://{ip}/sign/authz/oauth/v20/authorize
token地址:http://{ip}/sign/authz/oauth/v20/token
userinfo地址:http://{ip}/sign/api/oauth/v20/me
然后就可以在对接平台使用MaxKey的用户登录了


