
热门标签
热门文章
- 1【STM32】配置中断-实例&思路_按键中断的设置流程
- 2Linux - 进程的概念、状态、僵尸进程、孤儿进程及进程优先级
- 3Python实现对MsSqlServer数据库定时自动备份、压缩、上传到minio_python如何自动备份数据库bak文件
- 4DGCNN (Dynamic Graph CNN for Learning on Point Clouds,动态图卷积网络)
- 5SpringBoot之拦截器的配置_拦截器只拦截 restcontroller
- 6机器学习训练算法十二(模型训练算法-Python实验)_python 算法练习
- 7昇思基础课程打卡(SPONGE课前学习)1.快速入门
- 8如何外网访问登录员工管理系统平台_hr 网络安全 应用
- 9【并发编程篇】读锁readLock()和写锁writeLock()
- 10OpenHarmony开发记录-Websocket封装_openharmony websocket
当前位置: article > 正文
Python图像处理入门_python ax
作者:Li_阴宅 | 2024-08-01 05:31:50
赞
踩
python图像处理入门
import matplotlib.pylab as plt
from scipy.ndimage import affine_transform, zoom
from scipy import misc
### 1.4.1 使用PIL读取、保存和显示图像


PIL的open() 函数用于从Image对象的磁盘读取图像,如下面的代码所示。图像作为PIL.PngImagePlugin.PngImageFile类的对象加载,读者可以用宽度、高度和模式等属性来查找图像的大小[宽度×高度(像素)或分辨率]和模式。
- 1
- 2
- 3
- 4
- 5
- 6
- 7
- 8
im = Image.open(“…/images/parrot.png”) # read the image, provide the correct path
print(im.width, im.height, im.mode, im.format, type(im))
453 340 RGB PNG <class ‘PIL.PngImagePlugin.PngImageFile’>
im.show() # display the image
运行上述代码,输出结果如图1-5所示,从文件中读取图像,然后再将图像显示在屏幕上。
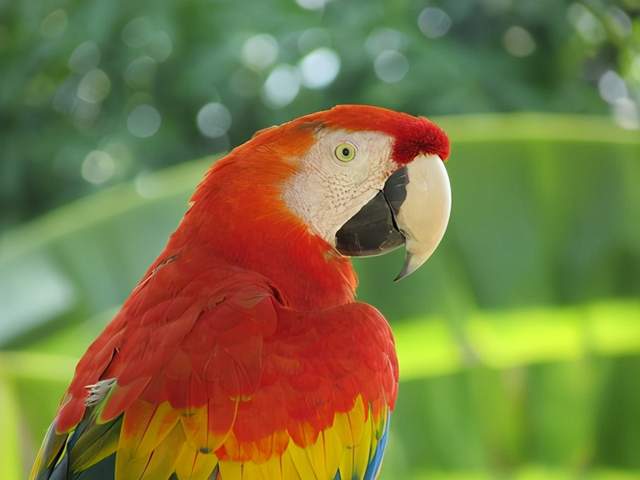
图1-5 读取的鹦鹉图像
用PIL函数convert()将彩色RGB图像转换为灰度图像,代码如下:
- 1
- 2
- 3
- 4
- 5
- 6
- 7
- 8
- 9
- 10
- 11
- 12
- 13
- 14
im_g = im.convert(‘L’) # convert the RGB color image to a grayscale image
im_g.save(‘…/images/parrot_gray.png’) # save the image to disk
Image.open(“…/images/parrot_gray.png”).show() # read the grayscale image from disk and show
运行上述代码,结果如图1-6所示,输出的是鹦鹉的灰度图像。 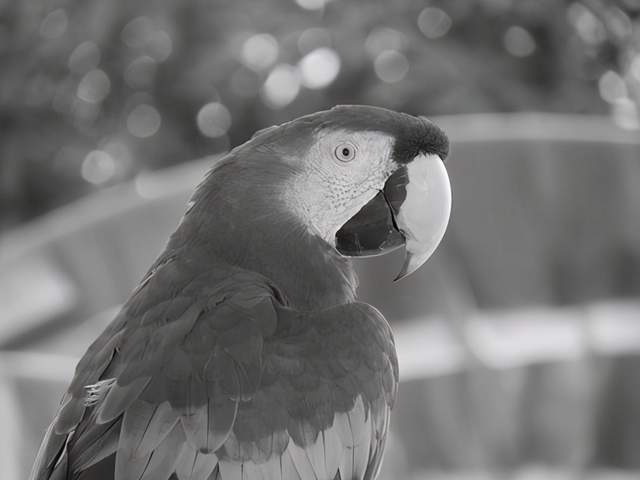 图1-6 输出鹦鹉的灰度图像 ### 提供磁盘上图像的正确路径 建议创建一个文件夹(子目录)来存储要处理的图像(例如,对于Python代码示例,建议读者使用名为images的文件夹来存储图像),然后提供文件夹的路径以访问图像,以免出现“找不到文件”的异常。 ### 1.4.2 使用matplotlib读取、保存和显示图像 接下来演示如何使用matplotlib.image中的imread()函数来读取浮点numpy ndarray中的图像,其中,像素值表示为介于0和1之间的真值。代码如下:

- 1
- 2
- 3
- 4
- 5
- 6
- 7
- 8
- 9
- 10
- 11
- 12
- 13
- 14
- 15
- 16
- 17
- 18
- 19
- 20
- 21
- 22
- 23
im = mpimg.imread(“…/images/hill.png”) # read the image from disk as a
numpy ndarray
print(im.shape, im.dtype, type(im)) # this image contains anα
channel, hence num_channels= 4
(960, 1280, 4) float32 <class ‘numpy.ndarray’>
plt.figure(figsize=
声明:本文内容由网友自发贡献,不代表【wpsshop博客】立场,版权归原作者所有,本站不承担相应法律责任。如您发现有侵权的内容,请联系我们。转载请注明出处:https://www.wpsshop.cn/w/Li_阴宅/article/detail/912533
推荐阅读
- b站视频下载 ...
赞
踩
相关标签

