热门标签
热门文章
- 1[C++] OpenCasCade空间几何库的模型展现_怎么用opencascade显示几何模型
- 2微信小程序——CSS3渐变_小程序文字渐变
- 3关于uni.downloadFile与uni.saveFiled文件名不一,解决方案思路_uni.savefile 自定义文件名
- 4Linux下wget命令详解_wget -o和-o区别 保存文件
- 5【UE4】UE4蓝图基础
- 6WRF模型运行教程(ububtu系统)-- IV-1.模型相关文件参数说明【namelist.wps文件、namelist.input文件】
- 7虚拟机上网设置——桥接模式 & NAT模式_虚拟机桥接模式
- 8Kali Linux安装与使用指南_kali安装常用工具
- 9info testing mysql_诺亚舟教育网SQL注入漏洞(涉及近170w用户信息)
- 10判断所给日期是否是当天_long日期如何判断是否为当天
当前位置: article > 正文
flash-attn库安装记录_flash_attn
作者:你好赵伟 | 2024-03-20 03:26:22
赞
踩
flash_attn
flash-attn库安装记录
第一步:
安装好cuda11.7
第二步:
使用代码export CUDA_HOME=/usr/local/cuda-11.7让库找到cuda路径
第三步:
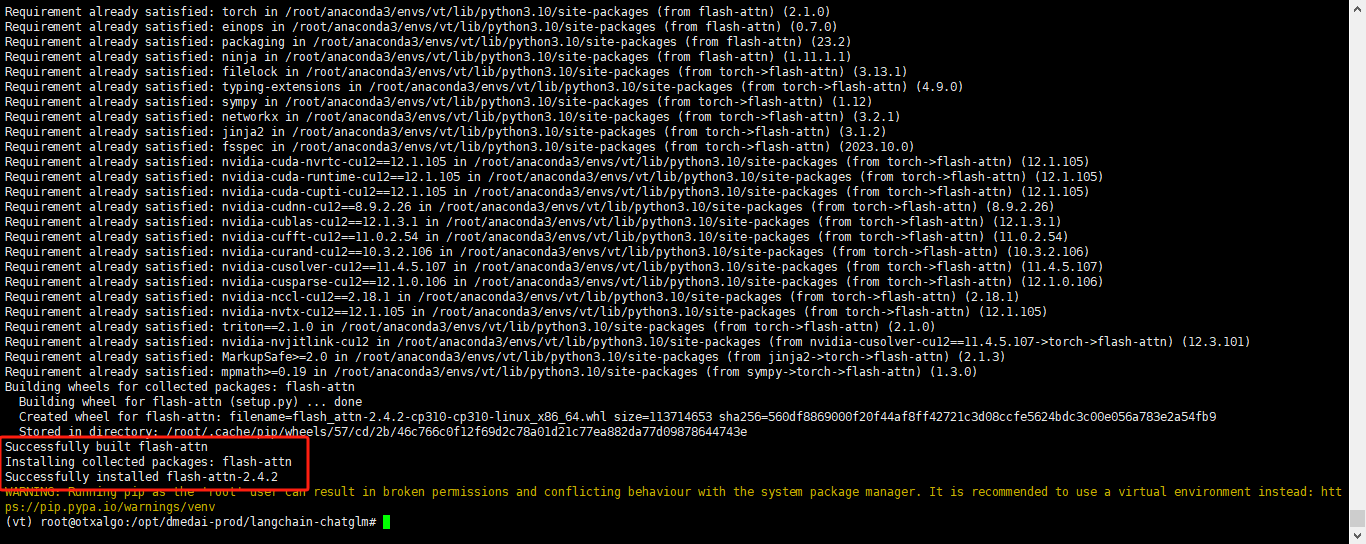
使用pip install flash-attn --no-build-isolation安装
安装成功显示

更新:
手动下载flash-attn库网址未为https://github.com/Dao-AILab/flash-attention/releases
更新2:
安装cuda12.2,cudnn8.9.5-12.2
第一步下载:git clone https://github.com/Dao-AILab/flash-attention
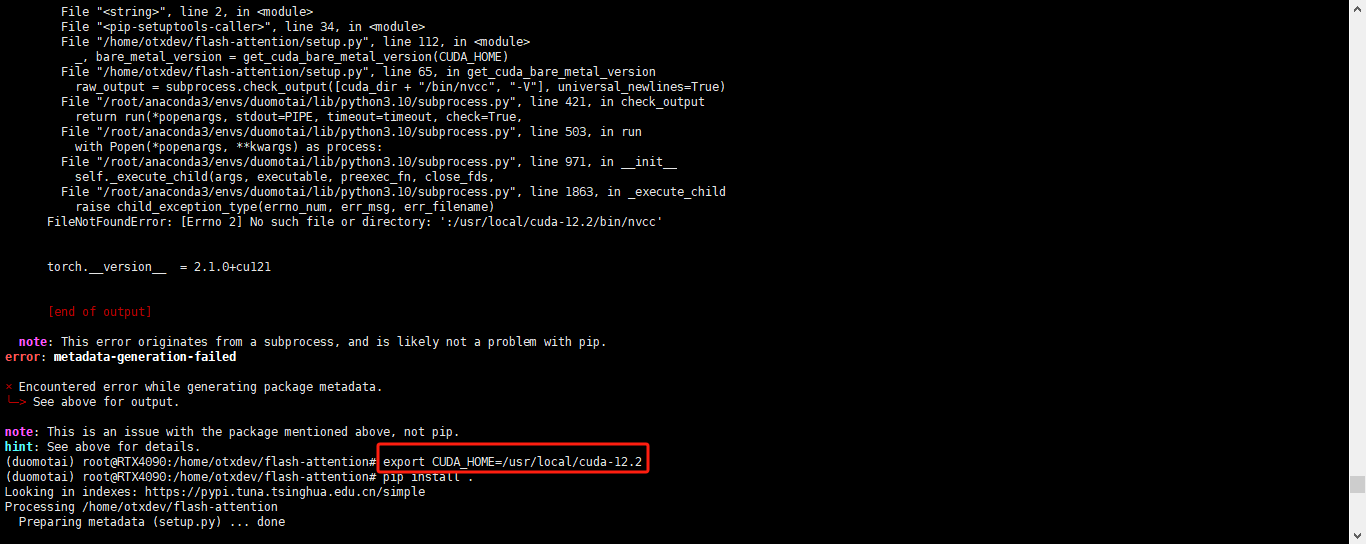
第二步引导cuda12.2路径:export CUDA_HOME=/usr/local/cuda-12.2

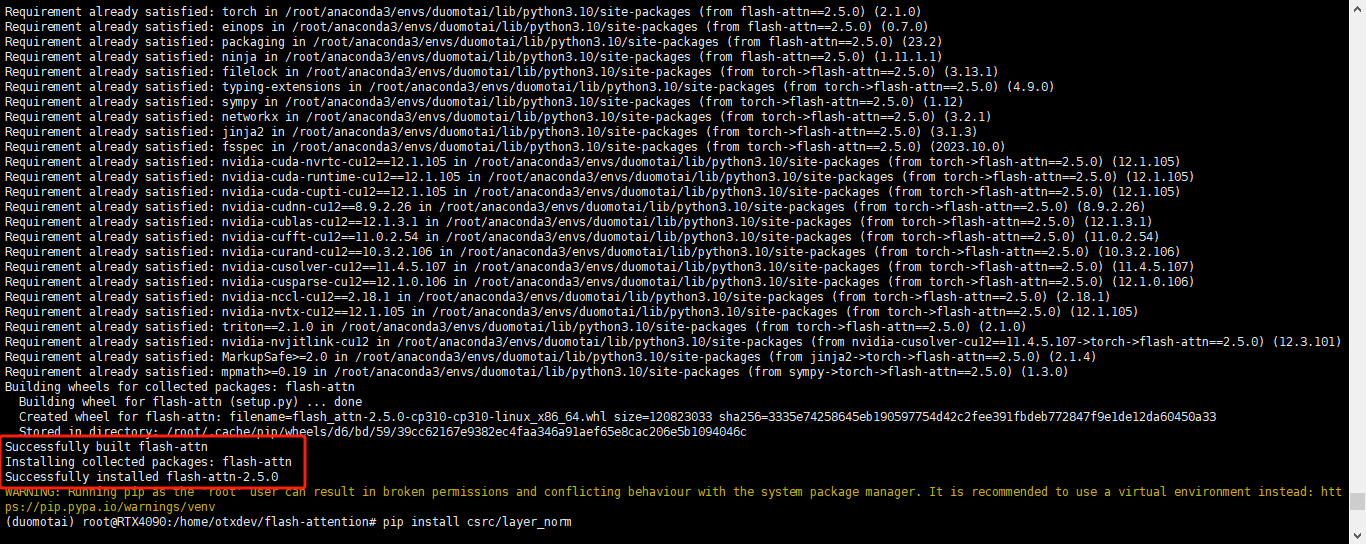
第三步:cd flash-attention && pip install .

第四步:pip install csrc/layer_norm

第五步:pip install csrc/rotary

最后成功!!!
声明:本文内容由网友自发贡献,不代表【wpsshop博客】立场,版权归原作者所有,本站不承担相应法律责任。如您发现有侵权的内容,请联系我们。转载请注明出处:https://www.wpsshop.cn/w/你好赵伟/article/detail/270334
推荐阅读
相关标签


