热门标签
热门文章
- 1style,currentStyle,getComputedStyle的区别和用法
- 2BertForSequenceClassification
- 3瞎谈2024年AI 辅助研发趋势
- 4DatawhaleChina -任务三 TF-IDF原理+互信息_互信息的缺点
- 5Python环境搭建总结_argv": [ "d:/software/anacoda/ling\\python.exe", "
- 6leetcode.315:计算右侧小于当前元素的个数_数组右侧当前元素的个数
- 7putty linux改密码登录,Linux远程登录(putty和Xshell)及密钥设置
- 8手机端termux使用配置20230602_termux换源
- 9vue请求的封装_vue封装请求
- 10php-ffmpeg运用 合并视频,转码视频_php 视频合成
当前位置: article > 正文
Vite + Vue3 + TS 封装axios + 封装loading + 封装返回顶部_vite axios
作者:小丑西瓜9 | 2024-03-13 03:49:01
赞
踩
vite axios
前言
 前期回顾
前期回顾
目录
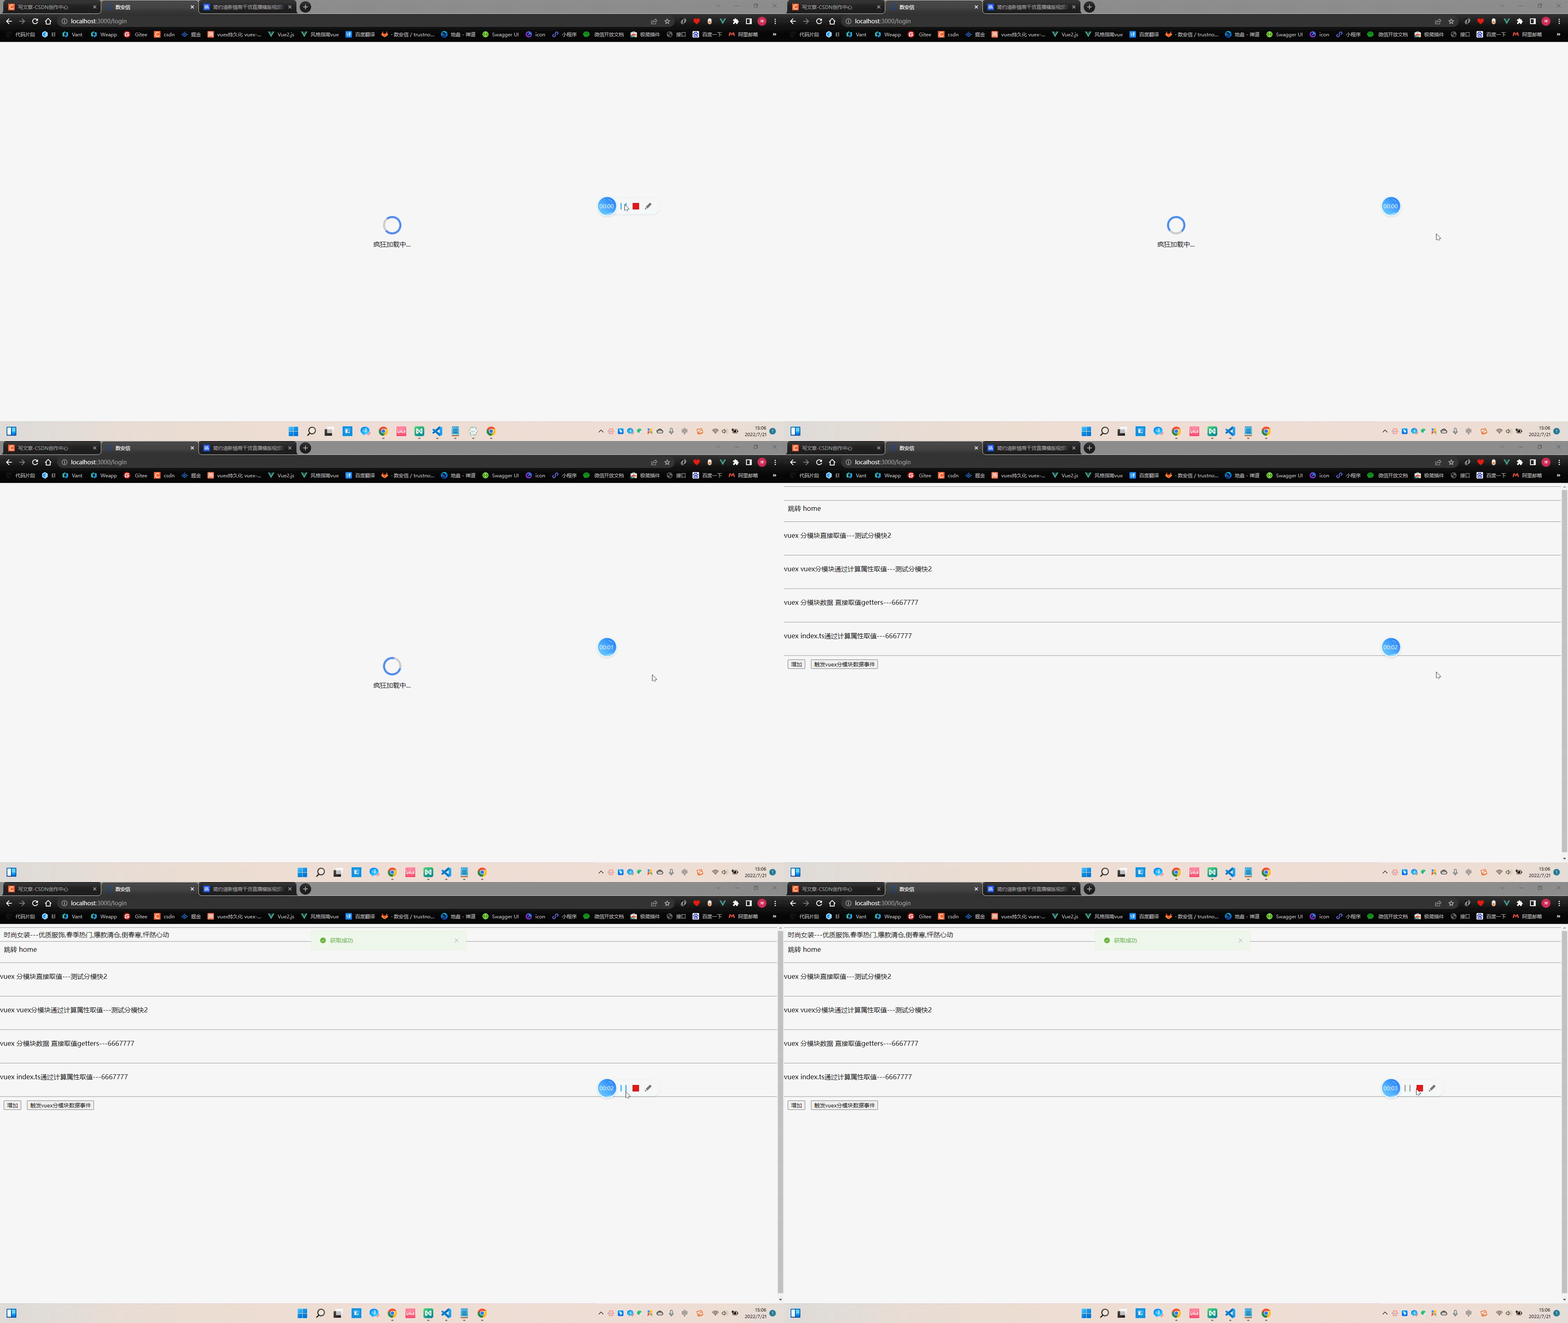
我要实现什么效果?
-
全局封装一次!
-
项目中切换路由显示loading,
-
发起axios显示loading,
-
每个页面显示返回顶部

代码简单吗?
-
极简
念及此
- 正文开始
一、封装axiso前先配置环境变量
- 因为真实项目中需要不同环境测试的
第一步: 配置环境变量
如果根据租户id,一个项目适应不同客户需要更多的环境变量
在根目录新建三个文件
.env.development
NODE_ENV='development'.env.production
NODE_ENV='production'.env.staging
NODE_ENV='production' 
完成!
第二步:封装axios
在src下新建newwork文件夹 并在里面新建4个文件

解释:
- index.ts 封装的是api接口,在项目中大量用到接口不能分散写在各处、不易维护
- service.ts 创建axiso实例写入请求拦截响应拦截
- requestMethod 封装的是请求方法,在项目中大量用到接口,所以将请求方法也封装
正文:
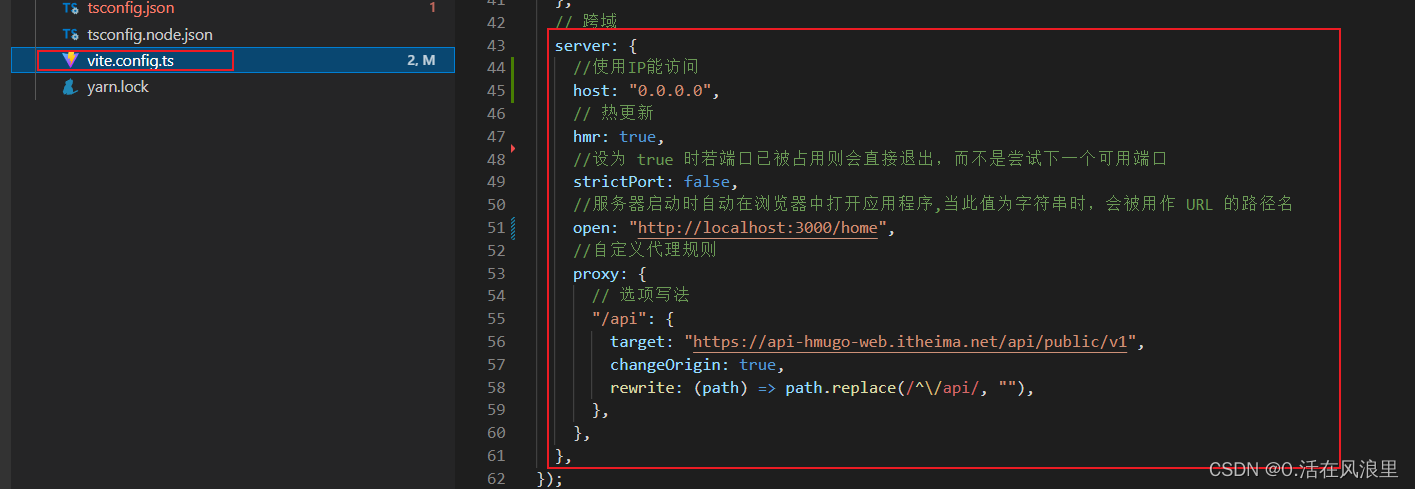
一 :配置跨域

二: 网址配好后写 service.ts 创建axiso实例
- import axios, {
- AxiosInstance,
- AxiosRequestConfig,
- CancelTokenSource,
- } from 'axios';
- // 导入 element-plus 中的消息和弹框组件
- import { ElMessage, ElMessageBox } from 'element-plus';
- import { Session } from '/@/utils/storage';
-
- // 取消请求的标记
- let cancelToken: CancelTokenSource | null = null;
-
- // 创建 Axios 实例
- const service: AxiosInstance = axios.create({
- baseURL: import.meta.env.VITE_API_URL, // 设置基础 URL
- timeout: 1000, // 设置超时时间
- headers: { 'Content-Type': 'application/json' }, // 设置请求头
- });
-
- // 请求拦截器
- service.interceptors.request.use(
- (config: AxiosRequestConfig) => {
- // 在发送请求之前做些什么?
- const token = Session.get('token');
- if (token) config.headers!['token'] = token; // 在请求头中添加 token
-
- // 如果存在上一次的请求,则取消它
- if (cancelToken) cancelToken.cancel('取消请求');
- // 如果存在上一次的请求,则取消它
- cancelToken = axios.CancelToken.source();
- config.cancelToken = cancelToken.token; // 设置取消请求的 token
-
- return config;
- },
- (error) => {
- // 对请求错误做些什么?
- return Promise.reject(error);
- }
- );
-
- // 响应拦截器
- service.interceptors.response.use(
- (response) => {
- // 对响应成功数据做点什么?
- const res = response.data;
- if (res.code && res.code !== 200) {
- // 处理一些常见的错误情况
- if (res.code === 401 || res.code === 4001) {
- // 退出登录并跳转到登录页
- Session.clear();
- window.location.href = '/home';
- ElMessageBox.alert('你已被登出,请重新登录', '提示', {})
- .then(() => {})
- .catch(() => {});
- }
- return Promise.reject(response);
- } else {
- return response.data;
- }
- },
- (error) => {
- // 对响应错误数据做点什么?
- 推荐阅读
相关标签
Copyright © 2003-2013 www.wpsshop.cn 版权所有,并保留所有权利。


