- 1自然语言处理学习笔记十(文本聚类)_重复二分聚类
- 2【蓝桥杯】阿坤老师的魔方挑战
- 3基础备忘:C++编译期多态与运行期多态_编译器多态可以基于函数的重载解析
- 4微机系统的存储器(一)半导体存储器_内存和外存都是由半导体器件构成的吗
- 5idea maven下载异常,报错 Cannot access alimaven (http://maven.aliyun.com/nexus/content/groups/public/)_has+not+been+downloaded+from+it+before
- 6huggingface无法下载模型的实战代码_无法从huggingface下载baichuan
- 7JDK安装教程详解
- 8Java面向对象浅谈
- 9IntelliJ IDEA 2023和Java的JDK详细安装教程_idea2023 win11安装
- 10Spring Boot 集成 RocketMQ_springboot rocketmq
python脚本——Excel处理_python excel脚本
赞
踩
本文旨在为不熟悉python的开发人员提供excel便捷处理工具,以方便日常工作。
一、python安装
进入https://www.python.org/downloads/,根据操作系统版本选择对应安装包。建议安装3.x版本。
安装过程注意勾选 Add to path,将python路径信息添加到系统环境变量PATH中。
IDE工具建议安装jetbrains提供的pycharm社区版。
二、Excel介绍
电子表格工具,后缀为 .xlsx。
一个Excel文档为一个工作簿,工作簿可以包含多个sheet,一个sheet为一个工作表。
三、安装openpyxl模块
在DOS命令窗口执行: pip install openpyxl==2.6.2
四、Excel处理
本模块代码及实验文件均已上传Github。
仓库地址: github.com/WWindmill/p…
4.1 读取操作
import openpyxl
from openpyxl.utils import get_column_letter, column_index_from_string

# 工作簿对象
workbook = openpyxl.load_workbook("C:\projects\Python\9.源代码文件\automate_online-materials\example.xlsx")
print('type of result: ', type(workbook))
print("all sheet names: ", workbook.sheetnames)
# 获取工作表
sheet = workbook['Sheet1']
print("sheet obj: ", sheet, " sheet title:",  sheet.title)
# 获取工作簿的活动表
anotherSheet = workbook.active
print("active sheet: ", anotherSheet)
# 获取单元格
print("cell A1: ", sheet['A1'])
print("cell A1 val: ", sheet['A1'].value)
c = sheet['B1']
print('Row %s, Column %s is %s' % (c.row, c.column, c.value))
print('Cell %s is %s' % (c.coordinate, c.value))
print("cell[B1]: ", sheet.cell(row=1, column=2))
# 步长为2
for i in range(1, 8, 2):
    print('row:%s,column:2, value:%s' % (i, sheet.cell(row=i, column=2).value))
# 获取工作表大小
print("max row: ", sheet.max_row)
print("max column: ", sheet.max_column)
# 列字母与数字转换
print("1 mean letter: ", get_column_letter(1))
print(sheet.max_column, "mean letter: ", get_column_letter(sheet.max_column))
print("column A point at num: ", column_index_from_string('A'))
# 按行遍历 method1
print(tuple(sheet['A1':'C3']))
for rowCell in sheet['A1':'C3']:
    for eachCell in rowCell:
        print(eachCell.coordinate, eachCell.value)
    print('--- END OF ROW ---')
# 按行遍历 method2
print(list(sheet.rows)[0])
for cellObj in list(sheet.rows)[0]:
 print(cellObj.value)
print('--- END OF ROW ---')
# 按列遍历
print(list(sheet.columns)[0])
for cellObj in list(sheet.columns)[0]:
 print(cellObj.value)
print('--- END OF column ---')
- 1
- 2
- 3
- 4
- 5
- 6
- 7
- 8
- 9
- 10
- 11
- 12
- 13
- 14
- 15
- 16
- 17
- 18
- 19
- 20
- 21
- 22
- 23
- 24
- 25
- 26
- 27
- 28
- 29
- 30
- 31
- 32
- 33
- 34
- 35
- 36
- 37
- 38
- 39
- 40
- 41
- 42
- 43
- 44
- 45
- 46
4.2 写操作
import openpyxl

# 工作簿对象
workbook = openpyxl.load_workbook(".\source\example.xlsx")
print('type of result: ', type(workbook))
print("all sheet names: ", workbook.sheetnames)
# 获取工作表
sheet = workbook['Sheet1']
print("sheet obj: ", sheet, " sheet title:",  sheet.title)
# 修改sheet名称 并转储为另一个文件
sheet.title = 'Spam Spam Spam'
workbook.save('.\source\example_copy.xlsx')
# 创建和删除工作表
workbook.create_sheet(index=3, title="the fourth sheet")
print('sheet names: ', workbook.sheetnames)
del workbook['the fourth sheet']
print('sheet names: ', workbook.sheetnames)
workbook.save('.\source\example_copy.xlsx')
# 修改单元格属性值
sheet['B1'] = 'Hello, world!'
print('B1 modified value: ', sheet['B1'].value)
workbook.save('.\source\example_copy.xlsx')
- 1
- 2
- 3
- 4
- 5
- 6
- 7
- 8
- 9
- 10
- 11
- 12
- 13
- 14
- 15
- 16
- 17
- 18
- 19
- 20
- 21
- 22
4.3 其他操作
import openpyxl

# 公式
workbookCal = openpyxl.Workbook()
sheet = workbookCal.active
sheet['A1'] = 200
sheet['A2'] = 300
# 设置公式.
sheet['A3'] = '=SUM(A1:A2)'
workbookCal.save('.\source\writeFormula.xlsx')

# 行、列操作
workbookOpt = openpyxl.Workbook()
sheetOpt = workbookOpt.active
sheetOpt['A1'] = 'Tall row'
sheetOpt['B2'] = 'Wide column'
# 设置宽高
sheetOpt.row_dimensions[1].height = 70
sheetOpt.column_dimensions['B'].width = 20
# 合并单元格
sheetOpt.merge_cells('A1:D3')
sheetOpt['A1'] = 'Twelve cells merged together.'
sheetOpt.merge_cells('C5:D5')
sheetOpt['C5'] = 'Two merged cells.'
workbookOpt.save('.\source\dimensions.xlsx')
# 分拆单元格
sheetOpt.unmerge_cells('C5:D5')
workbookOpt.save('.\source\dimensions.xlsx')
# 冻结窗口
sheetOpt.freeze_panes = 'C5'
workbookOpt.save('.\source\dimensions.xlsx')

#图表
workbookDraw = openpyxl.Workbook()
sheetDraw = workbookDraw.active
for i in range(1, 11):
    sheetDraw['A' + str(i)] = i
refObj = openpyxl.chart.Reference(sheet, min_col=1, min_row=1,max_col=1, max_row=10)
seriesObj = openpyxl.chart.Series(refObj, title='First series')
chartObj = openpyxl.chart.BarChart()
chartObj.title = 'My Chart'
chartObj.append(seriesObj)
sheetDraw.add_chart(chartObj, 'C5')
- 1
- 2
- 3
- 4
- 5
- 6
- 7
- 8
- 9
- 10
- 11
- 12
- 13
- 14
- 15
- 16
- 17
- 18
- 19
- 20
- 21
- 22
- 23
- 24
- 25
- 26
- 27
- 28
- 29
- 30
- 31
- 32
- 33
- 34
- 35
- 36
- 37
- 38
- 39
- 40
- 41
- 42
- 43
workbookDraw.save(‘.\source\sampleChart.xlsx’)
五、综合实践
根据如下表结构统计各县人口总数以及普查区数,并输出为Json文件。
CensusTract State County POP
… … … …
其中:
- CensusTract表示普查区编号
- State表示州简称
- County表示县名称
- POP表示普查区人口数
实现代码如下:
import openpyxl, pprint

print('Opening workbook...')
workbook = openpyxl.load_workbook('.\source\censuspopdata.xlsx')
sheet = workbook['Population by Census Tract']
countyData = {}
print('Reading rows...')
for row in range(2, sheet.max_row + 1):
    # Each row in the spreadsheet has data for one census tract.
    state = sheet['B' + str(row)].value
    county = sheet['C' + str(row)].value
    pop = sheet['D' + str(row)].value
    # Make sure the key for this state exists.if already exist, execute nothing.
    countyData.setdefault(state, {})
    # Make sure the key for this county in this state exists.if already exist, execute nothing.
    countyData[state].setdefault(county, {'tracts': 0, 'pop': 0})
    # Each row represents one census tract, so increment by one.
    countyData[state][county]['tracts'] += 1
    # Increase the county pop by the pop in this census tract.
    countyData[state][county]['pop'] += int(pop)
# Open a new text file and write the contents of countyData to it.
print('Writing results...')
resultFile = open('.\source\census.json', 'w')
resultFile.write('allData = ' + pprint.pformat(countyData))
resultFile.close()
print(pprint.pformat(countyData))
# print Anchorage population
# print(countyData['AK']['Anchorage']['pop'])
print('Done.')
返回如下:

{
  "AK": {
    "Aleutians East": {
      "pop": 3141,
      "tracts": 1
    },
    "Aleutians West": {
      "pop": 5561,
      "tracts": 2
    },
    "Anchorage": {
      "pop": 291826,
      "tracts": 55
    },
    "Bethel": {
      "pop": 17013,
      "tracts": 3
    },
    "Bristol Bay": {
      "pop": 997,
      "tracts": 1
    },
    "Denali": {
      "pop": 1826,
      "tracts": 1
    },
    "Dillingham": {
      "pop": 4847,
      "tracts": 2
    },
    ...
- 1
- 2
- 3
- 4
- 5
- 6
- 7
- 8
- 9
- 10
- 11
- 12
- 13
- 14
- 15
- 16
- 17
- 18
- 19
- 20
- 21
- 22
- 23
- 24
- 25
- 26
- 27
- 28
- 29
- 30
- 31
- 32
- 33
- 34
- 35
- 36
- 37
- 38
- 39
- 40
- 41
- 42
- 43
- 44
- 45
- 46
- 47
- 48
- 49
- 50
- 51
- 52
- 53
- 54
- 55
- 56
- 57
- 58
- 59
- 60
- 61
- 62
六、参考资料
《Python编程快速上手 让繁琐工作自动化 第2版》
关于Python的技术储备
在这里给大家分享一些免费的课程供大家学习,下面是课程里面的截图,扫描最下方的二维码就能全部领取,如果图片失效点击蓝色字体便可跳转哦~点这里哦
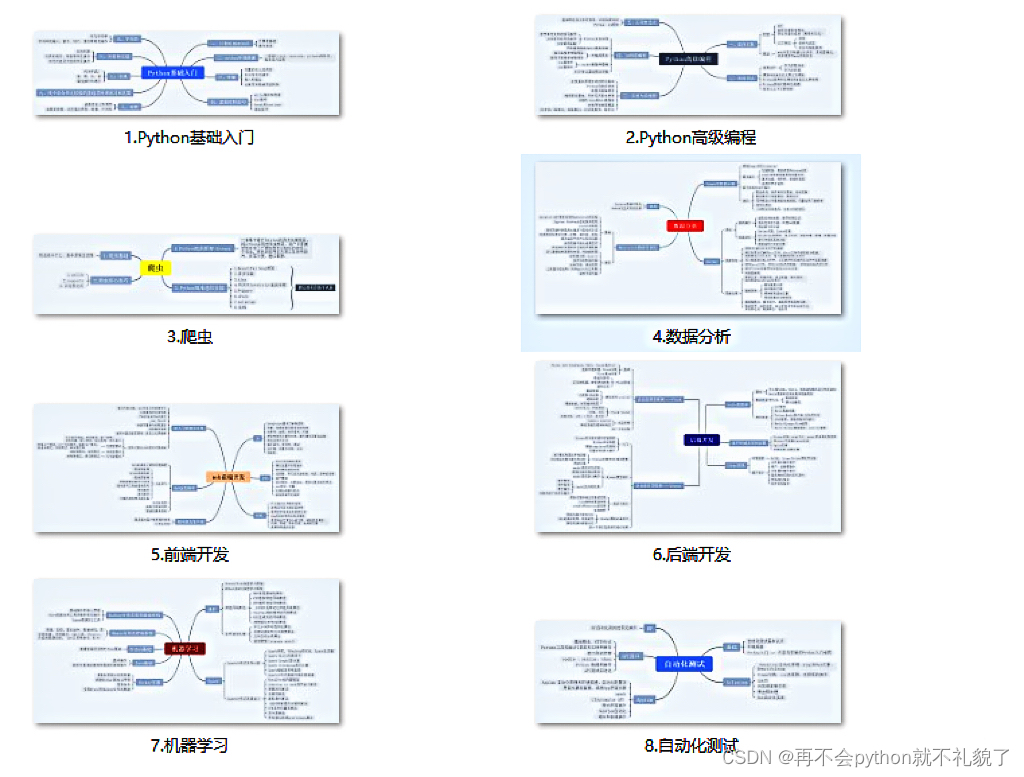
1.Python所有方向的学习路线
2.学习软件
工欲善其事必先利其器。学习Python常用的开发软件都在这里了,给大家节省了很多时间。
3.学习资料
4.实战资料
实践是检验真理的唯一标准。这里的压缩包可以让你再闲暇之余帮你提升你的个人能力。
5.视频课程
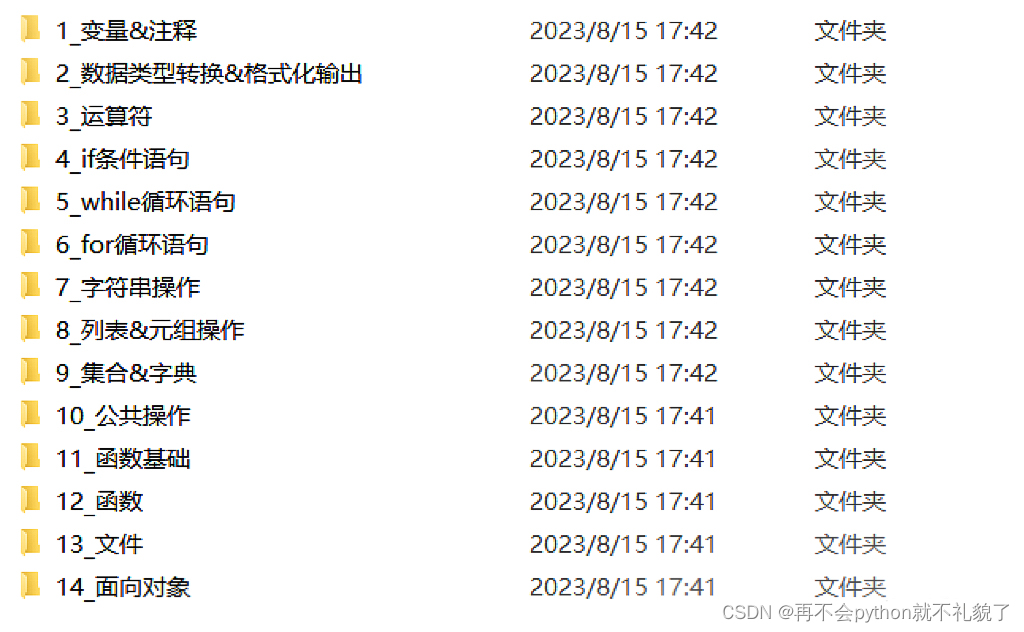
好啦今天的分享就到这里结束了,快乐的时光总是短暂呢,想学习更多课程的小伙伴不要着急,有更多惊喜哦~######
最新全套【Python入门到进阶资料 & 实战源码 &安装工具】(安全链接,放心点击)


