
- 1STM32同时测量4路模拟电压,用DMA自动搬运到数组内,不用软件干预。
- 2实时视频直播客户端技术盘点:Native、HTML5、WebRTC、微信小程序_native终端
- 3c语言大作业小学生测验,小学生测验(C语言写)
- 420240312-2-贪心算法
- 5YOLOv8改进:一种高效多尺度融合模块的即插即用方案_yolov8多尺度融合
- 6DOM在Ahooks中的处理过程_dom类hooks
- 7使用现成的EFI进行黑苹果_ocauxiliarytools
- 8ChatGPT网站源码+支持Ai绘画+支持用户套餐+好友邀请功能+管理后台+在线安装+永久更新!_aichat 源码下载
- 9Mac 安装及设置 rabbitmq_mac怎么本地安装rabbitmq
- 10java如何在同一次请求响应中实现同时包含处理结果和下载文件_java下载文件,同时返回一段字符串
手摸手接入Github实现Oauth2第三方登录_github oauth2登录
赞
踩
前言
最近在学习oauth2授权登录流程,oauth2简单来说就是接入第三方应用(qq、微信、github、gitee等),不用在本站登录,而是去请求第三方应用的用户信息完成登录。
下面就一起来看一下如何接入github实现第三方登录
前置操作
首先,我们需要在github中添加OAuth App,登录你的github(如果还有无法登录github的,请在评论区留言或私信我)


点击注册
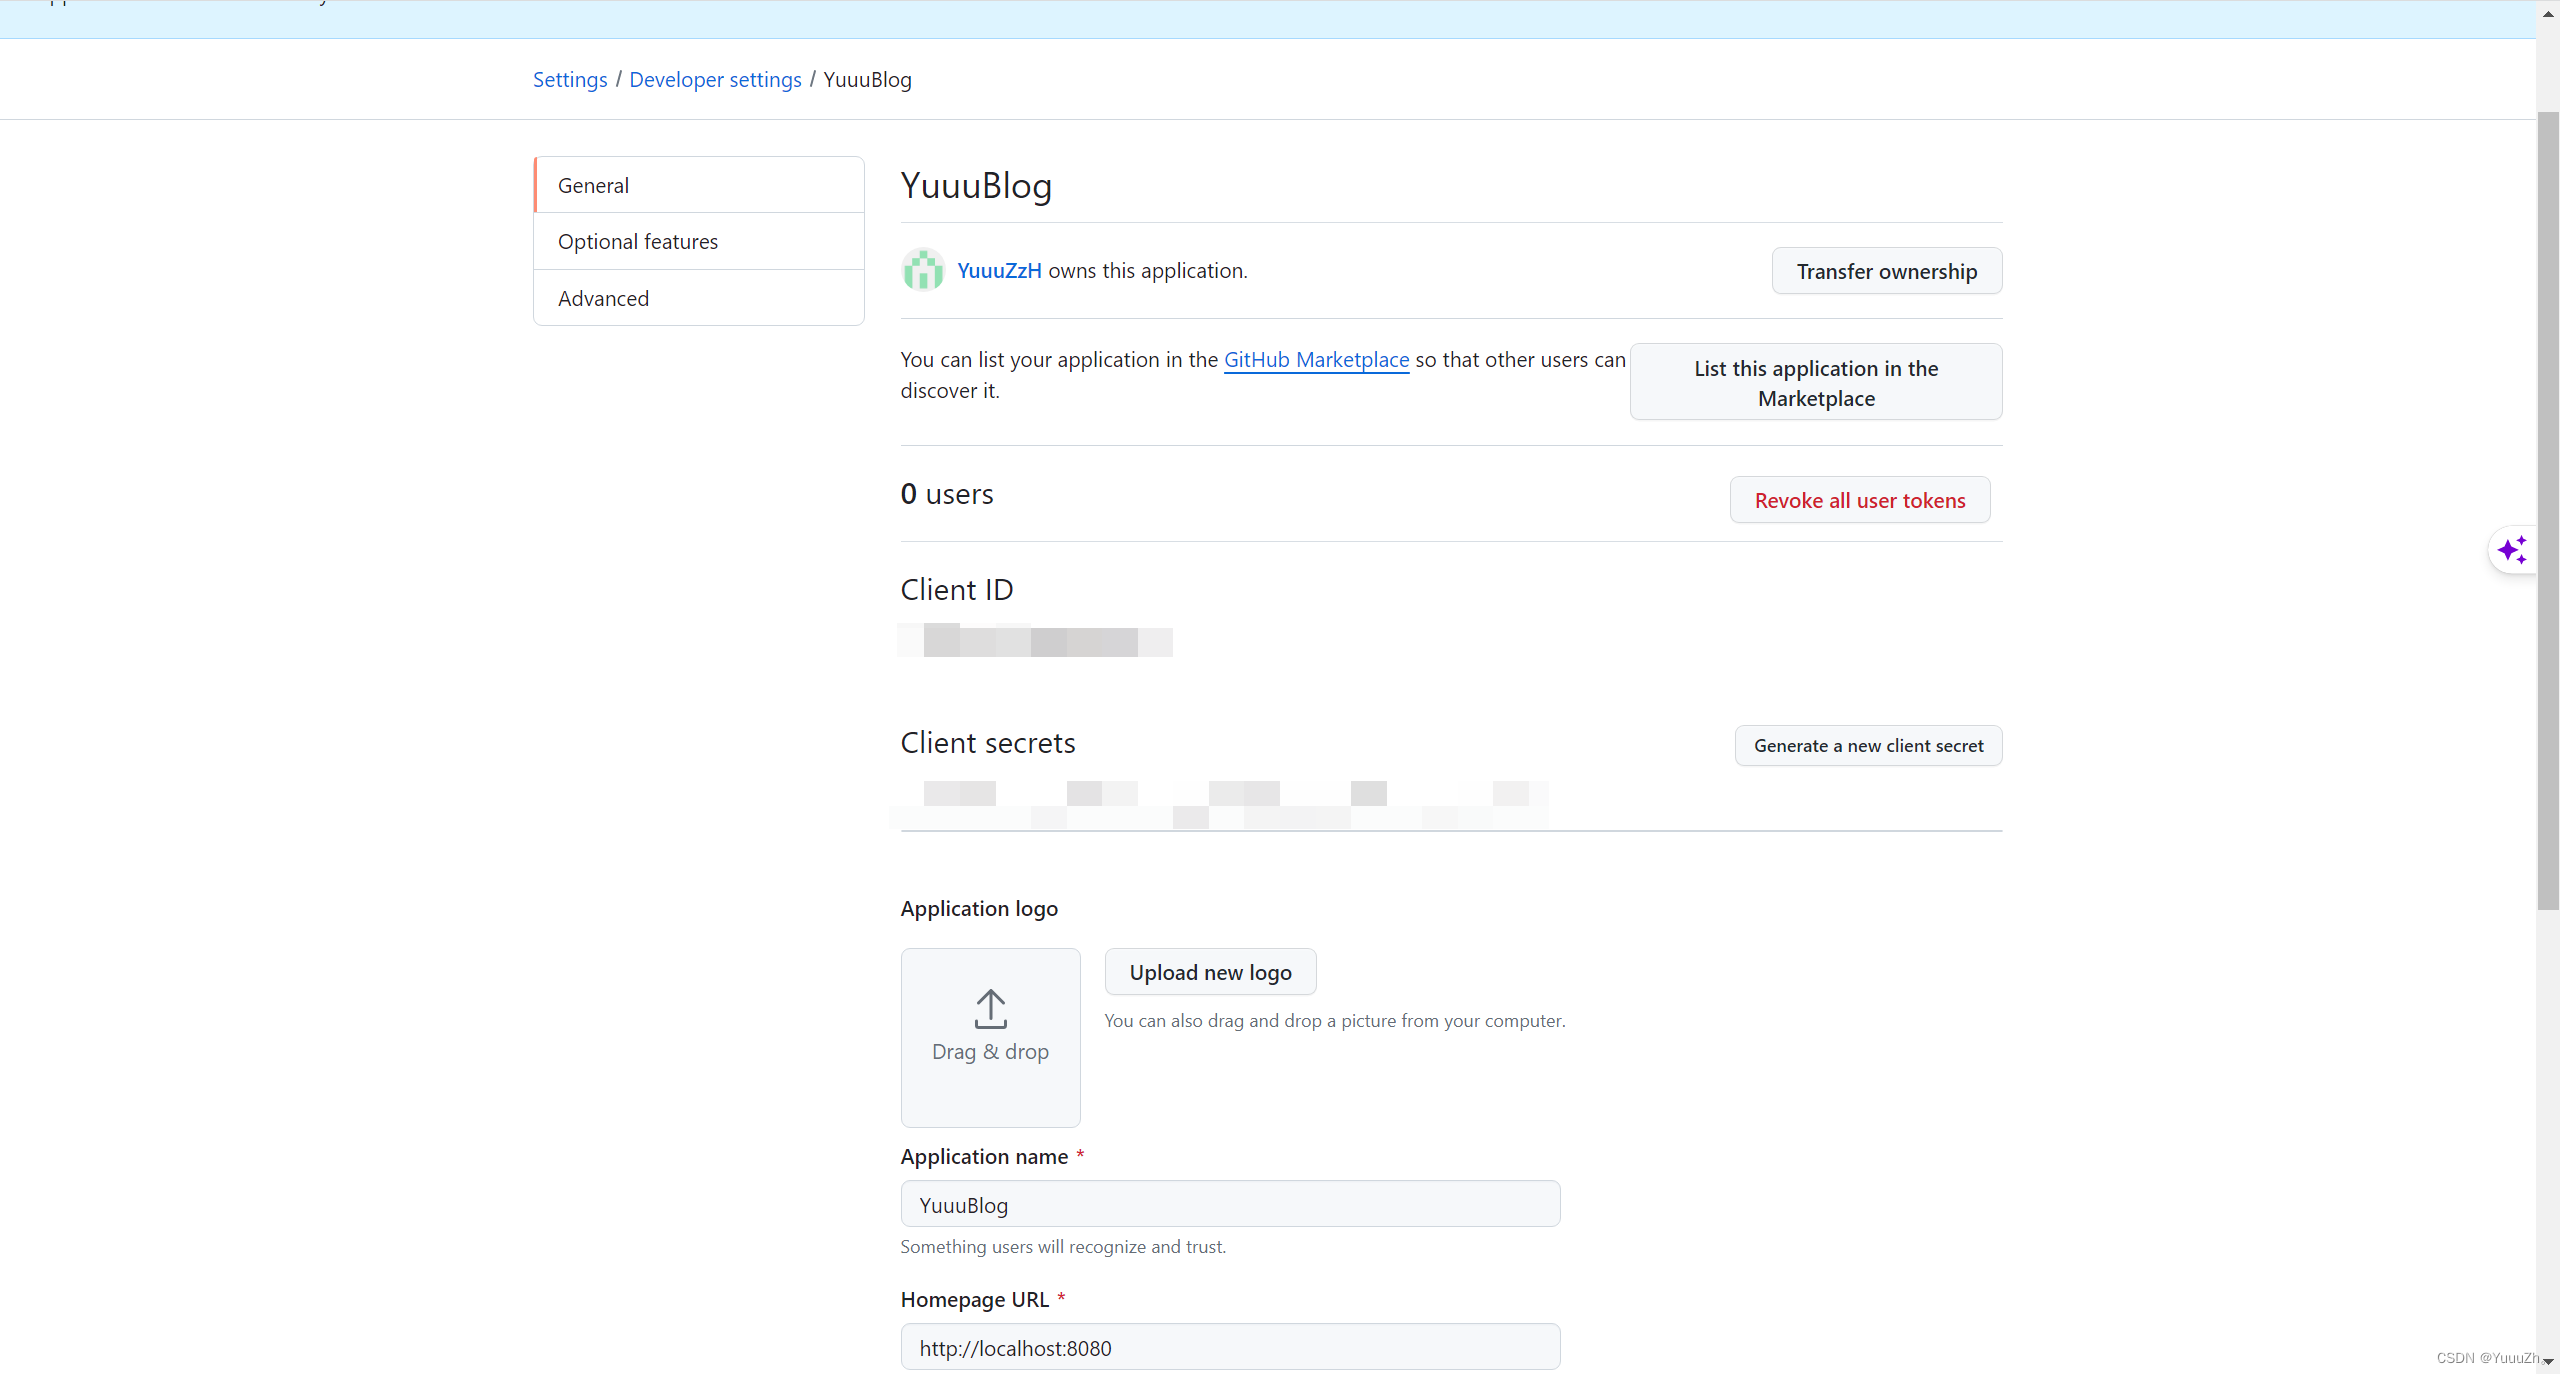
如果你成功执行到这里,那么就恭喜你已经把前置工作完成了
实战演练
下面就以我个人的博客代码为例,和大家一起实现github第三方登录
博客地址:www.yuuu.online,
项目地址:蔚泽华 (yuuu-zehua) - Gitee.com
业务流程
我这里先说一下我项目的业务流程:用户第一次使用github登录,那么我会让其与我的网站进行绑定(邮箱);如果是非第一次使用,那么就直接登录
话不多说,直接进入!
业务代码
因为我的项目是前后端分离的,所以一切请求都要过一遍前端代理,因此我写了一个Loading页,这也是我添加的github回调地址。
- // Loading页的执行方法
- oauth() {
- const urlParams = new URLSearchParams(window.location.search);
- const code = urlParams.get('code');
- const state = urlParams.get('state');
- if (code && code != '') {
- request.post('user/oauth?code=' + code + '&state=' + state).then(response => {
- console.log(response);
- if(response === undefined){
- this.$router.push({ path: '/Login?login=9' });
- }else{
- setToken(response.token)
- localStorage.setItem("userInfo", JSON.stringify(response.userInfo))
- this.$router.push({ path: '/' });
- }
- })
- }
- },

在这里会根据后端的返回去判断是第一次登录还是非第一次登录,下面是后端接口实现
- public ResponseResult oauth(String code) {
-
- LambdaQueryWrapper<User> queryWrapper = new LambdaQueryWrapper<>();
- BlogUserLoginVo blogUserLoginVo;
- try {
- String oauthToken = getOauthToken(code);
- GithubUser githubUser = getUserInfoWithGithub(oauthToken);
-
- queryWrapper.eq(User::getGithubId, githubUser.getId());
- User one = getOne(queryWrapper);
- if (one != null) {
- // 已经绑定过用户信息,直接登录
- blogUserLoginVo = getBlogUserLoginVo(one);
- return ResponseResult.okResult(blogUserLoginVo);
- } else {
- redisCache.setCacheObject(code,githubUser);//注意这里
- Map<Integer,String> map = new HashMap<>();
- map.put(999, "未绑定");
- return ResponseResult.okResult(map);
- }
- } catch (IOException e) {
- throw new SystemException(AppHttpCodeEnum.SYSTEM_ERROR);
- }
- }
-
- private BlogUserLoginVo getBlogUserLoginVo(User user) {
- // 获取userId,生成token
- String jwt = JwtUtil.createJWT(user.getId().toString());
- // 把用户信息存入redis
- LoginUser loginUser = new LoginUser();
- loginUser.setUser(user);
- loginUser.setPermissions(null);
- redisCache.setCacheObject(SystemConstants.BLOG_LOGIN_KEY + user.getId(), loginUser, 1800, TimeUnit.SECONDS);
- // 把token和userInfo封装返回
- // 把user转换为userInfo
- UserInfoVo userInfoVo = BeanCopyUtils.copyBean(user, UserInfoVo.class);
- BlogUserLoginVo blogUserLoginVo = new BlogUserLoginVo(jwt, userInfoVo);
- return blogUserLoginVo;
- }
-
- private String getOauthToken(String code) throws IOException {
- String url = "https://github.com/login/oauth/access_token";
-
- HttpHeaders headers = new HttpHeaders();
- headers.setContentType(MediaType.APPLICATION_JSON);
- headers.setAccept(Arrays.asList(MediaType.APPLICATION_JSON));
-
- String requestBody = String.format("{\"client_id\":\"%s\",\"client_secret\":\"%s\",\"code\":\"%s\"}",
- clientId, clientSecret, code);
-
- HttpEntity<String> request = new HttpEntity<>(requestBody, headers);
-
- RestTemplate restTemplate = new RestTemplate();
- ResponseEntity<String> response = restTemplate.exchange(url, HttpMethod.POST, request, String.class);
-
- if (response.getStatusCode().is2xxSuccessful()) {
- // 解析JSON响应,获取access_token字段
- String jsonString = JSON.toJSONString(response);
- JSONObject jsonObject = JSON.parseObject(jsonString);
- JSONObject body = jsonObject.getJSONObject("body");
- Object token = body.get("access_token");
- return token.toString();
- } else {
- throw new SystemException(AppHttpCodeEnum.SYSTEM_ERROR);
- }
- }
-
- private GithubUser getUserInfoWithGithub(String oauthToken) throws IOException {
- String url = "https://api.github.com/user";
- HttpHeaders headers = new HttpHeaders();
- headers.set("Authorization", "Bearer " + oauthToken);
- headers.setAccept(Arrays.asList(MediaType.APPLICATION_JSON));
- HttpEntity<Void> requestEntity = new HttpEntity<>(headers);
- RestTemplate restTemplate = new RestTemplate();
- ResponseEntity<String> responseEntity = restTemplate.exchange(url, HttpMethod.GET, requestEntity, String.class);
- if (responseEntity.getStatusCode().is2xxSuccessful()) {
- String body = responseEntity.getBody();
- cn.hutool.json.JSONObject jsonObject = JSONUtil.parseObj(body);
- GithubUser githubUser = jsonObject.toBean(GithubUser.class);
- return githubUser;
- } else {
- throw new SystemException(AppHttpCodeEnum.SYSTEM_ERROR);
- }
- }
相关实体类,其实内容有很多,但是在我项目里我只抽出了其中返回的几个字段
- public class GithubUser {
- private String login;
- private Integer id;
- private String nodeId;
- private String avatarUrl;
- }
到这里,如果用户已经绑定过邮箱信息,那么就可以直接登录主页。如果用户没有绑定,就会跳转到绑定页。
这是我的绑定页

绑定的代码也和前面的差不多
前端代码
- oauthWithGithub() {
- const urlParams = new URLSearchParams(window.location.search);
- const code = urlParams.get('code');
- const state = urlParams.get('state');
- if (!this.emailCaptchaUpdate) {
- this.$message.error('验证码不能为空');
- } else {
- request.post('/user/oauth/github?code='+code, {
- emailPassword: this.emailPassword,
- confirmNewPassword: this.confirmNewPassword,
- emailCaptchaUpdate: this.emailCaptchaUpdate,
- })
- .then((response) => {
- console.log(response)
- this.$alert('绑定成功', '', {
- confirmButtonText: '确定'
- })
- this.isButtonDisabled2 = false;
- this.emailPassword = '';
- this.emailCaptchaUpdate = '';
- setToken(response.token)
- localStorage.setItem("userInfo", JSON.stringify(response.userInfo))
- this.$router.push({ path: '/' });
- })
- .catch((error) => {
- console.log(error);
- });
- }
- },
后端接口
- public ResponseResult oauthGithub(ChangePassword user,String code) {
- String email = user.getEmailPassword();
- String captcha = user.getEmailCaptchaUpdate();
- if (StrUtil.isBlank(email)) {
- throw new SystemException(AppHttpCodeEnum.EMAIL_ISNULL);
- }
- if (StrUtil.isBlank(captcha)) {
- throw new SystemException(AppHttpCodeEnum.CAPTCHA_ISNULL);
- }
- LambdaQueryWrapper<User> queryWrapper = new LambdaQueryWrapper<>();
- queryWrapper.eq(User::getEmail, email);
- String cacheCaptcha = redisCache.getCacheObject(SystemConstants.MAIL_KEY + captcha);
- if (!captcha.equals(cacheCaptcha)) {
- return ResponseResult.errorResult(601, "请再检查一下验证码~");
- } else {
- redisCache.deleteObject(SystemConstants.MAIL_KEY + captcha);
- }
- User existingUser = getOne(queryWrapper);
- BlogUserLoginVo blogUserLoginVo;
- // 还记得上面让大家注意的地方吗?如果忘记了速速回滚查看!
- // 因为github的code只能用一次,本来想使用ThreadLocal,但是实现起来总报错,就直接用
- // redis存储
- GithubUser githubUser = redisCache.getCacheObject(code);
- if (existingUser == null) {
- // 新增
- User userByGithub = new User();
- userByGithub.setGithubId(githubUser.getId());
- userByGithub.setAvatar(githubUser.getAvatarUrl());
- userByGithub.setEmail(user.getEmailPassword());
- userByGithub.setPassword(passwordEncoder.encode(SystemConstants.DEFAULT_PASSWORD));
- userByGithub.setNickName(githubUser.getNodeId());
- userByGithub.setUserName(githubUser.getLogin());
- save(userByGithub);
- // 用户登录
- blogUserLoginVo = getBlogUserLoginVo(userByGithub);
- } else {
- // 修改
- existingUser.setGithubId(githubUser.getId());
- updateById(existingUser);
- // 用户登录
- blogUserLoginVo = getBlogUserLoginVo(existingUser);
- }
- // 用完就及时删除,避免资源浪费
- redisCache.deleteObject(code);
- return ResponseResult.okResult(blogUserLoginVo);
- }
到这里,就实现了全部的功能,大家可以去尽情的尝试了!
总结
Oauth2实现的原理就是拿code去换第三方的token,然后再用token去获取用户信息,看起来很容易,但是实现起来有点麻烦,其实也不是难,就是麻烦,你需要去看每个厂商的api文档,每一个还都不一样,就比如github和gitee。
我想大家在实现时也会常常出现接口超时,没有办法,我的代码在本地不会超时,但是部署在华为云服务器上就反复报接口超时,后面我也会进行优化。谢谢大家观看。
后续
后面也是成功解决了github超时的问题,给大家说一下方法。
我是自己在Cloudflare开了一个代理,把自己的域名代理到了github
如果有需要我的代理域名的小伙伴可以私信我。如果有需要出教程的也可以在评论区留言,需要的人多了就继续手摸手实现github代理。

