热门标签
热门文章
- 1考研数据结构复习---线性表
- 2Kafka系列 - 15 Kafka Offset|自动和手动提交Offset|指定Offset消费|漏消费和重复消费|消息积压_kafka消费指定offset命令
- 3Linux系统上离线安装MySQL步骤_linux离线安装mysql
- 4YOLOv5在香橙派npu RK3588上部署(解决检测框混乱问题)_香橙派5 yolo
- 5Unity--UI事件触发器--EventTrigger
- 6数据结构:AVL树的实现和全部图解_avl树在线构建
- 7AI写作生成软件哪个最好用?热门5款软件测评来了_聪明灵犀和文心一言
- 8Pytorch的几种常用优化器_pytorch关键点检测最好的优化器
- 9多组件卡片式问答引擎_大模型的卡片式回答
- 10综合评价体系之熵权法_商权法准则矩阵
当前位置: article > 正文
Windows 系统 tabby 智能代码服务搭建_tabbyml 参考自已代码
作者:我家小花儿 | 2024-08-04 15:43:13
赞
踩
tabbyml 参考自已代码
总体流程
- 软件下载
- 安装
- python运行
一、软件安装
1、git安装
	  https://git-scm.com/downloads
	  官网链接下载对应的即可后续操作在git 上进行
- 1
- 2
2、tabby
  在本地创建一个文件夹,然后在这个文件夹路径窗口输入cmd
  弹出命令提示符,输入 :
- 1
- 2
git clone --recurse-submodules https://github.com/TabbyML/tabby
- 1
3、docker安装
https://www.docker.com/products/docker-desktop/
- 1
直接点击下面
下载到本地是这样的一个安装包,双击安装会默认c盘后续暂时不需要操作。
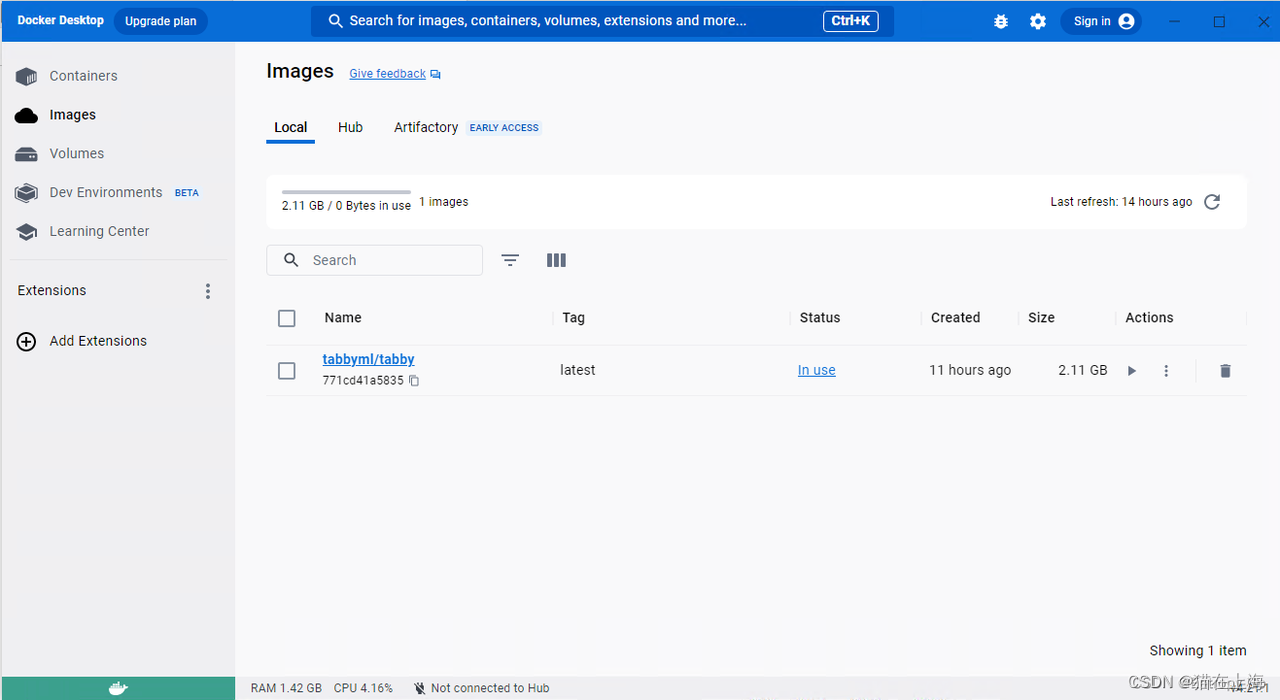
**注**:后续 的操作过程中docker操作过程中需要保持开启的状态,不然会出现报错: 错误:docker: Error response from daemon: failed to create task for container: failed to create shim task: OCI runtime create failed: runc crea te failed: unable to start container process: error during container init: error running hook #0: error running hook: exit status 1, stdo ut: , stderr: Auto-detected mode as 'legacy' nvidia-container-cli: initialization error: WSL environment detected but no adapters were found: unknown.
二、安装
1、检查本地的虚拟化设置
tabby最后安装的过程需要翻墙!
2、tabby
git clone --recurse-submodules https://github.com/TabbyML/tabby
- 1
执行完成后是这样的一个文件
3、部署
在文件夹下右键
选择 open git bash here (如果没有检查git 的安装)
输入
winpty docker run -it -e https_proxy="http://XXX.XXX.X.XXX" --gpus all -p 8080:8080 -v $HOME/.tabby:/data tabbyml/tabby serve --model TabbyML/StarCoder-1B --device cuda
- 1
注:"http://XXX.XXX.X.XXX" 是本地的IP4的地址 在本地电脑上网络,选择属性后可以看到。操作都在tabby的文件夹路径上操作。
执行的样子:
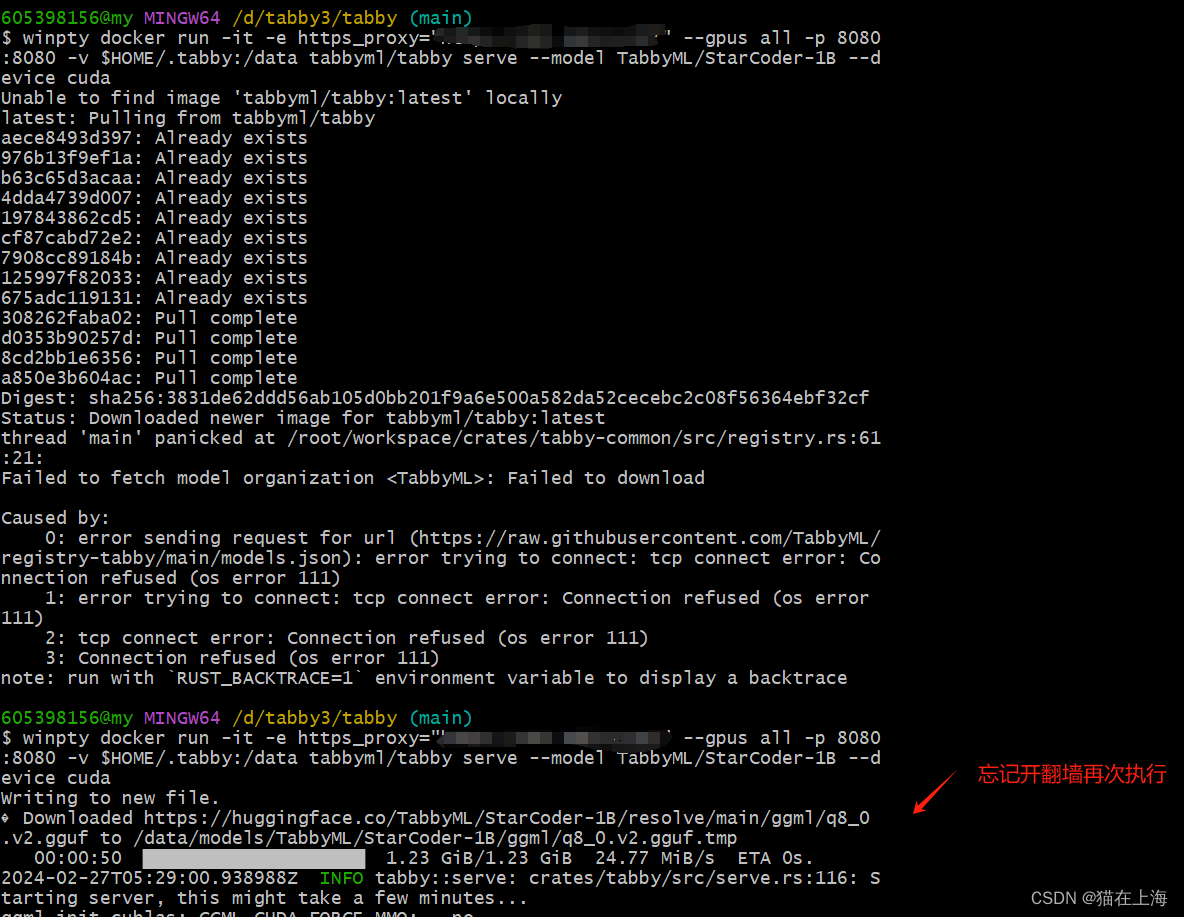
完成的样子

在docker上可以查看具体的情况
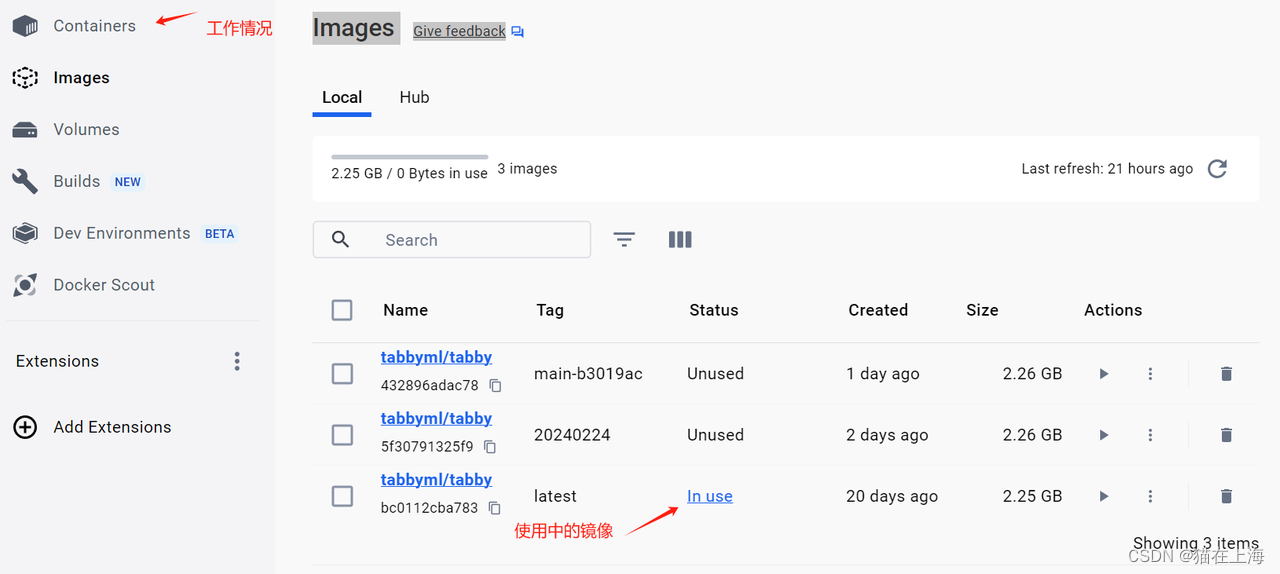
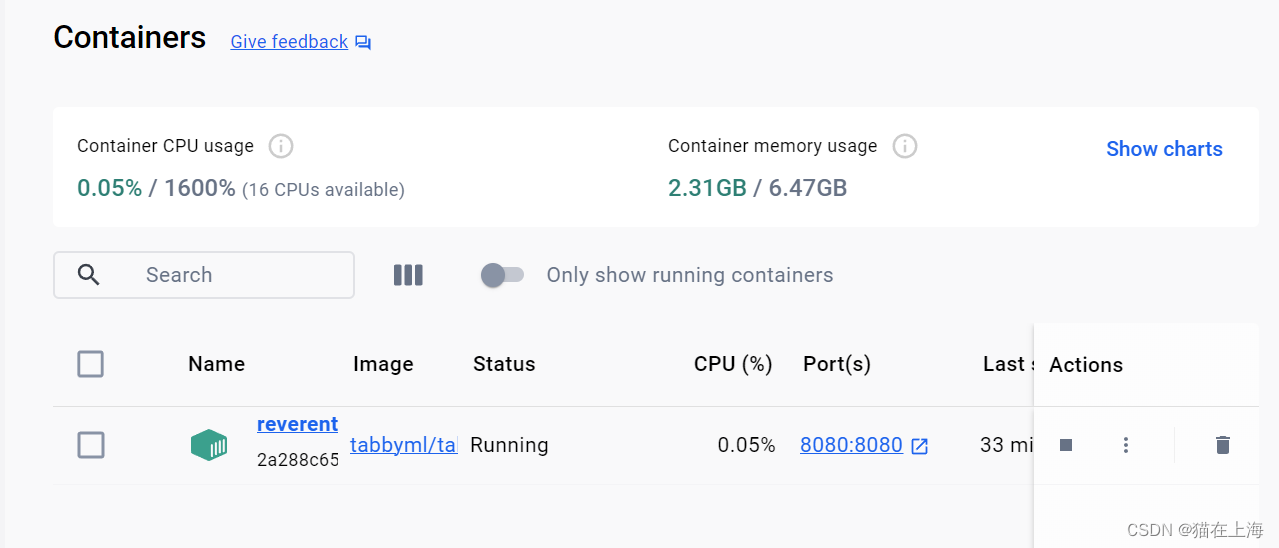
注:如果跑成功,不要对C盘进行分区操作!!!
声明:本文内容由网友自发贡献,不代表【wpsshop博客】立场,版权归原作者所有,本站不承担相应法律责任。如您发现有侵权的内容,请联系我们。转载请注明出处:https://www.wpsshop.cn/w/我家小花儿/article/detail/928468
推荐阅读
相关标签


