
- 1SQL数据库三种删除方式_删除sql
- 2mybatis-plus实现多租户_mybatis-plus tenant_id
- 3李廉洋:4.5黄金原油会受非农影响有大数据吗?晚间走势分析及建议。
- 4组播调试工具_网管自研实战|城域网组播快速改造系统
- 5YOLOv8添加多种attention注意力机制_yolov8添加注意力机制
- 6基于Java+SpringBoot+Vue流浪猫狗救助救援系统设计和实现_流浪猫狗救助系统
- 7(附源码)计算机毕业设计SSM基于的二手房交易系统
- 8GitHub使用(1):鉴权失败/推送到远程仓库(TortoiseGit小乌龟操作)_ubuntu鉴权失败
- 9生鲜超市管理系统(JavaSSH)
- 10cmd打开当前文件所在目录,cmd进入当前文件目录,cmd进入指定目录
AutoDL运行SCRFD
赞
踩
pycharm-autodl
1.租服务器 3080ti
镜像:PyTorch 1.10.0 Python 3.8(ubuntu20.04) Cuda 11.3
2.jupyterLab激活conda
vim ~/.bashrc
- 1
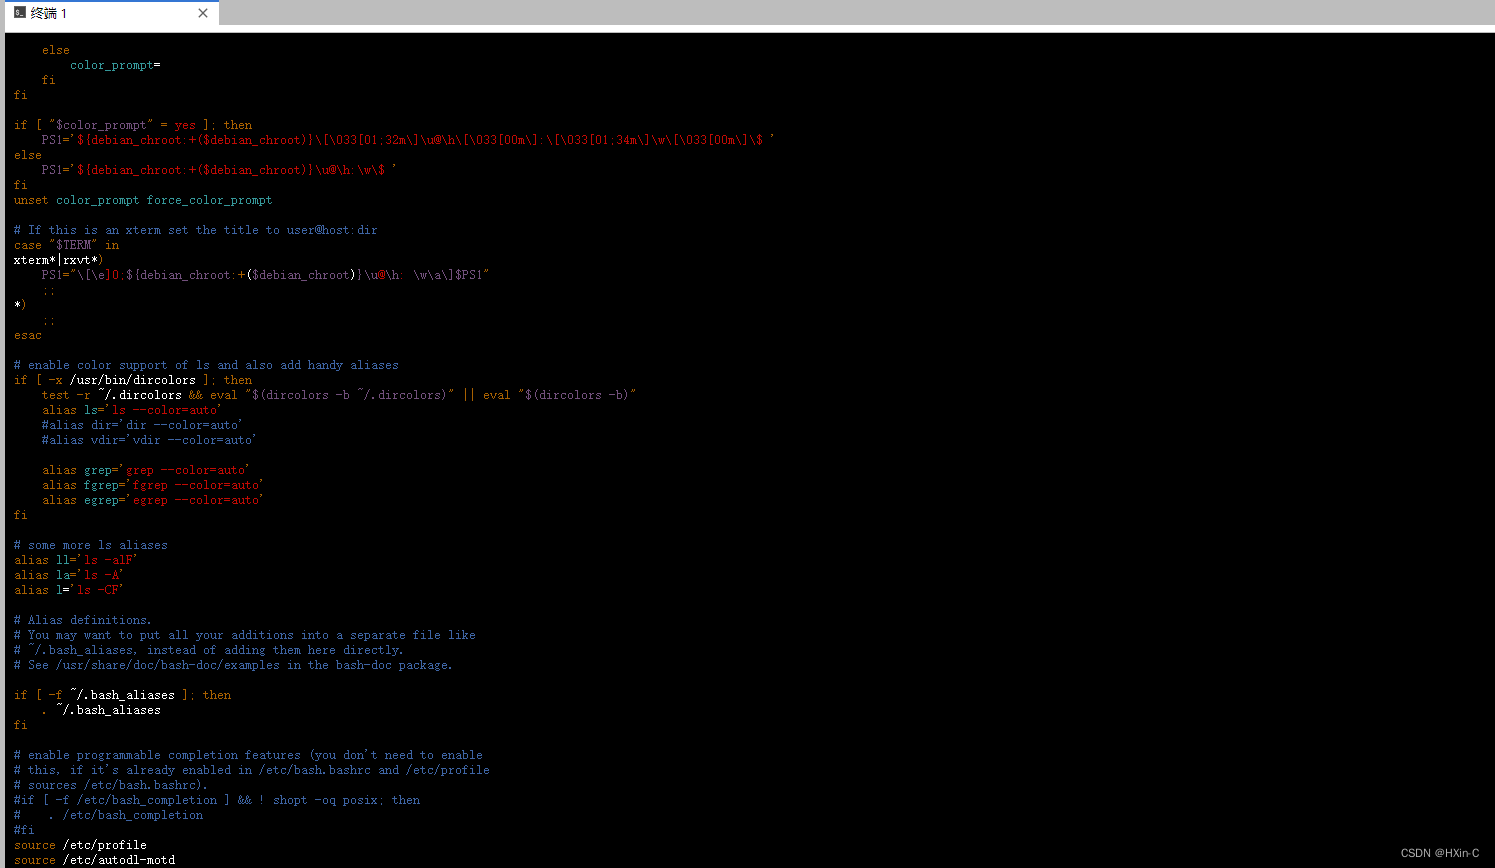
在最底部添加
source /root/miniconda3/etc/profile.d/conda.sh
- 1
重启
bash
- 1
激活conda
conda activate base
- 1
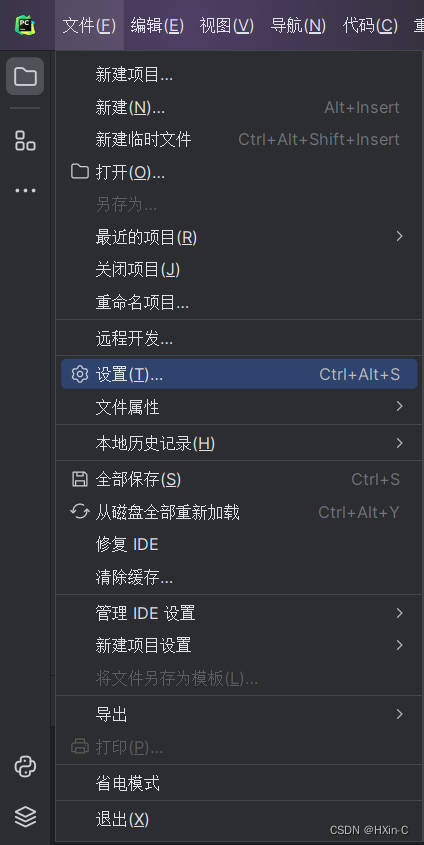
3.pycharm远程连接autodl
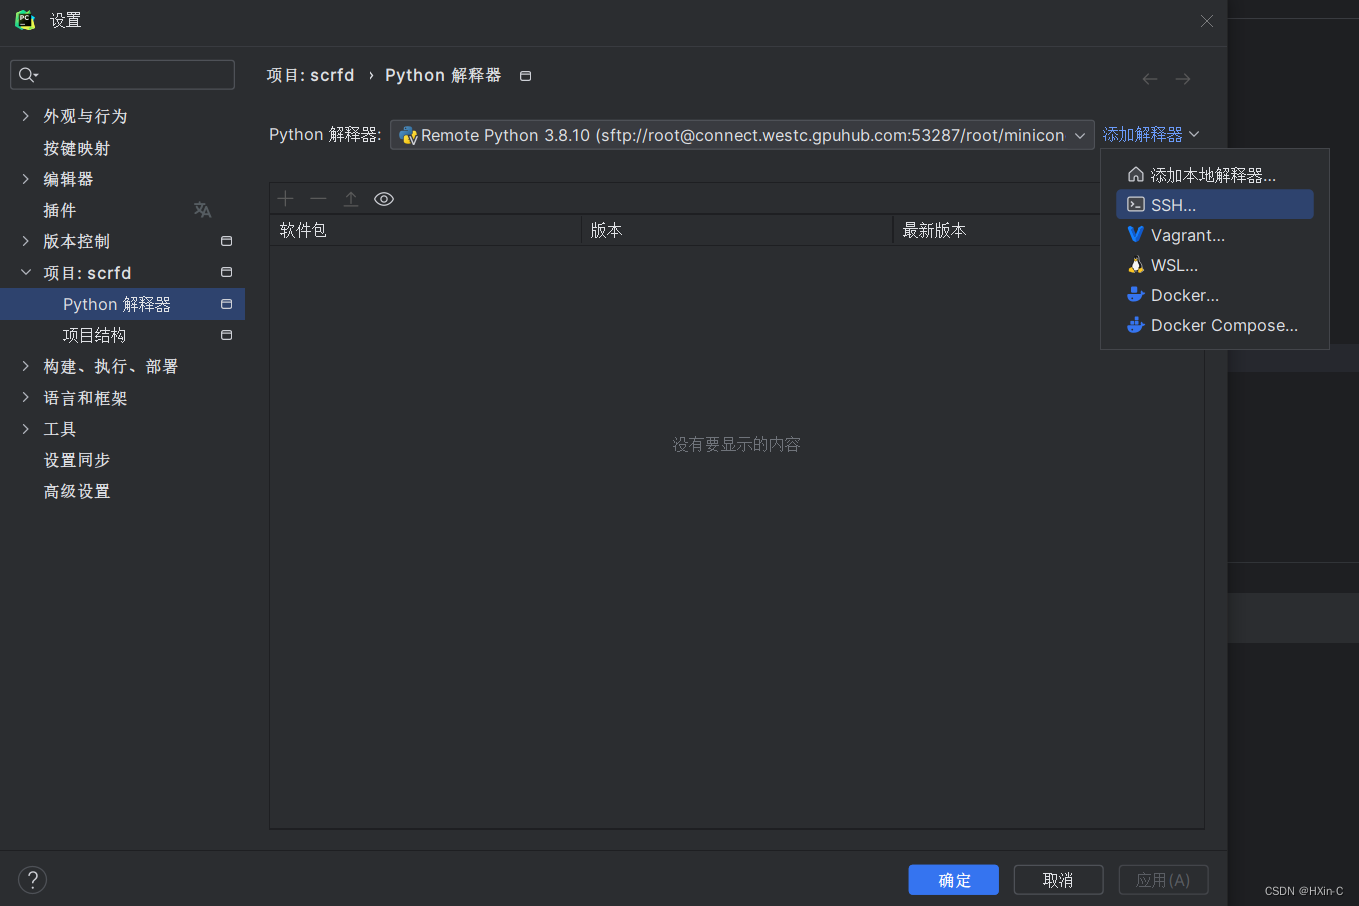
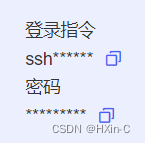
登录指令的组成是
ssh -p 端口号 用户名@主机
密码就是复制过来的密码
然后一直点下一步,直到这个界面
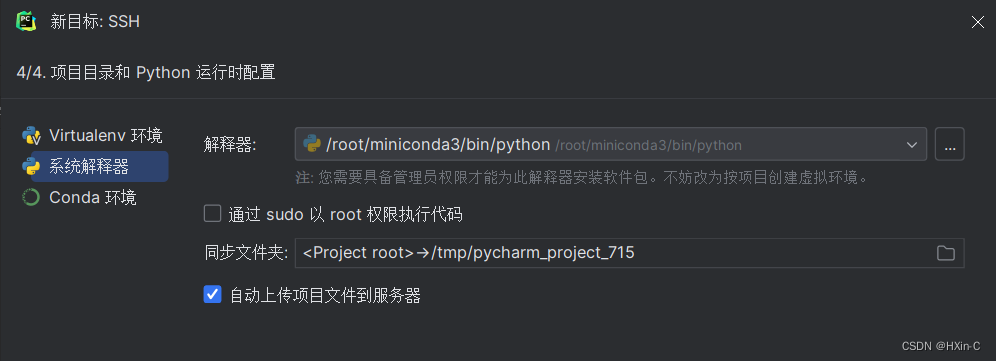
点击同步文件夹,选中你要打开的项目,看好匹配就行
创建即可
剩下的代码可见前一个博客
报错
ImportError: /usr/lib/x86_64-linux-gnu/libstdc++.so.6: version `GLIBCXX_3.4.29’ not found (required by /root/miniconda3/envs/openmmlab/lib/python3.8/site-packages/matplotlib/_path.cpython-38-x86_64-linux-gnu.so)
strings /usr/lib/x86_64-linux-gnu/libstdc++.so.6 | grep GLIBCXX
- 1
看了一眼弹出来的,确实没有
sudo find / -name "libstdc++.so.6*"
- 1
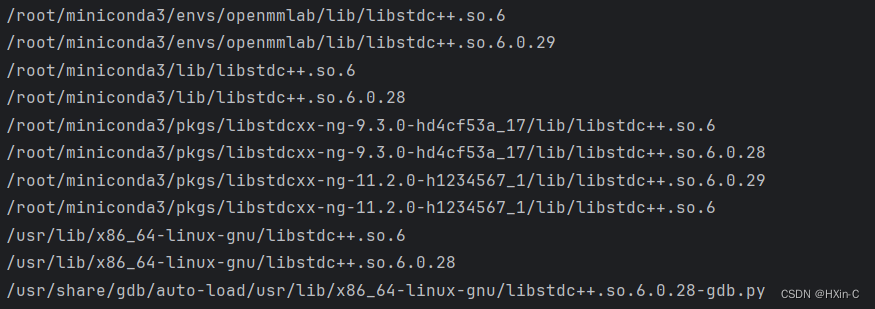
找一个可以用的版本
strings /root/miniconda3/envs/openmmlab/lib/libstdc++.so.6.0.29 | grep GLIBCXX
- 1
开始操作
cp /root/miniconda3/envs/openmmlab/lib/libstdc++.so.6.0.29 /usr/lib/x86_64-linux-gnu/
rm /usr/lib/x86_64-linux-gnu/libstdc++.so.6
ln -s /usr/lib/x86_64-linux-gnu/libstdc++.so.6.0.29 /usr/lib/x86_64-linux-gnu/libstdc++.so.6
- 1
- 2
- 3
/usr/lib/x86_64-linux-gnu/libstdc++.so.6
安排完就开始训练
nohup python ./tools/train.py ./configs/scrfd/scrfd_1g.py --gpus=1 2>&1 &
tail -f nohup.out
- 1
- 2
- 3
File “/root/miniconda3/envs/openmmlab/lib/python3.8/site-packages/mmcv/utils/config.py”, line 496, in pretty_text
text, _ = FormatCode(text, style_config=yapf_style, verify=True)
TypeError: FormatCode() got an unexpected keyword argument ‘verify’
直接删就完事了
环境配置
scrfd-github
1.激活环境
conda create --name openmmlab python=3.8 -y
conda activate openmmlab
- 1
- 2
2.下载torch
pip install torch==1.10.0+cu113 torchvision==0.11.1+cu113 -f https://download.pytorch.org/whl/torch_stable.html
- 1

3.下载mmcv
pip install mmcv-full==1.4.0 -f https://download.openmmlab.com/mmcv/dist/cu113/torch1.10.0/index.html
- 1

4.原文是去pip install -r requirements/build.txt,但是这样安装的是最新版的cython,有点问题,我选择
pip install cython==0.29.28
- 1
5.安装mmdet
python setup.py develop
- 1
6.安装onnx
pip install onnx
pip install onnx-simplifier
- 1
- 2
7.一些其他的库
conda install matplotlib
conda install scipy
- 1
- 2
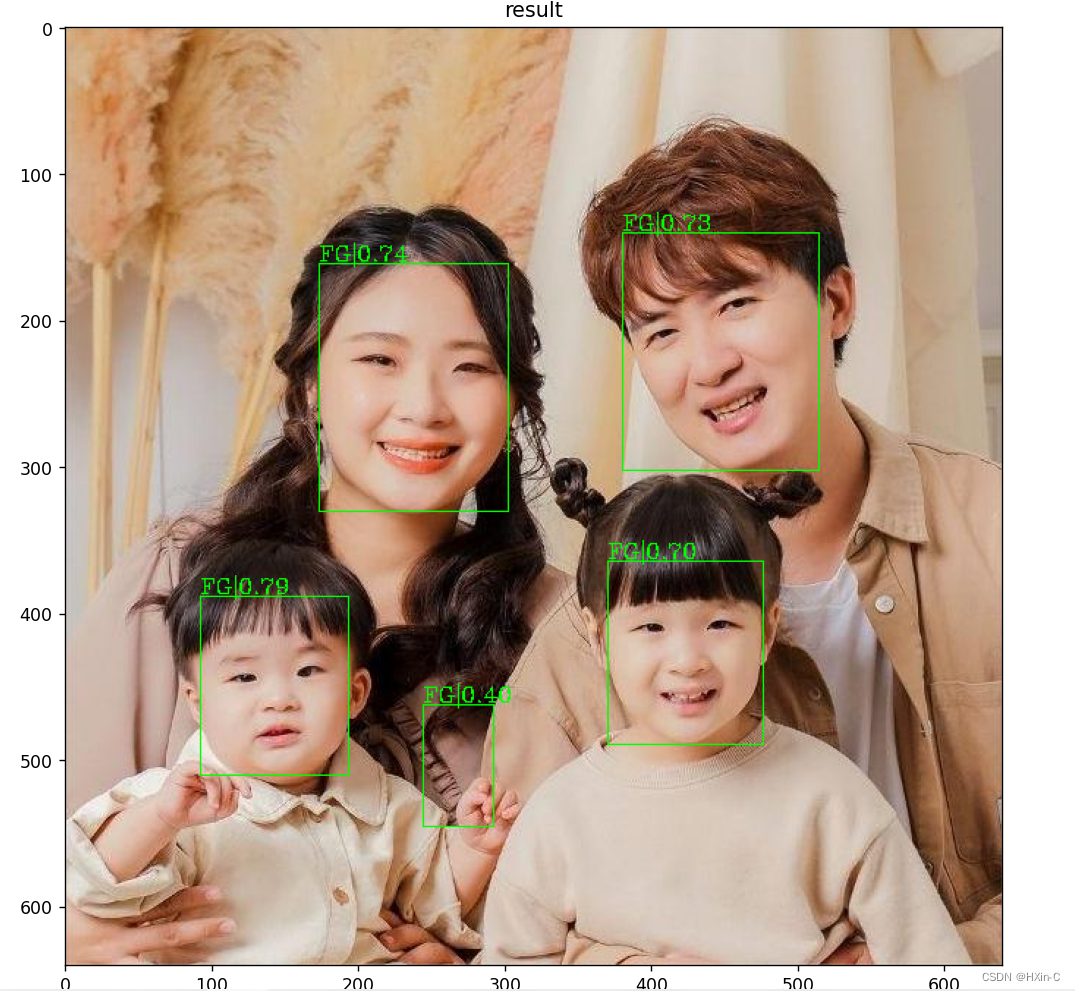
8.demo运行看看
python demo/image_demo.py weights/face.jpg configs/scrfd/scrfd_500m.py weights/model_500M.pth
- 1
效果
9.onnx导出
python tools/scrfd2onnx.py configs/scrfd/scrfd_34g.py weights/scrfd_34g.pth --shape 640 640 --input-img weights/face.jpg
- 1

显示mmcv版本不对,换成1.3.17
pip install mmcv-full==1.3.17 -f https://download.openmmlab.com/mmcv/dist/cu113/torch1.10.0/index.html
- 1
train and test
train
python ./tools/train.py ./configs/scrfd/scrfd_1g.py --gpus=1
- 1
nohup python ./tools/train.py ./configs/scrfd/scrfd_1g.py --gpus=1 2>&1 &
tail -f nohup.out
- 1
- 2
test
GPU=0
GROUP=scrfd
TASK=scrfd_2.5g
CUDA_VISIBLE_DEVICES="$GPU" python -u tools/test_widerface.py ./configs/"$GROUP"/"$TASK".py ./work_dirs/"$TASK"/model.pth --mode 0 --out wouts
- 1
- 2
- 3
- 4

