- 1【ROS2】使用摄像头功能包 usb_cam_ros2 摄像头
- 2何使用 NMAP 命令进行网络扫描(非常详细)零基础入门到精通,收藏这一篇就够了_nmap得到的cpe
- 3Testbench基本入门_testbench入门
- 4回文串问题总结_7-1 回文串问题
- 5从零开始学习CANoe(一)—— 新建工程_canoe新建工程
- 6【文献阅读笔记】之基于Deeplabv3+的图像语义分割优化方法_基于改进deeplabv3+网络的马铃薯根系图像分割方法
- 7Linux c++ onvif客户端开发(1): 根据wsdl生成cpp源文件_libonvif
- 8Flink入门及实战(1)_flink入门与实战
- 9DFI 5.0接口协议_dfi协议
- 10Java设计模式之一:观察者模式_java观察者模式
python小游戏开心消消乐制作3-矩阵游戏元素绘制_python消消乐消除后无法产生新的图块
赞
踩
前言
上篇文章中我们解决了游戏窗口关闭问题和矩型元素的显示,在这篇文章中我们将解决消消乐(或者说是连连看)的所有元素显示的问题。
一、所有元素显示
1. 元素显示
假设我们的消消乐一共有8*8个元素,那么我们可以使用两层for循环即可显示出所有元素。为了让for循环8次,我们可以使用for i in range(8)。
range()是Python中的一个内置函数,它会返回一个可迭代对象,用于生成指定范围内的整数序列。语法如下:range(start, stop[, step]),其中start表示序列的起始值(默认为0),stop表示序列的终止值(返回的对象中不包括该值),step表示序列的步长(默认为1)。
代码如下:
for i in range(8):
    for j in range(8):
        pygame.draw.rect(screen,(255,255,255),(20+20*j,20+20*i,50,50))
- 1
- 2
- 3
完整代码如下:
import pygame
import sys
import time

SCREEN_WIDTH = 800
SCREEN_HEIGHT = 600

if __name__ == '__main__':
    pygame.init()
    screen = pygame.display.set_mode((SCREEN_HEIGHT,SCREEN_WIDTH))
    pygame.display.set_caption("happy remove")
    screen.fill((124,114,242))
    for i in range(8):
        for j in range(8):
        	#位置的计算公式为left = 起始left位置+元素宽度*j,top=起始top位置+元素高度*i
            pygame.draw.rect(screen,(255,255,255),(20+50*j,20+50*i,50,50))
    #更新窗口
    pygame.display.update()
    while True:
        #获取鼠标响应
        for event in pygame.event.get():
            if event.type == pygame.QUIT:
                sys.exit(0)
        pygame.display.update()
        time.sleep(0.3)
- 1
- 2
- 3
- 4
- 5
- 6
- 7
- 8
- 9
- 10
- 11
- 12
- 13
- 14
- 15
- 16
- 17
- 18
- 19
- 20
- 21
- 22
- 23
- 24
- 25
- 26
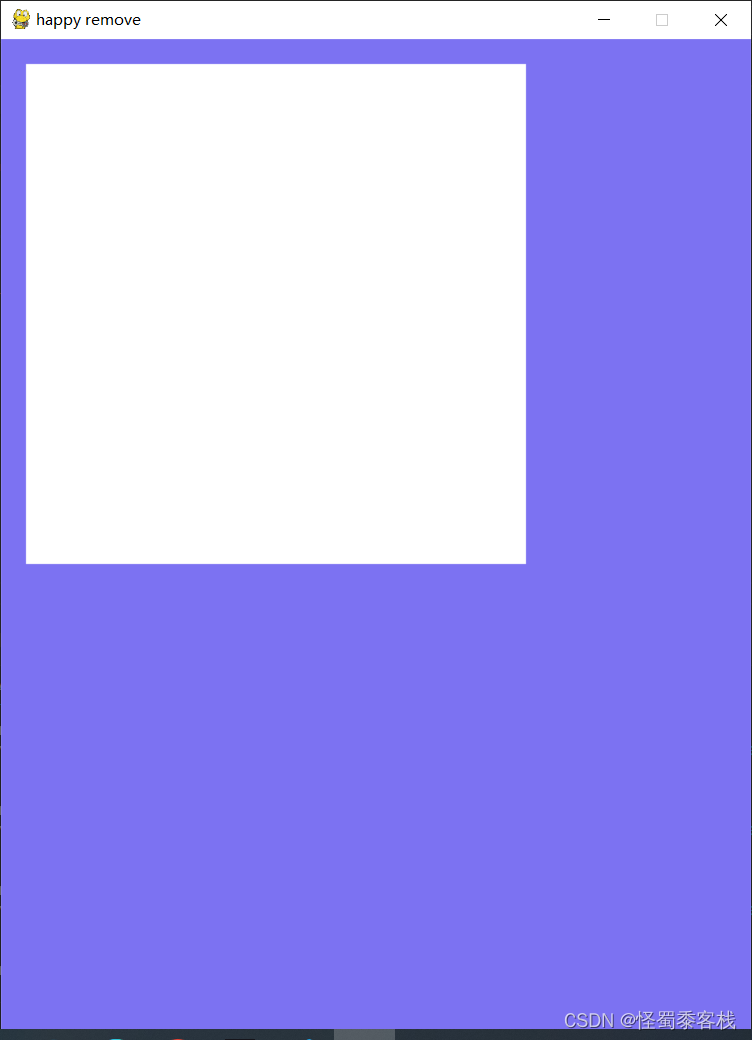
这样我们就可以获得8*8的矩阵元素了,效果如下:

2.颜色随机替换
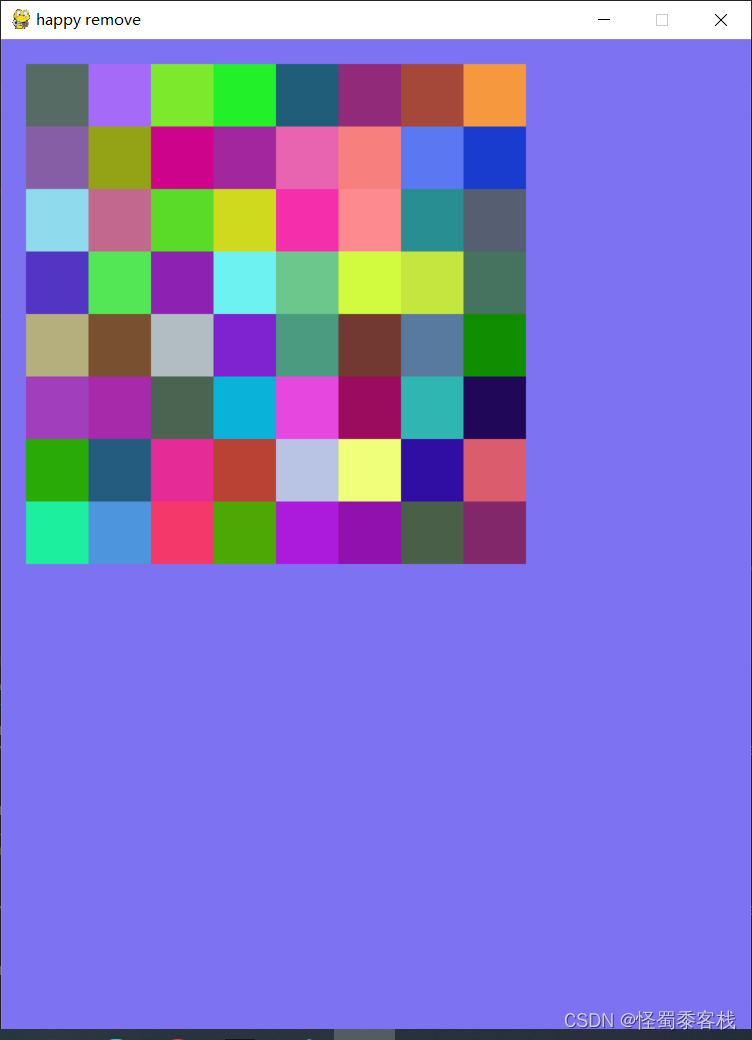
由上面效果图我们看到,所有元素的颜色值都是一样的无法区分每个矩形元素,故而我们可以使用random库对矩形的颜色进行随机替换。由于random库是系统自带的,故而我们直接引入既可。
import random
- 1
为了获得从0-255的随机颜色值,我们可以使用random.randint()来获得0-255的随机值。
random.randint()方法返回指定范围内的整数。语法如下:random.randint(start, stop),start和stop分别代表开始值和结束值,random会返回包含开始值和结束值范围内的随机整数。
随机颜色矩形元素绘制代码如下:
pygame.draw.rect(screen,(random.randint(0,255),random.randint(0,255),random.randint(0,255)),(20+50*j,20+50*i,50,50))
- 1
完整代码如下:
import pygame
import sys
import time
import random

SCREEN_WIDTH = 800
SCREEN_HEIGHT = 600

if __name__ == '__main__':
    pygame.init()
    screen = pygame.display.set_mode((SCREEN_HEIGHT,SCREEN_WIDTH))
    pygame.display.set_caption("happy remove")
    screen.fill((124,114,242))
    for i in range(8):
        for j in range(8):
        	#位置的计算公式为left = 起始left位置+元素宽度*j,top=起始top位置+元素高度*i
            pygame.draw.rect(screen,(random.randint(0,255),random.randint(0,255),random.randint(0,255)),(20+50*j,20+50*i,50,50))
    #更新窗口
    pygame.display.update()
    while True:
        #获取鼠标响应
        for event in pygame.event.get():
            if event.type == pygame.QUIT:
                sys.exit(0)
        pygame.display.update()
        time.sleep(0.3)
- 1
- 2
- 3
- 4
- 5
- 6
- 7
- 8
- 9
- 10
- 11
- 12
- 13
- 14
- 15
- 16
- 17
- 18
- 19
- 20
- 21
- 22
- 23
- 24
- 25
- 26
效果图如下:

二、矩形元素绘制封装成类
在后续的开发过程中,类的封装可以使得主文件中的代码更加清晰明了,结构清晰,调用方便,可以支持中大型开发,故而我们先将单个矩形元素的绘制封装成类,使得其可以更好地被其他模块调用。
因而,我们将矩形元素绘制的类放在单独文件MagicBlock.py中,主文件main.py用于程序的主要入口。文件目录结构如下:
-game #主文件夹
	-main.py #程序运行主入口
	-MagicBlock.py #用于存放矩形元素绘制类
- 1
- 2
- 3
1.单个矩形元素绘制类
类的声明可以使用class关键字,每个类中有__init__()函数进行默认初始化,即当调用类时都会自动运行的函数。
我们已经知道了单个矩形元素的绘制需要窗口对象,起始位置(left,top),长宽和颜色值,故而我们可以将其作为私有变量,在调用的时候初始化赋给他们。
我们先声明一个Block类。
class Block:
	def __init__(self):
		pass
- 1
- 2
- 3
我们可以看到这样就声明一个类叫Block。
其次,我们在初始化函数中将元素绘制所需的变量进行赋值。
class Block:
	def __init__(self,screen,left,top,width,height,color):
		self.screen = screen
		self.left = left
		self.top = top
		self.color = color
		self.width = width
		self.height = height
- 1
- 2
- 3
- 4
- 5
- 6
- 7
- 8
到这里我们就完成了变量的赋值。
在面向对象编程中,我们将世界上的每个具有相同性质和行为的实体抽象为一个类,所以每个类呢都有自身的属性和行为。而我们知道一个矩形元素类还有一个行为那就是绘制到屏幕的行为,故而我们需要定义一个函数来描述这个行为,以便其他的对象可以调用这个行为。
import pygame#使用到了pygame需要提前引入
class Block:
	def __init__(self,screen,left,top,width,height,color):
		self.screen = screen
		self.left = left
		self.top = top
		self.color = color
		self.width = width
		self.height = height
	def draw(self):
		position = self.left,self.top,self.width,self.height
		pygame.draw.rect(self.screen,self.color,position)
- 1
- 2
- 3
- 4
- 5
- 6
- 7
- 8
- 9
- 10
- 11
- 12
这样我们就完成了对单个矩形元素绘制的封装。我们在主文件main.py中导入该类,并调用该类的绘制行为。
导入Block类:
from MagicBlock import Block
- 1
我们可以将8*8矩形元素绘制成一个矩阵对象的形式进行存储,在python中可以使用列表推导式的语法糖来初始化一个二维矩阵8*8的矩阵[[0]*8 for i in range(8)]。
列表推导式是一种创建列表的简洁方法。
[[0]*8 for i in range(8)]其实就是相当于
x = []
for i in range(8):
	x.append([0]*8)
- 1
- 2
- 3
初始化并调用Block绘制函数:
blocks=[[0]*8 for i in range(8)]
for i in range(8):
        for j in range(8):
            blocks[i][j] = Block(screen,20+50*j,20+50*i,50,50,(random.randint(0,255),random.randint(0,255),random.randint(0,255)))
            blocks[i][j].draw()
- 1
- 2
- 3
- 4
- 5
完整代码如下:
-main.py
import pygame
import sys
import time
import random
from MagicBlock import Block

SCREEN_WIDTH = 800
SCREEN_HEIGHT = 600

if __name__ == '__main__':
    pygame.init()
    screen = pygame.display.set_mode((SCREEN_HEIGHT,SCREEN_WIDTH))
    pygame.display.set_caption("happy remove")
    screen.fill((124,114,242))

	blocks=[[0]*8 for i in range(8)]
	for i in range(8):
        for j in range(8):
        	#位置的计算公式为left = 起始left位置+元素宽度*j,top=起始top位置+元素高度*i
            blocks[i][j] = Block(screen,20+50*j,20+50*i,50,50,(random.randint(0,255),random.randint(0,255),random.randint(0,255)))
            blocks[i][j].draw()
    #更新窗口
    pygame.display.update()
    while True:
        #获取鼠标响应
        for event in pygame.event.get():
            if event.type == pygame.QUIT:
                sys.exit(0)
        pygame.display.update()
        time.sleep(0.3)
- 1
- 2
- 3
- 4
- 5
- 6
- 7
- 8
- 9
- 10
- 11
- 12
- 13
- 14
- 15
- 16
- 17
- 18
- 19
- 20
- 21
- 22
- 23
- 24
- 25
- 26
- 27
- 28
- 29
- 30
- 31
-MagicBlock.py
import pygame
class Block:
	def __init__(self,screen,left,top,width,height,color):
		self.screen = screen
		self.left = left
		self.top = top
		self.color = color
		self.width = width
		self.height = height
	def draw(self):
		position = self.left,self.top,self.width,self.height
		pygame.draw.rect(self.screen,self.color,position)
- 1
- 2
- 3
- 4
- 5
- 6
- 7
- 8
- 9
- 10
- 11
- 12
- 13
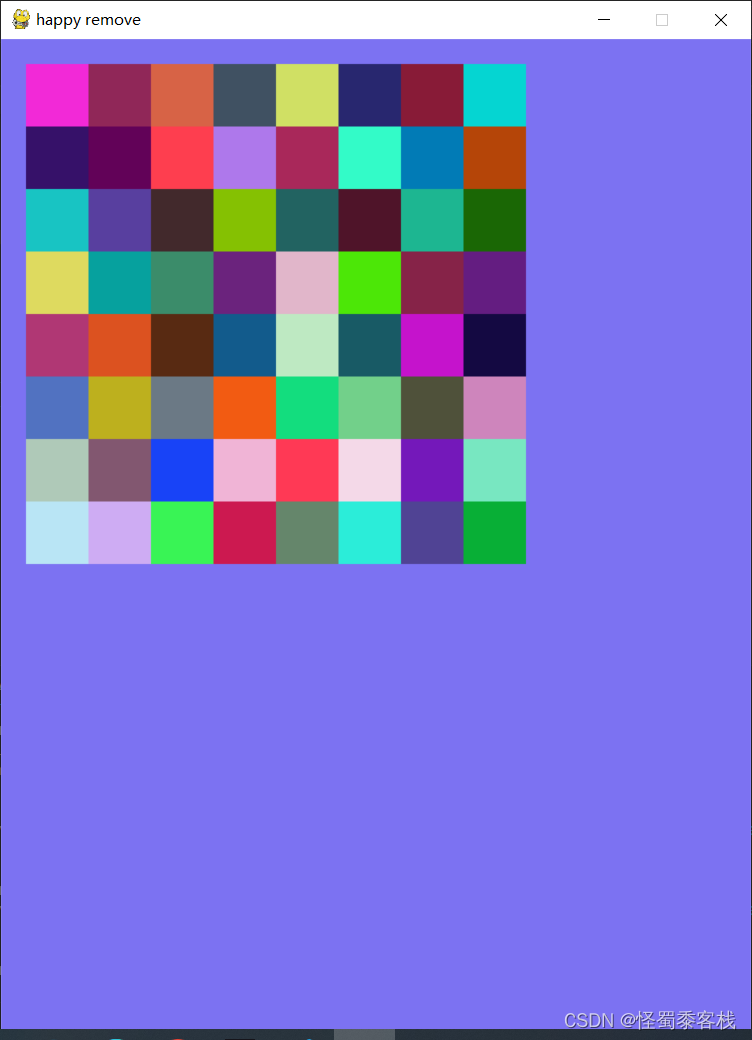
效果图如下:

总结
本篇文章中解决了消消乐中所有元素显示问题和类封装办法,但我们知道消消乐需要通过点击来消除相对应的矩形元素,故而下一章将介绍怎么通过点击事件消除相对应的矩形元素。


