
热门标签
热门文章
- 1【云原生|Kubernetes】05-Pod的存储卷(Volume)_kubernetes pod volumn
- 2关于python语句p p_关于Python语句P=-P,哪个选项的描述是正确的?_学小易找答案
- 3【学习笔记】9、控制流语句-IF条件判断_hue的工作流中添加条件判断
- 4项目实战(一)HTML5+CSS3+JS完成前端网站的制作_用html5+css3实现如下网页前端
- 5【python + flask】字典字段对模型字段的自动赋值,抽象编程思维培养,框架能力
- 6计算机经典教材推荐_data and computer communication 10
- 7Kubernetes基础篇-02-Kubernetes的基础概念(Pod概念,网络通讯方式)_网络 pod概念
- 8算法的时间复杂度_算法时间复杂度
- 9CMD批处理笔记_cmd批处理编程入门到精通
- 10研发工程师玩转Kubernetes——通过文件创建Pod_kubectl 从目录创建pod
当前位置: article > 正文
windows下调试Yolov5-Deepsort-Fastreid_python yolov5 deepsort windows
作者:羊村懒王 | 2024-02-27 07:31:57
赞
踩
python yolov5 deepsort windows
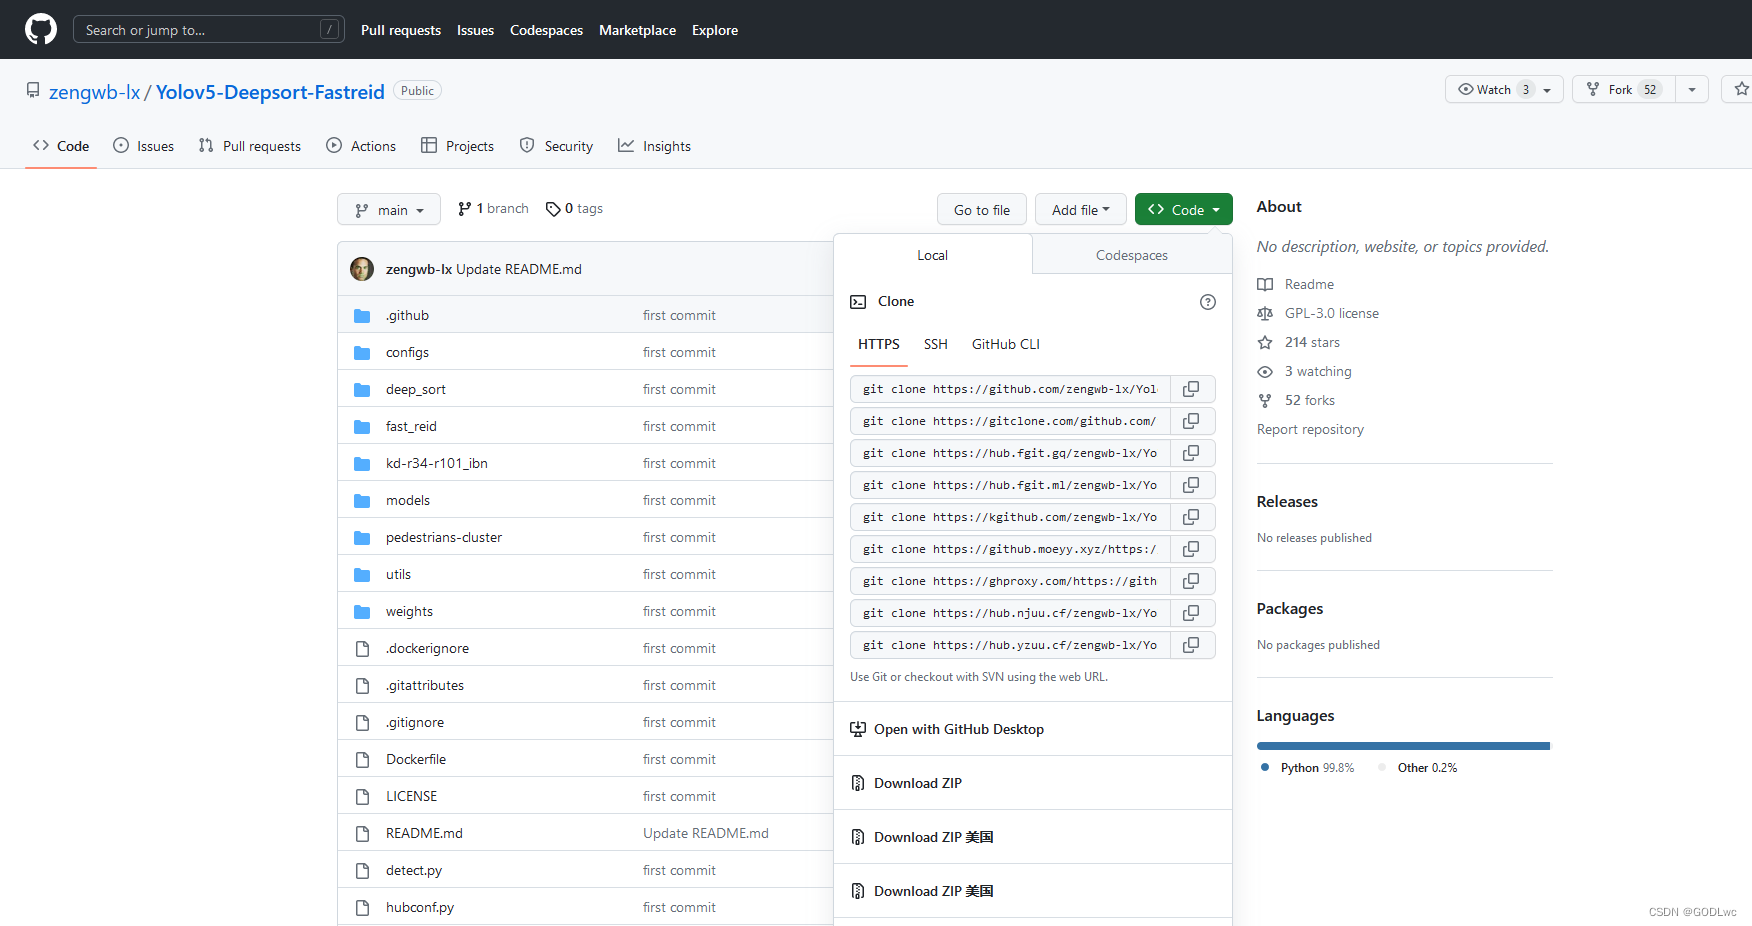
一、yolo5-Deepsort-Fastreid 下载
地址:https://github.com/zengwb-lx/Yolov5-Deepsort-Fastreid
二、配置环境
1. Anaconda创建python=3.7的环境
conda create -n yolov5-deepsort-fastreid python=3.7
- 1
2. cuda cudnn版本
cuda = 10.2
cudnn = 7.6.5
cudatoolkit =10.2.89
3. torch版本
# CUDA 10.2
pip install torch==1.10.1+cu102 torchvision==0.11.2+cu102 torchaudio==0.10.1 -f https://download.pytorch.org/whl/torch_stable.html
- 1
- 2
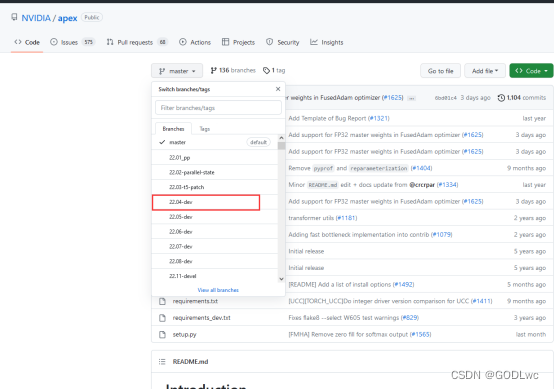
4. 安装apex
(1) 首先在github下载源码https://github.com/NVIDIA/apex 到本地文件夹(下载22.04.dev版本)
(2) 打开cmd命令窗口,切换到apex所在的文件夹
(3) 使用命令:python setup.py install 即可完成安装
5. 单独安装包
    faiss-cpu == 1.7.2
    sklearn == 0.0
   tabulate == 0.8.10
   yacs == 0.1.6
   easydict == 1.9
   pyyaml == 5.4.1
- 1
- 2
- 3
- 4
- 5
- 6
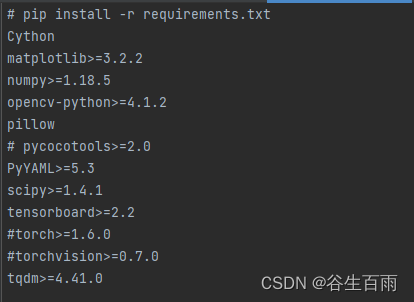
6. 安装requirements.txt
已经安装了torch、torchvision,在requirements.txt中需要注释掉
三、测试使用
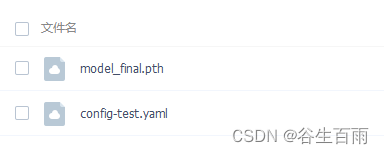
1. 下载模型和配置文件
百度网盘链接:https://pan.baidu.com/s/1bMG3qy7npecCh6AzNO-Zyw 提取码: hy1m
将其放在kd-r34-r101_ibn文件夹下
2. 制作行人底库
(1)先将截取的行人照片放入对应文件夹
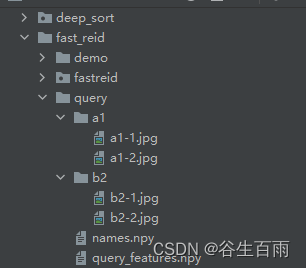
(2)运行person_bank.py
3. 运行person_search_reid.py
四、报错及修改
1. 检测不到人物时,程序崩溃
person_search_reid.py修改
    def deep_sort(self):
        idx_frame = 0
        results = []
        for video_path, img, ori_img, vid_cap in self.dataset:
            idx_frame += 1
            # print('aaaaaaaa', video_path, img.shape, im0s.shape, vid_cap)
            t1 = time_synchronized()

            # yolo detection
            outputs = []
            bbox_xywh, cls_conf, cls_ids, xy = self.person_detect.detect(video_path, img, ori_img, vid_cap)
            # print(cls_conf)
            if len(bbox_xywh):
            # do tracking  # features:reid模型输出512dim特征
                outputs, features = self.deepsort.update(bbox_xywh, cls_conf, ori_img)
                # outputs= self.deepsort.update(bbox_xywh, cls_conf, ori_img)
                print(len(outputs), len(bbox_xywh), features.shape)

                person_cossim = cosine_similarity(features, self.query_feat)
                max_idx = np.argmax(person_cossim, axis=1)
                maximum = np.max(person_cossim, axis=1)
                max_idx[maximum < 0.6] = -1
                score = maximum
                reid_results = max_idx
                draw_person(ori_img, xy, reid_results, self.names)  # draw_person name

- 1
- 2
- 3
- 4
- 5
- 6
- 7
- 8
- 9
- 10
- 11
- 12
- 13
- 14
- 15
- 16
- 17
- 18
- 19
- 20
- 21
- 22
- 23
- 24
- 25
2. ImportError: cannot import name ‘container_abcs’ from ‘torch._six’,ImportError: cannot import name ‘int_classes’ from ‘torch._six
解决方法:
原因是在1.8版本之后container_abcs就已经被移除了。所以导入方式不同会出现这样的错误:cannot import name ‘container_abcs’ from ‘torch._six’
因此使用不同版本的torch会出现不同问题。
1.8以下版本使用 from torch._six import container_abcs;
1.8以上版本使用import collections.abc as container_abcs

//由于目前安装的torch 版本为10.1,大于1.8。将from torch._six import container_abcs, string_classes, int_classes 替换如下即可

# from torch._six import container_abcs, string_classes, int_classes

import collections.abc as container_abcs
int_classes = int
string_classes = str
- 1
- 2
- 3
- 4
- 5
- 6
- 7
- 8
- 9
- 10
- 11
- 12
- 13
声明:本文内容由网友自发贡献,不代表【wpsshop博客】立场,版权归原作者所有,本站不承担相应法律责任。如您发现有侵权的内容,请联系我们。转载请注明出处:https://www.wpsshop.cn/w/羊村懒王/article/detail/151091?site
推荐阅读
相关标签

