
热门标签
当前位置: article > 正文
MATLAB 曲线提取工具 GUI (简单好用)_matlab gui axes
作者:羊村懒王 | 2024-06-12 23:35:26
赞
踩
matlab gui axes
这个小工具可以提取多条曲线,由之前在CSDN文章中看到的代码改进而来,简单实用,丑点无所谓,你可以自己修改,我主要是假期碰到大量曲线提取的任务所以弄来提高生产力的。
直接上看效果:
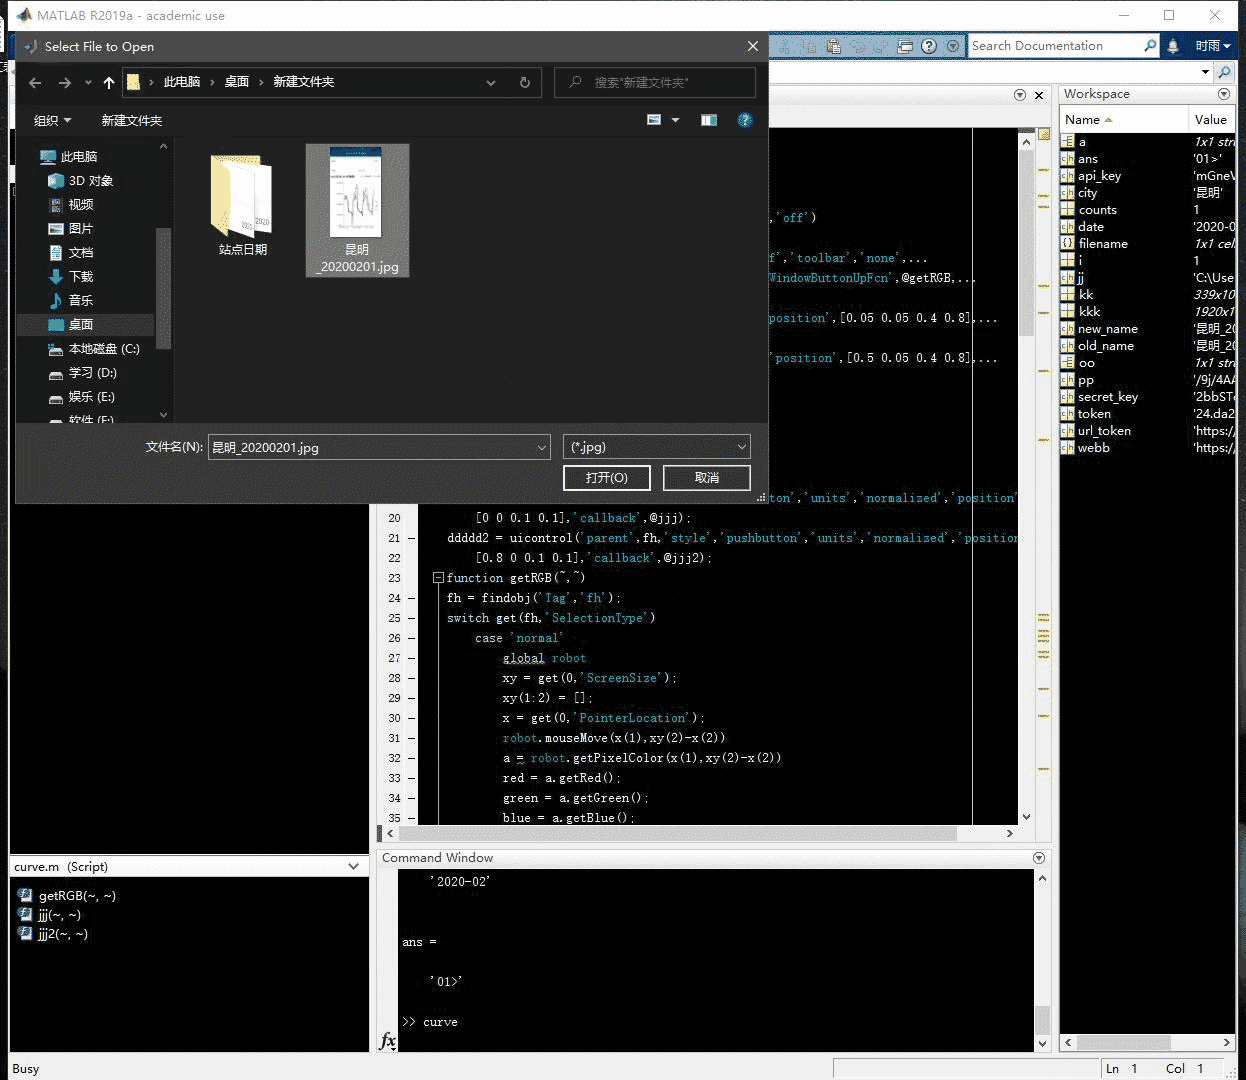
解释一下,运行程序之后会提示你选中曲线图,然后会将图片显示出来,再单击需要提取的那条曲线,接着再右键,会对图片进行处理,去除多余的曲线。接下来再双击图片,会有十字出现用于选中坐标轴范围,先点左上角再点右下角就会出现提取到的曲线了,曲线的数据存储在代码中的变量里,可以自行处理,需要注意的是坐标轴的最大值和最小值需要自行在代码里面更改,因为我需要批量处理图片,所以都选取的固定值。
- 左下角的按钮是用来返回的,比如曲线没有提取好,可以点左下角按钮恢复。
- 右下角的按钮是用来继续的,在提取完一张图片之后,可以点右下角按钮继续选择图片
关于曲线提取的部分我稍微看了一下,效果还不错,代码也不难,思路建议去看原博主的,我这里主要提供这样一个工具方便批量处理图片曲线,并且支持多曲线提取。
代码如下:
import java.awt.Robot;
global robot
robot = java.awt.Robot;
close all
[ file path] = uigetfile('*.jpg','MultiSelect','off')
a = imread(fullfile(path,file ));
fh = figure('menubar','none','NumberTitle','off','toolbar','none',...
    'color','w','position',[400 50 1400 800],'WindowButtonUpFcn',@getRGB,...
    'Tag','fh');
Axes = axes('parent',fh,'units','normalized','position',[0.05 0.05 0.4 0.8],...
    'visible','on')
Axes2 = axes('parent',fh,'units','normalized','position',[0.5 0.05 0.4 0.8],...
    'visible','on')
axes(Axes);
imshow(a);
setappdata(fh,'im',a);
setappdata(fh,'Axes2',Axes2);
setappdata(fh,'Axes',Axes);
ddddd = uicontrol('parent',fh,'style','pushbutton','units','normalized','position',...
    [0 0 0.1 0.1],'callback',@jjj);
ddddd2 = uicontrol('parent',fh,'style','pushbutton','units','normalized','position',...
    [0.8 0 0.1 0.1],'callback',@jjj2);
function getRGB(~,~)
fh = findobj('Tag','fh');
switch get(fh,'SelectionType')
    case 'normal'
        global robot
        xy = get(0,'ScreenSize');
        xy(1:2) = [];
        x = get(0,'PointerLocation');
        robot.mouseMove(x(1),xy(2)-x(2))
        a = robot.getPixelColor(x(1),xy(2)-x(2))
        red = a.getRed();
        green = a.getGreen();
        blue = a.getBlue();
        setappdata(fh,'RGB',[red green blue]);
    case 'alt'
        a = getappdata(fh,'im');
        rgb = getappdata(fh,'RGB');
        a1 = a(:,:,1);
        a2 = a(:,:,2);
        a3 = a(:,:,3);
        d = find(abs(a1-rgb(1)>20)|abs(a2-rgb(2)>20)|abs(a3-rgb(3)>20));
        a1(d) = 255;
        a2(d) = 255;
        a3(d) = 255;
        a(:,:,1) = a1;
        a(:,:,2) = a2;
        a(:,:,3) = a3;
        imshow(a)
        setappdata(fh,'im2',a);
    case 'open'
        im = getappdata(fh,'im2');
        im=rgb2gray(im);%灰度变化
        thresh = graythresh(im);%二值化阈值
        im=im2bw(im,thresh);%二值化
        set(0,'defaultfigurecolor','w')
        imshow(im)%显示图片
        [y,x]=find(im==0);%找出图形中的“黑点”的坐标。该坐标是一维数据。
        y=max(y)-y;%将屏幕坐标转换为右手系笛卡尔坐标
        y=fliplr(y);%fliplr()——左右翻转数组
        plot(x,y,'k.','Markersize', 2);
        [Xx,Yy]=ginput(2);%Xx,Yy——指实际坐标框的两个顶点
        min_x=0;
        max_x=20;
        min_y=0;
        max_y=140;
        x=(x-Xx(1))*(max_x-min_x)/(Xx(2)-Xx(1))+min_x;
        y=(y-Yy(1))*(min_y-max_y)/(Yy(2)-Yy(1))+max_y;
        plot(x,y,'k.','Markersize', 2);
        axis([min_x,max_x,min_y,max_y])%根据输入设置坐标范围
        rate_x=0.008;%曲线的最前端和最后段删除比例
        rate_y=0.008;%曲线的最顶端和最底段删除比例
        [x_uni,index_x_uni]=unique(x);%找出有多少个不同的x坐标
        x_uni(1:floor(length(x_uni)*rate_x))=[];%除去前rate_x(如5%)的x坐标
        x_uni(floor(length(x_uni)*(1-rate_x)):end)=[];%除去后rate_x的x坐标
        index_x_uni(1:floor(length(index_x_uni)*rate_x))=[];%除去前rate_x的x坐标
        index_x_uni(floor(length(index_x_uni)*(1-rate_x)):end)=[];%除去后rate_x的x坐标
        [mxu,~]=size(x_uni);
        [mx,~]=size(x);
        for ii=1:mxu
            if ii==mxu
                ytemp=y(index_x_uni(ii):mx);
            else
                ytemp=y(index_x_uni(ii):index_x_uni(ii+1));
            end
            threshold1=mean(ytemp)-std(ytemp);
            threshold2=mean(ytemp)+std(ytemp);
            ytemp(find(ytemp<threshold1))=[];
            ytemp(find(ytemp>threshold2))=[];
            thresholdy=(max_y-min_y)*rate_y;
            ytemp(find(ytemp>max_y-thresholdy))=[];
            ytemp(find(ytemp<min_y+thresholdy))=[];
            y_uni(ii)=mean(ytemp);
        end
        x_uni(find(isnan(y_uni)))=[];
        y_uni(find(isnan(y_uni)))=[];
        size(x_uni)
        size(y_uni)
        hh = find(x_uni<min_x);
        x_uni(hh) = [];
        y_uni(hh)= [];
        Axes2 = getappdata(fh,'Axes2')
        axes(Axes2)
        plot(x_uni,y_uni)
        title('提取曲线')
        axis([min_x,max_x,min_y,max_y])%根据输入设置坐标范围
        Axes = getappdata(fh,'Axes')
        axes(Axes)
end
end
function jjj(~,~)
fh = findobj('Tag','fh');
a = getappdata(fh,'im');
imshow(a)
end
function jjj2(~,~)
[ file path] = uigetfile('*.jpg','MultiSelect','off')
a = imread(fullfile(path,file ));
fh = findobj('Tag','fh');
figure(fh)
imshow(a)
end

- 1
- 2
- 3
- 4
- 5
- 6
- 7
- 8
- 9
- 10
- 11
- 12
- 13
- 14
- 15
- 16
- 17
- 18
- 19
- 20
- 21
- 22
- 23
- 24
- 25
- 26
- 27
- 28
- 29
- 30
- 31
- 32
- 33
- 34
- 35
- 36
- 37
- 38
- 39
- 40
- 41
- 42
- 43
- 44
- 45
- 46
- 47
- 48
- 49
- 50
- 51
- 52
- 53
- 54
- 55
- 56
- 57
- 58
- 59
- 60
- 61
- 62
- 63
- 64
- 65
- 66
- 67
- 68
- 69
- 70
- 71
- 72
- 73
- 74
- 75
- 76
- 77
- 78
- 79
- 80
- 81
- 82
- 83
- 84
- 85
- 86
- 87
- 88
- 89
- 90
- 91
- 92
- 93
- 94
- 95
- 96
- 97
- 98
- 99
- 100
- 101
- 102
- 103
- 104
- 105
- 106
- 107
- 108
- 109
- 110
- 111
- 112
- 113
- 114
- 115
- 116
- 117
- 118
- 119
- 120
- 121
- 122
下面是相关的文章,有兴趣可以看看,有关MATLAB调用有关API的使用
链接: 百度云人脸识别.
链接: 百度云文字识别
链接: 有道翻译
链接: 百度地图经纬度.
链接: 百度云语音识别
链接: MATLAB 发送邮件 sendmail的使用.
声明:本文内容由网友自发贡献,不代表【wpsshop博客】立场,版权归原作者所有,本站不承担相应法律责任。如您发现有侵权的内容,请联系我们。转载请注明出处:https://www.wpsshop.cn/w/羊村懒王/article/detail/710095
推荐阅读

相关标签

