- 1C++迭代器 iterator详解_c++ iterator
- 207代码随想录训练营day07|哈希表part02
- 3基于C++的学生信息管理系统_c++信息管理系统
- 4如何构造linux根文件系统_nsenter.c:(.text.nsenter_main+0x184): undefined re
- 5Pyecharts一文速学-绘制树状图参数详解+Python代码_python绘制树状图
- 6SCons上手教程_scons教程
- 7DOCKER容器中安装JDK1. 8 详细步骤_docker安装jdk1.8
- 8本科学计算机数学吗,计算机科学本科核心课程教材·计算机数学
- 9JavaWeb中Servlet、web应用和web站点的路径细节("/"究竟代表着什么)
- 10统信UOS专业版服务器无人值守安装_uos 无人值守grub参数
从零开始学React~React基础框架的构建(Create React App+Tailwind css+Material ui)_tailwindcss map
赞
踩
前言
今天是作为一个vue开发者学习react的 第一天,我决定将学习的全过程记录下来,接下来的每一天我都会抽一个小时的时间进行react的学习。通过过往vue的学习来映射到react上,学习彼此的优秀之处。
.
我的第一个小目标是将平时使用的todo清单软件通过react在web端一比一的实现所有功能!
我在学习新东西的时候习惯 任务驱动式 的去做,通过新语言开发自己喜欢的东西才能更加快速的去上手。
创建项目
首先根据官方文档推荐,使用 create-react-app 脚手架创建一个新项目
npx create-react-app react-todo
- 1
.
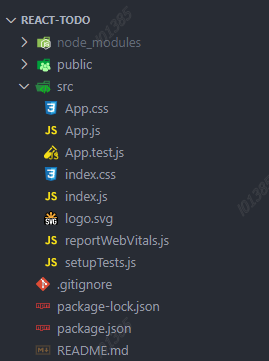
创建完成后可以看到目录,如下图。node_modules目录已经存在了,因此不需要执行安装依赖
.
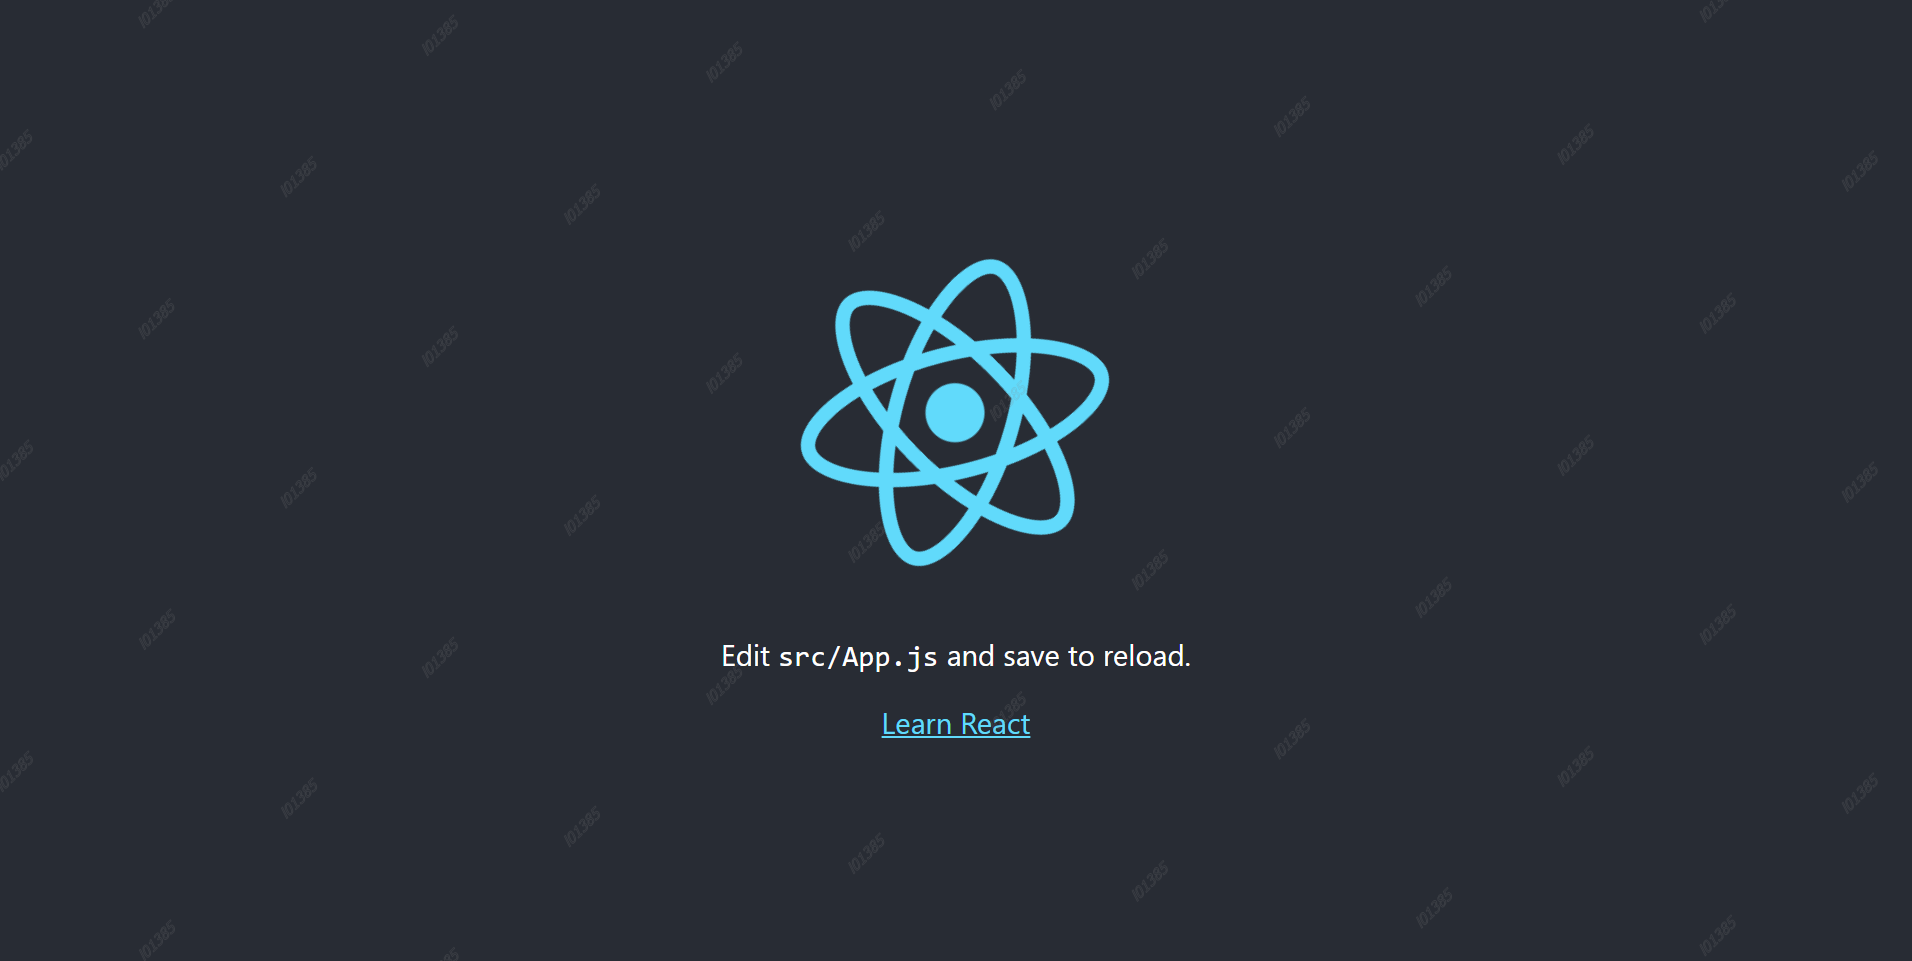
接下来根据package.json中的启动命令,在终端运行一下,react的默认页面就出现了。
npm run start
- 1
完善目录
\
接下来在原本的目录中暂时新增以下几个目录,之后根据实际需求继续增加
layout目录:用于放置最外层页面框架
pages目录:用于放置页面
components目录:用于放置组件
assets目录:用于放置静态文件
安装依赖
\
react-router-dom
根据vue中的开发经验,我们至少需要一个像 vue-router的路由工具,我使用的是 react-router-dom
yarn add react-router-dom
- 1
安装完成后在pages目录新建一个 todo文件夹,创建一个 index.jsx ,写入官方给的一个hook的案例
// pages/todo/index.jsx
import { BrowserRouter as Router, Route, Routes } from "react-router-dom"
import Example from "./pages/todo"
function App() {
    return (
        <Router>
            <Routes>
                <Route exact path="/" element={<Example></Example>}></Route>
            </Routes>
        </Router>
    )
}

export default App
- 1
- 2
- 3
- 4
- 5
- 6
- 7
- 8
- 9
- 10
- 11
- 12
- 13
- 14
在 App.js 中引入一下 react-router-dom ,如下代码
import React, { useState } from 'react';

export default function Example() {
  // 声明一个新的叫做 “count” 的 state 变量
  const [count, setCount] = useState(0);

  return (
    <div>
      <p>You clicked {count} times</p>
      <button onClick={() => setCount(count + 1)}>
        Click me
      </button>
    </div>
  );
}
- 1
- 2
- 3
- 4
- 5
- 6
- 7
- 8
- 9
- 10
- 11
- 12
- 13
- 14
- 15
然后查看网站页面显示如下就算引入完成了

tailwind css
接下来引入我在vue中最常使用的样式库tailwind css
注意点:tailwindcss中文文档中create react app的是错误的,不兼容v5版本,跟着我下面的内容走就没有问题~
先安装tailwindcss、postcss、autoprefixer
yarn add -D -D tailwindcss postcss autoprefixer
- 1
\
\
接下来,生成您的 tailwind.config.js 文件:
npx tailwindcss init -p
- 1
在您的 tailwind.config.js 文件中,配置模板路径
module.exports = {
  content: [
    "./src/**/*.{js,jsx,ts,tsx}",
  ],
  theme: {
    extend: {},
  },
  plugins: [],
}
- 1
- 2
- 3
- 4
- 5
- 6
- 7
- 8
- 9
再index.css 中引入 tailwind.css
@tailwind base;
@tailwind components;
@tailwind utilities;
- 1
- 2
- 3
记得在vscode中安装tailwind css代码提示插件Tailwind CSS IntelliSense

修改todo/index.jsx的代码,为按钮加上红色背景色
<button className='bg-red-600' onClick={() => setCount(count + 1)}>
    Click me
</button>
- 1
- 2
- 3
我们看一下页面,按钮变成了红色就说明我们的tailwindcss安装成功啦

\
Material-UI
之所以选择 material-ui 而不是react上最热门的组件库 ant design,单纯是喜欢 material-ui的样式,整体更加耐看更加舒服。
首先根据文档安装mui相关的包
yarn add @mui/material @emotion/react @emotion/styled
- 1
.
将我们pages中的官方案例删除,在 layout/index.js中写入代码
import React, { useState, useEffect } from 'react'
import Button from "@mui/material/Button"
export default function Layout(){
  return (<div className='w-screen h-screen flex items-center justify-center'>
    <div className=' w-1/2 h-1/3 shadow-md bg-white'>
      外层容器
      <Button >这是一个按钮</Button>
    </div>
  </div>)
}
- 1
- 2
- 3
- 4
- 5
- 6
- 7
- 8
- 9
- 10
修改 App.js
import { BrowserRouter as Router, Route, Routes } from "react-router-dom"
import Layout from "./layout"
function App() {
    return (
        <Router>
            <Routes>
                <Route exact path="/" element={<Layout></Layout>}></Route>
            </Routes>
        </Router>
    )
}

export default App
- 1
- 2
- 3
- 4
- 5
- 6
- 7
- 8
- 9
- 10
- 11
- 12
- 13
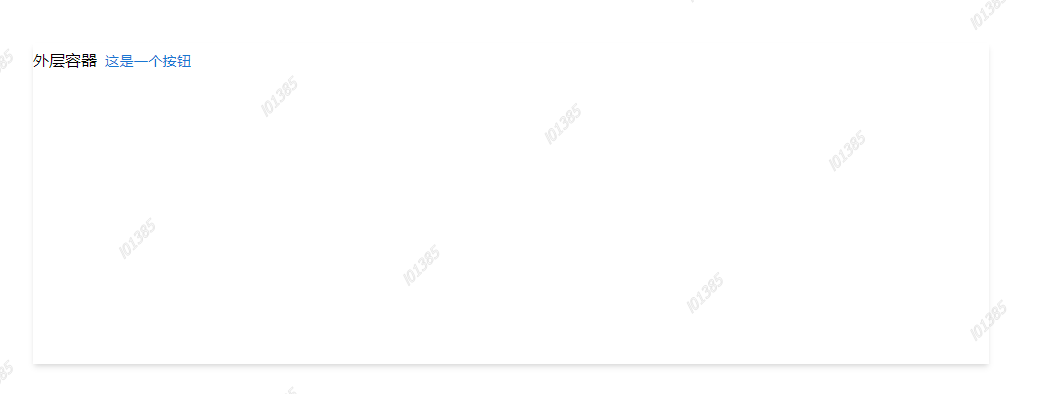
查看页面,如下图,有了一个按钮组件显示就说明安装成功了
接下来修改一下默认主题,修改 App.js为以下代码
import { BrowserRouter as Router, Route, Routes } from "react-router-dom"
import { ThemeProvider, createTheme } from "@mui/material/styles"
import Layout from "./layout"

const theme = createTheme({
    palette: {
        primary: {
            main: "#008080",
        },
    },
})

function App() {
    return (
        <ThemeProvider theme={theme}>
            <Router>
                <Routes>
                    <Route exact path="/" element={<Layout></Layout>}></Route>
                </Routes>
            </Router>
        </ThemeProvider>
    )
}

export default App
- 1
- 2
- 3
- 4
- 5
- 6
- 7
- 8
- 9
- 10
- 11
- 12
- 13
- 14
- 15
- 16
- 17
- 18
- 19
- 20
- 21
- 22
- 23
- 24
- 25
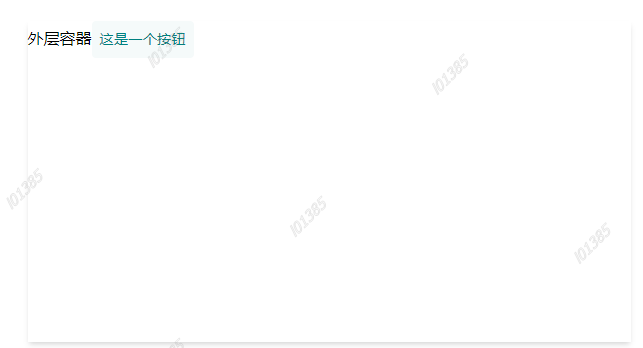
通过 ThemeProvider修改主题颜色,按钮颜色改变即为修改成功
开发
首先我们要实现一个侧边栏,并且通过hook实现一个点击选中的效果,如下图:

\
mui中的 List组件 的官方示例是这样的样式,如下图:
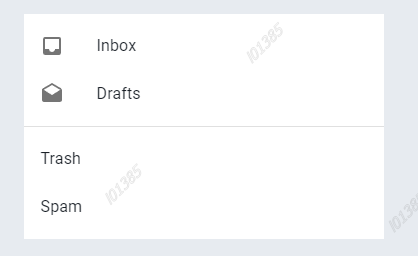
将前面写的layout/index.jsx文件改造一下,首先引用List组件,实现基础的样式
import React, { useState, useEffect } from 'react'

import { List, ListItem, ListItemButton, ListItemIcon, Button, Card } from '@mui/material';
export default function Layout() {
  return (<div className='w-screen h-screen flex items-center justify-center'>
    <Card variant="outlined" className='w-2/3 h-3/4 shadow-lg bg-white flex'>
      <div className='w-1/5 bg-gray-50'>
        <div className=' flex items-center justify-center p-5'>
          <Button variant="contained">这是一个按钮</Button>
        </div>
        <LeftList />
      </div>
    </Card>
  </div>)
}
- 1
- 2
- 3
- 4
- 5
- 6
- 7
- 8
- 9
- 10
- 11
- 12
- 13
- 14
- 15
.
在上面的组件中 <LeftList />这个标签还没实现,那么重点就是来实现这个组件,代码如下
import React, { useState, useEffect } from 'react'

import { List, ListItem, ListItemButton, ListItemIcon, Button, Card } from '@mui/material';
import WbSunnyOutlinedIcon from '@mui/icons-material/WbSunnyOutlined';
import CalendarTodayOutlinedIcon from '@mui/icons-material/CalendarTodayOutlined';
import CalendarViewMonthOutlinedIcon from '@mui/icons-material/CalendarViewMonthOutlined';
import InboxOutlinedIcon from '@mui/icons-material/InboxOutlined';
import SearchOutlinedIcon from '@mui/icons-material/SearchOutlined';
import ListAltOutlinedIcon from '@mui/icons-material/ListAltOutlined';
const LeftList = () => {
  const data = [
    { icon: <WbSunnyOutlinedIcon />, label: "Day Todo", path: "dayTodo" },
    { icon: <CalendarTodayOutlinedIcon />, label: "最近待办", path: "recentlyTodo" },
    { icon: <CalendarViewMonthOutlinedIcon />, label: "日期概览", path: "dateOverview" },
    { icon: <InboxOutlinedIcon />, label: "待办箱", path: "todyBox" },
    { icon: <SearchOutlinedIcon />, label: "搜索", path: "search" },
    { icon: <ListAltOutlinedIcon />, label: "数据复盘", path: "dataReview" },
  ]

  const [active, setActive] = useState("dayTodo");

  return (<List>
    {data.map(item => {
      return (<ListItem
        disablePadding
        key={item.path}
        className={item.path === active ? 'bg-gray-200' : ''}
        onClick={() => setActive(item.path)}>
        <ListItemButton>
          <ListItemIcon>
            {item.icon}
          </ListItemIcon>
          <span className="text-sm" >
            {item.label}
          </span>
        </ListItemButton>
      </ListItem>)
    })}
  </List>)

}

export default function Layout() {
  return (<div className='w-screen h-screen flex items-center justify-center'>
    <Card variant="outlined" className='w-2/3 h-3/4 shadow-lg bg-white flex'>
      <div className='w-1/5 bg-gray-50'>
        <div className=' flex items-center justify-center p-5'>
          <Button variant="contained">这是一个按钮</Button>
        </div>
        <LeftList />
      </div>
    </Card>
  </div>)
}
- 1
- 2
- 3
- 4
- 5
- 6
- 7
- 8
- 9
- 10
- 11
- 12
- 13
- 14
- 15
- 16
- 17
- 18
- 19
- 20
- 21
- 22
- 23
- 24
- 25
- 26
- 27
- 28
- 29
- 30
- 31
- 32
- 33
- 34
- 35
- 36
- 37
- 38
- 39
- 40
- 41
- 42
- 43
- 44
- 45
- 46
- 47
- 48
- 49
- 50
- 51
- 52
- 53
- 54
在 LeftList这个方法中,我创建了一个data对象用于放置所有列表项的数据,data对象中分别有以下几个属性
icon:图标
label:标题
path:预设的跳转路径
在这一步就可以看到react与vue的区别了,我直接将引入图标组件作为一个值赋予给了icon属性。在vue中我们也许会将一个字符串赋予icon属性,然后使用动态组件标签<component :is="xx">这样的形式完成。虽说两者都挺方便,但相对而言react这种方式更加直接一些。
.
我们还可以看到我通过useState定义了一个数组,数组的第一个值是当前选中的列表项,第二个值是一个方法,用于修改第一个值。在这里就是 react hook 的应用了,相对应的就是 vue中的响应式。
在方法的返回值中,我使用map遍历了data数组,这一步就相当于vue中的 v-for ,和vue一样我们最好给遍历的组件一个 key值 帮助框架识别元素的变化。还有一个点就是我在 ListItem组件的点击事件绑定了上面创建active时 useState 返回的一个方法 useActive 。通过这一个方法修改active值实现一个双向绑定。
.
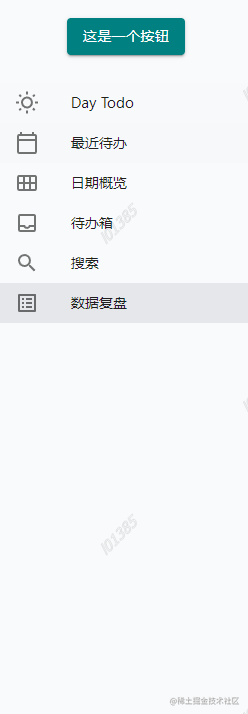
最终实现的效果如下图。**是不是已经非常相似了~**如果想要看实现的效果可以通过 react-todo gitee仓库 拉取代码查看噢
总结
第一天的时间大部分都花到安装依赖上面去了,事实上还有很多依赖还没有装,譬如用于全局数据管理redux和发送请求的axios,不过总体来说目前的进度还不错。后面的依赖等功能需要用到的时候再去进行安装。
由于没有正式开始开发因此目前为止还没有感受到react和vue语法上的差别,但是在周边生态的使用上明显react的选择更多但是大部分都是英文文档优先,对于国内开发者来说真的会提升上手难度。
譬如说tailwindcss react的安装文档中文版的文档就已经 滞后 了。按照文档安装会报错,如果不是我在github上找了半天最终在英文版的文档看到新的安装方式,我都没办法解决。这一点就能劝退很多开发者了。
明天将会进行页面的开发还有继续熟悉一下 react hook 的写法,还会整理一下路由文件和导航栏开发思路。
在周边生态的选择上大家如果有更好的选择可以评论告诉我,大家感兴趣最终的开发结果的话也欢迎关注噢~


