热门标签
热门文章
- 1jupyter远程连接Linux服务器_jupyter里的linux命令
- 2鸿蒙Harmony应用开发—ArkTS声明式开发(容器组件:EffectComponent)
- 3顶级AI【数据】资源送给你!
- 4spring cloud config配置中心详细教程_项目中写cloud config的流程
- 5Axure原型部署到云服务器教程_axure部署到云服务器
- 6datatalble总结(一)_c# datatalble 分组
- 7[内附完整源码和文档] 基于SSH网上商城的设计与实现_基于ssh的网上商城系统的设计与实现
- 8c语言小游戏实践-贪吃蛇_请实现贪吃蛇移动的函数,考虑移动时分别当吃到果子和没有吃的果子的场景,同时
- 9Thinkphp+workman+redis实现多线程异步任务处理
- 10MVC5后台C#无法访问网络共享目录的解决办法_mvc发布后无法访问共享文件夹
当前位置: article > 正文
基于P-Tuning v2微调ChatGLM2-6B的操作步骤(环境已设置好)_p-tuning v2 chatglm-6b 文档读取
作者:花生_TL007 | 2024-03-21 01:52:54
赞
踩
p-tuning v2 chatglm-6b 文档读取
1.P-Tuning v2结
2.具体操作步骤如下:
步骤1.
source activate
(conda env list)
conda activate torch1.13
pip install rouge_chinese nltk jieba datasets
conda activate chatglm2-6b
- 1
- 2
- 3
- 4
- 5
步骤2.
git clone https://github.com/THUDM/ChatGLM2-6B
- 1
步骤3.
cd ChatGLM2-6B
- 1
步骤4.
cd ptuning
- 1
步骤5.
mkdir AdvertiseGen
- 1
步骤6.
到 https://drive.google.com/file/d/13_vf0xRTQsyneRKdD1bZIr93vBGOczrk/view 下载数据
- 1
步骤7.
在本地执行命令行,不要在服务器内上传
传入AdvertiseGen 数据集
- 1
- 2

步骤8.
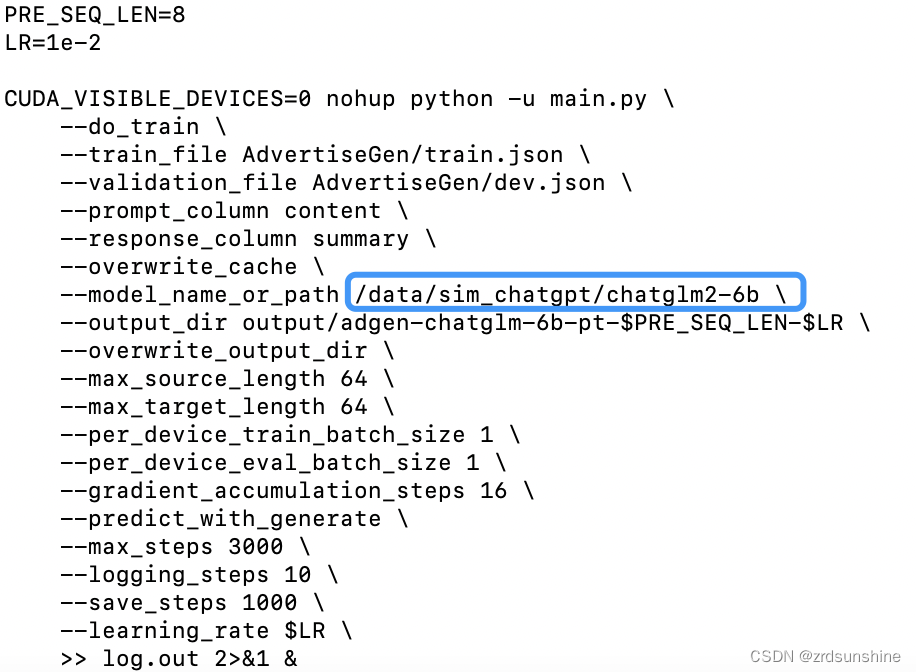
vi train.sh
修改train.sh文件:去掉最后的 --quantization_bit 4。、model_name为自己的文件路径 :/data/sim_chatgpt/chatglm2-6b

最后修改文件内容如下:
PRE_SEQ_LEN=8
LR=1e-2

CUDA_VISIBLE_DEVICES=0 nohup python -u main.py \
    --do_train \
    --train_file AdvertiseGen/train.json \
    --validation_file AdvertiseGen/dev.json \
    --prompt_column content \
    --response_column summary \
    --overwrite_cache \
    --model_name_or_path /data/sim_chatgpt/chatglm2-6b \
    --output_dir output/adgen-chatglm-6b-pt-$PRE_SEQ_LEN-$LR \
    --overwrite_output_dir \
    --max_source_length 64 \
    --max_target_length 64 \
    --per_device_train_batch_size 1 \
    --per_device_eval_batch_size 1 \
    --gradient_accumulation_steps 16 \
    --predict_with_generate \
    --max_steps 3000 \
    --logging_steps 10 \
    --save_steps 1000 \
    --learning_rate $LR \
    >> log.out 2>&1 &
- 1
- 2
- 3
- 4
- 5
- 6
- 7
- 8
- 9
- 10
- 11
- 12
- 13
- 14
- 15
- 16
- 17
- 18
- 19
- 20
- 21
- 22
- 23
- 24
- 25
- 26
- 27
- 28

步骤9.
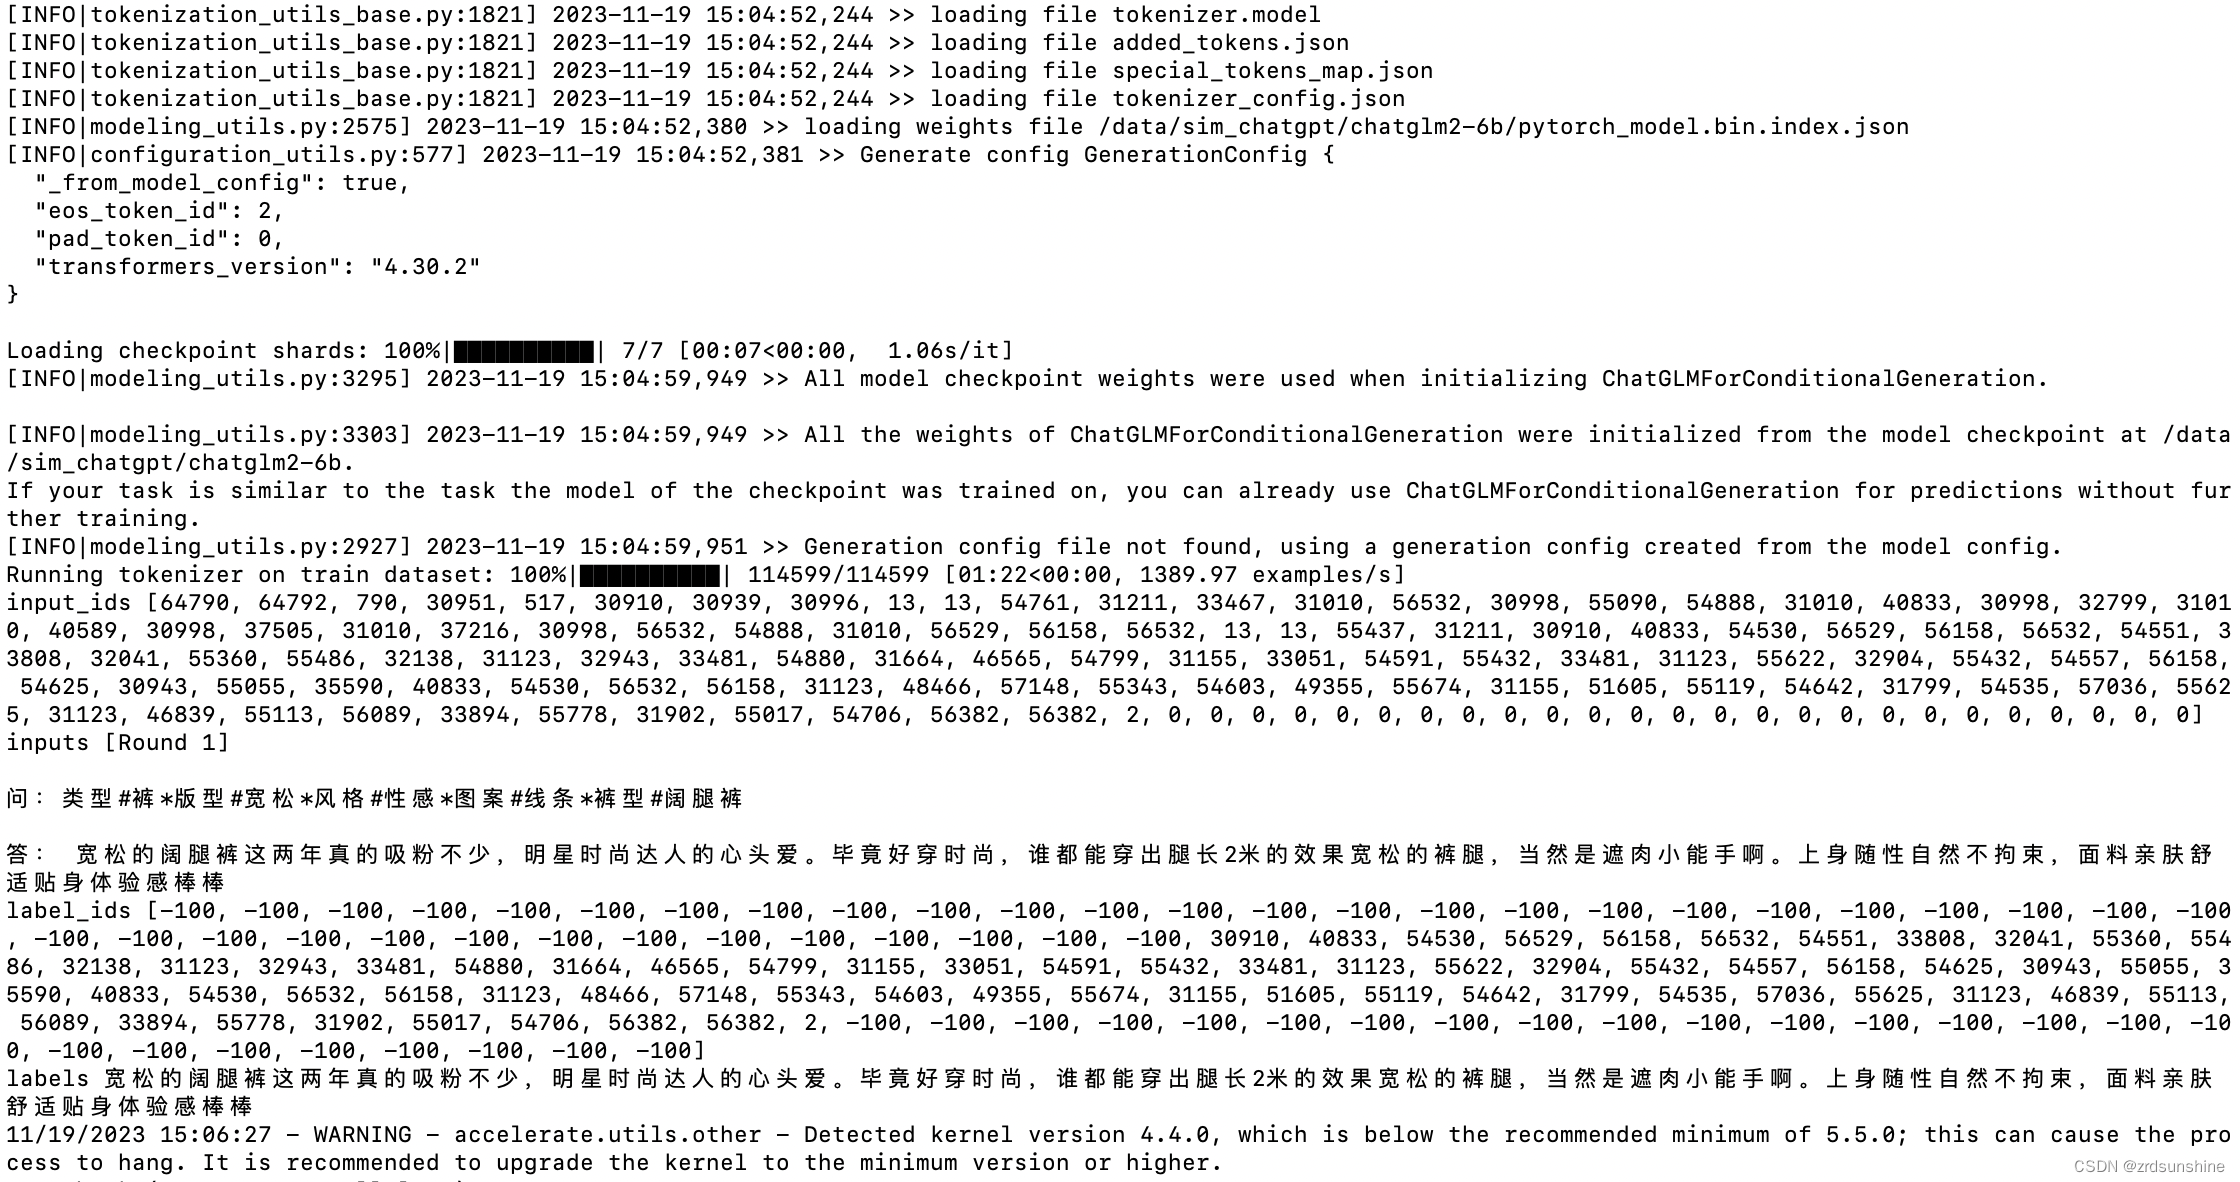
bash train.sh
- 1

声明:本文内容由网友自发贡献,不代表【wpsshop博客】立场,版权归原作者所有,本站不承担相应法律责任。如您发现有侵权的内容,请联系我们。转载请注明出处:https://www.wpsshop.cn/w/花生_TL007/article/detail/277530
推荐阅读
相关标签


