
热门标签
热门文章
- 1蓝桥杯备赛:洛谷刷题日常积累_蓝桥杯洛谷要刷哪些题
- 2YOLOv5、YOLOv8改进ELAN系列:首发结合最新efficient Layer Aggregation Networks结构(内附源代码),高效的聚合网络设计,提升性能_elan可以怎样改进
- 3python bottle框架 重定向_Python的web框架bottle静态文件的路径
- 4信息安全数学基础——模重复平方计算法(两种方法实现C+JAVA)
- 5微信小程序自定义弹窗组件
- 6基于Qt5开发的停车场管理系统_qt停车场项目
- 7面试八股文_github nlp八股
- 8TensorRT&Triton学习笔记(一):triton和模型部署+client
- 9python词云需要导入什么包_[python] 词云:wordcloud包的安装、使用、原理(源码分析)、中文词云生成、代码重写...
- 10在ASP.Net Core 中禁用HTTP选项方法_asp.net core禁用http/2
当前位置: article > 正文
springboot 集成短信发送功能(人工智能编写)_springboot集成短信发送功能
作者:AllinToyou | 2024-03-30 09:59:39
赞
踩
springboot集成短信发送功能
要在Spring Boot中集成短信发送功能,你可以使用第三方的短信服务提供商的API来实现。以下是一个基本的示例代码,我是通过chatGPT4.0一键生成代码。
1. 添加依赖:在pom.xml文件中添加相应的短信服务提供商的SDK依赖,例如阿里云的aliyun-java-sdk-dysmsapi。
- <dependency>
- <groupId>com.aliyun</groupId>
- <artifactId>aliyun-java-sdk-dysmsapi</artifactId>
- <version>最新版本号</version>
- </dependency>
2. 在application.properties或application.yml中配置短信服务的相关参数,如阿里云短信服务的AccessKey、Secret等。
3. 创建一个短信发送的服务类,例如SmsService。
- import com.aliyuncs.DefaultAcsClient;
- import com.aliyuncs.exceptions.ClientException;
- import com.aliyuncs.profile.DefaultProfile;
- import com.aliyuncs.dysmsapi.model.v20170525.SendSmsRequest;
- import com.aliyuncs.dysmsapi.model.v20170525.SendSmsResponse;
-
- @Service
- public class SmsService {
- @Value("${sms.accessKeyId}")
- private String accessKeyId;
-
- @Value("${sms.accessKeySecret}")
- private String accessKeySecret;
-
- @Value("${sms.signName}")
- private String signName;
-
- @Value("${sms.templateCode}")
- private String templateCode;
-
- public boolean sendSms(String phoneNumber, String message) {
- DefaultProfile profile = DefaultProfile.getProfile("default", accessKeyId, accessKeySecret);
- DefaultAcsClient client = new DefaultAcsClient(profile);
-
- SendSmsRequest request = new SendSmsRequest();
- request.setPhoneNumbers(phoneNumber);
- request.setSignName(signName);
- request.setTemplateCode(templateCode);
- request.setTemplateParam(message);
-
- try {
- SendSmsResponse response = client.getAcsResponse(request);
- return response.getCode().equals("OK");
- } catch (ClientException e) {
- e.printStackTrace();
- }
-
- return false;
- }
- }

在上述代码中,我们使用阿里云短信服务的SDK来发送短信。在sendSms方法中,我们通过配置文件获取AccessKey、Secret、短信签名和短信模板的编码,并将手机号码和短信内容作为参数传入。
4. 在需要发送短信的地方调用SmsService的方法来发送短信。
- @RestController
- @RequestMapping("/api")
- public class SmsController {
- @Autowired
- private SmsService smsService;
-
- @PostMapping("/sms/send")
- public ResponseEntity<String> sendSms(@RequestParam String phoneNumber, @RequestParam String message) {
- boolean result = smsService.sendSms(phoneNumber, message);
- if (result) {
- return ResponseEntity.ok("短信发送成功");
- } else {
- return ResponseEntity.status(HttpStatus.INTERNAL_SERVER_ERROR).body("短信发送失败");
- }
- }
- }
在上述代码中,我们创建了一个RESTful接口/api/sms/send,接收手机号码和短信内容作为参数,并调用SmsService的sendSms方法发送短信。根据发送结果返回相应的响应。
请注意,以上示例代码仅为参考,具体的实现方式可能会根据你所选择的短信服务提供商和其API进行调整。另外,还需要在相应的短信服务提供商处注册账号并获取相应的API密钥等信息。
这些生成的代码是我借助当前特别火的chatGPT4.0生成的,
网站链接如下:
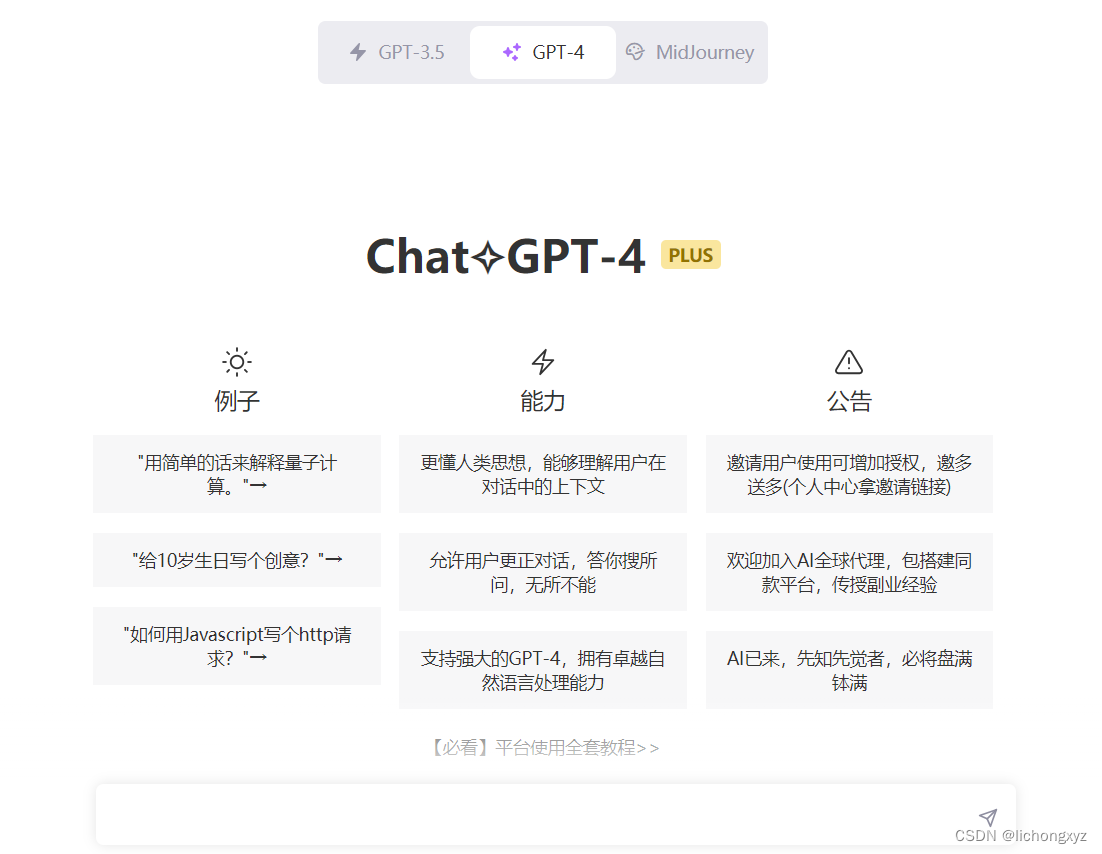
GPT![]() https://aiedu-super.cn/登录注册进去有5次免费使用机会,我是买了一年会员不限次数用下去的,给大家分享下这个东西,写代码,写文章真的很方便,有兴趣的注册进去可以看看。
https://aiedu-super.cn/登录注册进去有5次免费使用机会,我是买了一年会员不限次数用下去的,给大家分享下这个东西,写代码,写文章真的很方便,有兴趣的注册进去可以看看。
声明:本文内容由网友自发贡献,不代表【wpsshop博客】立场,版权归原作者所有,本站不承担相应法律责任。如您发现有侵权的内容,请联系我们。转载请注明出处:https://www.wpsshop.cn/w/AllinToyou/article/detail/340104
推荐阅读

相关标签

