热门标签
热门文章
- 1黑盒测试案例设计技术_网上银行支付交易系统的基本流和备选流的描述
- 2技术分享 某下一代防火墙远程命令执行漏洞分析及防护绕过_深信服下一代防火墙ngaf login远程命令执行漏洞_博达下一代防火墙 存在远程代码执行
- 3pl/sql developer 编码格式设置_plsql developer 配置编码格式utf-8
- 4版本控制工具--git_git版本控制工具的优缺点
- 5VMware虚拟机屏幕大小(屏幕分辨率)调整_vmix调整输出分辨率
- 6微信小程序自定义tabbar_微信小程序 自定义 tabbar
- 7邓俊辉数据结构学习笔记3-二叉树_b-ary tree
- 8《统计学简易速速上手小册》第5章:回归分析(2024 最新版)
- 9AI绘画专栏之Stablediffusion webui Controlnet SDXL 插件之segment-anything(40)
- 10DeepSpeed使用体会_deepspeed评测
当前位置: article > 正文
01-ChatGLM4实践—Python环境搭建_chat-glm4 python版本
作者:weixin_40725706 | 2024-06-13 06:26:32
赞
踩
chat-glm4 python版本
环境搭建教程
1、安装python 环境
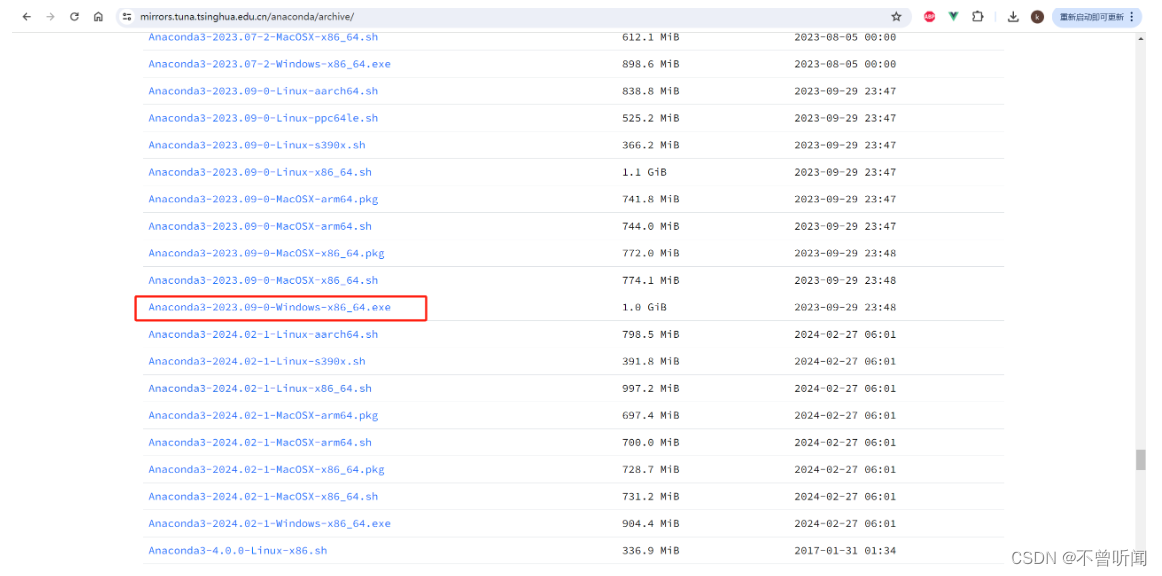
推荐使用Anaconda包,不需要直接安装python,因为ChatGLM4采用的python版本建议3.12及以上,,建议下载较高版本的Anconda。
https://mirrors.tuna.tsinghua.edu.cn/anaconda/archive/

1 下载
2 安装
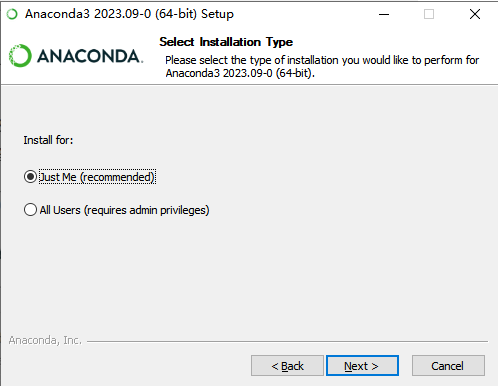
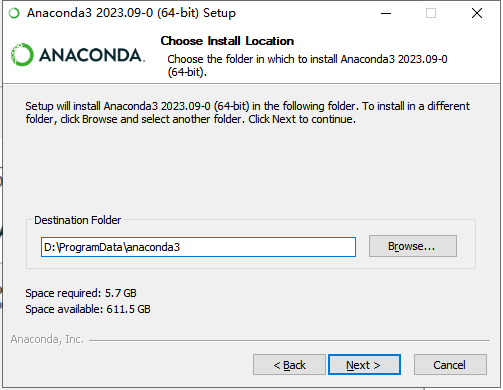
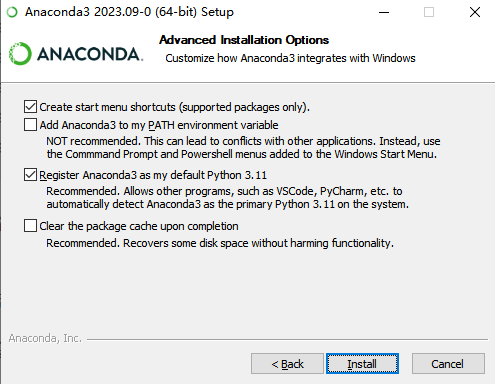
1 勾选两个:选择Just me用户(安装更快更简单)。其他我默认安装了,后面第三步手动配置环境变量path。
2 测试下 python环境是否成功
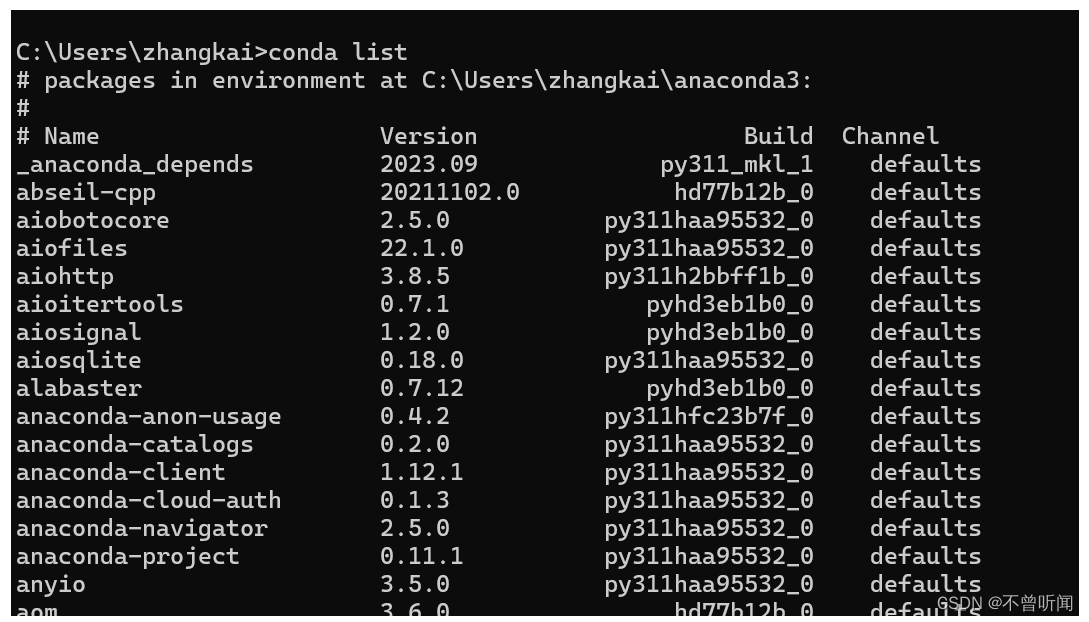

3 如果没有就需要在环境变量中配置(一般默认安装都会有的)
后在环境变量Path中手动添加Anaconda的path路径:
右击我的电脑属性,打开高级系统设置,配置环境变量即可。
4 配置镜像源
channels:
  - defaults
show_channel_urls: true
default_channels:
  - https://mirrors.tuna.tsinghua.edu.cn/anaconda/pkgs/main
  - https://mirrors.tuna.tsinghua.edu.cn/anaconda/pkgs/r
  - https://mirrors.tuna.tsinghua.edu.cn/anaconda/pkgs/msys2
custom_channels:
  conda-forge: https://mirrors.tuna.tsinghua.edu.cn/anaconda/cloud
  msys2: https://mirrors.tuna.tsinghua.edu.cn/anaconda/cloud
  bioconda: https://mirrors.tuna.tsinghua.edu.cn/anaconda/cloud
  menpo: https://mirrors.tuna.tsinghua.edu.cn/anaconda/cloud
  pytorch: https://mirrors.tuna.tsinghua.edu.cn/anaconda/cloud
  pytorch-lts: https://mirrors.tuna.tsinghua.edu.cn/anaconda/cloud
  simpleitk: https://mirrors.tuna.tsinghua.edu.cn/anaconda/cloud
  deepmodeling: https://mirrors.tuna.tsinghua.edu.cn/anaconda/cloud/
- 1
- 2
- 3
- 4
- 5
- 6
- 7
- 8
- 9
- 10
- 11
- 12
- 13
- 14
- 15
- 16
- 17
2、安装VScode编辑器
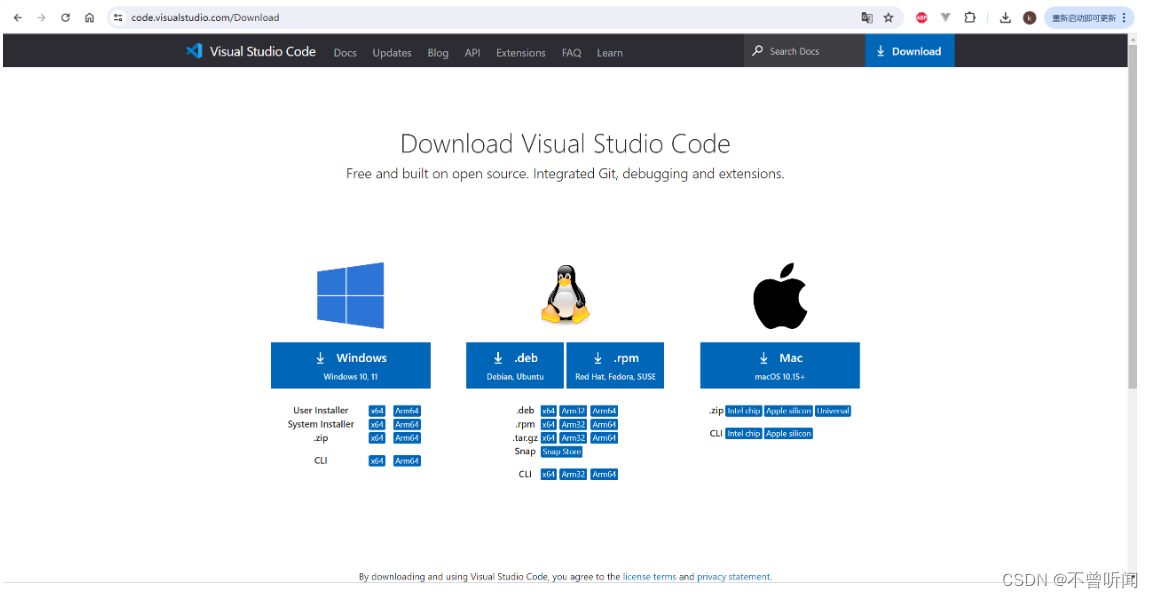
1 安装编辑器(下载后安装默认即可)
https://code.visualstudio.com/Download
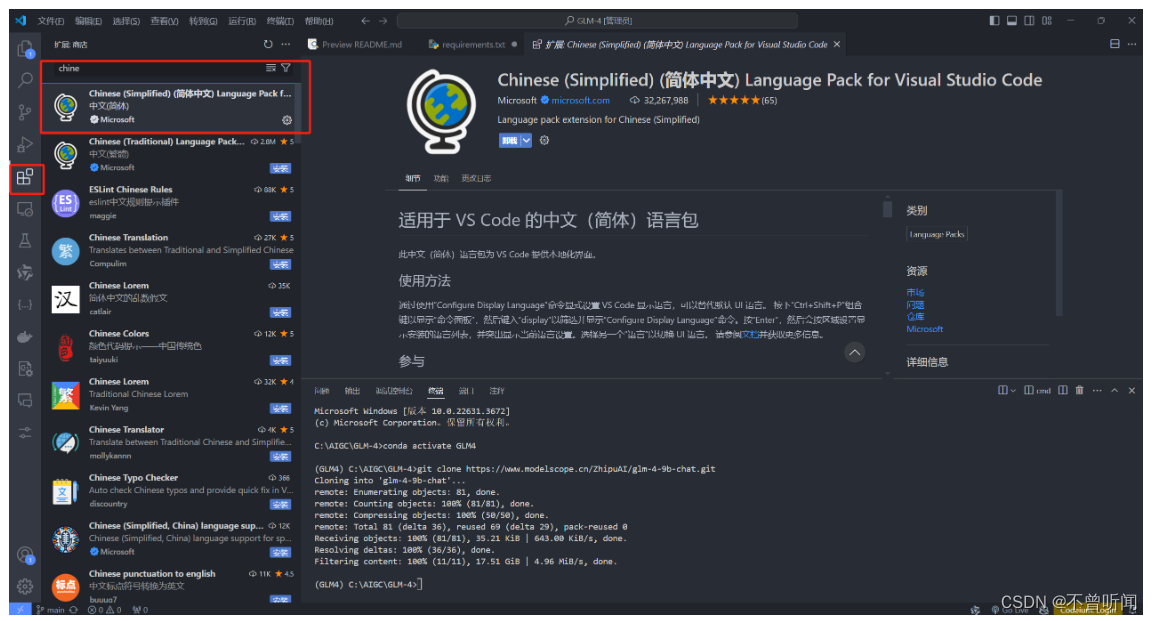
2 中文插件
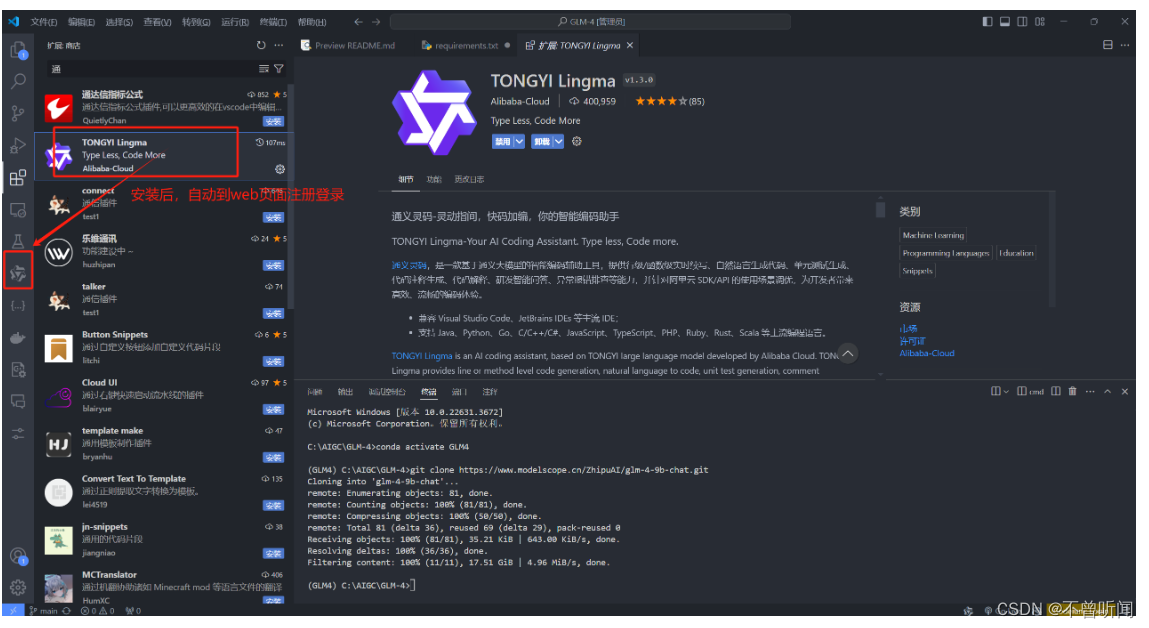
3 安装AI写代码插件(能够自动提示和补全)
声明:本文内容由网友自发贡献,不代表【wpsshop博客】立场,版权归原作者所有,本站不承担相应法律责任。如您发现有侵权的内容,请联系我们。转载请注明出处:https://www.wpsshop.cn/w/weixin_40725706/article/detail/711233
推荐阅读
相关标签


